Why Balancing Your Exposure Isn't Enough — And What to Do Instead

Why Balancing Your Exposure Isn't Enough — And What to Do Instead

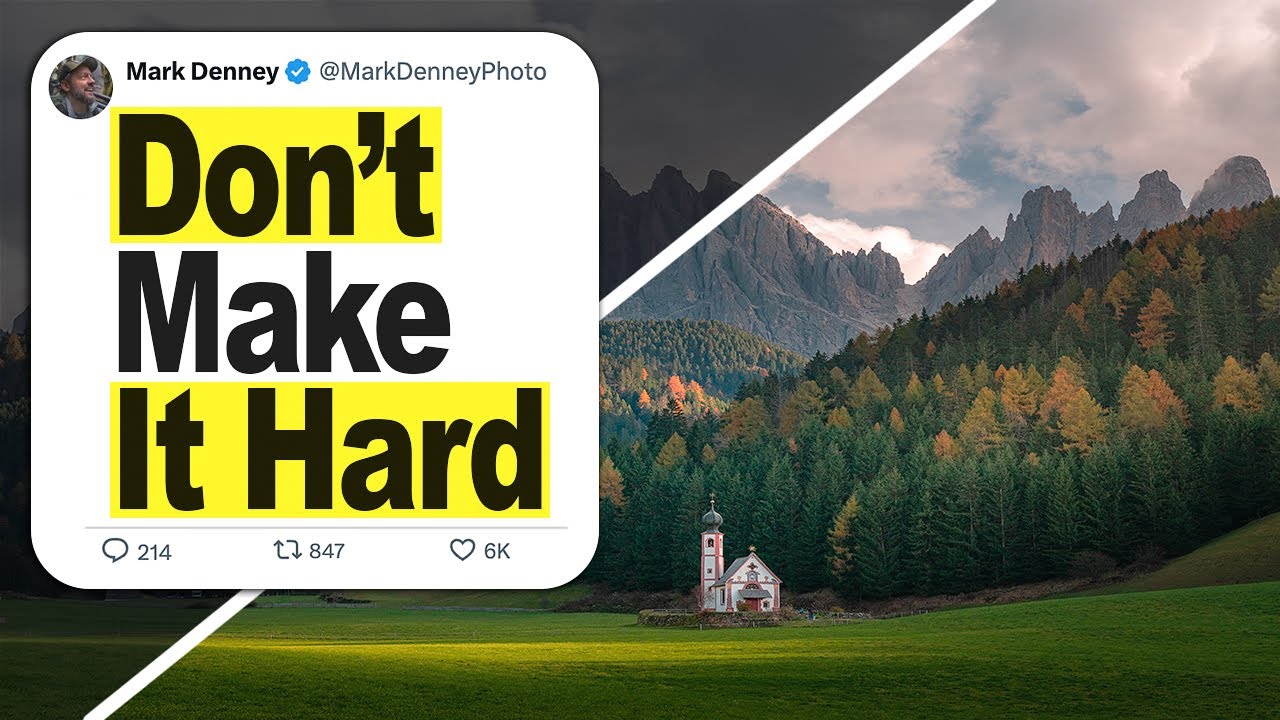
I used to think the goal of editing was simple: make the photo look like what I saw with my eyes. So I’d drag sliders around until everything was bright, balanced, and visible. The highlights came down, the shadows came up, and technically the image looked “correct.” But something always felt off. The photos were readable, sure, but they weren’t engaging. They looked flat in a way I couldn’t quite name, and I spent a long time blaming my camera or my locations instead of my editing logic.

Master Exposing to the Left to Unlock Better Photo Quality

Master Exposing to the Left to Unlock Better Photo Quality

Master “Exposing to the Left” to Unlock Better Photo Quality When I first heard photographers talking about “exposing to the left,” I’ll admit I was confused. It sounded mysterious and unnecessarily complicated. But after diving deeper into this exposure strategy, I realized it’s actually one of the most practical tools available to improve your final images—especially if you shoot in RAW format. What Does “Exposing to the Left” Actually Mean? Let me break this down simply.

How the Distance Between Your Light and Subject Changes Everything (And Not Just Brightness)

How the Distance Between Your Light and Subject Changes Everything (And Not Just Brightness)

I’ve been shooting long enough to know that most lighting problems aren’t actually exposure problems. But I had to relearn that lesson recently when I was working on some indoor lifestyle shots and couldn’t figure out why two setups that looked identical on my histogram felt completely different in the final image. Same subject, same aperture, same shutter speed. One had this beautiful, sculpted quality to the shadows. The other looked flat in a way I couldn’t immediately explain.

Stop Guessing Your Exposure: A Working Photographer's Guide to Manual Mode

Stop Guessing Your Exposure: A Working Photographer's Guide to Manual Mode

Every Sunday morning I take a photo walk through my neighborhood in Seattle, and for the first two years of doing that, I was fighting my camera the whole time. I’d dial in aperture priority, watch the meter, and still come home with a card full of images where the bright sky was blown out or the shadows turned to mud. I kept tweaking exposure compensation, guessing, compensating again. It felt like negotiating with someone who didn’t speak my language.

Stop Guessing Exposure: A Practical Guide to Camera Metering Modes

Stop Guessing Exposure: A Practical Guide to Camera Metering Modes

Every Sunday morning I take a photo walk through Seattle, and I still run into the same exposure problem I had when I first picked up a camera: a bright sky blowing out behind a subject, or a dark foreground turning everything murky. I spent a long time thinking I was doing something wrong with my settings, when the real issue was that I didn’t fully understand what my camera was actually measuring when it tried to set the exposure for me.

Stop Chasing the Perfect ISO: Two Beginner Mistakes That Are Hurting Your Photos

Stop Chasing the Perfect ISO: Two Beginner Mistakes That Are Hurting Your Photos

Every Sunday morning I take a photo walk around Seattle. No agenda, just me and whatever camera I grab off the shelf. And for the first couple of years I was doing that, I was quietly sabotaging myself with one specific habit: I kept my ISO glued to the lowest possible number, no matter what. I thought that was the disciplined, correct thing to do. Turns out it was actually one of the most common mistakes beginner photographers make, and it was costing me shots I can never get back.

Why I Stopped Obsessing Over Metering Modes (And What I Do Instead)

Why I Stopped Obsessing Over Metering Modes (And What I Do Instead)

Every Sunday morning I take myself on a photo walk around Seattle. No agenda, no client brief, just me and whatever camera I grab off the shelf. For a long time, I’d find myself standing in a backlit scene or a high-contrast alley, fiddling through menus trying to remember which metering mode was “correct” for the situation. It felt like I was consulting a rulebook instead of just making a picture.

Understanding ISO: The Third Pillar of Exposure

Understanding ISO: The Third Pillar of Exposure

You’ve learned about aperture and shutter speed. ISO is the third variable in the exposure triangle, and it’s the one most photographers understand least clearly. Let’s fix that. What ISO Actually Does ISO controls your camera sensor’s sensitivity to light. A higher ISO number means the sensor amplifies the signal more, making the image brighter. A lower ISO number means less amplification, producing a darker image from the same amount of light.

Understanding Aperture: The Complete Beginner's Guide

Understanding Aperture: The Complete Beginner's Guide

If you’re just starting out in photography, aperture is one of the first concepts you’ll encounter — and one of the most important to understand. It affects how bright your photos are, how much of your scene is in focus, and the overall look and feel of your images. Let’s break it down in plain terms. What Is Aperture? Aperture is the opening inside your lens that lets light through to your camera’s sensor.

How to Shoot in Manual Mode: A Practical Guide

How to Shoot in Manual Mode: A Practical Guide

Shooting in manual mode sounds intimidating, but it’s really just making three decisions: aperture, shutter speed, and ISO. Once you understand what each one does and how they interact, manual mode becomes a logical, straightforward process. The Three Decisions Every exposure requires you to balance three settings: Aperture controls how much light enters through the lens and how much of the scene is in focus (depth of field). Wide apertures (f/1.

Demystifying Your Camera's Dial: A Clear Breakdown of Every Exposure Mode

Demystifying Your Camera's Dial: A Clear Breakdown of Every Exposure Mode

Demystifying Your Camera’s Dial: A Clear Breakdown of Every Exposure Mode I’ve watched countless photographers stare at their camera’s mode dial with genuine confusion. Those cryptic letters—P, A, S, M—might as well be a secret code. Add in the fact that Canon uses different abbreviations than Nikon, and you’ve got a recipe for frustration. I’m here to change that. Understanding these modes is genuinely important because they directly control how your camera captures light.