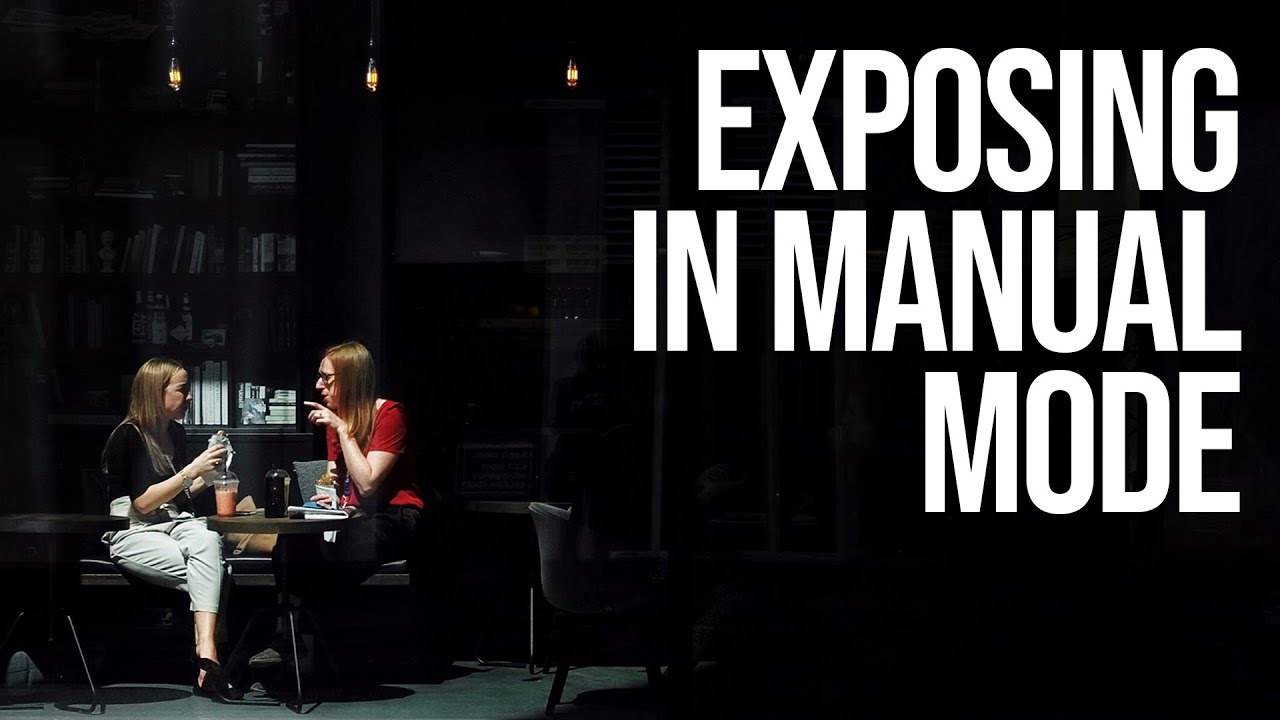
Every Sunday morning I take a photo walk through my neighborhood in Seattle, and for the first two years of doing that, I was fighting my camera the whole time. I’d dial in aperture priority, watch the meter, and still come home with a card full of images where the bright sky was blown out or the shadows turned to mud. I kept tweaking exposure compensation, guessing, compensating again. It felt like negotiating with someone who didn’t speak my language.
That changed when I finally committed to manual mode, and nothing clarified the “why” behind that decision better than Sean Tucker’s breakdown of how he approaches exposure. In this Sean Tucker tutorial, he walks through the full logic of shooting manual, not as a gatekeeping exercise, but as a practical argument that once it clicks, it actually makes you faster and more consistent. Watch the full tutorial on YouTube, and then use this guide to work through it step by step.
Sean’s shooting philosophy is built around high-contrast street photography where he protects his highlights and lets the shadows go deep. That’s a specific aesthetic choice, but the exposure control that makes it possible applies to everything from portraits to travel photography to the phone shots I still take every Sunday just to prove a point.
Step 1: Understand Why Manual Mode Is Worth the Effort
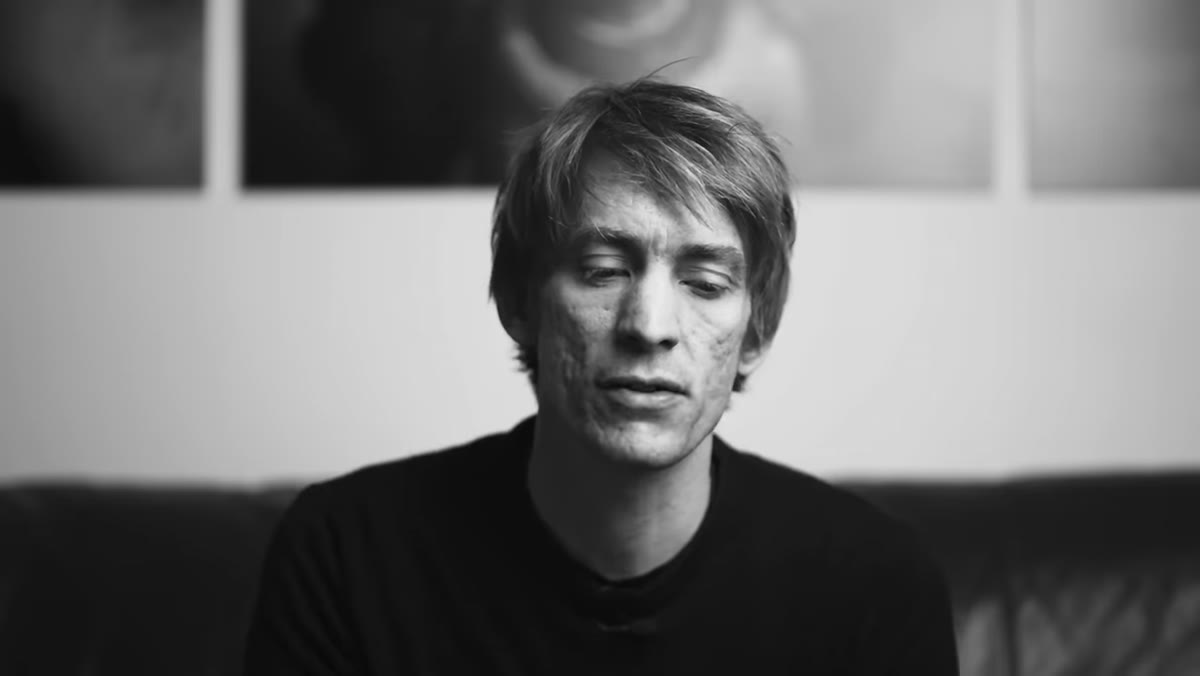 Sean explaining his most-asked exposure questions
Sean opens by addressing the question he gets constantly from people who see his high-contrast images: what metering mode are you using? His answer is that he removes metering from the equation entirely. The reason is consistency. When your camera meters the scene, it’s making assumptions about what 18% gray looks like in that frame. Those assumptions change shot to shot, which means your exposure changes shot to shot even when you don’t want it to.
Sean explaining his most-asked exposure questions
Sean opens by addressing the question he gets constantly from people who see his high-contrast images: what metering mode are you using? His answer is that he removes metering from the equation entirely. The reason is consistency. When your camera meters the scene, it’s making assumptions about what 18% gray looks like in that frame. Those assumptions change shot to shot, which means your exposure changes shot to shot even when you don’t want it to.
Manual mode doesn’t guess. Once you set your exposure, it stays exactly where you put it until you move it. For any situation where you’re returning to similar lighting, whether that’s a session in the same studio or a morning of street photography under consistent overcast sky, this means you spend far less time correcting after the fact.
Step 2: Learn the Three Levers That Control Exposure
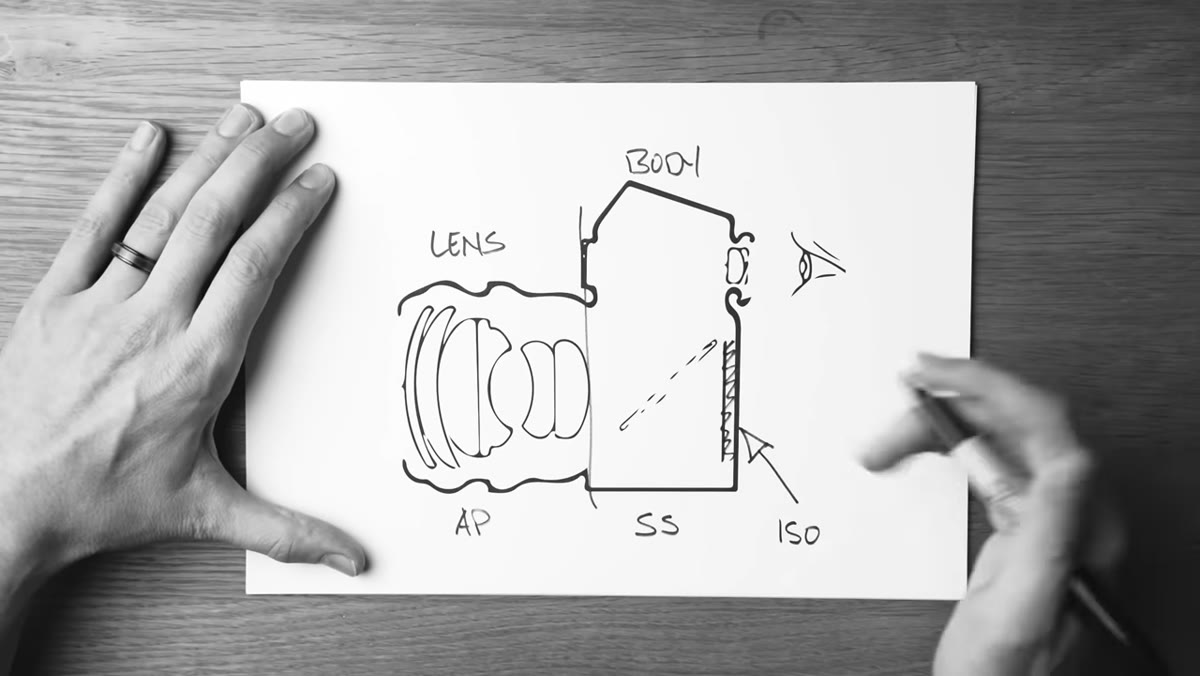
 Camera body split in half showing sensor and lens diagram
Sean breaks the camera down into two physical parts, the lens and the body, and then identifies the three settings that together determine how much light hits your sensor. Those three are ISO, shutter speed, and aperture. Every exposure decision you make in manual mode involves adjusting one or more of these in relation to each other.
Camera body split in half showing sensor and lens diagram
Sean breaks the camera down into two physical parts, the lens and the body, and then identifies the three settings that together determine how much light hits your sensor. Those three are ISO, shutter speed, and aperture. Every exposure decision you make in manual mode involves adjusting one or more of these in relation to each other.
Think of them as a three-way balance. Increasing one lets you decrease another without changing the overall brightness. The skill is learning which one to reach for first depending on what the shot actually needs, and that starts with understanding what each one does beyond just making the image brighter or darker.
Step 3: Set Your ISO Based on Your Light Source
 Sean explaining ISO and sensor sensitivity
ISO controls how sensitive your sensor is to light. Lower numbers like 100 or 200 are ideal for bright outdoor conditions and produce cleaner, less grainy images. Higher numbers like 1600 or above let you shoot in low light but introduce digital noise. Sean points out that in the days of film, this was a decision you made for the whole roll. With digital, you can change it frame to frame.
Sean explaining ISO and sensor sensitivity
ISO controls how sensitive your sensor is to light. Lower numbers like 100 or 200 are ideal for bright outdoor conditions and produce cleaner, less grainy images. Higher numbers like 1600 or above let you shoot in low light but introduce digital noise. Sean points out that in the days of film, this was a decision you made for the whole roll. With digital, you can change it frame to frame.
His approach is to set ISO first based on the environment, then work from there. If you’re outside on a bright day, start at ISO 100. Indoor, available light situation? You might start at 800 or 1600. Setting a baseline ISO anchors the rest of your decisions.
Step 4: Use Shutter Speed to Control Motion and Base Brightness
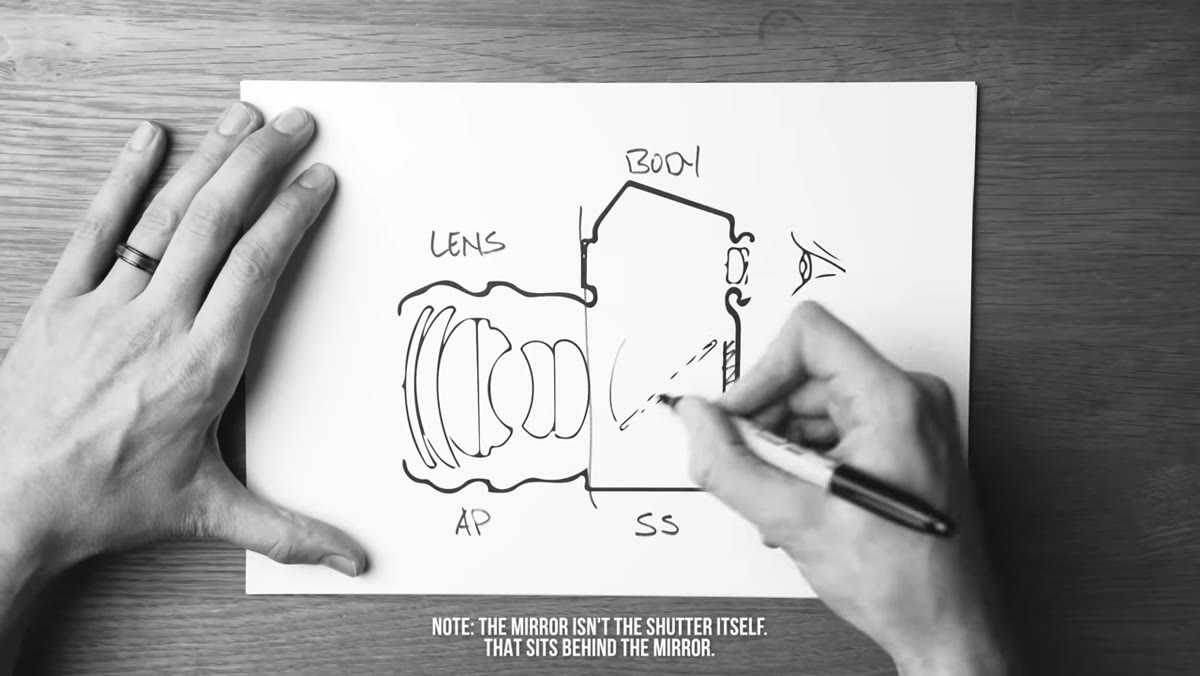 Shutter mechanism inside the camera body
Shutter speed is how long your sensor is exposed to light. A fast shutter, like 1/1000s, freezes motion and lets in less light. A slow shutter, like 1/30s, introduces motion blur and lets in more light. For handheld shooting, a common rule of thumb is to keep your shutter speed at or above 1 divided by your focal length. If you’re shooting at 50mm, stay at 1/50s or faster to avoid camera shake.
Shutter mechanism inside the camera body
Shutter speed is how long your sensor is exposed to light. A fast shutter, like 1/1000s, freezes motion and lets in less light. A slow shutter, like 1/30s, introduces motion blur and lets in more light. For handheld shooting, a common rule of thumb is to keep your shutter speed at or above 1 divided by your focal length. If you’re shooting at 50mm, stay at 1/50s or faster to avoid camera shake.
In manual mode, once your ISO is set, shutter speed becomes your primary tool for controlling how bright or dark the overall image looks. This is especially useful for street photography, where you might want to freeze a moving subject without changing your depth of field.
Step 5: Choose Aperture for Depth of Field, Then Adjust Accordingly
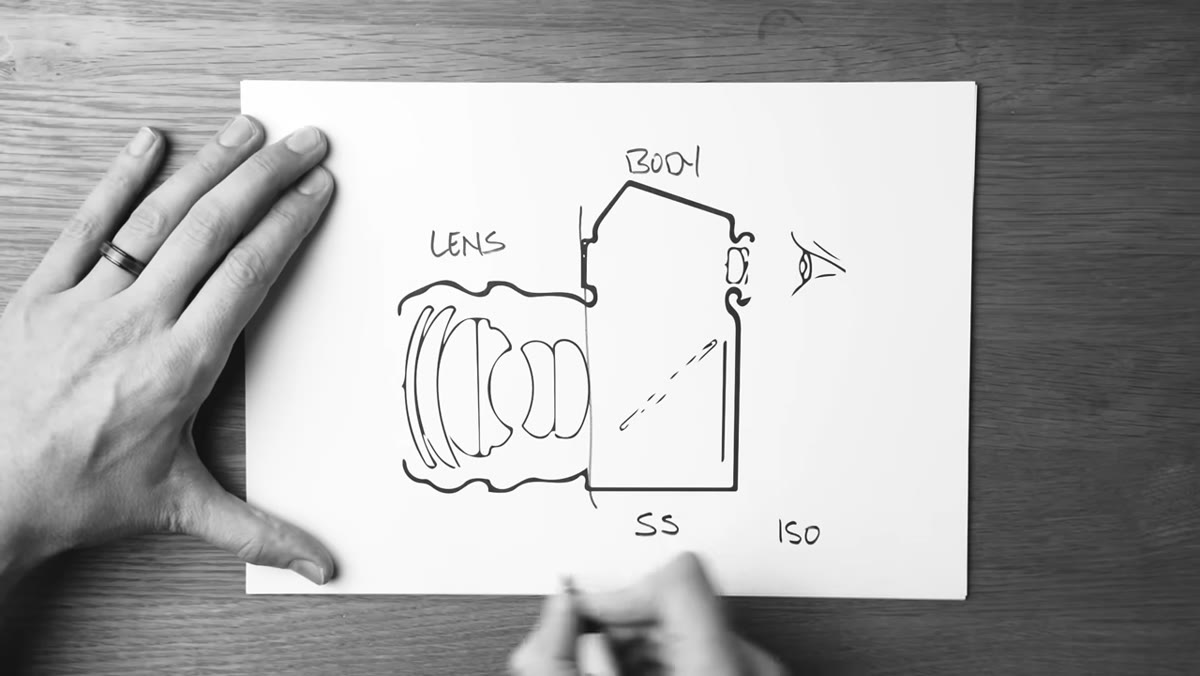 Sean referencing aperture as the third exposure element
Aperture is the opening in your lens that controls how much light passes through. A wide aperture like f/1.8 lets in lots of light and creates a shallow depth of field with a blurred background. A narrow aperture like f/11 lets in less light but keeps more of the scene in sharp focus. When you’re new to photography, it’s tempting to shoot wide open all the time because the background blur looks beautiful. Sean was honest about doing exactly that when he started out.
Sean referencing aperture as the third exposure element
Aperture is the opening in your lens that controls how much light passes through. A wide aperture like f/1.8 lets in lots of light and creates a shallow depth of field with a blurred background. A narrow aperture like f/11 lets in less light but keeps more of the scene in sharp focus. When you’re new to photography, it’s tempting to shoot wide open all the time because the background blur looks beautiful. Sean was honest about doing exactly that when he started out.
In manual mode, your aperture choice should be driven by the depth of field you want creatively. Once you’ve made that choice, use your shutter speed and ISO to compensate for the exposure effect. This is the core of manual mode thinking: make your creative decision first, then solve for exposure around it.
Step 6: Read Your In-Camera Meter as a Reference, Not a Rule
 Sean discussing metering modes and why he avoids relying on them
Even in manual mode, your camera’s built-in meter is still running. It shows you, usually as a scale in the viewfinder or on the rear screen, how far your current settings are from what the camera considers a correct exposure. The key word is “considers.” The meter is designed to expose everything toward middle gray, which is not always what you want.
Sean discussing metering modes and why he avoids relying on them
Even in manual mode, your camera’s built-in meter is still running. It shows you, usually as a scale in the viewfinder or on the rear screen, how far your current settings are from what the camera considers a correct exposure. The key word is “considers.” The meter is designed to expose everything toward middle gray, which is not always what you want.
Use the meter as a starting reference, especially when you’re first learning. But let your creative intent override it. Sean’s high-contrast images are intentionally underexposed by most meters’ standards, because he’s protecting the highlights and letting the shadows fall dark on purpose. The meter would tell him he’s wrong. The final image tells a different story.
What I’d Add From My Own Shooting
Sean’s tutorial focuses on the logic of manual mode, and it’s excellent. What I’d layer on top of it is the value of picking one consistent starting point and learning to adjust from there. For my Sunday morning walks, I start at ISO 400, f/5.6, and 1/500s almost every time. That combination works for a cloudy Seattle morning without much direct sun. From there I only need small adjustments rather than building an exposure from scratch every time I pick up the camera.
This kind of muscle memory comes faster than people expect. Two or three dedicated sessions of shooting manual with no safety net, reviewing your results and adjusting, and the logic goes from theoretical to automatic. The first time you nail a tricky exposure on the first try, without touching the dial again, it clicks in a way no tutorial can fully replicate.
The single most important idea in Sean’s tutorial is this: manual mode doesn’t make photography harder. It makes your results more predictable. And predictability, when you’re trying to build a consistent body of work, is one of the most underrated skills a photographer can develop.
Watch the full tutorial on YouTube to see Sean walk through his actual camera settings and shooting philosophy in his own words. Then go outside, set everything to manual, and take fifty frames. That’s where it actually starts to make sense.
Comments (3)
I keep coming back to this article. It's that useful.
Wow, I had no idea you could do this. Mind blown.
This is exactly what I needed today. Been struggling with this for weeks.
Leave a Comment