I’ve been shooting long enough to know that most lighting problems aren’t actually exposure problems. But I had to relearn that lesson recently when I was working on some indoor lifestyle shots and couldn’t figure out why two setups that looked identical on my histogram felt completely different in the final image. Same subject, same aperture, same shutter speed. One had this beautiful, sculpted quality to the shadows. The other looked flat in a way I couldn’t immediately explain.
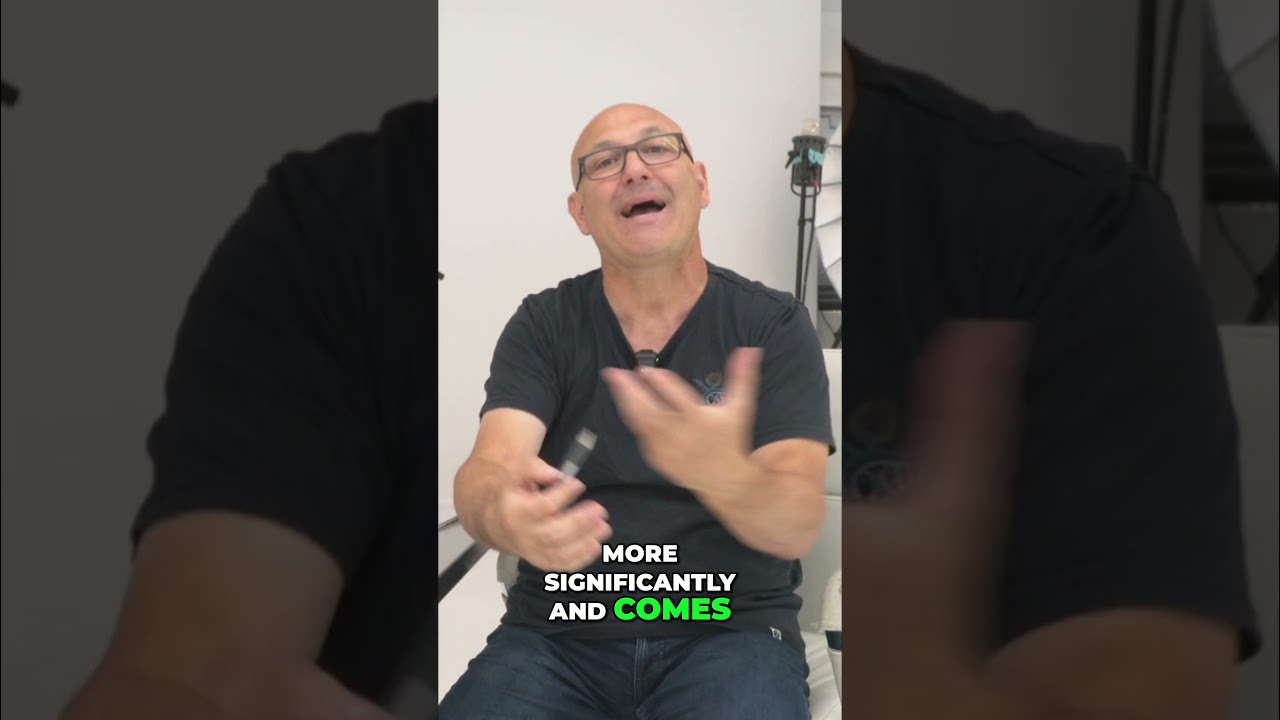
That sent me back to basics, which is how I found myself watching this Visual Education tutorial on light behavior. Watch the full tutorial on YouTube - it’s short, but it reframes something a lot of photographers assume they already understand.
The Setup That Looks the Same But Isn’t
Here’s the core situation the tutorial puts forward: you take a light source, place it at a certain distance from your subject, and you get a correct exposure. Then you move that same light further away. Because distance reduces the light’s intensity (the inverse square law at work), you have to increase the light’s power output to get back to the same exposure reading on your subject’s surface.
So far, most photographers nod along. Yes, move the light back, turn it up. Exposure recovered. Done.
Except it isn’t done, and that’s the entire point.
What Bounced Light Is Actually Doing to Your Shadows
When you increase the power of a light source significantly to compensate for that extra distance, you’re not just sending more light toward your subject. You’re sending more light everywhere. In any enclosed shooting environment, whether that’s a studio, a living room, or a small white seamless setup, that extra light is bouncing off walls, ceilings, and floors and finding its way back into the scene.
The practical result: your shadows fill in. The contrast ratio between the lit side and the shadow side of your subject’s face (or whatever you’re shooting) decreases. The image looks softer, more even, sometimes flatter depending on what you were going for.
When the light is closer and set to lower power, less of it scatters into the room. The shadows stay darker. The image retains more contrast and dimension.
Two exposures that match numerically can look visually opposite in terms of mood and depth. That’s the thing the histogram will never tell you.
Three Practical Things to Test in Your Next Session
If you want to actually feel this difference rather than just understand it theoretically, here’s how I’d approach a simple test:
- Set up your light source at roughly arm’s length from your subject (maybe 2 to 3 feet). Dial in your exposure to get a correct reading, and take a shot.
- Move the light back to 6 to 8 feet. Increase the power until your exposure reading matches the first shot exactly. Take a second shot.
- Compare the shadow areas, specifically the areas that receive no direct light at all. In the close-up version, those shadows should be noticeably deeper and more defined.
You don’t need a fancy meter for this. Take both shots in manual mode, check the histogram to confirm the exposures are equivalent, then zoom in on the shadow side of your subject in playback. The difference tends to be obvious once you know what to look for.
Where This Gets Complicated Outside the Studio
Here’s where I’d push back slightly on a strictly controlled reading of this concept: outdoors or in large open spaces, the bounce-back effect is dramatically reduced because there aren’t walls to send that extra light back into your scene. In those situations, moving your light further away and compensating with power does get you closer to a true like-for-like result, because the excess light just spills into open space.
I’ve used this to my advantage on travel shoots where I’m working with a small portable strobe. If I want softer, more even light on a subject without the sculpted contrast of a nearby source, I’ll back my strobe off and bump the power up, even outdoors, because it widens the spread and reduces that sharp falloff. It’s not quite the same mechanism as studio bounce, but the intention behind it borrows from the same thinking.
The tutorial is specifically dealing with enclosed or semi-enclosed environments, and that context matters. Don’t overcorrect and assume moving your light back always softens things the same way everywhere.
The One Thing to Carry Into Every Shoot
Matching your exposure reading is not the same as matching your light quality. Distance changes contrast, shadow depth, and mood, independent of what your meter says.
That single reframe is worth more than a dozen tips about specific settings. Go watch the full tutorial for the visual side-by-side demonstration, which makes the shadow difference immediately clear in a way that’s hard to fully capture in writing. Watch the full tutorial on YouTube
Comments (2)
Would love to see a follow-up going deeper into this topic.
I tried this on a client project yesterday and the results were way better than expected.
Leave a Comment