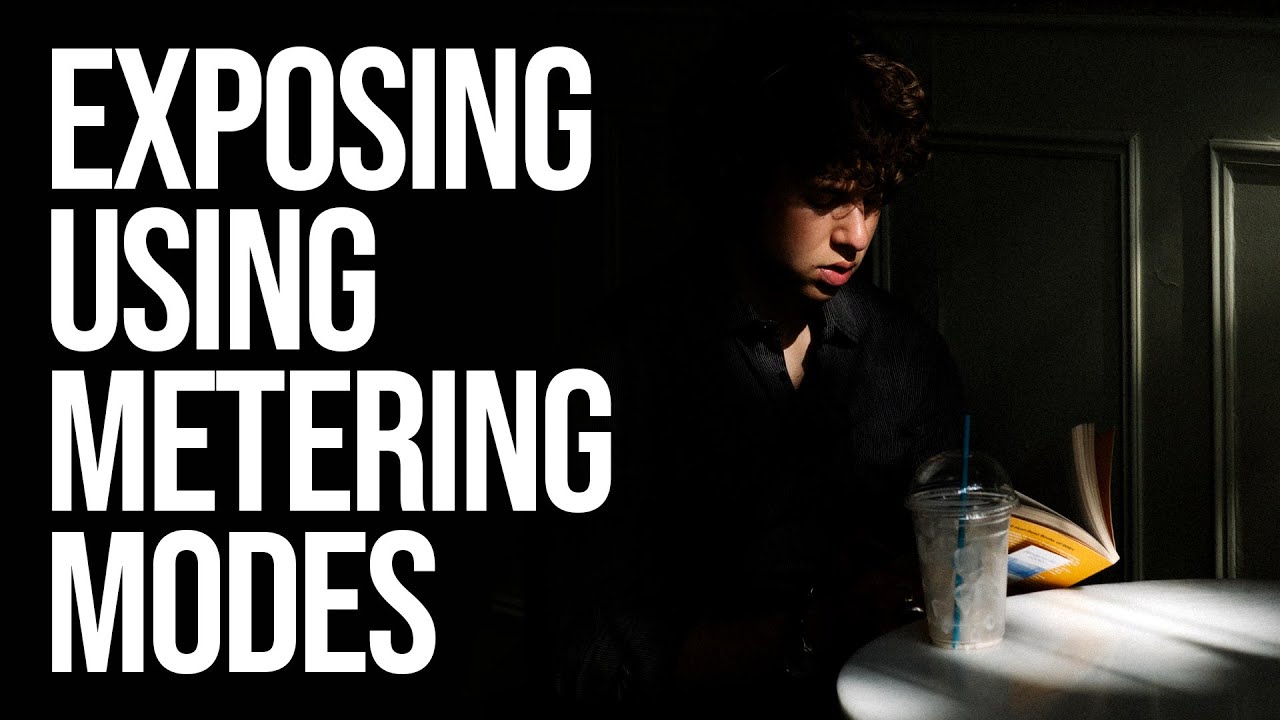
Every Sunday morning I take a photo walk through Seattle, and I still run into the same exposure problem I had when I first picked up a camera: a bright sky blowing out behind a subject, or a dark foreground turning everything murky. I spent a long time thinking I was doing something wrong with my settings, when the real issue was that I didn’t fully understand what my camera was actually measuring when it tried to set the exposure for me.
Watch the full tutorial on YouTube
In this Sean Tucker tutorial on metering modes, Sean breaks down exactly what the light meter inside your camera is doing, why it sometimes gets things wrong, and how you can work with it instead of fighting it. I’ve watched a lot of exposure videos, and this one cuts through the noise better than most. Here’s a step-by-step breakdown you can use as a working reference.
Step 1: Understand What the Light Meter Is Actually Doing
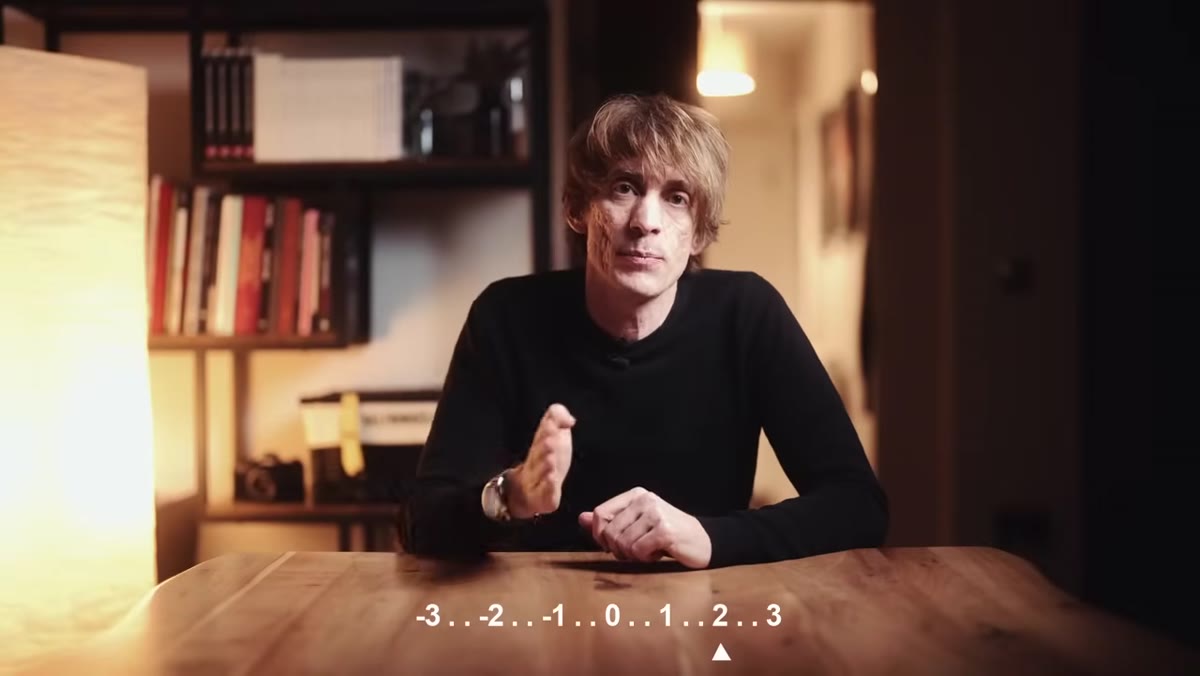
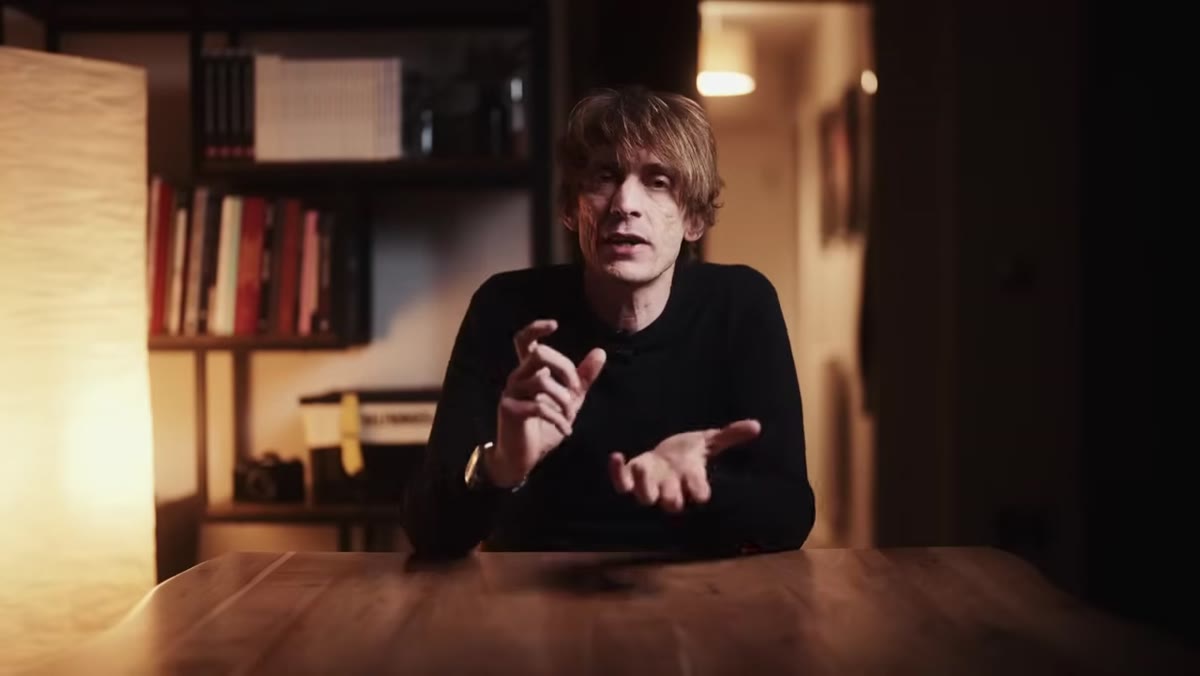 Camera viewfinder showing exposure scale from -3 to +3
Your camera has a light meter built right behind the lens. When you point the camera at a scene, that meter reads the reflected light coming back through the lens and tries to figure out a “safe” exposure. Specifically, it’s always aiming to render the overall brightness of the scene at 18% gray, sometimes called middle gray or mid-tone. That’s not arbitrary. It’s the midpoint between pure black and pure white, and landing there means you’re preserving detail in both your shadows and your highlights.
Camera viewfinder showing exposure scale from -3 to +3
Your camera has a light meter built right behind the lens. When you point the camera at a scene, that meter reads the reflected light coming back through the lens and tries to figure out a “safe” exposure. Specifically, it’s always aiming to render the overall brightness of the scene at 18% gray, sometimes called middle gray or mid-tone. That’s not arbitrary. It’s the midpoint between pure black and pure white, and landing there means you’re preserving detail in both your shadows and your highlights.
The key word is reflected light. Unlike a handheld incident meter in a studio, your in-camera meter doesn’t measure how much light is falling on your subject. It measures how much light is bouncing back into the lens from whatever you’re pointing at. That distinction matters enormously, and we’ll come back to it.
Step 2: Read the Exposure Scale in Your Viewfinder
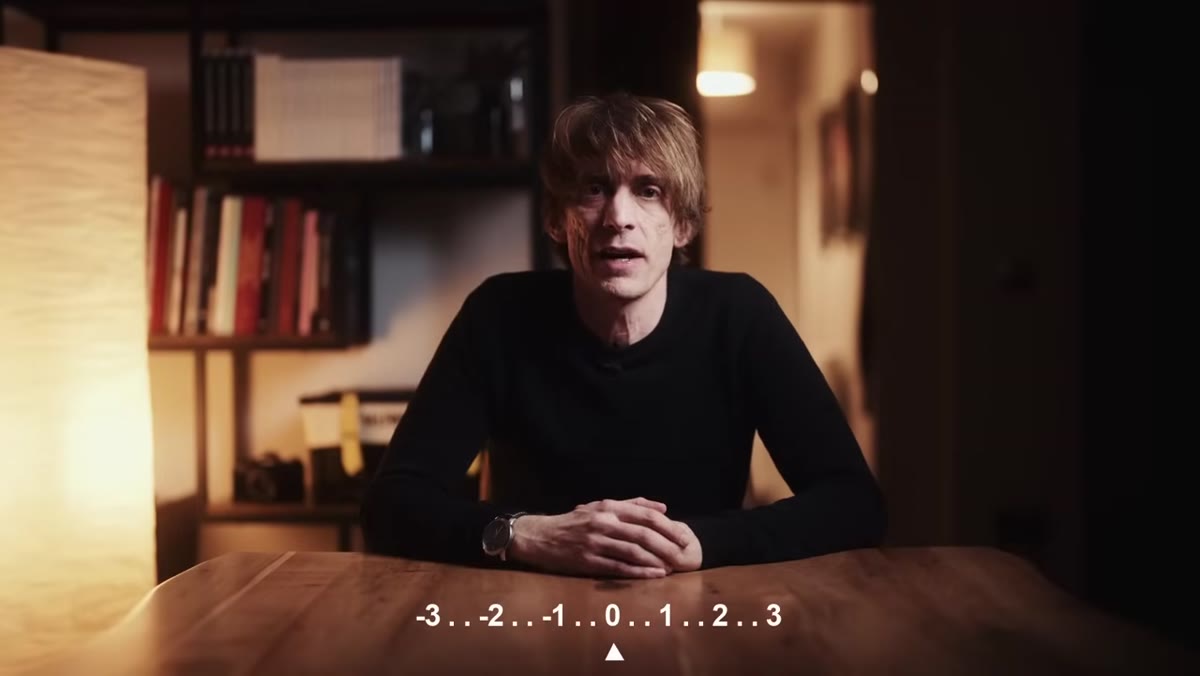 Close-up of viewfinder exposure indicator needle at zero
Look through your viewfinder or at your live view screen and find the row of numbers along the bottom, typically running from -3 on the left through 0 in the middle to +3 on the right. A small indicator moves along that scale to tell you where your current exposure sits relative to what the camera considers correct. If the indicator is at -1, the camera thinks your image will be one stop underexposed. If it’s sitting at +2, you’re two stops overexposed.
Close-up of viewfinder exposure indicator needle at zero
Look through your viewfinder or at your live view screen and find the row of numbers along the bottom, typically running from -3 on the left through 0 in the middle to +3 on the right. A small indicator moves along that scale to tell you where your current exposure sits relative to what the camera considers correct. If the indicator is at -1, the camera thinks your image will be one stop underexposed. If it’s sitting at +2, you’re two stops overexposed.
In the early days of film cameras, all that scale did was tell you to manually adjust your aperture or shutter speed until you hit zero. Nothing happened automatically. That’s still a perfectly valid way to shoot, and understanding it as a suggestion rather than a command is a big mindset shift for beginners.
Step 3: Recognize When the Meter Gets It Wrong
 Photographer pointing camera at bright window scene
Here’s the core problem with any reflected-light meter: it doesn’t know what it’s looking at. It just sees brightness and tries to average everything to that middle-gray target. Point your camera at a white wall, and the meter will underexpose it to make it look gray. Point it at a black cat on a black couch, and the meter will overexpose the whole scene trying to brighten it up to gray.
Photographer pointing camera at bright window scene
Here’s the core problem with any reflected-light meter: it doesn’t know what it’s looking at. It just sees brightness and tries to average everything to that middle-gray target. Point your camera at a white wall, and the meter will underexpose it to make it look gray. Point it at a black cat on a black couch, and the meter will overexpose the whole scene trying to brighten it up to gray.
This is not a flaw or a bug. It’s just the nature of how the tool works. Once you internalize this, you stop blaming your camera for “wrong” exposures and start taking back creative control. The meter is a starting point, not an authority.
Step 4: Choose the Right Metering Mode for Your Scene
 Camera menu showing metering mode options on screen
Modern cameras give you several metering modes that control which part of the frame the meter reads. The three most common are evaluative (also called matrix or multi-zone), center-weighted, and spot metering. Each one is useful in different situations.
Camera menu showing metering mode options on screen
Modern cameras give you several metering modes that control which part of the frame the meter reads. The three most common are evaluative (also called matrix or multi-zone), center-weighted, and spot metering. Each one is useful in different situations.
Evaluative metering analyzes the entire frame and makes a complex calculation based on all the tones it sees. It’s the default for most cameras and works well for evenly lit scenes. Center-weighted averages the whole frame but gives more importance to whatever is in the middle. Spot metering reads only a very small circle in the frame, usually around 1-5% of the total area, which gives you precise control when you need it. Portrait in harsh side light? Spot meter on the skin. Landscape with a bright sky? Try evaluative and see what the camera suggests before you override it.
Step 5: Use Metering as a Guide in Manual Mode
 Sean Tucker shooting in full manual mode, camera in hand
One of the most common misconceptions Sean addresses is the idea that your metering mode changes your exposure when you’re shooting in full manual mode. It doesn’t. In manual mode, you set the aperture, shutter speed, and ISO yourself. The metering scale in your viewfinder still moves, but it’s only telling you what the camera thinks about the settings you’ve chosen. It’s purely informational. You decide whether to listen.
Sean Tucker shooting in full manual mode, camera in hand
One of the most common misconceptions Sean addresses is the idea that your metering mode changes your exposure when you’re shooting in full manual mode. It doesn’t. In manual mode, you set the aperture, shutter speed, and ISO yourself. The metering scale in your viewfinder still moves, but it’s only telling you what the camera thinks about the settings you’ve chosen. It’s purely informational. You decide whether to listen.
This is how I personally shoot almost every day. I’ll glance at the scale to see if I’m wildly off, then adjust based on what I know about the scene. If I’m shooting a backlit subject and the meter says I’m two stops over, I know that’s because the bright background is skewing the reading. I might intentionally stay at plus-one to keep detail in the highlights and use fill light or post-processing to lift the shadows.
Step 6: Dial In Exposure Compensation in Auto and Semi-Auto Modes
 Exposure compensation dial being adjusted on camera body
If you’re shooting in aperture priority, shutter priority, or full auto, the camera is using the meter reading to set your exposure for you. This is where metering mode selection actually changes your resulting image. In these modes, you can still override the camera’s decision by using exposure compensation. On most cameras, this is a dedicated button or dial labeled with a plus/minus symbol.
Exposure compensation dial being adjusted on camera body
If you’re shooting in aperture priority, shutter priority, or full auto, the camera is using the meter reading to set your exposure for you. This is where metering mode selection actually changes your resulting image. In these modes, you can still override the camera’s decision by using exposure compensation. On most cameras, this is a dedicated button or dial labeled with a plus/minus symbol.
If you’re in aperture priority and the camera keeps underexposing your subject because it’s metering off a bright background, dial in plus-one or plus-two stops of compensation to force the camera to brighten the image. Think of it as telling the camera, “I hear your suggestion, and I disagree.” You stay in the convenience of auto mode while keeping creative control over the final result.
My Take: The Meter Is a Translator, Not a Decision-Maker
I started teaching photography after a stranger at a coffee shop asked how I got a particular shot on my phone. One of the first things I tell new students is this: your camera’s meter speaks a language, and your job is to learn how to translate it, not just obey it. Once you understand that it’s always trying to find middle gray, every “wrong” reading suddenly makes sense. Heavily backlit subject? The meter sees all that bright background light and pulls the exposure down, leaving your subject dark. Snow scene? The meter tries to gray out all that white. Both are logical given how the meter works. Both require you to step in and correct.
The single most important idea from this tutorial is simple: your light meter is always, always aiming for 18% gray. Every decision you make in response to it should start from that understanding. Once that clicks, exposure stops feeling like guesswork and starts feeling like a conversation.
Watch the full tutorial on YouTube to see Sean walk through these concepts with live demonstrations on camera. It’s one of the clearest explanations of metering I’ve come across, and worth the full watch even if you’ve been shooting for years.
Comments
Leave a Comment