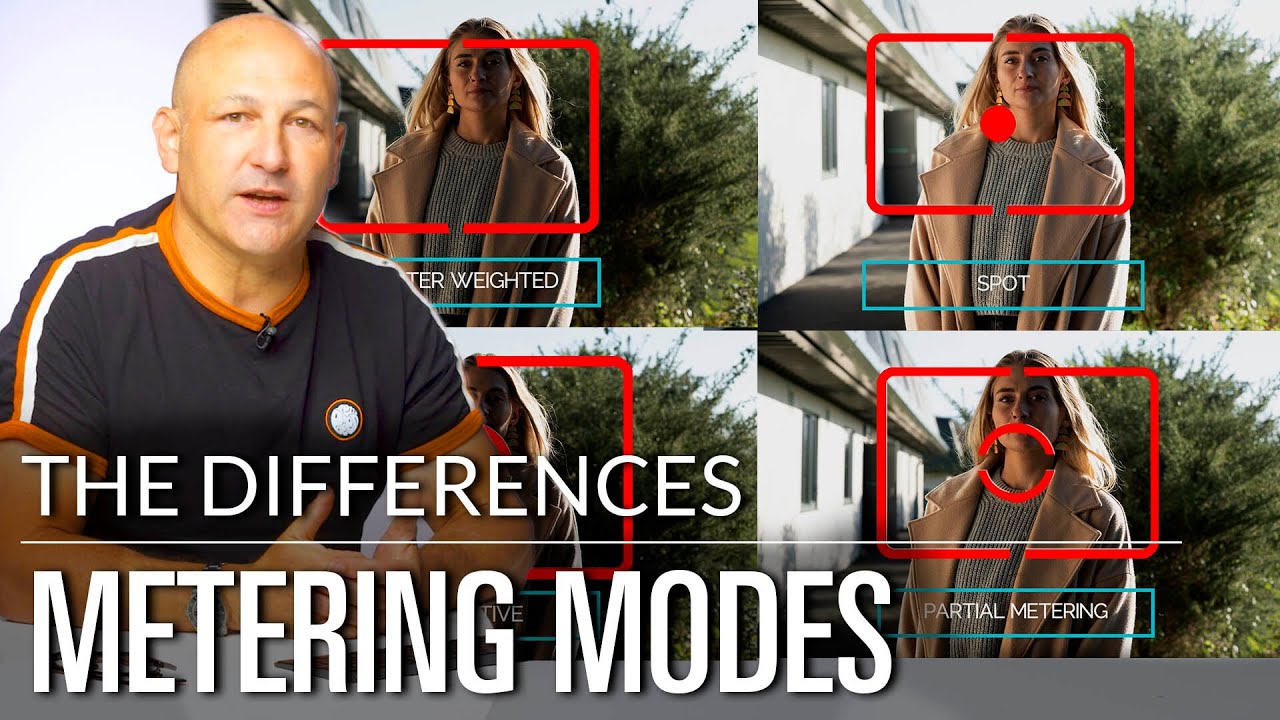
Every Sunday morning I take myself on a photo walk around Seattle. No agenda, no client brief, just me and whatever camera I grab off the shelf. For a long time, I’d find myself standing in a backlit scene or a high-contrast alley, fiddling through menus trying to remember which metering mode was “correct” for the situation. It felt like I was consulting a rulebook instead of just making a picture.
Then I came across this Visual Education tutorial on metering modes, and something the instructor says right at the top genuinely stopped me mid-scroll: he doesn’t know what metering mode his camera is set to. That’s a working professional saying that. It reframed the whole topic for me. Watch the full tutorial on YouTube before or after reading this breakdown, because hearing him explain his reasoning in his own words is worth your time.
The tutorial covers what metering actually is, how the major modes differ across Canon, Nikon, Sony, and Hasselblad, and when each one might genuinely serve you. What I want to do here is pull out the key steps so you can follow along and start making informed choices, whether you shoot in manual or rely on priority modes.
Step 1: Understand What Your Camera Is Actually Measuring
 Diagram showing camera evaluating reflected light in a scene
When your camera meters a scene, it is measuring reflected light, not the light source itself. The camera then makes a calculation based on a long-standing benchmark: it assumes the scene should average out to 18% gray. That is a specific tone of gray that reflects exactly 18% of the light hitting it and absorbs or scatters the rest.
Diagram showing camera evaluating reflected light in a scene
When your camera meters a scene, it is measuring reflected light, not the light source itself. The camera then makes a calculation based on a long-standing benchmark: it assumes the scene should average out to 18% gray. That is a specific tone of gray that reflects exactly 18% of the light hitting it and absorbs or scatters the rest.
If the scene is brighter than that benchmark, the camera flags it as potentially overexposed. If it is darker, it reads as underexposed. This is important to understand before you touch any mode settings, because every metering mode is just a variation of where and how the camera takes that measurement. You are not changing the rules of exposure. You are changing the sampling area.
Step 2: Know When Metering Mode Actually Changes Your Shot
 Camera display showing aperture priority mode selected
Here is the distinction that most beginners miss. If you shoot in manual mode, your metering mode only affects the light meter readout in your viewfinder. It tells you what the camera thinks, but you still decide the final settings yourself. In automatic modes like aperture priority or shutter priority, the metering mode directly controls which exposure values the camera selects.
Camera display showing aperture priority mode selected
Here is the distinction that most beginners miss. If you shoot in manual mode, your metering mode only affects the light meter readout in your viewfinder. It tells you what the camera thinks, but you still decide the final settings yourself. In automatic modes like aperture priority or shutter priority, the metering mode directly controls which exposure values the camera selects.
So if you are a manual shooter, metering mode is advisory. If you shoot in semi-automatic modes, it is decision-making. Knowing which camp you are in changes how much this topic should occupy your attention.
Step 3: Learn Evaluative, Matrix, and Multi-Pattern Metering
 Camera scene divided into grid zones for evaluative metering
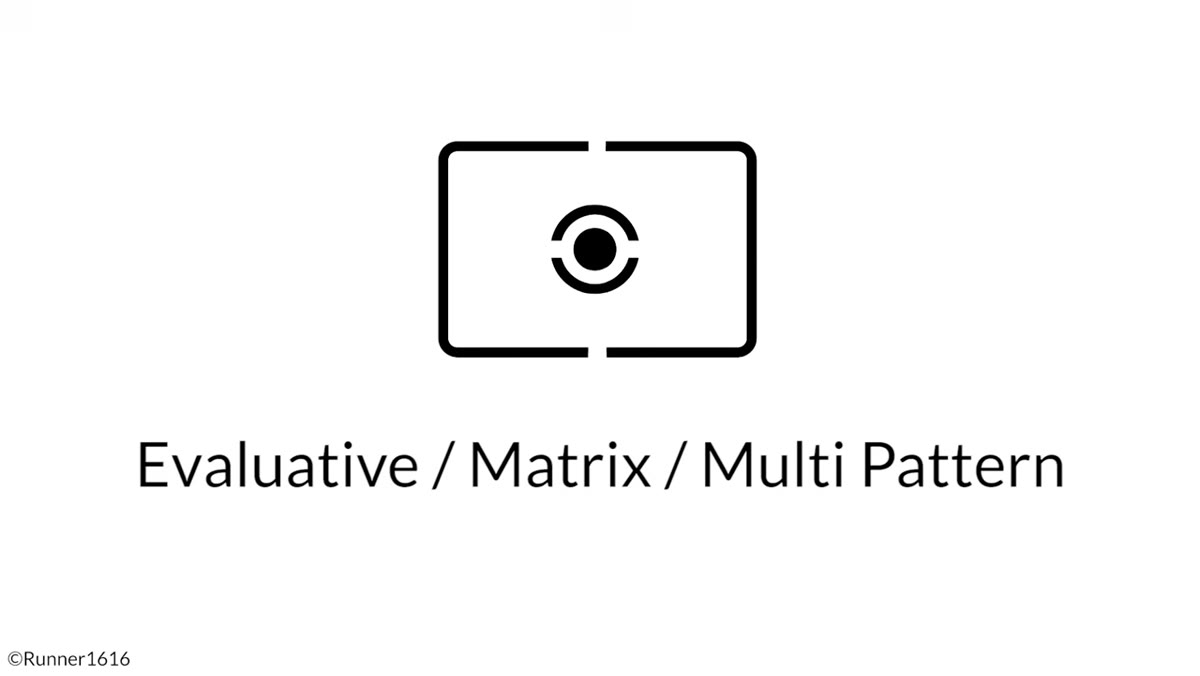
This mode goes by different names depending on your brand. Canon calls it Evaluative, Nikon calls it Matrix, Sony calls it Multi-Pattern. The function is the same: the camera divides the entire frame into a grid of zones, analyzes the highlights and shadows in each zone individually, and then calculates a weighted average. It also gives slightly more weight to whatever zone your active focus point sits in.
Camera scene divided into grid zones for evaluative metering
This mode goes by different names depending on your brand. Canon calls it Evaluative, Nikon calls it Matrix, Sony calls it Multi-Pattern. The function is the same: the camera divides the entire frame into a grid of zones, analyzes the highlights and shadows in each zone individually, and then calculates a weighted average. It also gives slightly more weight to whatever zone your active focus point sits in.
This is the default mode on most cameras and the one most shooters leave it on. It works well for scenes with relatively even lighting, outdoor portraits in open shade, or any situation where you are not fighting extreme contrast. Think of it as the camera trying to be thoughtful about the whole picture at once.
Step 4: Understand Center Weighted Metering
 Camera viewfinder highlighting center zone for metering
Center weighted metering ignores the edges of the frame entirely. It exposes based on the tones in the middle of the image, regardless of where your focus point is. The camera is simply averaging the brightness of the central region and making its recommendation from there.
Camera viewfinder highlighting center zone for metering
Center weighted metering ignores the edges of the frame entirely. It exposes based on the tones in the middle of the image, regardless of where your focus point is. The camera is simply averaging the brightness of the central region and making its recommendation from there.
This mode is useful when your subject is reliably in the center of the frame and the background is significantly brighter or darker than your subject. Portrait photographers working in studios or against cluttered backgrounds sometimes prefer this because it keeps the logic simple and consistent. If your subject is in the middle, the camera exposes for the middle.
Step 5: Use Spot Metering for High-Contrast and Backlit Scenes
 Bright backlit subject with spot metering zone shown
Spot metering is the most targeted of all the modes. It reads a very small area of the frame, usually tied to your active focus point or the dead center of the frame depending on your camera model. Everything outside that small zone is ignored entirely.
Bright backlit subject with spot metering zone shown
Spot metering is the most targeted of all the modes. It reads a very small area of the frame, usually tied to your active focus point or the dead center of the frame depending on your camera model. Everything outside that small zone is ignored entirely.
This is the mode that becomes genuinely useful in tricky situations. If you are shooting a performer on a bright stage, a subject silhouetted against a bright window, or a bird against a white sky, spot metering lets you tell the camera exactly which tone to expose for. Point the spot at your subject’s face, take the reading, and you get an accurate exposure for that specific area, even if the rest of the frame is blowing out or going dark.
Step 6: Note the Brand-Specific Options
 Canon menu screen showing partial metering option
A few brands offer modes you will not find universally. Canon includes Partial Metering on some bodies, which works like spot metering but samples a slightly larger area. It is a middle ground between spot and center weighted, useful when spot feels too fiddly but you still need more precision than center weighted offers.
Canon menu screen showing partial metering option
A few brands offer modes you will not find universally. Canon includes Partial Metering on some bodies, which works like spot metering but samples a slightly larger area. It is a middle ground between spot and center weighted, useful when spot feels too fiddly but you still need more precision than center weighted offers.
Nikon has Highlight Weighted metering on some bodies, and Sony includes a version of it too. This mode prioritizes protecting the highlights from blowing out, which makes it a practical choice for stage photography, concerts, or any scenario where bright light sources are in frame and you need to keep detail in them.
What I Actually Do on My Sunday Walks
I shoot mostly in manual. That means my metering mode functions as a suggestion, not a command. What I have learned, through a lot of trial and error, is that I trust my histogram more than any mode setting. I glance at the light meter in my viewfinder as a starting point, then I take a shot and check the histogram to see where the tones actually land. Adjust, shoot again.
That said, I keep spot metering set on my camera for one specific reason. When I am shooting something backlit and need a quick exposure reference, I can point the center of my frame at my subject, half-press the shutter to take a reading, then recompose and shoot with exposure lock held. It is faster than menu-diving mid-walk. So while I agree with the instructor that metering modes are not worth stressing over, knowing what spot metering does and when to grab it has saved more than a few shots for me.
The single most important thing to take away from this tutorial is that metering modes are tools for sampling information, not magic exposure fixes. Understanding the 18% gray benchmark changes how you interpret every light meter reading you will ever see. Once you know the camera is always trying to find a middle gray, you understand why snow looks gray in auto mode, why a dark subject on a bright background gets overexposed, and why your own judgment still matters more than any preset mode.
Watch the full tutorial on YouTube to hear the instructor walk through his own reasoning. His perspective as someone who barely thinks about metering modes anymore is just as instructive as the technical breakdown itself.
Comments
Leave a Comment