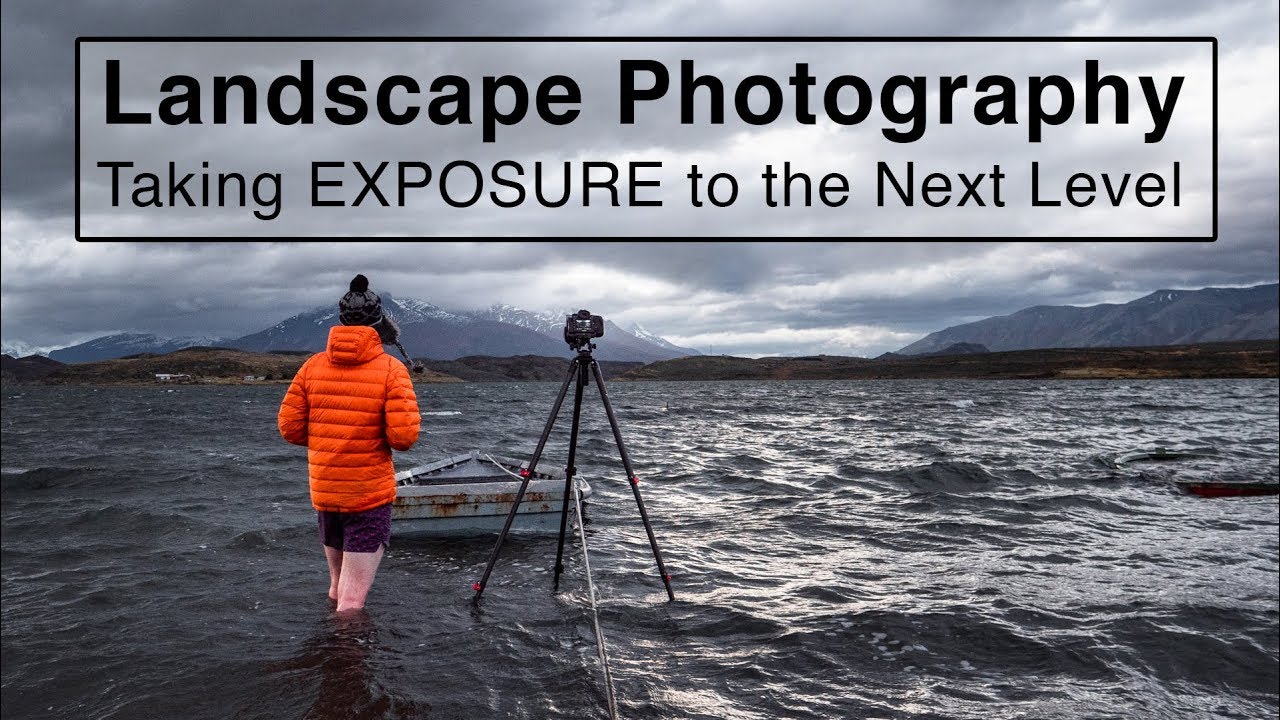
There’s a specific kind of frustration I know well: arriving at a beautiful location, feeling the light, sensing the shot - and then blowing it because you didn’t adapt your settings fast enough for the conditions. Wind. Fading light. A subject that won’t cooperate. I used to lose shots constantly to this. Not because I didn’t understand exposure in theory, but because I hadn’t practiced making quick, confident decisions under real pressure.
That’s exactly what makes this Thomas Heaton tutorial so useful. Watch the full tutorial on YouTube - Heaton isn’t in a controlled studio explaining charts. He’s in Patagonia, dealing with wind and cold water and borrowed gear, making exposure decisions in real time. Watching him think out loud through those choices teaches you something that no diagram really can: how to read a scene and respond to it.
What follows is my breakdown of the core technique decisions he makes throughout the shoot, translated into steps you can apply on your next outing - whether you’re at a windswept coastline or just your local park on a blustery Sunday morning.
Step 1: Pull Over. Take the Unplanned Shot.
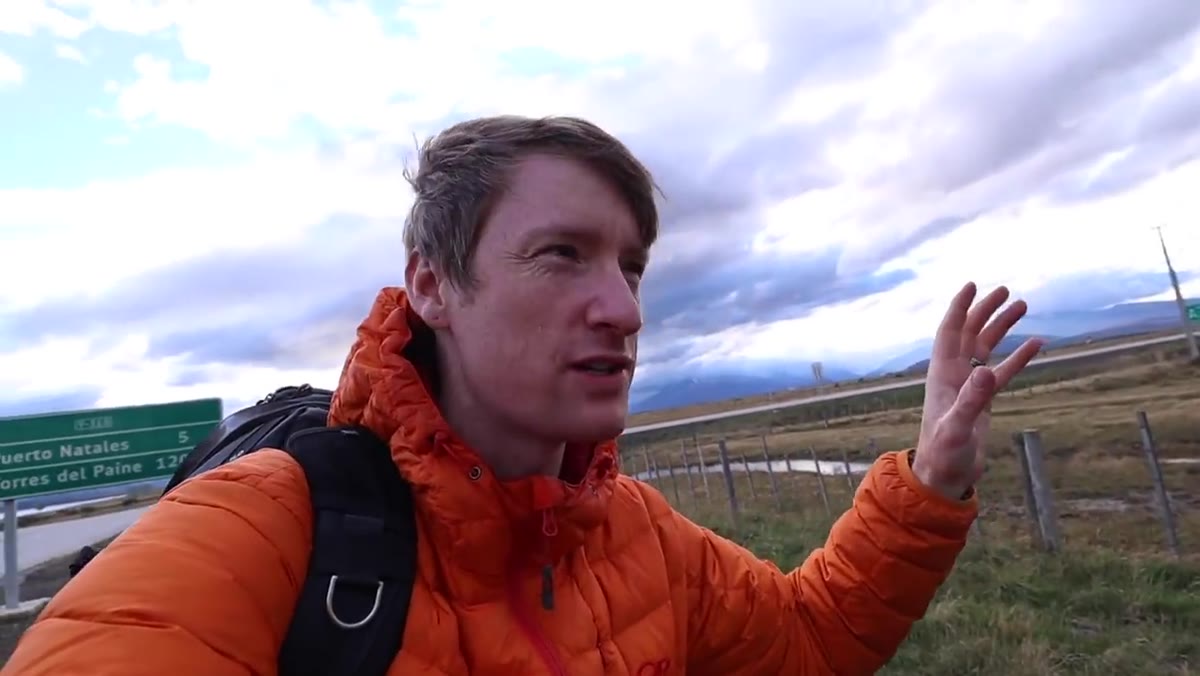 Thomas spotting a cliff face with dramatic storm light
Heaton’s first move isn’t a camera setting at all. He spots a dramatic cliff face from a moving car, recognizes the light painting across it, and makes a quick decision to stop. He gives himself ten minutes and commits to trying even though he isn’t sure anything will come of it.
Thomas spotting a cliff face with dramatic storm light
Heaton’s first move isn’t a camera setting at all. He spots a dramatic cliff face from a moving car, recognizes the light painting across it, and makes a quick decision to stop. He gives himself ten minutes and commits to trying even though he isn’t sure anything will come of it.
This matters more than people think. Some of my favorite images came from unscheduled stops. Train yourself to notice light first, location second. If the quality of light is exceptional, even an ordinary subject becomes worth investigating. Give yourself a time limit - ten or fifteen minutes - so it doesn’t derail your day, and just go see what’s there.
Step 2: Scout, Return, Upgrade Your Conditions
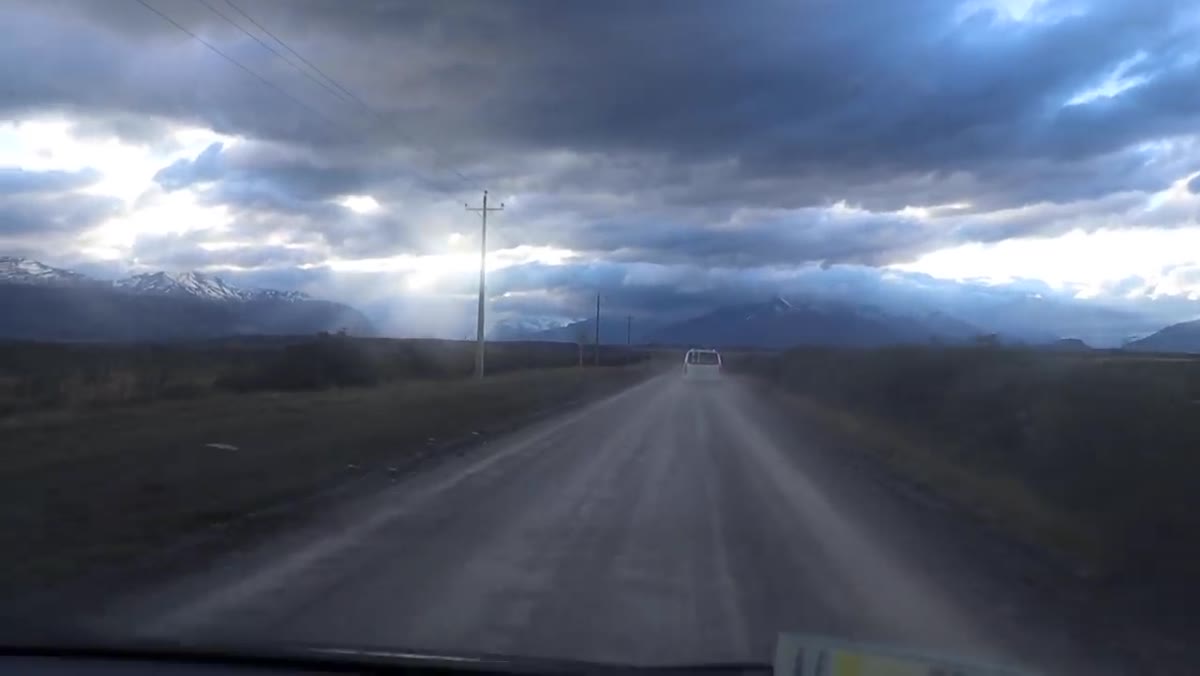 Arriving at a previously scouted Patagonian waterfront location
The main location Heaton visits in this video isn’t somewhere he discovered that day. He scouted it two weeks earlier under worse weather, made a mental note, and came back when conditions improved. He specifically mentions charged batteries, clean filters, and a clear sense of what he wanted to try differently this time.
Arriving at a previously scouted Patagonian waterfront location
The main location Heaton visits in this video isn’t somewhere he discovered that day. He scouted it two weeks earlier under worse weather, made a mental note, and came back when conditions improved. He specifically mentions charged batteries, clean filters, and a clear sense of what he wanted to try differently this time.
This is a workflow habit worth building. When you visit a location and the light or weather isn’t cooperating, don’t just leave frustrated. Document what you’d want: better clouds, golden hour instead of midday, less wind. Then actually schedule the return. Preparation between visits - clean gear, fully charged batteries, filters ready to go - means you’re not scrambling when conditions finally align.
Step 3: Match Your Focal Length to the Story, Not Your Kit List
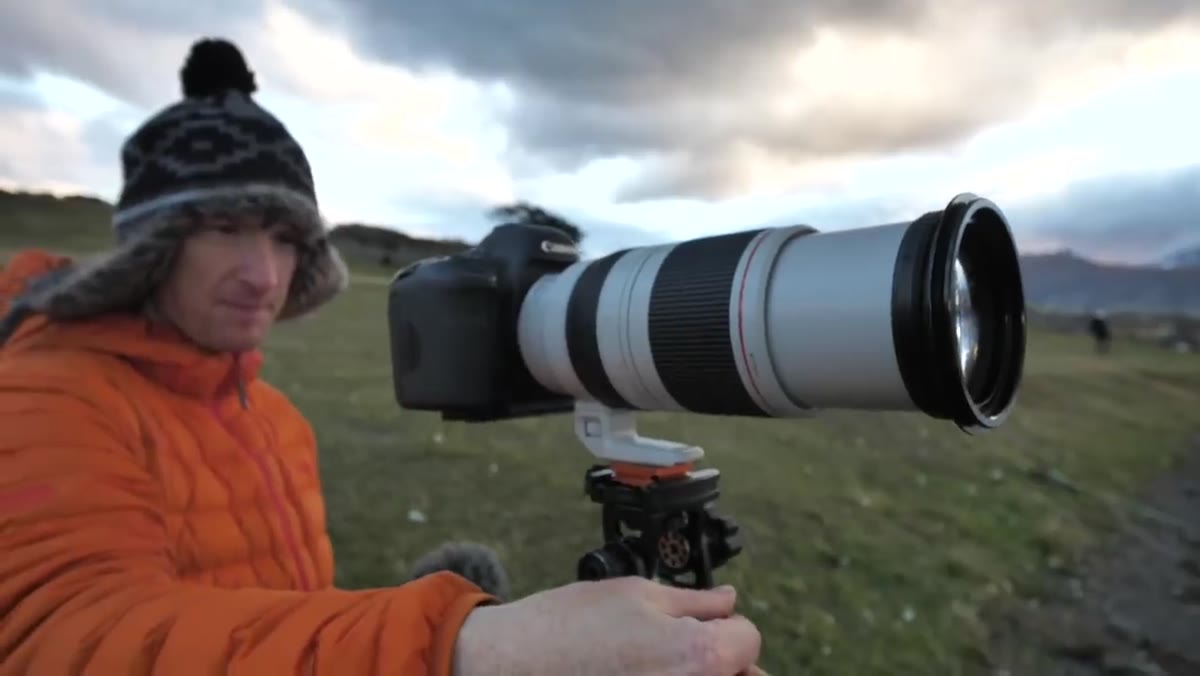 Heaton mounting a borrowed 100-400mm telephoto lens
At this location, Heaton initially reaches for his standard zoom. But what’s pulling his eye isn’t the boats in the foreground - it’s the atmospheric drama on the distant mountain ridges, the fall color on the lower hillsides, and the sharp definition of the ridgelines. A standard zoom won’t compress that or isolate those details. He borrows a 100-400mm telephoto to get there.
Heaton mounting a borrowed 100-400mm telephoto lens
At this location, Heaton initially reaches for his standard zoom. But what’s pulling his eye isn’t the boats in the foreground - it’s the atmospheric drama on the distant mountain ridges, the fall color on the lower hillsides, and the sharp definition of the ridgelines. A standard zoom won’t compress that or isolate those details. He borrows a 100-400mm telephoto to get there.
The lesson: look at what’s actually interesting before you decide which lens to mount. If your eye keeps going to something far away and textured, reach for the long glass. Telephoto lenses don’t just bring things closer - they compress distance and make atmospheric layers feel stacked and dramatic in a way wide lenses simply can’t replicate. At around 300mm, Heaton gets exactly the reach he needs to isolate those ridgelines from the surrounding chaos.
Step 4: Adjust Shutter Speed for Wind, Not Just Subject Motion
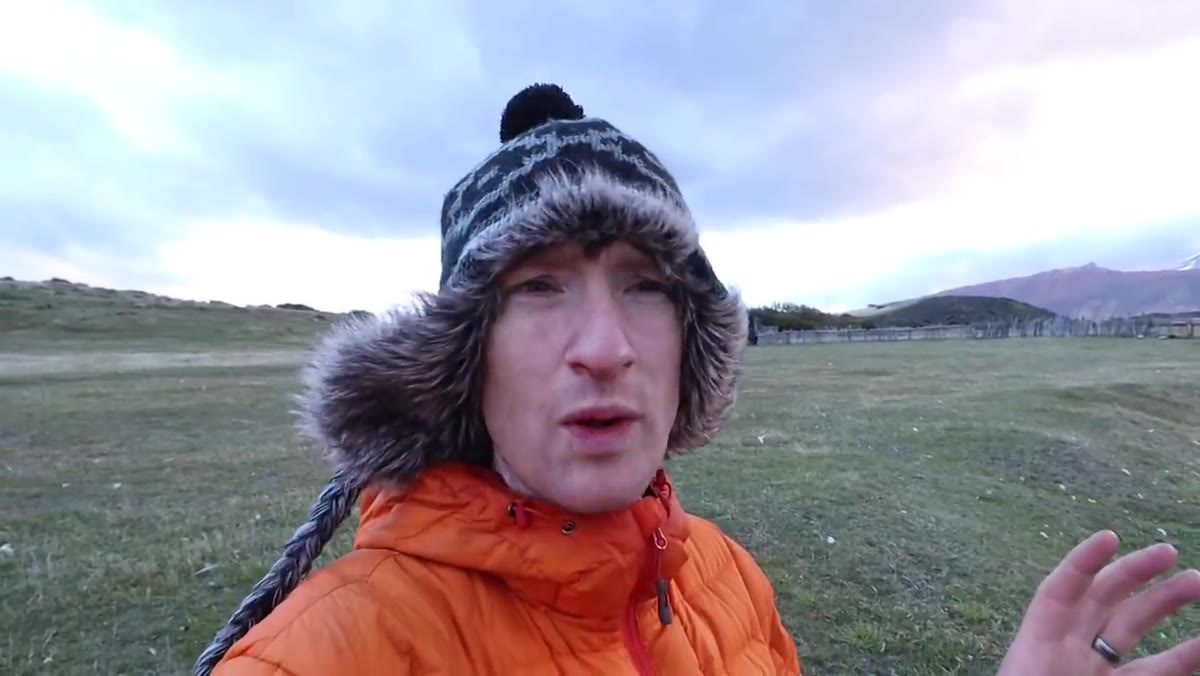 Heaton discussing shutter speed and image stabilization in the field
Here’s where the exposure decision-making gets practical. The wind at this location is significant, which means camera shake is a real threat even on a tripod. Heaton lands on f/5.6, ISO 200, and 1/80th of a second - then engages image stabilization to make that shutter speed work.
Heaton discussing shutter speed and image stabilization in the field
Here’s where the exposure decision-making gets practical. The wind at this location is significant, which means camera shake is a real threat even on a tripod. Heaton lands on f/5.6, ISO 200, and 1/80th of a second - then engages image stabilization to make that shutter speed work.
Notice his reasoning. He isn’t at f/5.6 because it’s his favorite aperture. He’s there because there’s no foreground element requiring deep depth of field, so a wide aperture is acceptable. He keeps ISO low to preserve clean files. That leaves shutter speed as the variable he adjusts upward to counter the wind. This is the exposure triangle working exactly as it should - you identify your constraints, decide which variables are flexible, and solve from there. In windy conditions, always prioritize a shutter speed that’s high enough to freeze any vibration before you worry about anything else.
Step 5: Change Your Physical Position to Reveal the Story
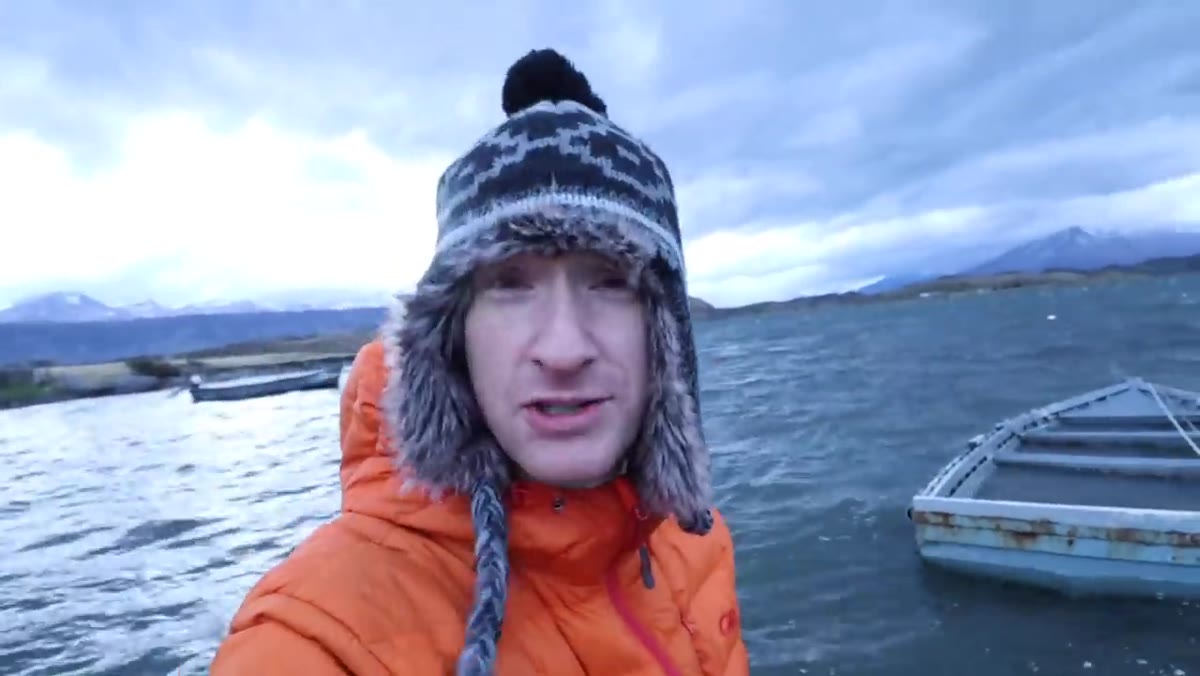 Heaton wading into cold water to shoot a submerged boat up close
The most memorable image Heaton pursues in this video isn’t the mountain telephoto shot. It’s a submerged, abandoned boat - half-filled with water. He’d noticed it two weeks earlier and kept thinking about it. The problem: from the shore, you can’t see that the boat is full of water. That detail is the entire point of the photograph.
Heaton wading into cold water to shoot a submerged boat up close
The most memorable image Heaton pursues in this video isn’t the mountain telephoto shot. It’s a submerged, abandoned boat - half-filled with water. He’d noticed it two weeks earlier and kept thinking about it. The problem: from the shore, you can’t see that the boat is full of water. That detail is the entire point of the photograph.
So he rolls up his pants and wades in. He gets close and slightly above the boat so the water filling its hull is visible in frame, with the stormy background behind it. The exposure here is secondary to the positioning. Before you touch your settings, ask yourself: am I actually in the right place to show what makes this interesting? Sometimes the most important move is a physical one.
What I’d Add: Work the Returning Visit Differently
I’ve spent enough vacations chasing one specific shot - returning to the same waterfall every evening, missing dinner, adjusting slightly each time - to know that Heaton’s approach of scouting and returning is genuinely powerful. But I’d push it one step further: on the return visit, also try something you didn’t attempt the first time. Heaton does this instinctively by wading out to the boat. Don’t just recreate the vision you had two weeks ago. Conditions change, and so does your eye.
On my Sunday morning photo walks, I often revisit the same three or four spots in Seattle’s neighborhoods specifically because I want to see what changes. Familiar locations remove the pressure of discovery and free you up to actually experiment with settings, angles, and timing. That’s when you start making exposure decisions faster and with more confidence, because you’re not thinking about where to stand at the same time.
The single most transferable idea from this tutorial is that good exposure in the field is less about memorizing numbers and more about identifying what’s working against you - whether that’s wind, distance, or a subject position you haven’t found yet - and solving one variable at a time.
Watch the full tutorial on YouTube to see Heaton work through these decisions in real time. Watching someone troubleshoot in actual conditions, rather than explaining it after the fact, is a different kind of education.
Comments
Leave a Comment