Getting Started with Photomatix Pro 6: A Step-by-Step HDR Workflow from Lightroom

Getting Started with Photomatix Pro 6: A Step-by-Step HDR Workflow from Lightroom

HDR photography has a bit of a reputation problem. Mention it in certain circles and someone will immediately picture those over-cooked, hyper-saturated skies from the mid-2000s that looked more like a video game than a real place. But here’s the thing: HDR done well is invisible. It’s just a photo where the sky isn’t blown out and the shadows aren’t a muddy mess. That’s a goal worth chasing, especially when you’re shooting in tricky light, which, if you’re anything like me, is basically every time you’re outside during golden hour.
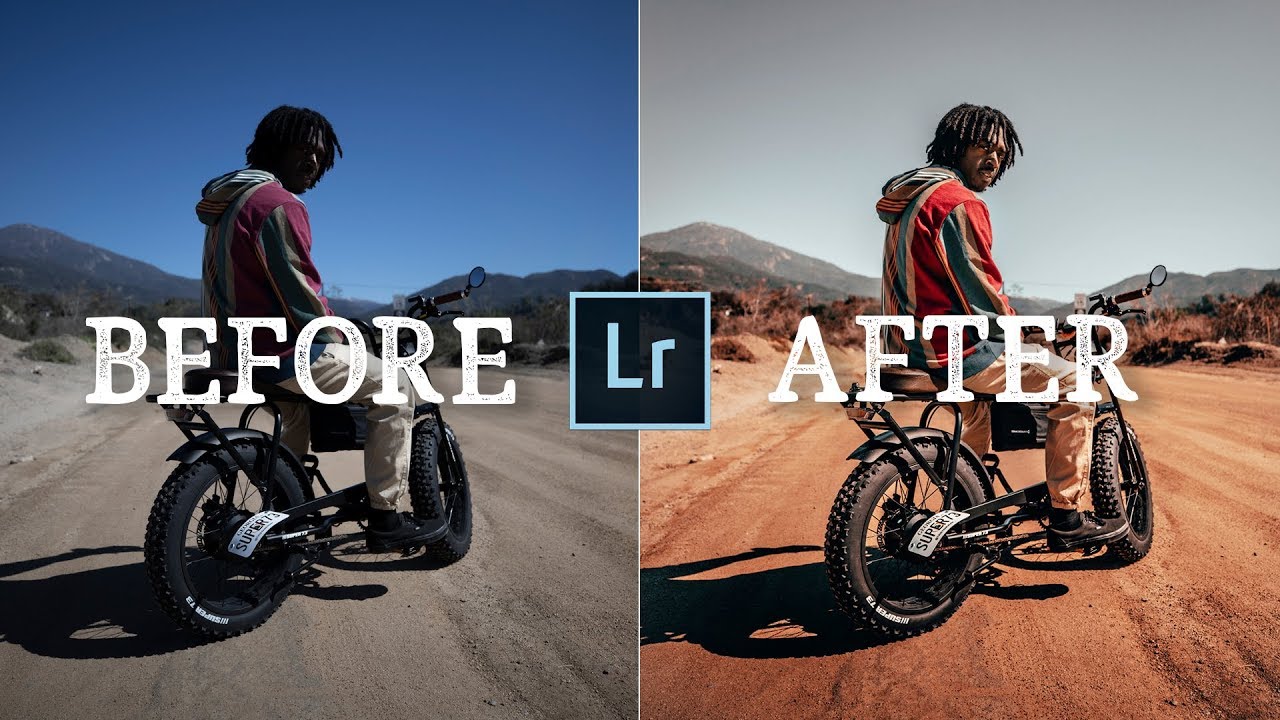
How to Give Any Photo More Punch: Lessons from Peter McKinnon's Live Editing Sessions

How to Give Any Photo More Punch: Lessons from Peter McKinnon's Live Editing Sessions

One of the hardest things about learning to edit is that most tutorials show you perfect photos and perfect results. You rarely get to watch someone work through a real, raw file from a real photographer and make judgment calls in the moment. That gap between “here’s how the tool works” and “here’s how I actually think when I sit down to edit” is where most beginners get stuck, and honestly, it’s where I got stuck too when I was starting out.

How to Design a Photography Logo and Watermark That Actually Looks Like Yours

How to Design a Photography Logo and Watermark That Actually Looks Like Yours

For years I resisted watermarking my photos. Partly stubbornness, partly the fear of slapping something ugly over an image I’d worked hard to get. But when you’re sharing work online consistently, especially across Instagram and client galleries, having a clean, professional mark starts to matter. The problem isn’t the watermark concept itself. The problem is that most photographers end up with something that looks like it came from a free online generator circa 2009.

Stop Making Global Color Edits — Here's the Targeted Approach That Actually Works

Stop Making Global Color Edits — Here's the Targeted Approach That Actually Works

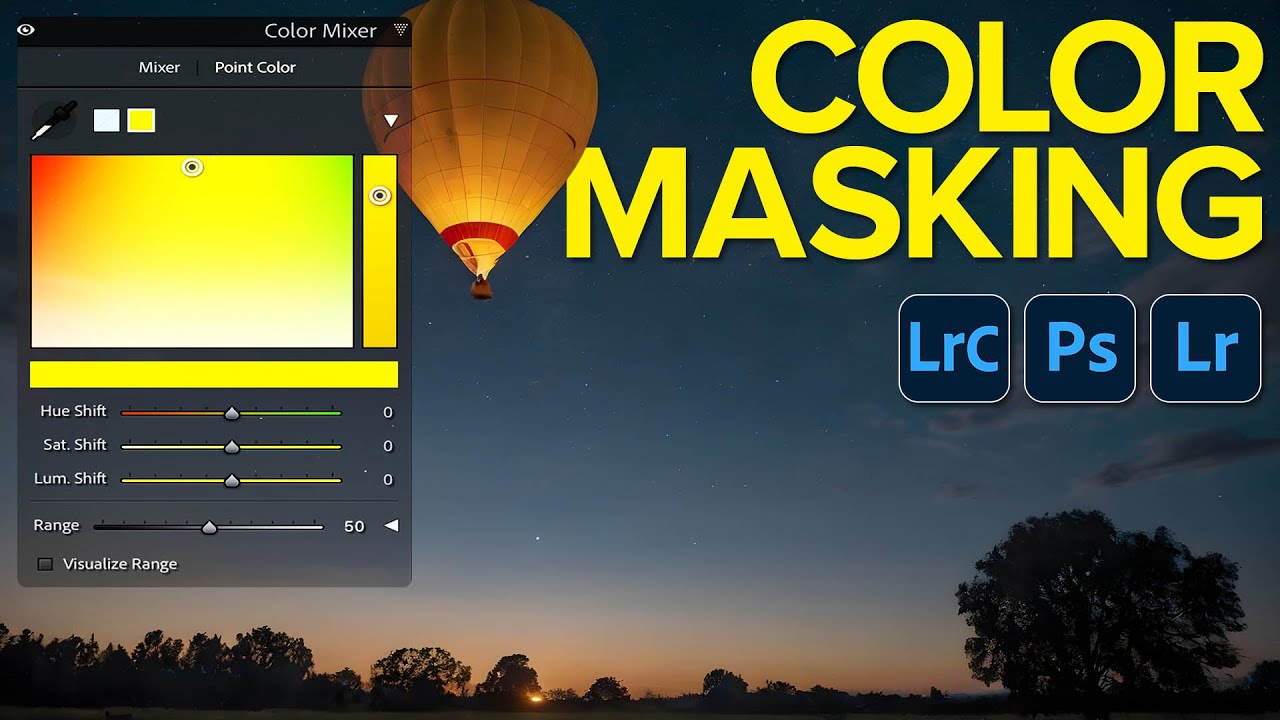
If you’ve ever cranked up the blue saturation in Lightroom and then wondered why your subject’s jacket also turned into a smurfy mess, you already understand the problem this technique solves. Global color edits are a blunt instrument. They work on everything at once, which sounds efficient until you realize “everything” includes all the parts you didn’t want to touch. I’ve been there on more Sunday morning photo walks than I care to admit, fighting with a slider that’s doing way too much.

How Many Exposures Does Your HDR Actually Need? I Tested It So You Don't Have To

How Many Exposures Does Your HDR Actually Need? I Tested It So You Don't Have To

If you’ve ever stood in front of a stunning scene - a glowing city skyline, a backlit canyon, a window-lit interior - and felt your heart sink knowing your camera couldn’t capture what your eyes were seeing, HDR is the technique that was built for that exact frustration. High dynamic range photography lets you shoot multiple exposures and merge them together in post, essentially giving your final image more light information than any single frame could hold.

You Don't Need a $7,000 Camera to Shoot Great Product Photos — Here's How to Use Your iPhone 17 Pro Like a Pro

You Don't Need a $7,000 Camera to Shoot Great Product Photos — Here's How to Use Your iPhone 17 Pro Like a Pro

My most-liked Instagram photo was taken on a $200 phone. I used to be almost embarrassed to admit that, but it ended up launching a whole series of articles about what gear actually matters versus what we just think matters. So when I saw Peter McKinnon sit down with the new iPhone 17 Pro and a $7,000 Canon R5 to shoot the same products side by side, I had to pay close attention.

How to Fake a Ray of Light in Lightroom (And Make a Dark Photo Feel Alive)

How to Fake a Ray of Light in Lightroom (And Make a Dark Photo Feel Alive)

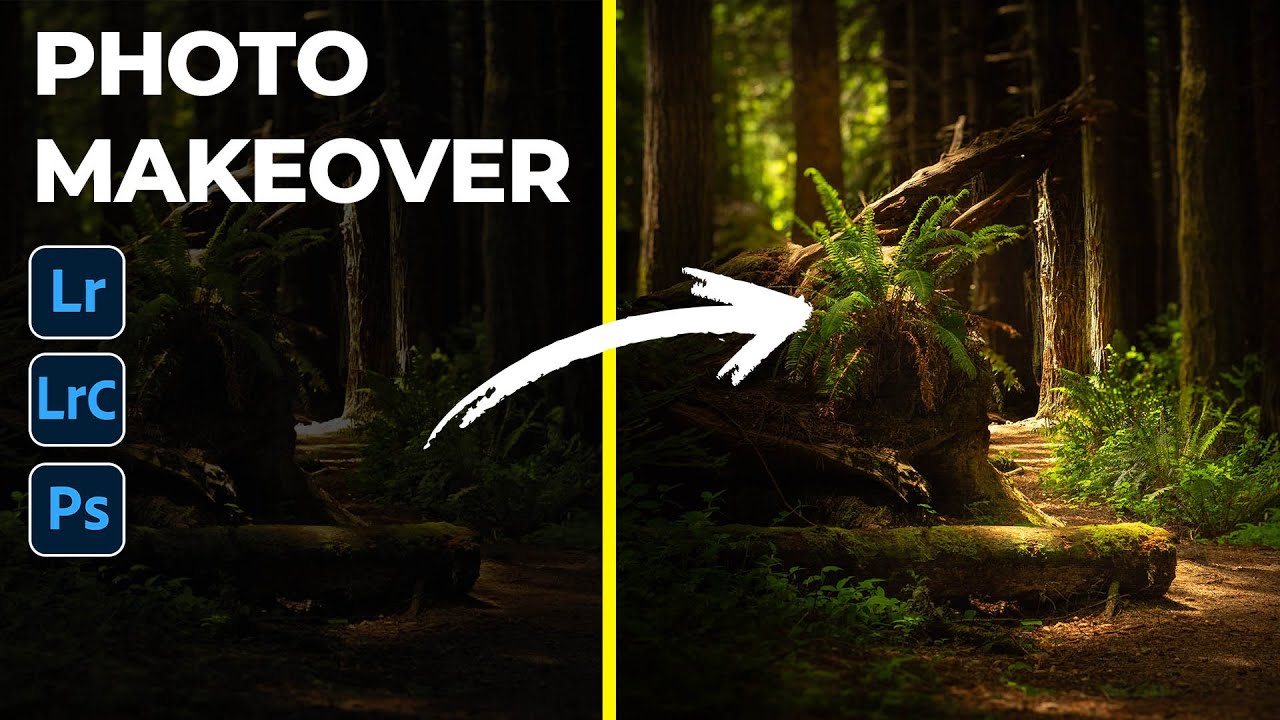
There’s a category of photo that lives on almost every photographer’s hard drive: the one that felt magical in person but came home looking flat, dark, or just… off. The light was doing something incredible, you saw it, you felt it, and somehow the camera disagreed. I have a folder of these. I used to just leave them there, hoping I’d eventually figure out what to do with them. What I’ve learned over time is that Lightroom’s masking tools, used intentionally, can actually reconstruct that feeling of light rather than just recover it.

What Mugshot Wedding Photos Actually Teach Us About Lighting and Color Editing

What Mugshot Wedding Photos Actually Teach Us About Lighting and Color Editing

I’ve been shooting weddings and lifestyle sessions long enough to know that a bad photo rarely comes from one single mistake. It’s almost always a stack of small decisions that compound into something the client can’t unsee. That’s why when I came across this Jessica Kobeissi reaction video, I stopped scrolling and watched it twice. Watch the full tutorial on YouTube – Jessica is a working wedding photographer, and watching her calmly dissect what went wrong felt less like pile-on commentary and more like a quiet masterclass in what actually makes or breaks a portrait.

Can You Spot What AI Changed? Using Photoshop Generative Fill to Rescue a Throwaway Shot

Can You Spot What AI Changed? Using Photoshop Generative Fill to Rescue a Throwaway Shot

I have a folder on my hard drive called “almost.” It’s full of shots I couldn’t delete but couldn’t post either — photos where the light was right, the subject was interesting, and something annoying ruined the whole frame. A car bumper in the corner. A stranger mid-blink. A door frame cutting through the edge of a composition I actually loved. For years, those photos just sat there. Now, with Photoshop’s generative fill, some of them are finally usable.

How to Edit Photos While Exporting Video (And Why Your Laptop Is the Bottleneck)

How to Edit Photos While Exporting Video (And Why Your Laptop Is the Bottleneck)

There’s a specific kind of frustration that only photographers who also shoot video will understand. You’re sitting there with a finished edit queued up to export, and you can’t do anything else. Your machine is groaning. The fans are spinning. You’ve got a whole folder of raw photos you need to turn around by morning, and you’re just waiting. I’ve been there more times than I can count, usually in a hotel room somewhere, watching that export progress bar move like it’s personally offended by my deadline.

From Flat to Striking: How to Replace Skies and Fix Lighting in Photoshop

From Flat to Striking: How to Replace Skies and Fix Lighting in Photoshop

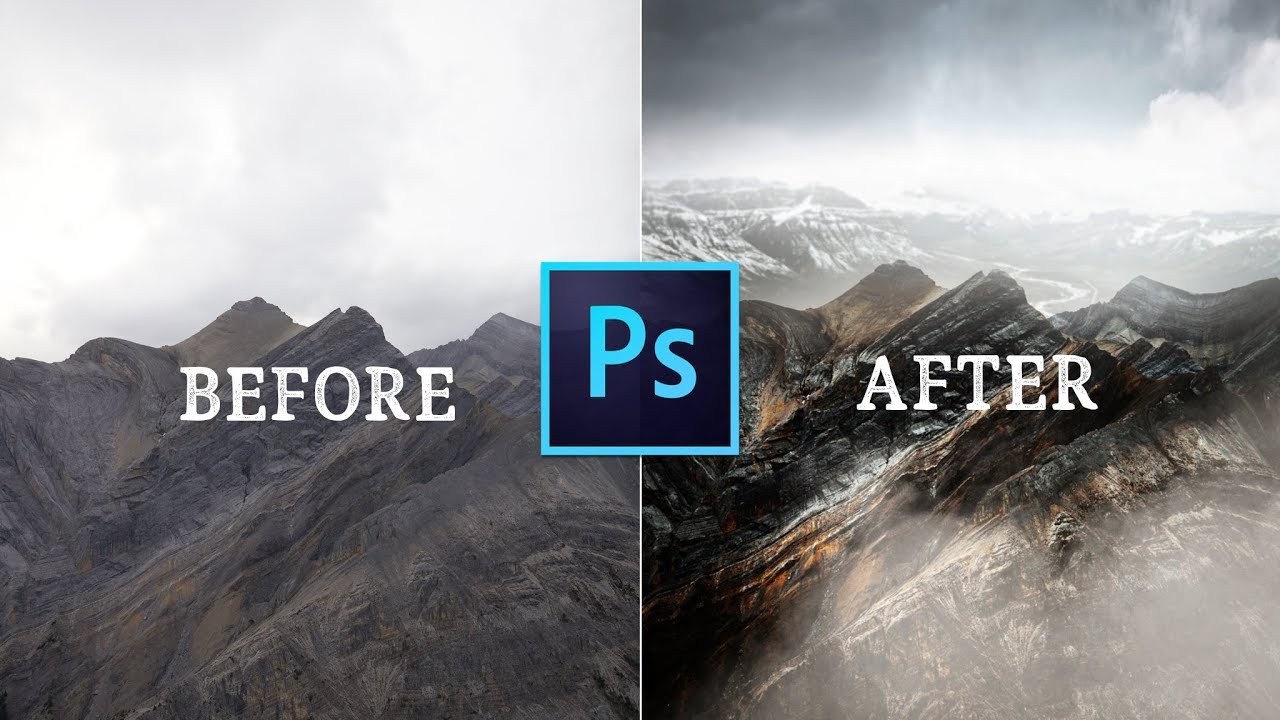
There’s a specific kind of frustration that comes from shooting in beautiful conditions and still ending up with a flat image. You were there. The mountains were massive. The light felt cinematic. And then you open the file and the sky is a washed-out grey blob that flattens the whole frame. I’ve been there more times than I’d like to admit, usually on a Sunday morning walk when the foreground is perfect and the sky just isn’t cooperating.

The Real Reason Your Photos Look Flat (And the Editing Fix That Actually Works)

The Real Reason Your Photos Look Flat (And the Editing Fix That Actually Works)

Every Sunday morning I do a photo walk around my neighborhood in Seattle. Same streets, different light. And the thing that humbles me every single time is how a scene that feels genuinely three-dimensional when I’m standing in it somehow arrives on my screen looking like a postcard that’s been left in the sun too long. Flat. Lifeless. Like the air got sucked out of it. For a long time I blamed my lens, my camera body, my location.