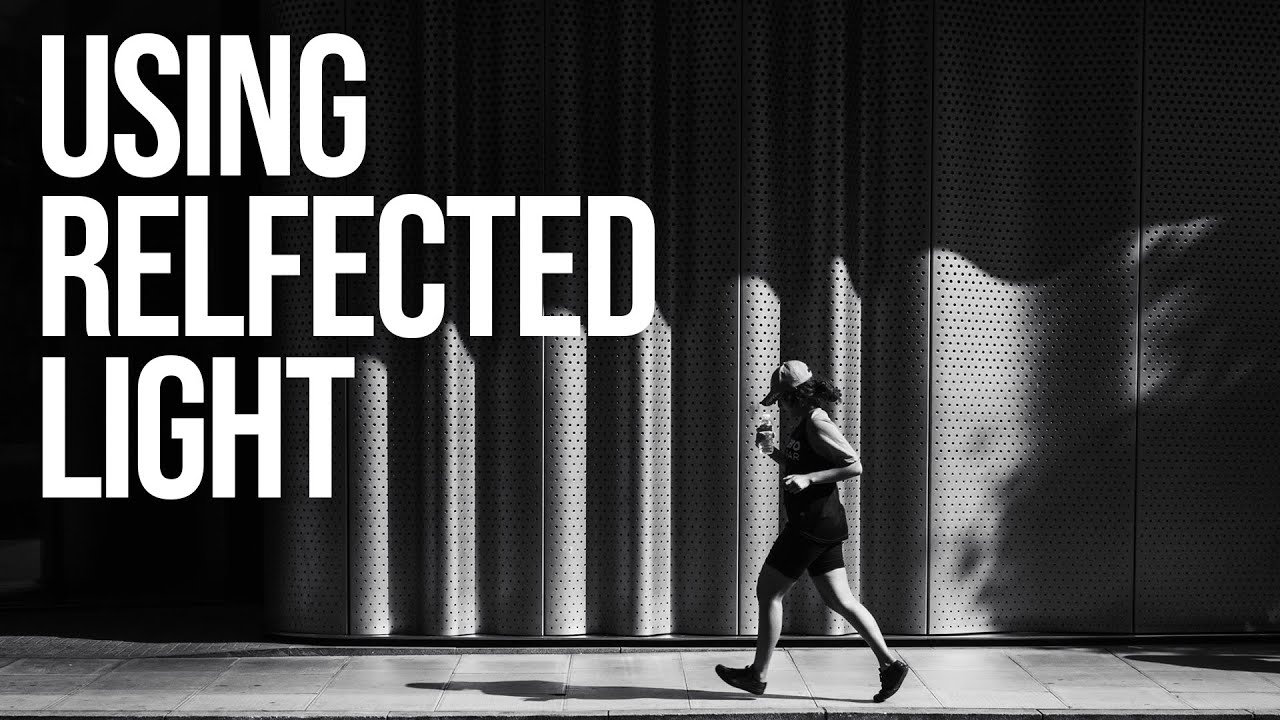
Every Sunday morning I do a photo walk through Seattle. It doesn’t matter if it’s drizzling (it usually is). What I’m always looking for, more than a good subject or an interesting corner, is light that’s doing something unexpected. For a long time I couldn’t explain why some mornings felt electric and others felt flat, even when the subjects and locations were basically the same. The answer, almost every time, came down to reflected light, and whether I’d trained my eye to see it before I raised the camera.
In this Sean Tucker tutorial from his “Good Light” series, Watch the full tutorial on YouTube, Tucker takes his Fuji out onto the streets of London on a sunny day and walks through his entire process: scouting a reflected light source, setting up his shot, capturing multiple frames, choosing the best one, and editing it to black and white in Darkroom on his phone. It’s a compact, practical video, and it changed how I think about urban environments as lighting setups waiting to be discovered.
The thing that struck me most watching this was how much of Tucker’s process happens before the shutter fires. The shooting itself is almost secondary. Here’s how to work through his approach from start to finish.
Step 1: Rethink the City as a Lighting Studio
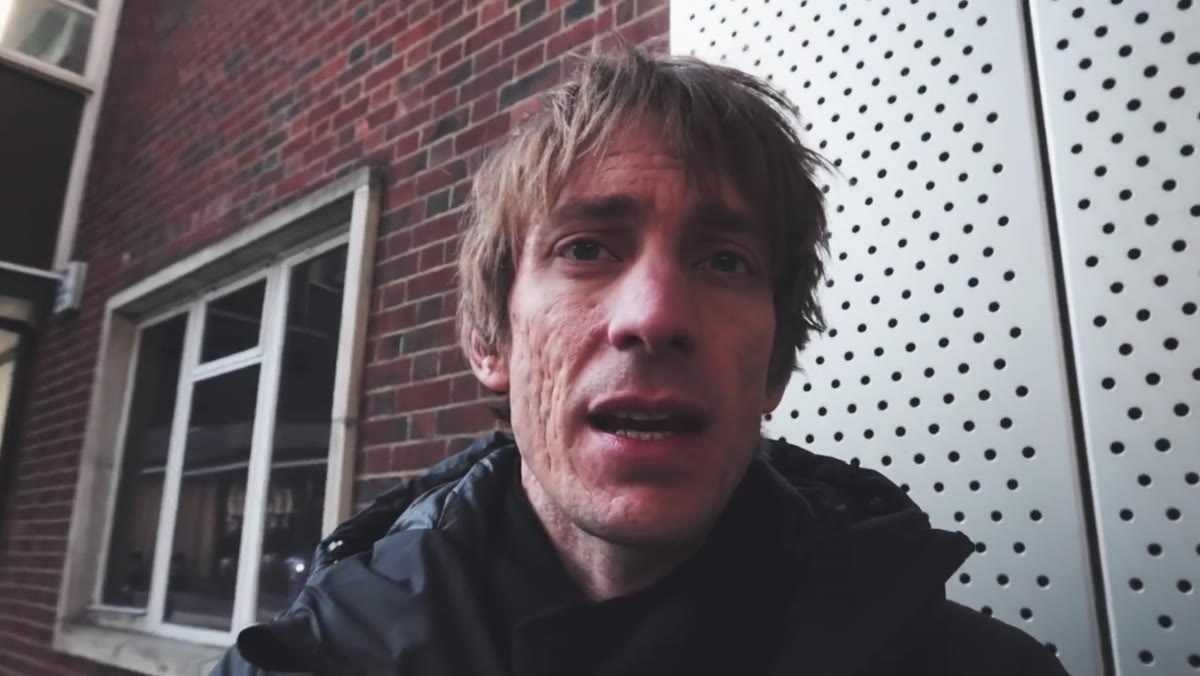 Tucker gesturing toward glass and steel buildings on a sunny street
Big cities are full of glass, metal, and polished surfaces that bounce direct sunlight in unexpected directions. Tucker’s core insight is to walk around actively hunting for where that bounced light is landing, not just walking until a subject appears. On a sunny day, look for pools of light on walls, sidewalks, or building facades that seem brighter than their surroundings. That brightness is reflected light, and it’s your raw material. Once you find a pool or a pattern you like, you stop. You don’t chase subjects. You let subjects walk into the light you’ve already found.
Tucker gesturing toward glass and steel buildings on a sunny street
Big cities are full of glass, metal, and polished surfaces that bounce direct sunlight in unexpected directions. Tucker’s core insight is to walk around actively hunting for where that bounced light is landing, not just walking until a subject appears. On a sunny day, look for pools of light on walls, sidewalks, or building facades that seem brighter than their surroundings. That brightness is reflected light, and it’s your raw material. Once you find a pool or a pattern you like, you stop. You don’t chase subjects. You let subjects walk into the light you’ve already found.
Step 2: Find a Background with Texture and Commit to a Position
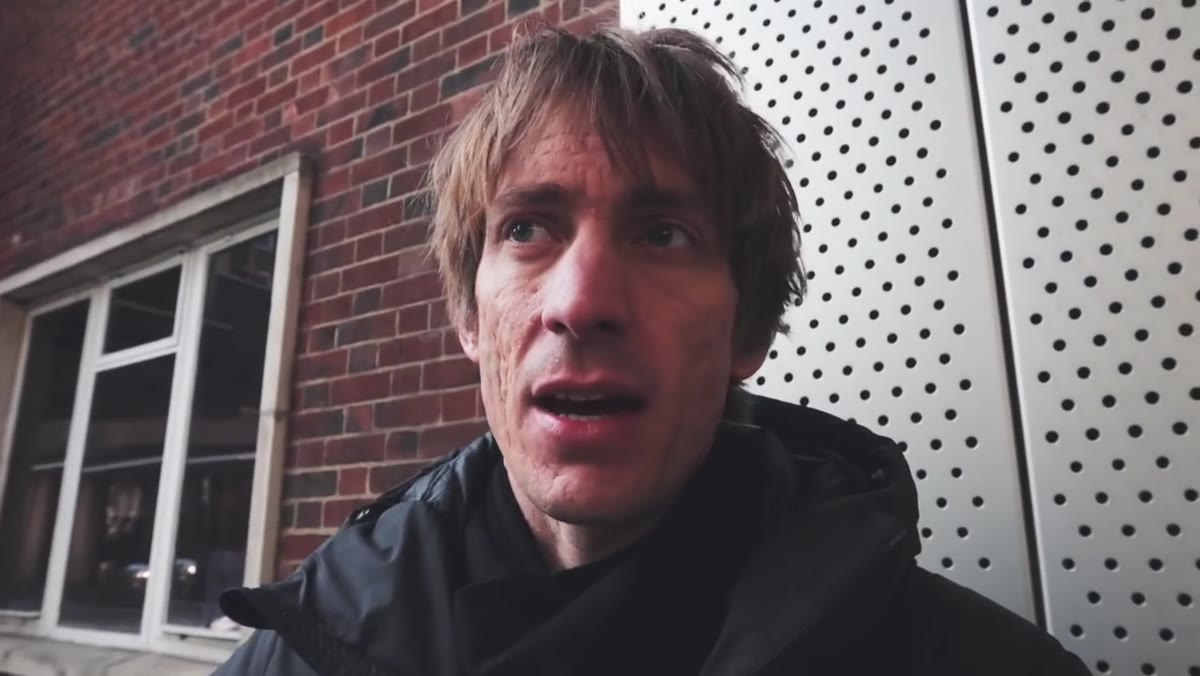 Tucker standing across the street from a textured metal wall with light pools
Tucker sets up across from a wavy, perforated metal wall that’s catching reflected light from an adjacent building. The texture matters because it gives the image visual interest even before a person enters the frame. When you find your reflected light source, look at what’s behind it. A flat painted wall and a richly textured surface will produce completely different photos even if the subject and light quality are identical. Once you find a combination you like, plant yourself and stay there. Switching positions mid-session breaks your momentum and your ability to predict how subjects will move through the light.
Tucker standing across the street from a textured metal wall with light pools
Tucker sets up across from a wavy, perforated metal wall that’s catching reflected light from an adjacent building. The texture matters because it gives the image visual interest even before a person enters the frame. When you find your reflected light source, look at what’s behind it. A flat painted wall and a richly textured surface will produce completely different photos even if the subject and light quality are identical. Once you find a combination you like, plant yourself and stay there. Switching positions mid-session breaks your momentum and your ability to predict how subjects will move through the light.
Step 3: Dial in Your Camera Settings for Frozen Motion
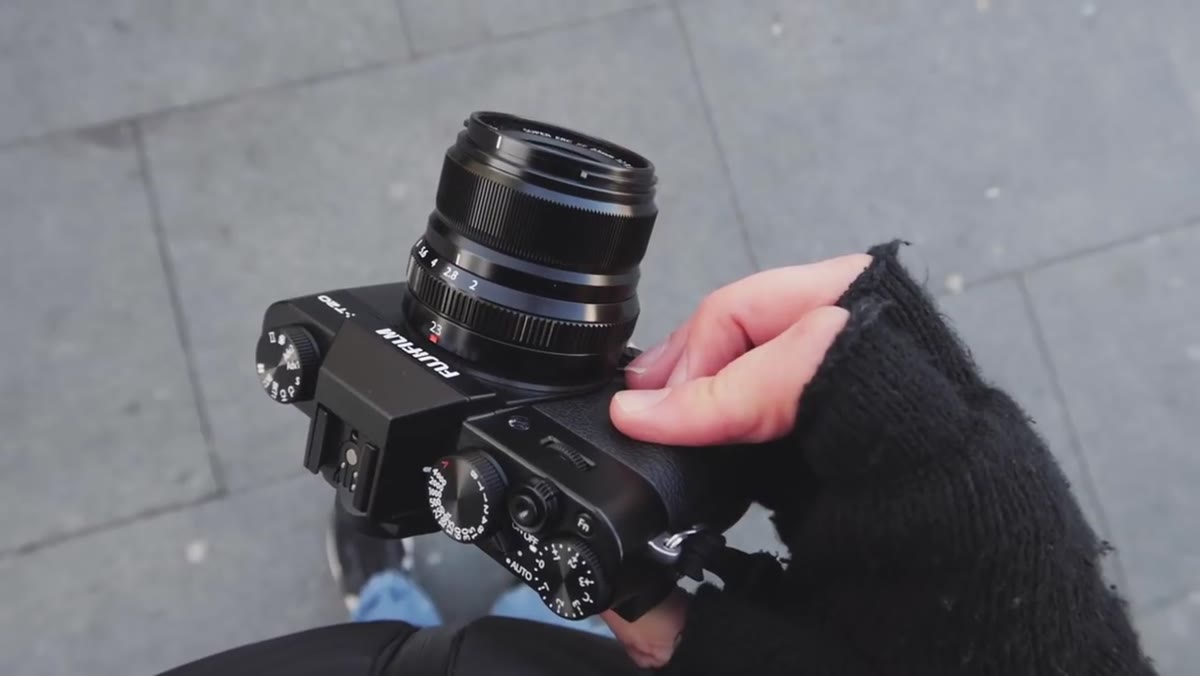 Tucker’s camera settings displayed with Fuji XT20 in hand
Tucker shoots at approximately 1/2000s, f/2.8, and ISO 200. The fast shutter speed freezes pedestrians mid-stride so you get sharp limbs and a clear moment rather than motion blur. The f/2.8 aperture keeps the lens open enough to maintain a low ISO, which protects image quality, while still giving some depth separation from the background. If you’re shooting in a city on a bright day, start with these numbers as a baseline and adjust from there. The principle is: prioritize shutter speed first, keep ISO as low as the light allows, and let aperture fill the gap. You don’t want to be fussing with settings when someone walks into your light.
Tucker’s camera settings displayed with Fuji XT20 in hand
Tucker shoots at approximately 1/2000s, f/2.8, and ISO 200. The fast shutter speed freezes pedestrians mid-stride so you get sharp limbs and a clear moment rather than motion blur. The f/2.8 aperture keeps the lens open enough to maintain a low ISO, which protects image quality, while still giving some depth separation from the background. If you’re shooting in a city on a bright day, start with these numbers as a baseline and adjust from there. The principle is: prioritize shutter speed first, keep ISO as low as the light allows, and let aperture fill the gap. You don’t want to be fussing with settings when someone walks into your light.
Step 4: Shoot More Than You Think You Need
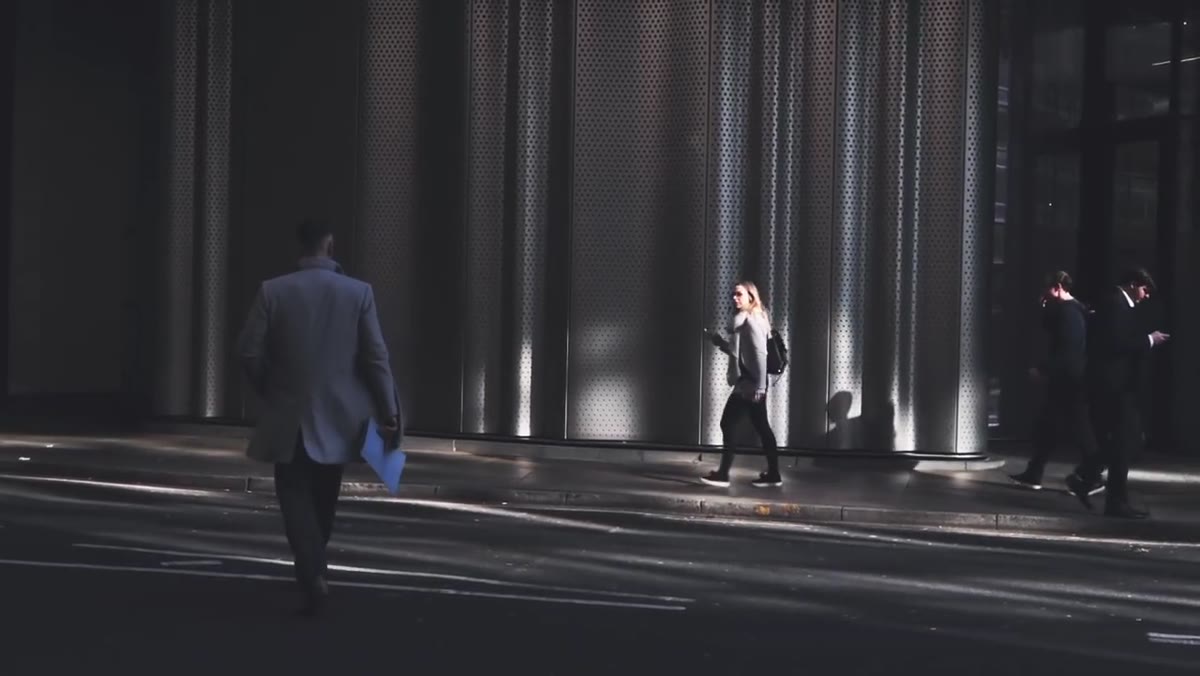 Tucker watching pedestrians and shooting in sequence
Tucker fires 12 frames during his session at this one spot and ends up with 3 genuine candidates. That’s not spray-and-pray, it’s deliberate sequencing. When someone enters your light pool, shoot through the moment rather than picking one split-second and hoping. A person’s body position, stride length, and the angle of their arms changes dramatically from frame to frame. You’re looking for the frame where the shape of their movement complements the geometry of the light and the background. You can’t reliably pick that frame in real time, so you shoot a short sequence and choose later. Tucker shoots wide to give himself cropping options, which leads directly into the next step.
Tucker watching pedestrians and shooting in sequence
Tucker fires 12 frames during his session at this one spot and ends up with 3 genuine candidates. That’s not spray-and-pray, it’s deliberate sequencing. When someone enters your light pool, shoot through the moment rather than picking one split-second and hoping. A person’s body position, stride length, and the angle of their arms changes dramatically from frame to frame. You’re looking for the frame where the shape of their movement complements the geometry of the light and the background. You can’t reliably pick that frame in real time, so you shoot a short sequence and choose later. Tucker shoots wide to give himself cropping options, which leads directly into the next step.
Step 5: Crop to the Essential Frame
 Tucker adjusting crop and angle in the Darkroom app on his phone
Back home, Tucker opens Darkroom on his phone and starts by straightening the image and cropping aggressively. He keeps the subject on the left vertical third, walking into the light, and uses the horizontal line where the metal texture begins as a natural lower border. He cuts the top of the frame entirely, removing reflective windows that he initially thought were interesting but found distracting on review. The crop ends up being more extreme than he usually goes, but it simplifies the image and clarifies the story. When you’re reviewing your frames, try covering the edges of the photo with your hands and see what the image gains or loses. Often the strongest version of a shot is hiding inside the wider frame you captured.
Tucker adjusting crop and angle in the Darkroom app on his phone
Back home, Tucker opens Darkroom on his phone and starts by straightening the image and cropping aggressively. He keeps the subject on the left vertical third, walking into the light, and uses the horizontal line where the metal texture begins as a natural lower border. He cuts the top of the frame entirely, removing reflective windows that he initially thought were interesting but found distracting on review. The crop ends up being more extreme than he usually goes, but it simplifies the image and clarifies the story. When you’re reviewing your frames, try covering the edges of the photo with your hands and see what the image gains or loses. Often the strongest version of a shot is hiding inside the wider frame you captured.
Step 6: Choose Black and White Based on What the Color is Actually Doing
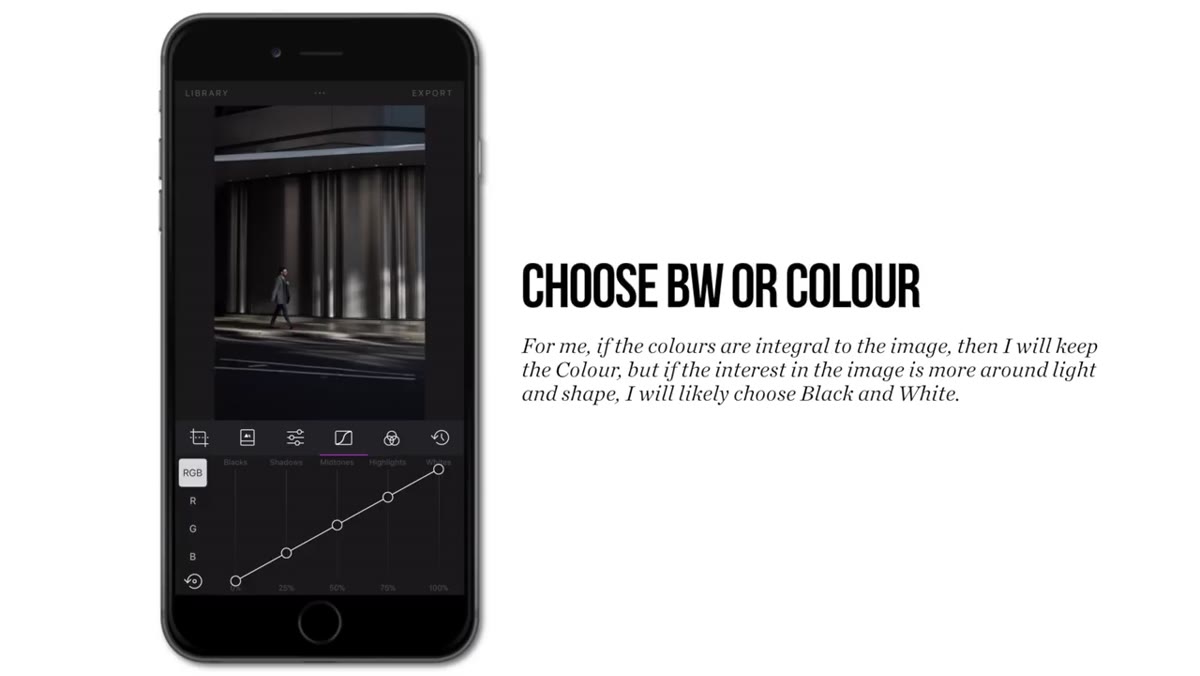 Tucker switching image to black and white in Darkroom
Tucker has a clear rule for this decision: if the color in a frame is doing meaningful work, keep it. If the image is fundamentally about shape, texture, and the quality of light, strip it down to black and white. In this image, there’s no compelling color story. The subject’s jacket, the metal wall, the quality of the light, none of it depends on hue. Converting to black and white removes distraction and pushes the viewer toward the tonal relationships: dark shadow, mid-tone metal, bright pools of light. Ask yourself, if I described what makes this photo interesting, would I use the word “color”? If not, black and white is probably the right call.
Tucker switching image to black and white in Darkroom
Tucker has a clear rule for this decision: if the color in a frame is doing meaningful work, keep it. If the image is fundamentally about shape, texture, and the quality of light, strip it down to black and white. In this image, there’s no compelling color story. The subject’s jacket, the metal wall, the quality of the light, none of it depends on hue. Converting to black and white removes distraction and pushes the viewer toward the tonal relationships: dark shadow, mid-tone metal, bright pools of light. Ask yourself, if I described what makes this photo interesting, would I use the word “color”? If not, black and white is probably the right call.
What I’d Add from My Own Experience
One thing Tucker doesn’t mention explicitly, but which I’ve found essential on my Sunday walks, is the time-of-day factor for reflected light specifically. Direct golden hour light is discussed constantly, but reflected light actually behaves differently depending on where the sun is relative to the reflective surfaces in the scene. Mid-morning in Seattle, when the sun is low enough to catch the glass facades of downtown buildings at an angle, I find more interesting reflected pools than I do at noon when everything goes flat. It’s worth scouting a location at two or three different times before settling on when to commit a serious session there. What looks like a boring wall at 2 p.m. can turn into something genuinely beautiful at 9 a.m. when the light is skimming across the street from a different angle entirely.
The single most important thing I took from this tutorial is that great street photography in cities isn’t about reaction time or equipment. It’s about finding the light first, then being patient enough to let the image come to you. Tucker spends more time scouting and waiting than he does actually shooting, and that discipline is what separates deliberate photography from hopeful wandering.
Watch the full tutorial on YouTube to see Tucker’s complete edit and hear his reasoning in his own words. It’s worth watching more than once.
Comments (3)
I've watched a dozen tutorials on this and yours is the clearest by far.
This saved me so much time on my last edit. Wish I'd found this sooner.
Well explained. I think my audience would really benefit from this — mind if I link to it?
Leave a Comment