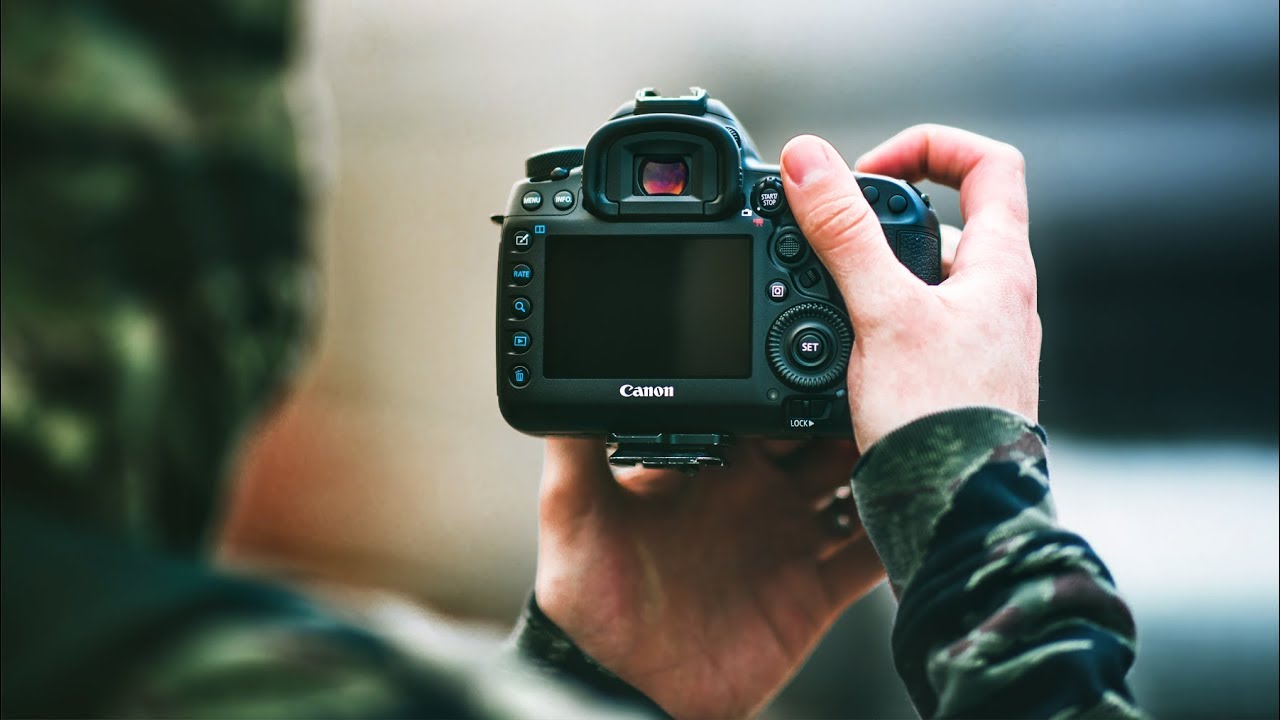
Shutter Speed, Aperture, and ISO: How to Finally Use All Three Together

Shutter Speed, Aperture, and ISO: How to Finally Use All Three Together

The question I get most often from beginners is some version of this: “I read about aperture and I think I get it, but then I touch the shutter speed and everything falls apart.” That sentence used to describe me too, back when I was fumbling through my first DSLR on a trip to Iceland, watching perfectly good golden-hour light tick by while I poked through menus. What I needed back then was someone to explain not just what each setting does, but why they only make sense as a group.
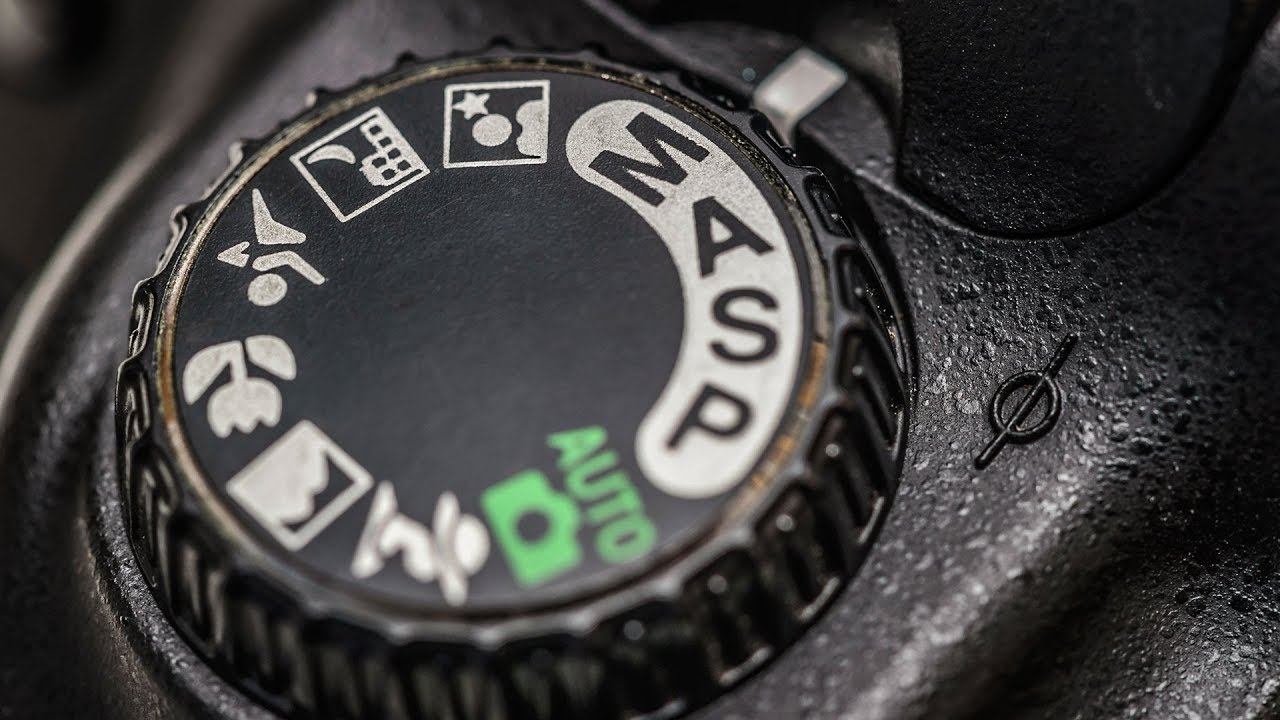
How to Finally Stop Being Afraid of Manual Mode (And Actually Use It)

How to Finally Stop Being Afraid of Manual Mode (And Actually Use It)

I still remember the stranger at the coffee shop who pointed at my camera and asked, “How do you get your photos to look like that?” I had to stop and think about how to explain it without overwhelming her. The honest answer was: manual mode. Not magic, not expensive gear. Just learning to tell the camera what to do instead of letting it guess. That is exactly what this tutorial tackles.

Understanding ISO: The Third Pillar of Exposure

Understanding ISO: The Third Pillar of Exposure

You’ve learned about aperture and shutter speed. ISO is the third variable in the exposure triangle, and it’s the one most photographers understand least clearly. Let’s fix that. What ISO Actually Does ISO controls your camera sensor’s sensitivity to light. A higher ISO number means the sensor amplifies the signal more, making the image brighter. A lower ISO number means less amplification, producing a darker image from the same amount of light.