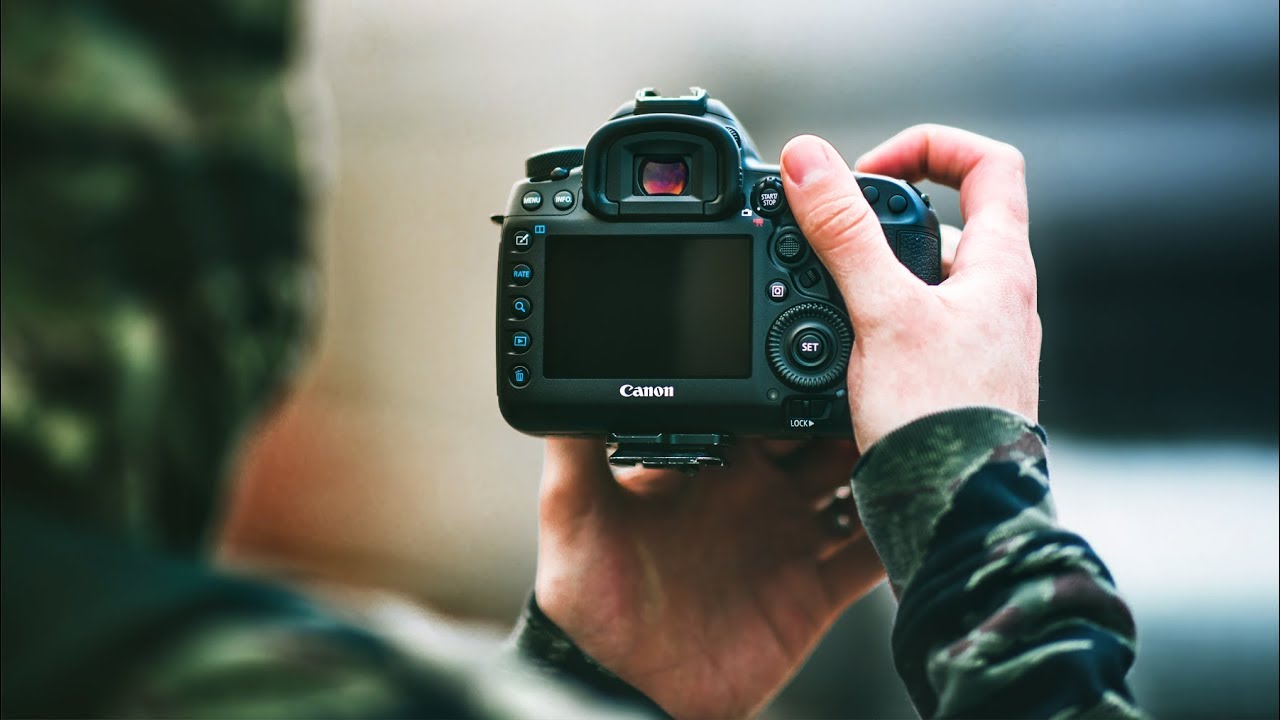
The question I get most often from beginners is some version of this: “I read about aperture and I think I get it, but then I touch the shutter speed and everything falls apart.” That sentence used to describe me too, back when I was fumbling through my first DSLR on a trip to Iceland, watching perfectly good golden-hour light tick by while I poked through menus. What I needed back then was someone to explain not just what each setting does, but why they only make sense as a group.
That is exactly what Peter McKinnon does in his camera basics tutorial. In a tight, fast-moving video, he walks through shutter speed, aperture, and ISO and shows how adjusting one forces you to compensate with the others. It is a short watch and worth your time. Watch the full tutorial on YouTube
What follows is my own walkthrough of the core techniques he demonstrates, with extra context for anyone who wants to go a little deeper before heading out to shoot.
Step 1: Understand That All Three Settings Are Connected
 Bowl of cereal used as a visual analogy for camera settings
Peter opens with a cereal analogy and it genuinely works. Imagine the cereal itself, the milk, and the spoon as three separate things. Each one alone is incomplete. Together, they do the job. Shutter speed, aperture, and ISO work exactly the same way. Changing one always affects the others.
Bowl of cereal used as a visual analogy for camera settings
Peter opens with a cereal analogy and it genuinely works. Imagine the cereal itself, the milk, and the spoon as three separate things. Each one alone is incomplete. Together, they do the job. Shutter speed, aperture, and ISO work exactly the same way. Changing one always affects the others.
Before you touch any dial, accept this as your foundational rule: you are never adjusting just one setting. You are rebalancing a system. Once that clicks, manual mode stops feeling overwhelming and starts feeling like actual control.
Step 2: Set Your Shutter Speed to Match Your Subject’s Movement
 Jumping jack demonstration at 1/320th of a second shutter speed
Shutter speed controls how long your camera’s sensor is exposed to light. A fast shutter speed, something like 1/320th of a second, opens and closes so quickly that it freezes motion mid-frame. Peter demonstrates this by photographing himself doing a jumping jack. At 1/320th, every limb is sharp.
Jumping jack demonstration at 1/320th of a second shutter speed
Shutter speed controls how long your camera’s sensor is exposed to light. A fast shutter speed, something like 1/320th of a second, opens and closes so quickly that it freezes motion mid-frame. Peter demonstrates this by photographing himself doing a jumping jack. At 1/320th, every limb is sharp.
Drop that shutter to 1/60th of a second and the same subject picks up motion blur because the shutter stays open long enough for movement to register. This is not always bad. A slower shutter on a waterfall, even just half a second, turns rushing water into a silky, blurred streak that reads as motion rather than frozen droplets. The rule is simple: fast shutter to freeze, slow shutter to show movement. Start there and adjust from what you see.
Step 3: Use Aperture to Control Both Light and Background Blur
 Portrait shot at f/14 showing sharp background detail
Aperture is where a lot of beginners get tripped up because it does two things at once. First, it controls how much light enters the lens. A wide aperture like f/1.4 lets in a lot of light. A narrow aperture like f/14 lets in very little.
Portrait shot at f/14 showing sharp background detail
Aperture is where a lot of beginners get tripped up because it does two things at once. First, it controls how much light enters the lens. A wide aperture like f/1.4 lets in a lot of light. A narrow aperture like f/14 lets in very little.
Second, and this is the part people love once they discover it, aperture controls depth of field. At f/14, nearly everything in the frame, foreground and background, will appear sharp. At f/1.4, only your focused subject stays sharp while the background blurs into soft, out-of-focus shapes. Peter shows this side by side with a portrait. The f/14 version is sharp everywhere but the background is busy and distracting. The f/1.4 version melts the background away and puts all the visual weight on the subject. For portraits, street photography, and close-up work, a wide aperture is often the right starting point.
Step 4: Compensate When You Change One Setting
 Combining open aperture with faster shutter speed for correct exposure
Here is where the system thinking pays off. If you open your aperture to f/1.4 to get that blurry background, you are now letting in a lot more light. If you do nothing else, your photo will be overexposed. The fix is to speed up your shutter so the sensor spends less time collecting that extra light.
Combining open aperture with faster shutter speed for correct exposure
Here is where the system thinking pays off. If you open your aperture to f/1.4 to get that blurry background, you are now letting in a lot more light. If you do nothing else, your photo will be overexposed. The fix is to speed up your shutter so the sensor spends less time collecting that extra light.
This back-and-forth compensation is the actual skill of manual shooting. It is not about memorizing numbers. It is about noticing what one change does to your image and knowing which lever to pull next. Peter frames this as the natural relationship between aperture and shutter speed, and once you start shooting manually even for just one afternoon, you will feel the logic of it become instinctive.
Step 5: Bring ISO In as Your Last Adjustment
 Title card listing shutter speed, aperture, and ISO as the three essentials
Peter mentions ISO as the third piece of the trio. Think of ISO as your camera’s sensitivity to light. A low ISO like 100 or 200 produces a clean, noise-free image but needs more light to work with. A high ISO like 3200 or 6400 can shoot in near-darkness but introduces grain into your image.
Title card listing shutter speed, aperture, and ISO as the three essentials
Peter mentions ISO as the third piece of the trio. Think of ISO as your camera’s sensitivity to light. A low ISO like 100 or 200 produces a clean, noise-free image but needs more light to work with. A high ISO like 3200 or 6400 can shoot in near-darkness but introduces grain into your image.
The reason ISO comes last in your decision-making is that shutter speed and aperture both have creative consequences beyond exposure. ISO is mostly a technical dial. Set your shutter to match the motion you want, set your aperture to get the depth of field you want, and then use ISO to bring the exposure to where it needs to be. In bright daylight you will rarely need to touch it. In a dim indoor space or at dusk, it becomes essential.
One Thing I Would Add from My Own Shooting
The video keeps things clean and focused, which is exactly right for a beginner introduction. What I would add is this: go find a single moving subject and spend twenty minutes shooting it at different shutter speeds. Do not change anything else. Just shutter speed.
I did this years ago with a fountain near my neighborhood during one of my Sunday morning photo walks, and it was the session that made everything finally make sense. At 1/500th, the water looked like glass beads frozen in air. At 1/15th, it looked like fog. Same subject, same light, same lens. The only difference was time. Seeing that range in your own photos is worth more than any explanation, including mine.
The same exercise works for aperture. Pick a subject with something interesting behind it. Shoot it at f/2 and then at f/11. The difference in how the image feels will immediately show you why aperture is one of the most powerful creative choices you make before you press the shutter.
The single most important takeaway from this tutorial is that shutter speed, aperture, and ISO are not three separate topics you learn one at a time. They are one system you learn to balance. Adjust one, and the others respond. That relationship is the whole game.
Watch the full tutorial on YouTube and then take your camera somewhere with mixed lighting and moving subjects. You will know what to do.
Comments
Leave a Comment