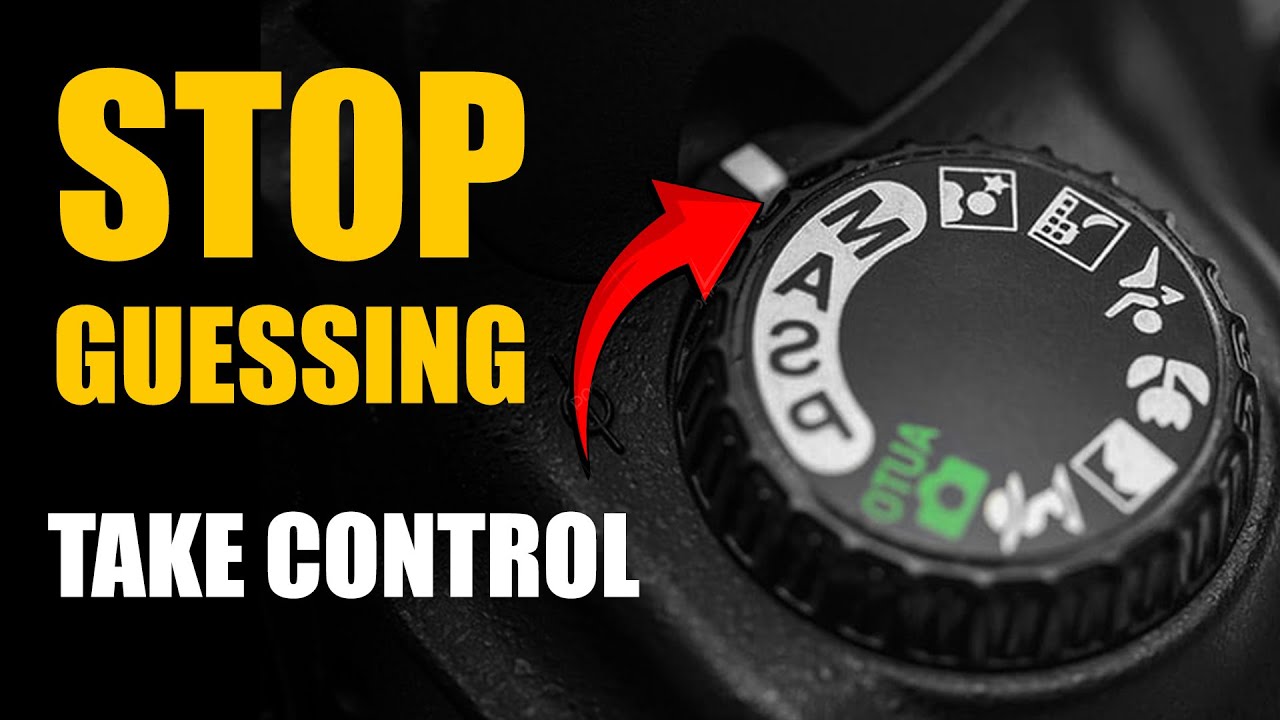
There’s a specific kind of frustration that comes from handing your camera to someone at dinner, watching them point it at you, and hearing the shutter click — knowing the camera is making every decision. I stayed in auto mode longer than I should have, honestly. It felt safe. But “safe” also meant I was getting the camera’s interpretation of a scene, not mine. The moment I understood the exposure triangle, that changed completely.
If you’re at that same crossroad, I want to walk you through a tutorial that breaks this down better than almost anything else I’ve sent beginners. In this William Patino tutorial, Watch the full tutorial on YouTube, he covers manual mode and the three elements that control every exposure you’ll ever make, whether you’re shooting on a phone, a film camera, or a modern mirrorless body. What follows is my own breakdown of his walkthrough, with the kind of practical detail you can actually act on.
The core idea is this: every exposure is just three variables interacting. Once you understand what each one does and why you’d push it in one direction or another, manual mode stops feeling intimidating and starts feeling like a tool you actually control.
Step 1: Understand What the Exposure Triangle Actually Is
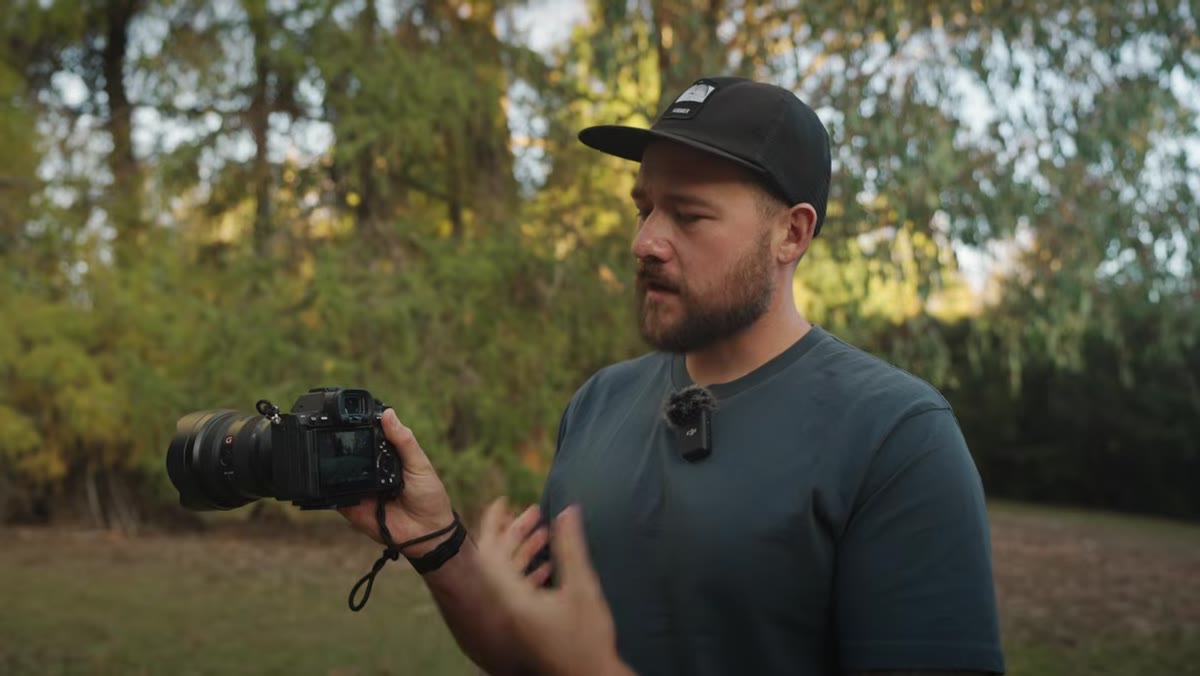
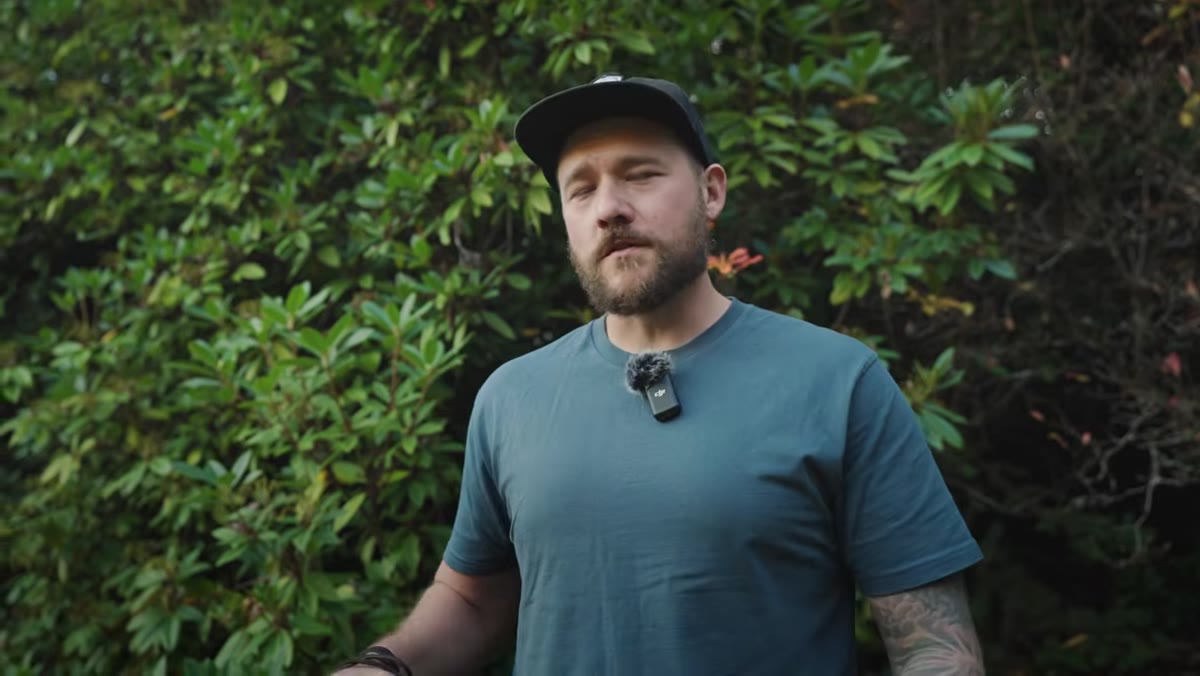 Patino introduces the three elements of the exposure triangle
Before touching any settings, get clear on the framework. Every camera, including your phone, controls light through exactly three things: ISO, aperture, and shutter speed. These three are called the exposure triangle because changing any one of them affects the overall brightness of your image, and often has a side effect on something else. Auto mode manages these for you. Manual mode means you manage them yourself, in whatever order and combination your scene demands.
Patino introduces the three elements of the exposure triangle
Before touching any settings, get clear on the framework. Every camera, including your phone, controls light through exactly three things: ISO, aperture, and shutter speed. These three are called the exposure triangle because changing any one of them affects the overall brightness of your image, and often has a side effect on something else. Auto mode manages these for you. Manual mode means you manage them yourself, in whatever order and combination your scene demands.
Patino’s approach is to tackle them one at a time rather than all at once, which I’d second. Try to understand all three simultaneously and your brain will fight you. Learn them in sequence, then bring them together.
Step 2: Set Your ISO First
 Camera display showing ISO value being adjusted
ISO controls how sensitive your camera’s sensor is to the available light. A low ISO, like 100 or 200, means the sensor is less sensitive, which gives you a cleaner, sharper image. A high ISO, like 6400 or higher, cranks up that sensitivity and brightens the exposure, but introduces noise, which shows up as grain or a loss of fine detail in your image.
Camera display showing ISO value being adjusted
ISO controls how sensitive your camera’s sensor is to the available light. A low ISO, like 100 or 200, means the sensor is less sensitive, which gives you a cleaner, sharper image. A high ISO, like 6400 or higher, cranks up that sensitivity and brightens the exposure, but introduces noise, which shows up as grain or a loss of fine detail in your image.
The practical rule: start at your camera’s base ISO, usually 100, and keep it there as long as possible. Most cameras list their native ISO in the manual or you can search “base ISO” plus your camera model. Patino shoots 95 percent of his work at ISO 100 or 200. I do the same. You’ll only push it higher when the light truly demands it, think night photography, fast-moving subjects in dim gyms, or astrophotography. Treat high ISO as a last resort, not a first instinct.
Step 3: Learn What Aperture Does (and What the Numbers Mean)
 F-stop number displayed on camera screen at f/8
Aperture refers to the opening inside your lens, a set of blades that can widen or narrow to let in more or less light. It’s measured in f-stops, and here’s the part that trips most beginners: the numbers run backwards from what you’d expect. A low f-number like f/1.8 means a wide opening, which lets in a lot of light. A high f-number like f/16 means a small opening, which lets in less light.
F-stop number displayed on camera screen at f/8
Aperture refers to the opening inside your lens, a set of blades that can widen or narrow to let in more or less light. It’s measured in f-stops, and here’s the part that trips most beginners: the numbers run backwards from what you’d expect. A low f-number like f/1.8 means a wide opening, which lets in a lot of light. A high f-number like f/16 means a small opening, which lets in less light.
Beyond brightness, aperture controls depth of field, meaning how much of your scene appears sharp. A wide aperture (low f-number) gives you that blurry background look you see in portraits. A narrow aperture (high f-number) keeps more of the scene in focus, which is what you want for landscapes. When Patino demonstrates adjusting his f-stop on screen, the shift in both exposure and focus is immediate and visible. Start practicing this on a stationary subject so you can see the relationship clearly before you’re in the field.
Step 4: Understand Shutter Speed and Motion
 Shutter speed value shown alongside aperture on camera display
Shutter speed is how long your camera’s sensor is exposed to light, measured in fractions of a second. A fast shutter speed like 1/1000s freezes motion. A slow shutter speed like 1/30s or longer lets in more light but will blur anything that’s moving, including your hands if you’re not on a tripod.
Shutter speed value shown alongside aperture on camera display
Shutter speed is how long your camera’s sensor is exposed to light, measured in fractions of a second. A fast shutter speed like 1/1000s freezes motion. A slow shutter speed like 1/30s or longer lets in more light but will blur anything that’s moving, including your hands if you’re not on a tripod.
The two main things to remember: first, if you’re handholding the camera, a good general rule is to keep your shutter speed at least as fast as 1 divided by your focal length. Shooting at 50mm? Try not to go slower than 1/50s. Second, think about whether you want motion frozen or blurred. Sports and wildlife almost always need fast shutters. A waterfall or a busy street at night can look incredible with a slow shutter that smooths out the movement. Shutter speed is where a lot of creative decisions live.
Step 5: Bring All Three Together to Build an Exposure
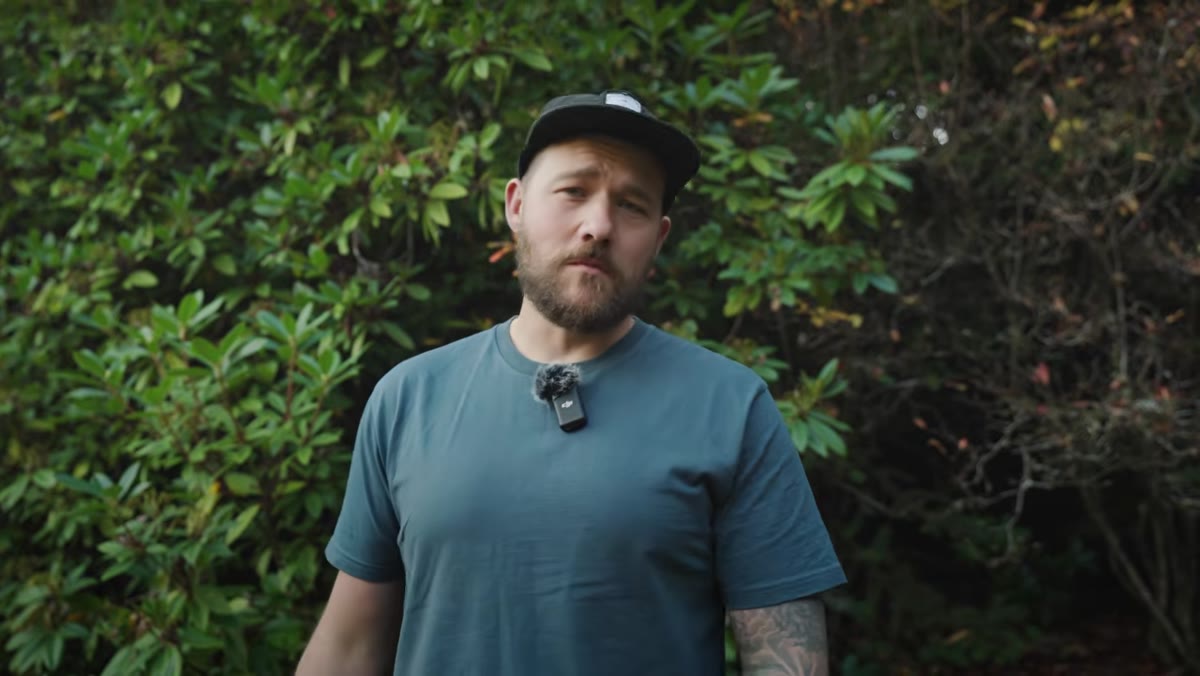 Patino in the field composing a shot in manual mode
Once you understand each element individually, the real skill is balancing them together. Set your ISO first (usually low). Then decide what aperture your scene needs based on depth of field. Then use shutter speed to bring the overall exposure to the right brightness. Your camera’s light meter, that little bar or scale in your viewfinder or on your screen, will tell you whether you’re over- or underexposed. Aim for the center mark.
Patino in the field composing a shot in manual mode
Once you understand each element individually, the real skill is balancing them together. Set your ISO first (usually low). Then decide what aperture your scene needs based on depth of field. Then use shutter speed to bring the overall exposure to the right brightness. Your camera’s light meter, that little bar or scale in your viewfinder or on your screen, will tell you whether you’re over- or underexposed. Aim for the center mark.
When you change one setting, you’ll often need to compensate with another. Open up the aperture to let in more light? You might need to speed up the shutter to keep the exposure balanced. This push and pull is the whole game, and it becomes intuitive faster than you think. Take ten minutes with your camera in your living room and just dial through combinations while watching the meter move.
What I’d Add From My Own Experience
Here’s something Patino doesn’t cover in depth here, but I think belongs in any manual mode conversation: don’t wait for the “perfect” outdoor shoot to practice this. I learned the exposure triangle faster by wandering around my Seattle neighborhood on Sunday mornings than I ever did reading about it. Low light from overcast skies, harsh midday patches, shade under trees, it forces you to problem-solve on the fly with real consequences.
Also, worth saying: I’ve shot some of my most-liked images on a $200 phone using the exact same principles, manual ISO and exposure controls, deliberate shutter choices. The triangle is not a camera-body concept. It’s a light concept. Once it’s in your head, it travels with you to every device you ever pick up.
The single most important thing to take away is this: manual mode is not about memorizing numbers. It’s about understanding what each setting does to light and making a decision about which trade-off you’re willing to accept. Start with ISO locked low, then shape your image with aperture, then balance with shutter speed. Do that a hundred times and it becomes second nature.
For the full walkthrough, including the live field demonstration where Patino actually builds exposures in real shooting conditions: Watch the full tutorial on YouTube.
Comments
Leave a Comment