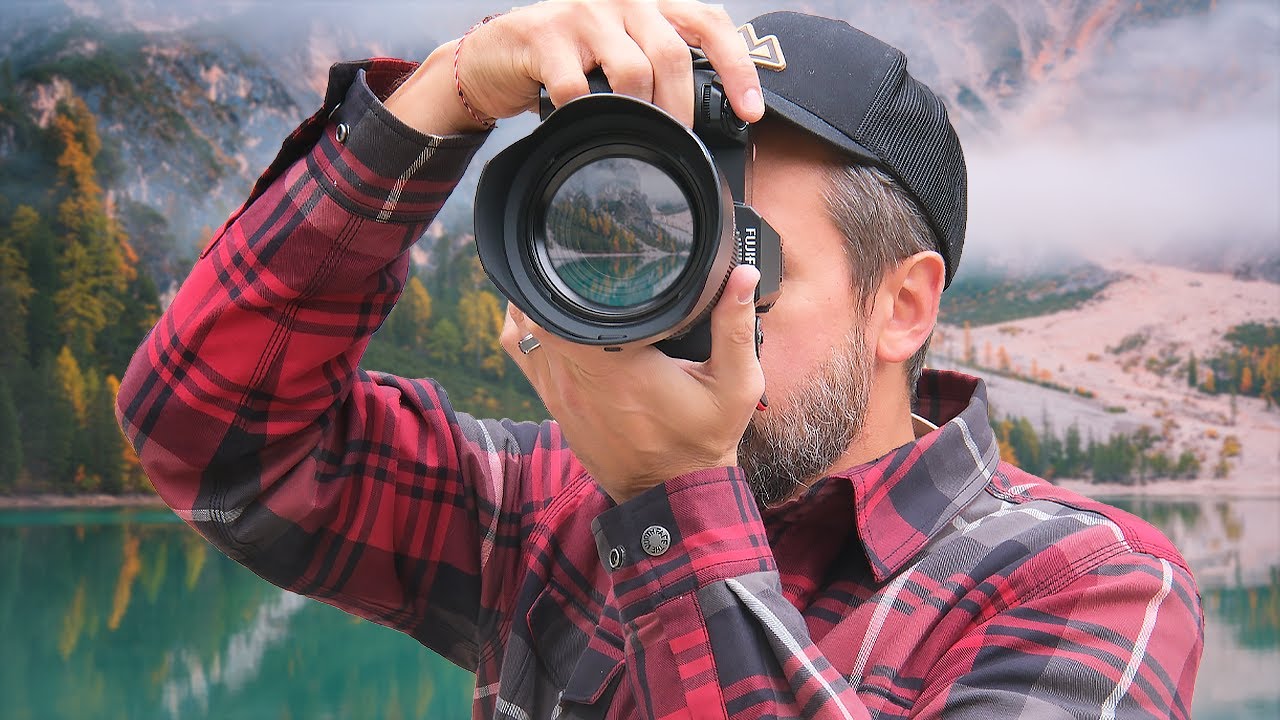
Every Sunday morning I do a photo walk. No agenda, no client brief, just me and whatever lens I feel like carrying. And for years, I would come home from those walks with maybe one image I liked. One. Out of two hours of shooting. I used to chalk it up to the conditions being off, or the light not cooperating, but honestly? The problem was my process. I would find a scene I loved, plant myself in front of it, fire off a bunch of nearly identical frames, and call it done. Productive in volume, not in storytelling.
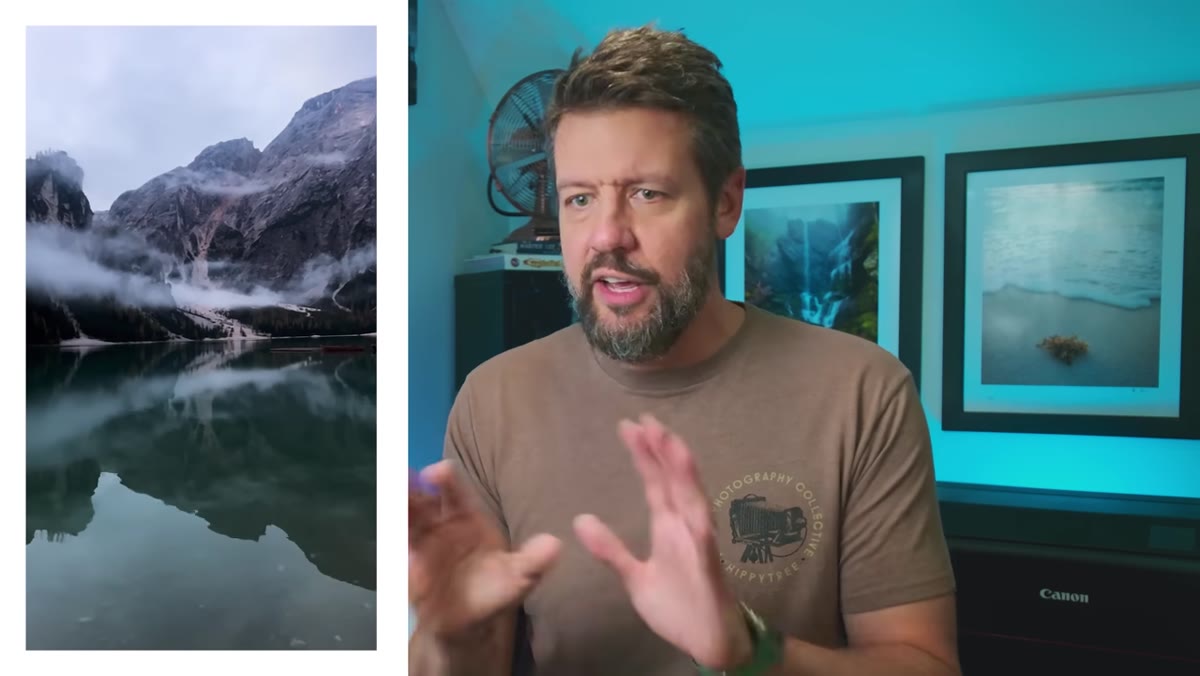
That changed when I stumbled across this tutorial from landscape photographer Mark Denney. Watch the full tutorial on YouTube – it’s worth your full attention. He calls the core idea a “storyboard mindset,” and the shift it asks you to make is surprisingly small on paper but enormous in practice. Instead of arriving at a location with one vision locked in, you treat the scene like a film director treats a script – multiple angles, multiple focal lengths, multiple moments that together tell the full story of a place.
What sold me on this was how practical it is. You don’t need new gear. You don’t need a second shooter. You just need to stop packing up the moment you get the hero shot.
Step 1: Arrive Early and Set Up Your Wide Anchor Shot
 Photographer composing wide shot before sunrise in darkness
The first move is the one most of us already do – arrive before the light peaks and set up a wide composition that captures the full scope of the scene. Denney recommends getting to your location about 30 minutes before sunrise, which gives you time to read the landscape without the pressure of racing light. Put your wide-angle lens on and frame a shot that includes the sky, the foreground, and any key landmarks. This is your anchor frame – the establishing shot that sets the stage for everything else you’re going to capture.
Photographer composing wide shot before sunrise in darkness
The first move is the one most of us already do – arrive before the light peaks and set up a wide composition that captures the full scope of the scene. Denney recommends getting to your location about 30 minutes before sunrise, which gives you time to read the landscape without the pressure of racing light. Put your wide-angle lens on and frame a shot that includes the sky, the foreground, and any key landmarks. This is your anchor frame – the establishing shot that sets the stage for everything else you’re going to capture.
Don’t stress too much about perfection in the dark. Use your phone’s flashlight briefly to check your foreground, do a rough focus check, and get your exposure dialed in. A starting point of ISO 400, f/8, and a shutter speed long enough to expose properly will get you close – adjust from there as the light changes.
Step 2: Work the Changing Light, Not Just the Peak Moment
 Series of similar frames showing sky color shifting at sunrise
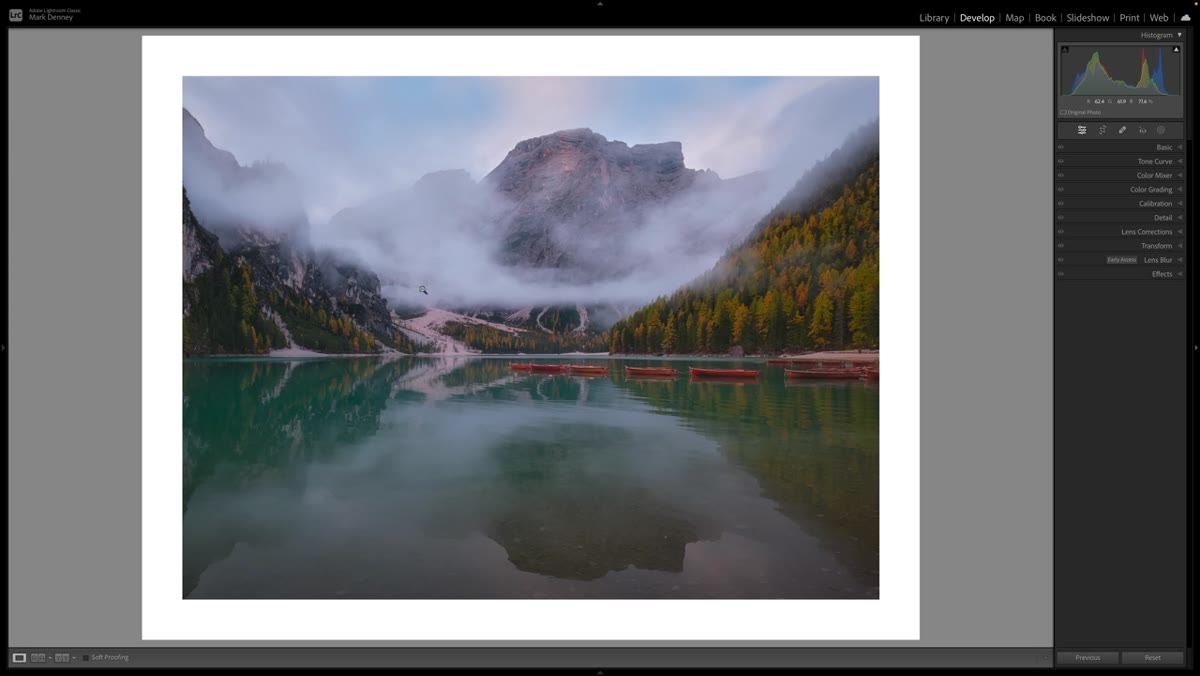
Here is where most photographers leave a lot on the table. The light is changing constantly during golden hour, and each minute produces a genuinely different photograph. Denney walked away from one Dolomites sunrise with 25 to 30 frames of the same composition – and while that might sound redundant, each one captured a different cloud formation or color intensity in the sky. The best image in that set wasn’t the most dramatic; it was the one where every element clicked together.
Series of similar frames showing sky color shifting at sunrise
Here is where most photographers leave a lot on the table. The light is changing constantly during golden hour, and each minute produces a genuinely different photograph. Denney walked away from one Dolomites sunrise with 25 to 30 frames of the same composition – and while that might sound redundant, each one captured a different cloud formation or color intensity in the sky. The best image in that set wasn’t the most dramatic; it was the one where every element clicked together.
Keep shooting through the color fade, not just during the peak. The soft pastel tones after the main color burst can be just as compelling, sometimes more so. Shoot in bursts during any fast-moving cloud moments, and slow down when the scene settles. Your keeper might be three minutes after you thought the show was over.
Step 3: Shift Your Mindset to Storyboarding
 Photographer referencing second location with different conditions and focal approach
This is the actual technique, and it’s the piece that reframes everything. Instead of thinking “I need THE shot of this place,” start asking “what series of images would tell the full story of this place?” Denney draws the comparison directly from film production – movie pitches are built around storyboards, sequences of images that communicate a story from multiple perspectives. Apply the same thinking to your photography.
Photographer referencing second location with different conditions and focal approach
This is the actual technique, and it’s the piece that reframes everything. Instead of thinking “I need THE shot of this place,” start asking “what series of images would tell the full story of this place?” Denney draws the comparison directly from film production – movie pitches are built around storyboards, sequences of images that communicate a story from multiple perspectives. Apply the same thinking to your photography.
Before you move from your anchor wide shot, mentally map out the other frames that would complete the story. What is the detail shot that no one else notices? What does the scene look like from ground level? What is the moment of transition – the fog lifting, the light hitting a specific ridge, a lone tree catching the first rays? Write it down if you have to. A note in your phone takes ten seconds and keeps you from forgetting mid-shoot.
Step 4: Change Your Focal Length to Build the Sequence
 Wide lens capturing full scene transitioning to more compressed framing
Once you have your wide anchor frames covered, start compressing your perspective. Swap to a mid-range focal length (something in the 50-85mm range works well for landscapes) and isolate the elements that made the wide shot interesting. If you were shooting a mountain range with fog rolling through a valley, zoom in on the fog alone. If you had a strong foreground subject, get tight on it with the background compressed behind it.
Wide lens capturing full scene transitioning to more compressed framing
Once you have your wide anchor frames covered, start compressing your perspective. Swap to a mid-range focal length (something in the 50-85mm range works well for landscapes) and isolate the elements that made the wide shot interesting. If you were shooting a mountain range with fog rolling through a valley, zoom in on the fog alone. If you had a strong foreground subject, get tight on it with the background compressed behind it.
Each focal length change is a new sentence in the story. The wide shot is the opening paragraph that says “here is where we are.” The mid-range and telephoto frames are the details that say “here is what makes this place worth stopping for.” Together they create a cohesive visual narrative rather than a single image standing alone.
Step 5: Capture Transitional Moments as Deliberate Frames
 Low clouds moving through scene during active shooting session
Conditions like moving fog, passing clouds, or shifting light are not interruptions – they are opportunities. Denney’s second Dolomites workshop group encountered completely different weather than the first group. No explosive color sunrise, but moody low-hanging clouds and mist threading through the valley. Rather than being disappointed, that group leaned into it. The resulting images were a different chapter of the same story.
Low clouds moving through scene during active shooting session
Conditions like moving fog, passing clouds, or shifting light are not interruptions – they are opportunities. Denney’s second Dolomites workshop group encountered completely different weather than the first group. No explosive color sunrise, but moody low-hanging clouds and mist threading through the valley. Rather than being disappointed, that group leaned into it. The resulting images were a different chapter of the same story.
Train yourself to treat every weather shift as a new frame in your storyboard. Set a 10-minute check-in with yourself during a shoot: look up, look at the edges of your frame, look behind you. Conditions that weren’t there when you arrived might be exactly what the sequence needed.
My Own Caveat: Storyboarding Works on Phone Shoots Too
I will admit I tested this method on my Sunday walks before committing to it with my full kit – using just my phone. (Yes, I’m that person.) And it worked. The discipline of thinking in sequences, of asking what comes before and after the hero frame, improved my shooting even when all I had was a pocket camera. If you’re skeptical about whether this changes anything, try it on your next casual walk before you stress-test it on a big trip. The muscle memory you build with low stakes will show up when the light is perfect and the clock is ticking.
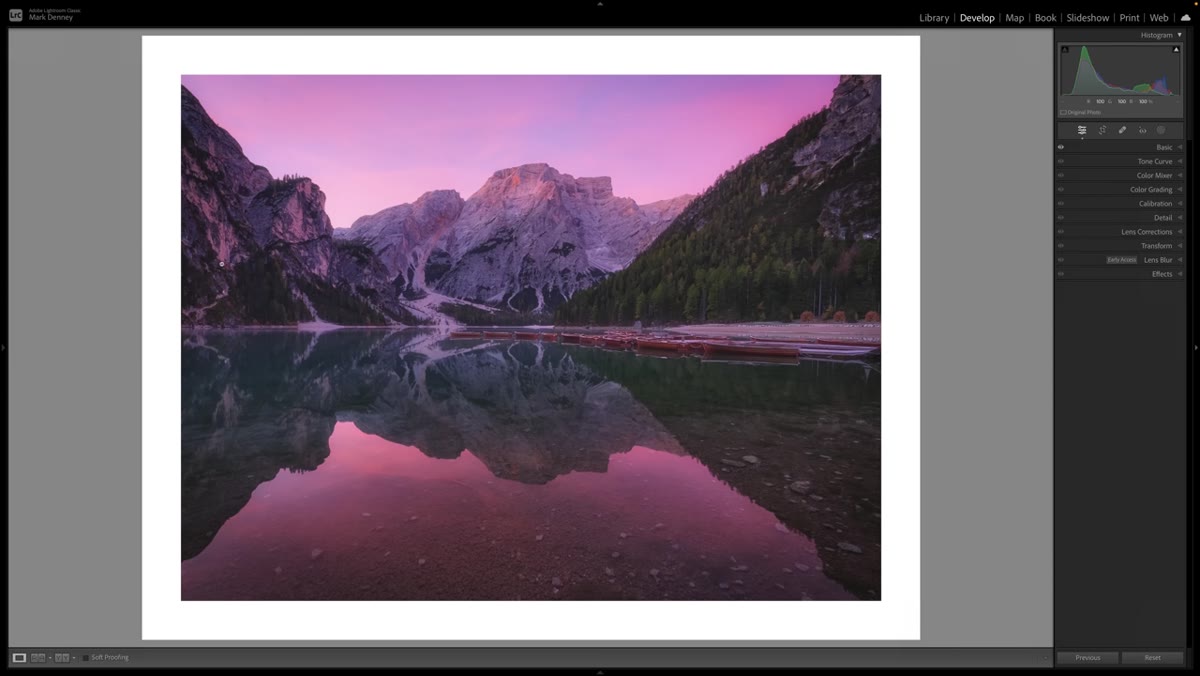
The single most important takeaway from Denney’s tutorial is this: arriving with one vision locks you into one outcome. Arriving with a storyboard mindset opens the location up into a collection of images that are more interesting individually AND more powerful together. Stop leaving scenes the moment you get the shot you planned for. The story isn’t finished yet.
Watch the full tutorial on YouTube to see Denney walk through his Dolomites examples in detail – the specific images he pulls up make the storyboard concept click in a way that’s hard to fully capture in words.
Comments (4)
The tip about the storyboard method how to s was the missing piece for me. Thank you.
Tried this technique this morning. Game changer for real.
This is exactly what I needed today. Been struggling with this for weeks.
I've been looking for exactly this kind of tutorial. Perfect timing.
Leave a Comment