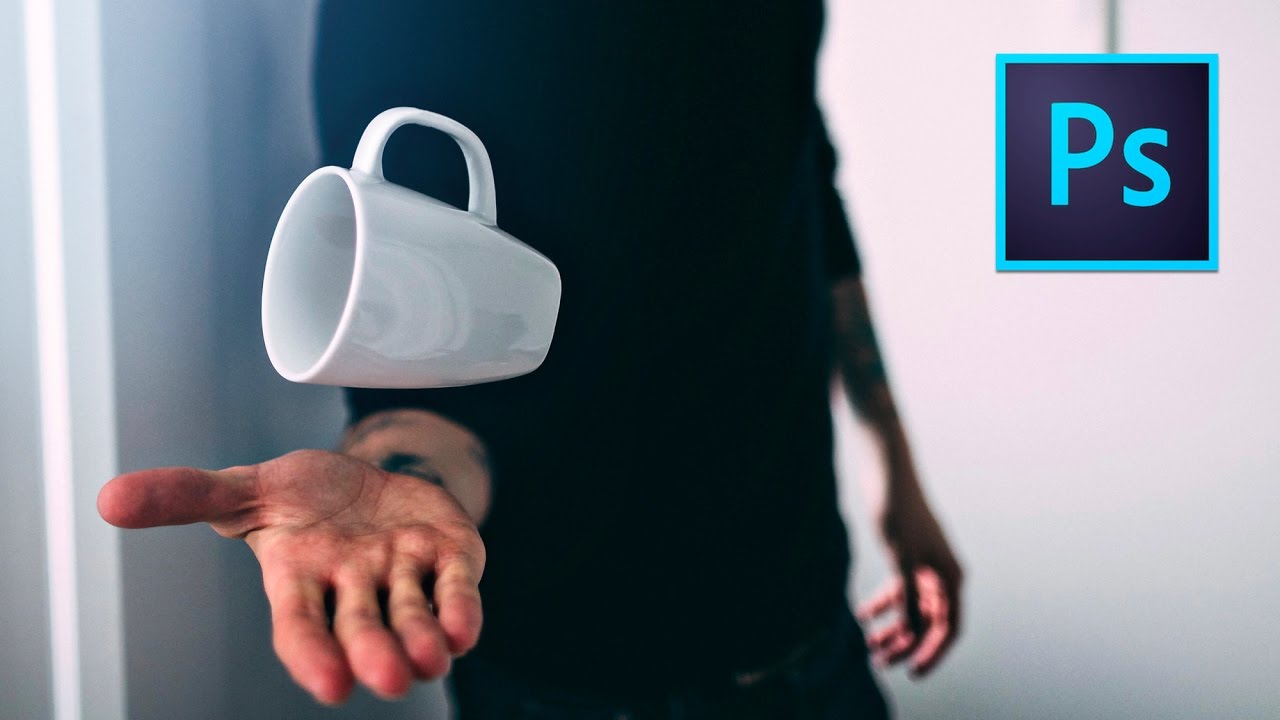
There’s a category of photo that stops thumbs mid-scroll. You’ve seen them: a coffee mug hovering in mid-air, a book suspended at a perfect angle, a jacket floating like its owner just vanished. I used to assume those shots required a full studio setup, an assistant, and some proprietary knowledge I hadn’t earned yet. Turns out the whole trick fits in a grocery bag and takes about an hour from setup to finished file.
In this Peter McKinnon tutorial, he breaks down exactly how to pull off the floating object effect - from the physical rigging to the Lightroom color pass to removing the fishing line in Photoshop. Watch the full tutorial on YouTube if you want to follow along visually. What I want to do here is give you a version you can actually execute step by step, with enough detail that you’re not pausing and rewinding every thirty seconds.
The reason this technique clicked for me immediately: it’s one of the few creative tricks where the “hard” part (making something defy gravity) is almost entirely physical, not digital. You’re mostly just removing a string. That’s a very manageable Photoshop task even if you’ve never touched the healing brush before.
Step 1: Gather Your Rigging Materials
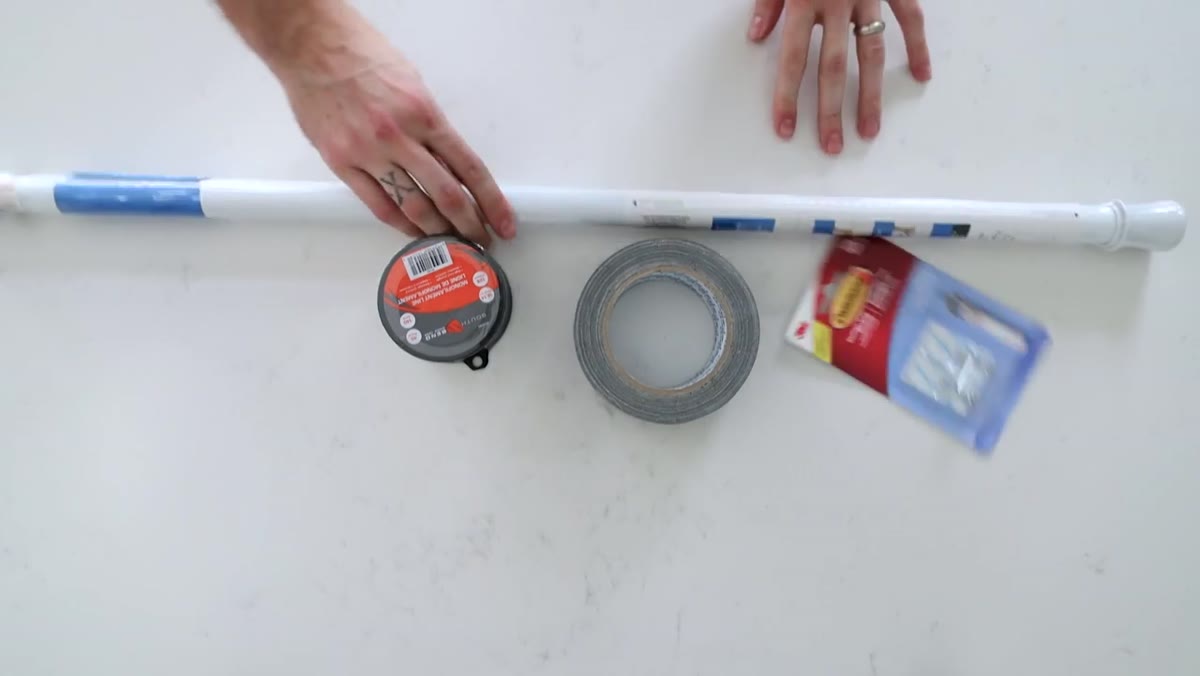 Tape, fishing line, command hooks, and bathtub rod laid out
You don’t need to buy anything expensive. The core supply list is fishing line, command hooks or a tension rod (the kind used for shower curtains), and something to suspend. Fishing line works because it’s nearly invisible against most backgrounds, especially when you’re shooting at a wide aperture where the background goes soft.
Tape, fishing line, command hooks, and bathtub rod laid out
You don’t need to buy anything expensive. The core supply list is fishing line, command hooks or a tension rod (the kind used for shower curtains), and something to suspend. Fishing line works because it’s nearly invisible against most backgrounds, especially when you’re shooting at a wide aperture where the background goes soft.
If you’re shooting in a room without obvious anchor points, a tension rod wedged in a doorframe or between two walls gives you an instant horizontal bar to hang line from. Command hooks are the other option - peel the backing, press one to your ceiling or door frame, run the fishing line through it. Before you commit to a position, give the hook a firm tug to confirm it’ll hold the weight of whatever you’re suspending.
Step 2: Set Up and Hang Your Subject
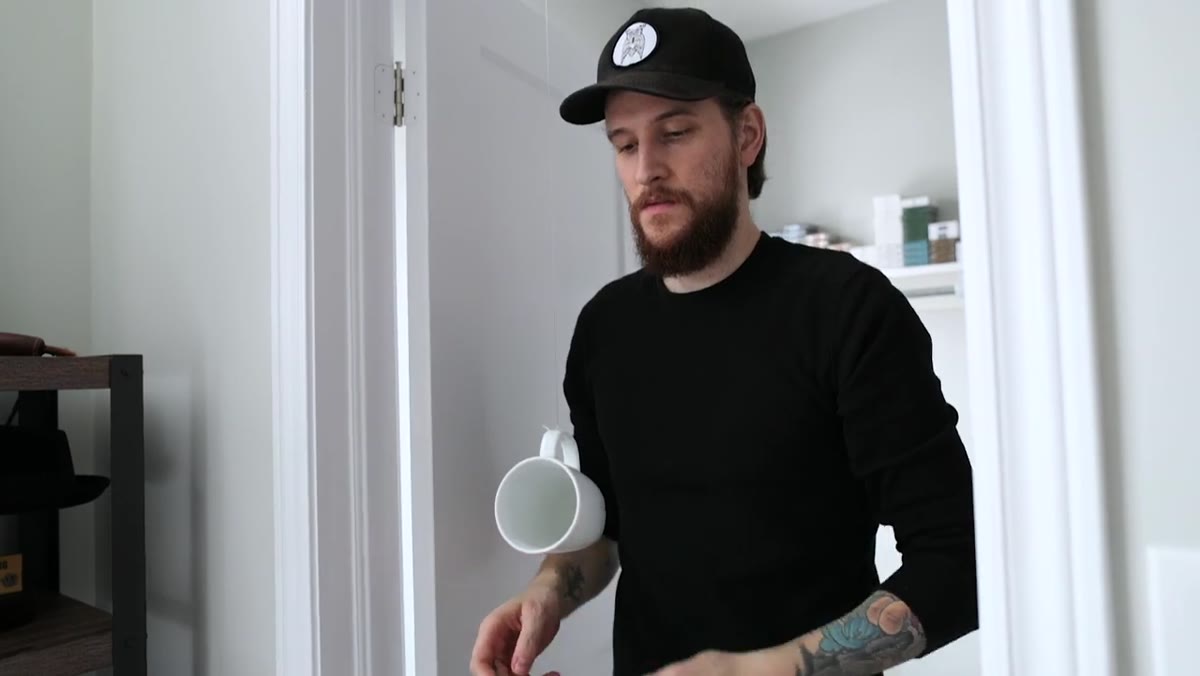 Coffee mug tied with fishing line, hanging in position
Tie the fishing line securely to your object. If the object has a handle or a natural loop, use that. If it’s something like a book or a jacket, you may need to tie around a corner or through a buttonhole. The goal is a knot that won’t slip mid-shoot, because re-rigging after you’ve nailed your composition is deeply annoying.
Coffee mug tied with fishing line, hanging in position
Tie the fishing line securely to your object. If the object has a handle or a natural loop, use that. If it’s something like a book or a jacket, you may need to tie around a corner or through a buttonhole. The goal is a knot that won’t slip mid-shoot, because re-rigging after you’ve nailed your composition is deeply annoying.
One detail worth stealing directly from McKinnon’s approach: add a small amount of actual liquid or content to whatever you’re shooting. A mug with a splash of coffee reads as a real object in use. An empty mug floating in the air reads as a prop. Realism in the small things is what separates a photo that makes people pause from one that makes them scroll. Once it’s hanging, check the angle. Fishing line lets the object rotate slowly, so give it a spin and watch how it settles before you commit to a shooting position.
Step 3: Shoot with a Fast Shutter (If You’re Going Line-Free)
 Object tossed in air, camera set to fast shutter speed
McKinnon mentions an entirely different approach for outdoor shooting or situations where rigging isn’t practical: just throw the object up and shoot a burst. This requires a fast shutter speed - think 1/1000s or faster - to freeze motion cleanly. You’ll take a lot of frames. Most will be unusable. But somewhere in a set of 50 or 100 shots, you’ll get one where the object is at the right height, the right angle, and sharp enough to print.
Object tossed in air, camera set to fast shutter speed
McKinnon mentions an entirely different approach for outdoor shooting or situations where rigging isn’t practical: just throw the object up and shoot a burst. This requires a fast shutter speed - think 1/1000s or faster - to freeze motion cleanly. You’ll take a lot of frames. Most will be unusable. But somewhere in a set of 50 or 100 shots, you’ll get one where the object is at the right height, the right angle, and sharp enough to print.
This isn’t the lazy option. For some subjects, especially irregular shapes or objects that look better mid-tumble, tossing produces a more dynamic result than careful rigging. The tradeoff is time and a sore throwing arm. For controlled indoor work, the fishing line method gives you repeatability and lets you fine-tune the composition before you ever pick up the camera.
Step 4: Capture the Shot
 Photographer using remote shutter release, object hanging in frame
Use either a self-timer or a remote shutter release. A remote is the better tool here because the object will slowly rotate on its line, and you want to fire the shutter at the exact moment it reaches the angle you want - not ten seconds after you pressed the button and walked back into frame. A cheap wireless remote costs less than fifteen dollars and is one of the most useful accessories I own for exactly these kinds of setups.
Photographer using remote shutter release, object hanging in frame
Use either a self-timer or a remote shutter release. A remote is the better tool here because the object will slowly rotate on its line, and you want to fire the shutter at the exact moment it reaches the angle you want - not ten seconds after you pressed the button and walked back into frame. A cheap wireless remote costs less than fifteen dollars and is one of the most useful accessories I own for exactly these kinds of setups.
Set your camera on a tripod, frame the shot, and then step away from the camera. Let the object settle, wait for the rotation you want, and fire.
Step 5: Select and Edit in Lightroom
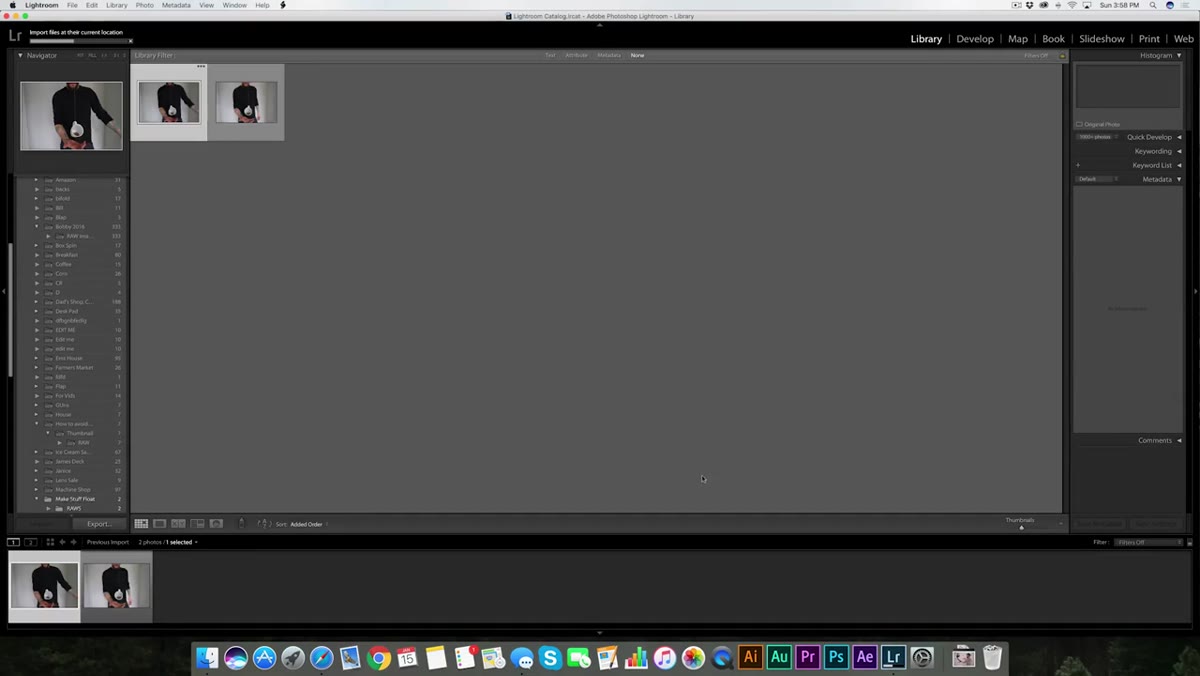 Lightroom grid view showing multiple hanging-object frames
Import your frames into Lightroom and use star ratings to shortlist your favorites quickly. Hit the number keys (1 through 5) to rate images as you cycle through them - it’s faster than clicking. Once you’ve picked your best one or two shots, do a basic color pass: bring exposure up slightly if needed, pull highlights down to recover any blown-out areas, nudge the whites up, and add a bit of clarity for edge contrast and texture. Nothing heavy. The point is a clean, punchy base image before you hand it off to Photoshop.
Lightroom grid view showing multiple hanging-object frames
Import your frames into Lightroom and use star ratings to shortlist your favorites quickly. Hit the number keys (1 through 5) to rate images as you cycle through them - it’s faster than clicking. Once you’ve picked your best one or two shots, do a basic color pass: bring exposure up slightly if needed, pull highlights down to recover any blown-out areas, nudge the whites up, and add a bit of clarity for edge contrast and texture. Nothing heavy. The point is a clean, punchy base image before you hand it off to Photoshop.
Once you’re happy with one image’s edits, select the others you want to match and hit “Previous” to sync those same settings across all of them. Then export the selects to a clearly named folder on your desktop so Photoshop is easy to navigate to.
Step 6: Remove the Fishing Line in Photoshop
 Photoshop workspace with fishing line visible above floating mug
This is the step that intimidates people, and it really shouldn’t. Open your exported file in Photoshop. Zoom in to 100% so you can see the fishing line clearly. Use the Spot Healing Brush for thin lines against a simple background - it samples the surrounding pixels and fills in automatically. For more complex backgrounds (brick, foliage, anything textured), the Clone Stamp tool gives you more control by letting you manually define the source area you’re copying from.
Photoshop workspace with fishing line visible above floating mug
This is the step that intimidates people, and it really shouldn’t. Open your exported file in Photoshop. Zoom in to 100% so you can see the fishing line clearly. Use the Spot Healing Brush for thin lines against a simple background - it samples the surrounding pixels and fills in automatically. For more complex backgrounds (brick, foliage, anything textured), the Clone Stamp tool gives you more control by letting you manually define the source area you’re copying from.
Work in small strokes along the length of the line rather than trying to paint over it all at once. Zoom out periodically to check that your repair blends naturally at full size. When the line is gone, flatten the file and export your final image.
My Take: Where This Technique Actually Lives in Your Work
The floating object shot is genuinely versatile. I’ve used it for product-style flat lays where I wanted one item to feel elevated (literally), for personal branding shoots, and honestly just for fun on Sunday morning photo walks when I want a challenge with whatever’s in my bag. The version of this technique I reach for most often outdoors is the throw-and-burst method, because I’m rarely carrying a tension rod on a walk through Pike Place. But for any intentional, planned shoot, the rigging approach wins every time because it gives you control over light, angle, and the final composition before you’ve taken a single frame.
If you’re just starting out and Photoshop feels like a wall, start with the burst method. Get comfortable seeing objects mid-air. Then, when you’re ready to add the rigging and the editing layer, you’ll already understand what you’re trying to create before you have to build it.
The single most important thing this technique teaches is that creative effects don’t require complicated gear - they require a problem-solving mindset and patience. Fishing line is about two dollars. Watch the full tutorial on YouTube to see Peter walk through the whole process in real time, especially the Photoshop sequence, which is much easier to follow visually.
Comments (1)
This is the kind of content that keeps me coming back.
Leave a Comment