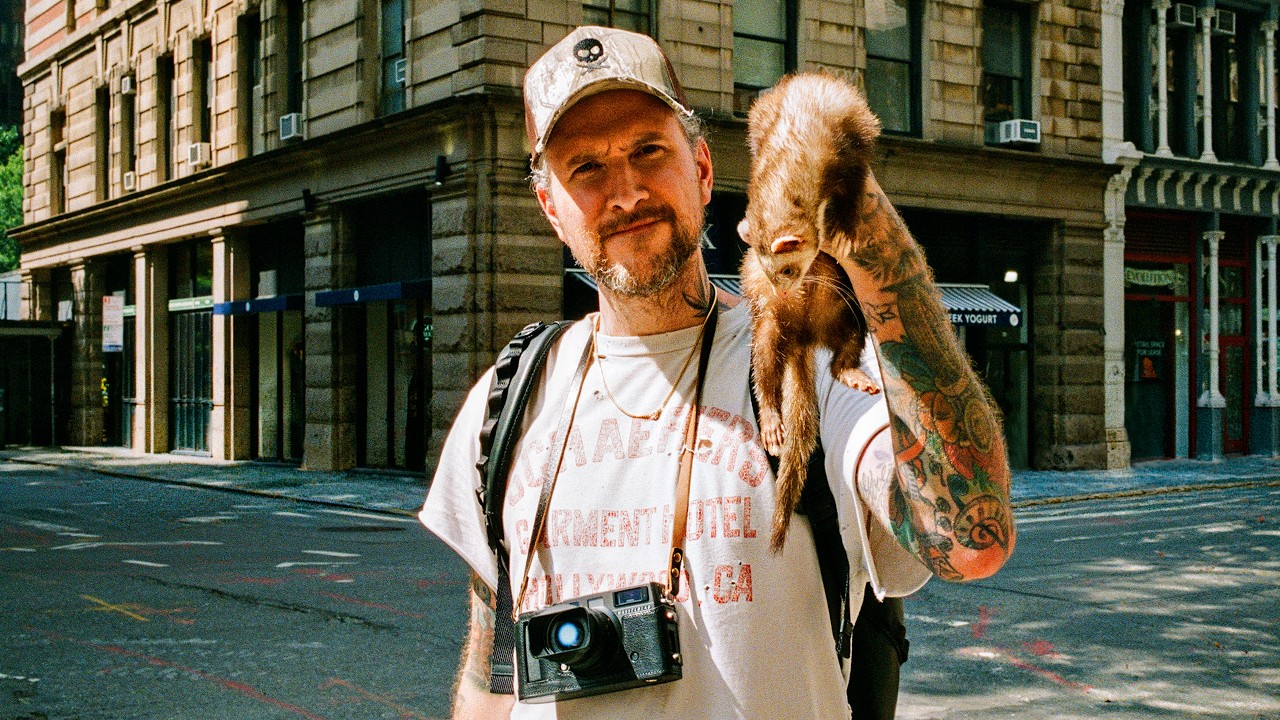
Every Sunday morning I take a photo walk. No client, no brief, just me and whatever camera I grab off the shelf. For a long time, those walks felt like practice without a destination because I was still thinking like a studio shooter. I’d wait for perfect light, fuss over focus, and come home with twelve technically fine images and zero soul. What I was missing was the street shooter’s mindset: decide your settings, commit to your zone, and let the city do the rest.
That’s exactly what clicked for me watching Peter McKinnon’s recent film street photography tutorial, where he shoots a full day in New York City on 35mm and reviews the results in real time. Watch the full tutorial on YouTube. What makes it worth your time isn’t just the beautiful film grain. It’s the honest, unfiltered editing session where he looks at his own bad shots, explains why they don’t work, and moves on without drama. That kind of transparency is rare, and it teaches more than a highlight reel ever could.
Step 1: Set Your Mission Before You Leave the House
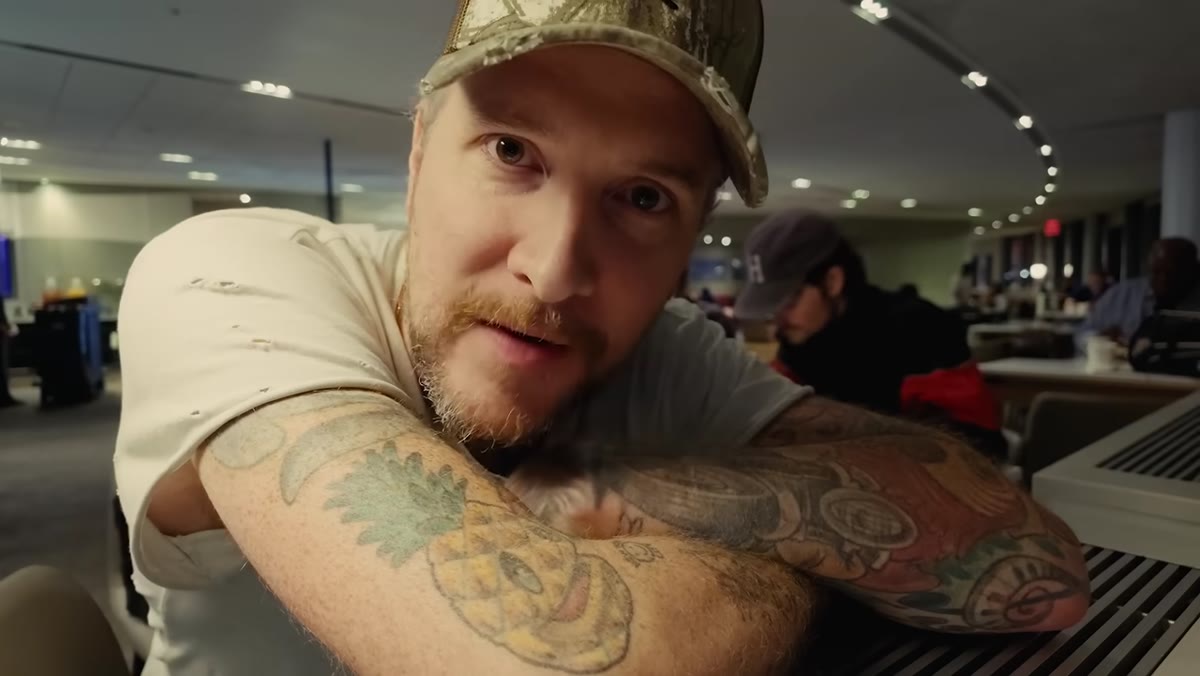 Peter describing his NYC same-day shooting plan
Before McKinnon even boards his train, he sets a concrete goal: arrive at 8 a.m., leave at 7 p.m., finish eight rolls. He doesn’t hit that number (he finishes three), but the mission matters because it replaces hesitation with momentum. When you have a target, you stop overthinking every frame and start shooting.
Peter describing his NYC same-day shooting plan
Before McKinnon even boards his train, he sets a concrete goal: arrive at 8 a.m., leave at 7 p.m., finish eight rolls. He doesn’t hit that number (he finishes three), but the mission matters because it replaces hesitation with momentum. When you have a target, you stop overthinking every frame and start shooting.
Before your next street session, write down one specific constraint. It can be a roll count, a frame count, a single neighborhood, or even a time limit. The constraint forces commitment, and commitment is the thing that actually produces interesting work.
Step 2: Understand the Film Burn and Why Your First Frames Are Expendable
 First burned frames from the roll visible on screen
McKinnon opens each roll review by showing the burned frames at the beginning of the negative. On 35mm film, the first few exposures sit on the part of the film that gets light-fogged when you load the camera. He intentionally fires the shutter three or four times before settling into real shooting to get past that vulnerable section of the emulsion.
First burned frames from the roll visible on screen
McKinnon opens each roll review by showing the burned frames at the beginning of the negative. On 35mm film, the first few exposures sit on the part of the film that gets light-fogged when you load the camera. He intentionally fires the shutter three or four times before settling into real shooting to get past that vulnerable section of the emulsion.
If you shoot film, build this into your loading habit. When you hear the camera advance and the counter hits zero, don’t stop there. Fire two or three frames on something low-stakes before your first intentional shot. You’re not wasting film. You’re protecting the frames that matter.
Step 3: Use Zone Focus to Turn Your Camera Into a Point-and-Shoot
 Peter explaining zone focus technique on 35mm camera
This is the core technique of the whole video. McKinnon pre-sets his focus distance using a method called zone focus, which means he dials in a minimum and maximum focus distance on the lens barrel before he starts shooting. Anything within that range will be acceptably sharp, so he never has to stop and focus in the moment.
Peter explaining zone focus technique on 35mm camera
This is the core technique of the whole video. McKinnon pre-sets his focus distance using a method called zone focus, which means he dials in a minimum and maximum focus distance on the lens barrel before he starts shooting. Anything within that range will be acceptably sharp, so he never has to stop and focus in the moment.
He’s shooting on a 28mm lens, which is wide enough that the depth of field is generous at most street distances. His practical tip: with a 28mm, you are almost always further from your subject than you think. If something looks close through the viewfinder, assume the zone is set a little long and position yourself accordingly. This takes one or two rolls to calibrate, but once it clicks, you can shoot from the hip, raise the camera fast, or react to a split-second moment without hunting for focus at all.
Step 4: Diagnose a Bad Frame Specifically, Not Vaguely
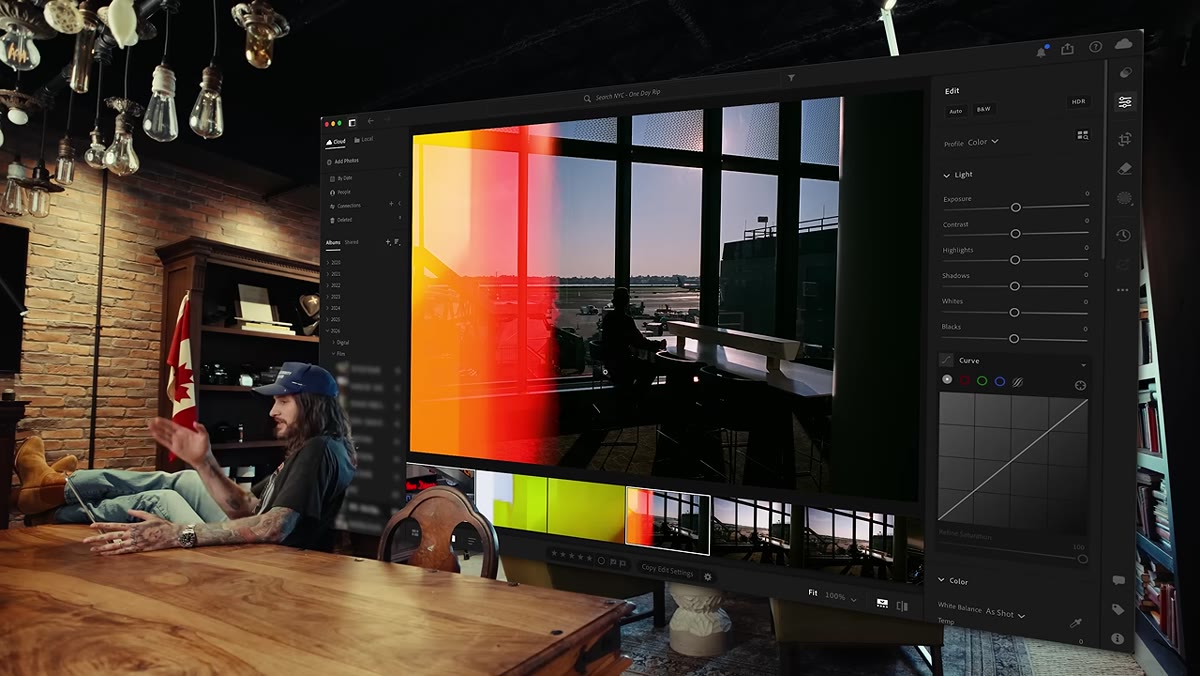 McKinnon reviewing the shot of Christian with pillar behind his head
McKinnon pulls up a photo of his friend sitting in front of a window and immediately identifies the problem: a pillar lines up directly behind his subject’s head, breaking the silhouette and flattening the figure against the background. He doesn’t just say “this is bad.” He says exactly why it is bad and what a one-step fix would have looked like. Move the subject to the center of the glass pane and the shot works.
McKinnon reviewing the shot of Christian with pillar behind his head
McKinnon pulls up a photo of his friend sitting in front of a window and immediately identifies the problem: a pillar lines up directly behind his subject’s head, breaking the silhouette and flattening the figure against the background. He doesn’t just say “this is bad.” He says exactly why it is bad and what a one-step fix would have looked like. Move the subject to the center of the glass pane and the shot works.
This is a habit worth building in your own editing sessions. For every image you reject, write one sentence that names the specific problem. Not “this didn’t work” but “the horizon cuts through the subject’s eyes” or “there’s no separation between the figure and the background.” You’ll start seeing those problems in the field before you press the shutter, which is the whole point.
Step 5: Know When Lifting Shadows Will Hurt a Film Image
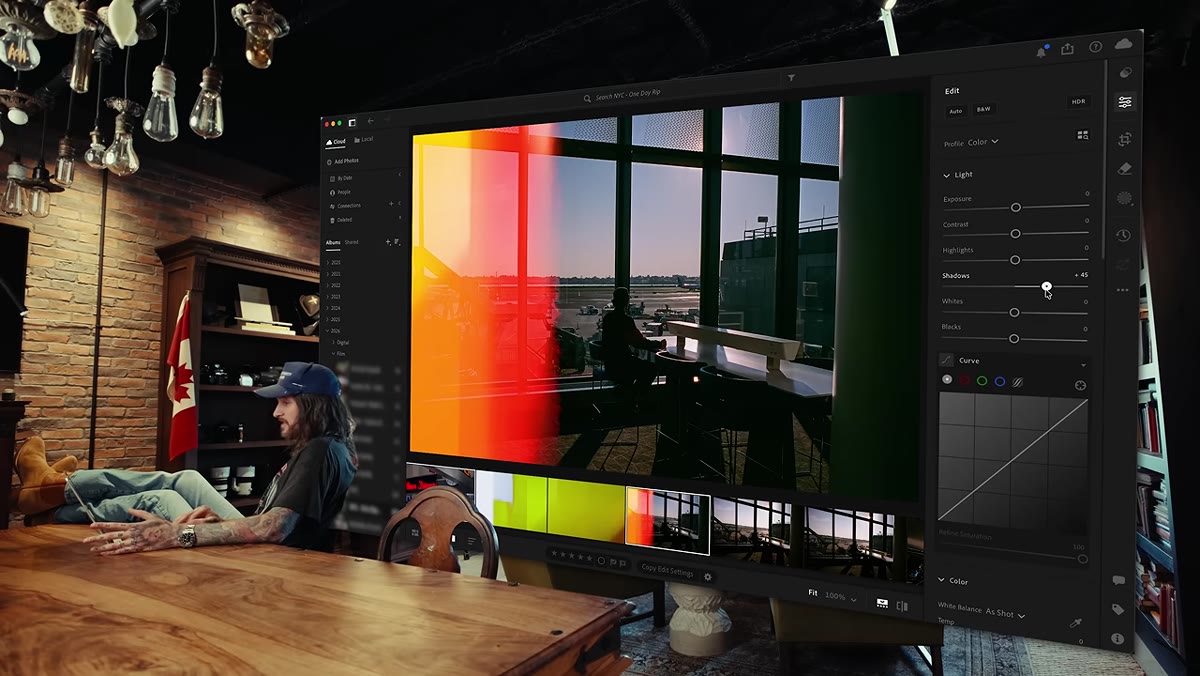 Lightroom adjustments on underexposed film frame with lifted shadows
When McKinnon tries to rescue that same underexposed shot by lifting shadows in Lightroom, he points out the trade-off directly: film does not respond to shadow recovery the way a digital RAW file does. Lifting shadows on film introduces grain fast, and the tonal quality degrades in a way that looks muddy rather than moody.
Lightroom adjustments on underexposed film frame with lifted shadows
When McKinnon tries to rescue that same underexposed shot by lifting shadows in Lightroom, he points out the trade-off directly: film does not respond to shadow recovery the way a digital RAW file does. Lifting shadows on film introduces grain fast, and the tonal quality degrades in a way that looks muddy rather than moody.
The practical rule here is to expose film correctly in camera, because there is almost no recovery latitude in the shadows. If you are a digital shooter, the same principle applies to high-ISO files from a smaller sensor. Know the ceiling on your particular camera and stop hoping you can fix it later. Get the exposure right, or accept the loss.
Step 6: Look for Reflections That Add Information, Not Just Texture
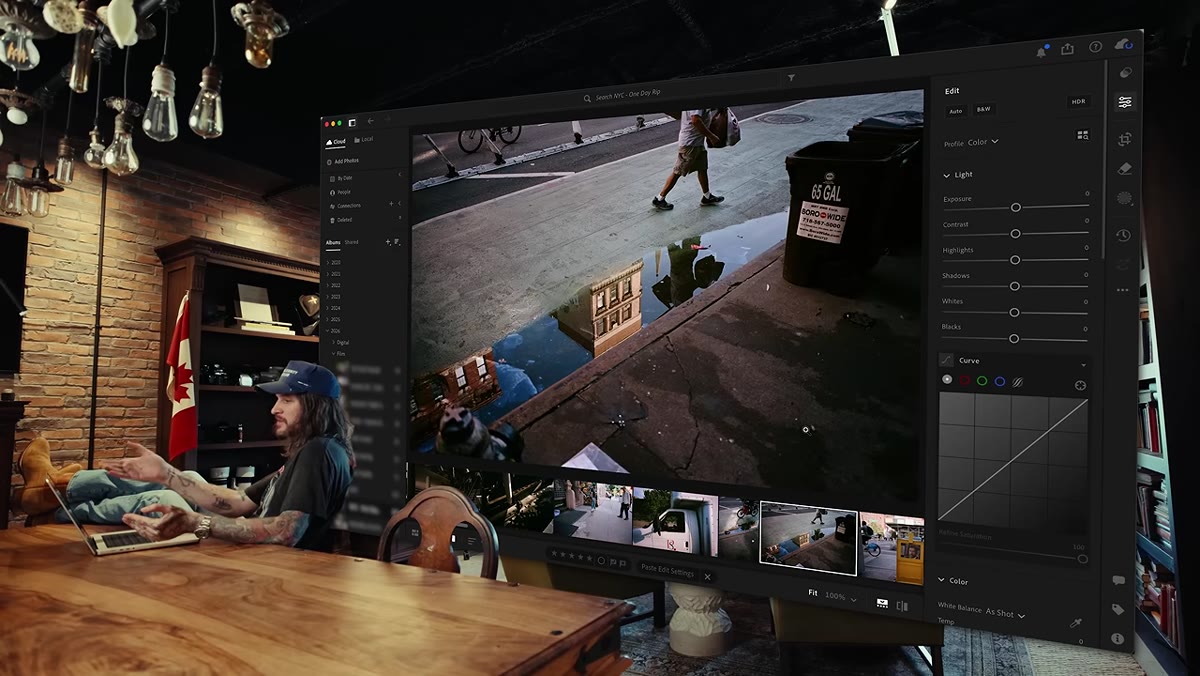 Reflection shot with building visible only in water below
McKinnon reviews two reflection shots side by side. One is cluttered, with competing reflections on wet road that read as visual noise. The other earns his approval because the puddle shows a building that appears nowhere else in the frame. That reflection is doing work. It adds information and creates a secondary layer that rewards a second look.
Reflection shot with building visible only in water below
McKinnon reviews two reflection shots side by side. One is cluttered, with competing reflections on wet road that read as visual noise. The other earns his approval because the puddle shows a building that appears nowhere else in the frame. That reflection is doing work. It adds information and creates a secondary layer that rewards a second look.
When you’re composing a reflection shot, ask yourself: what does the reflection show that the rest of the frame doesn’t? If the answer is nothing, it’s probably just a distraction. If it reveals something hidden, completes a story, or reframes the scene, you have a reason to include it.
Step 7: Understand Why Empty Scenes Need Activity to Land
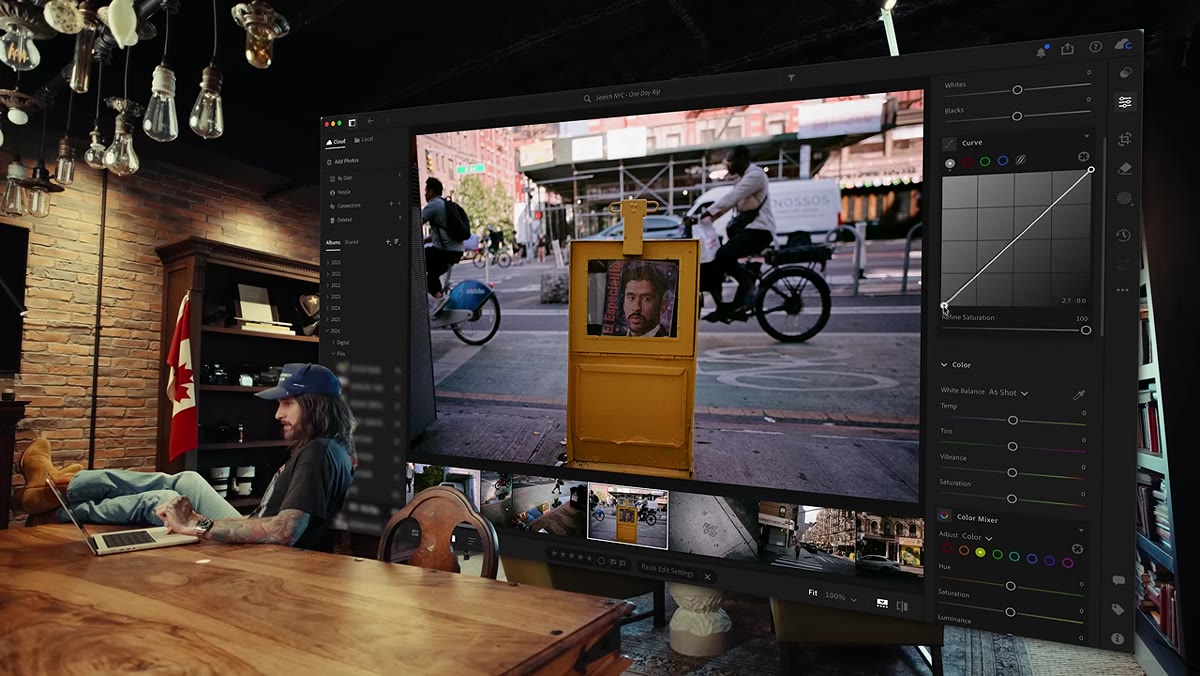 Yellow newspaper stand with no human activity in frame
McKinnon looks at a frame of a yellow newspaper stand on a city corner. It’s a decent graphic composition, but he flags it as a shot that needs something happening in it. He lists alternatives out loud: someone leaning against it, someone on the phone nearby, a dog at the base of the mailbox. Any of those details would turn a static texture shot into a small story.
Yellow newspaper stand with no human activity in frame
McKinnon looks at a frame of a yellow newspaper stand on a city corner. It’s a decent graphic composition, but he flags it as a shot that needs something happening in it. He lists alternatives out loud: someone leaning against it, someone on the phone nearby, a dog at the base of the mailbox. Any of those details would turn a static texture shot into a small story.
Objects in street photography are usually supporting characters. They work best when they’re in relationship with a person doing something. If you find yourself drawn to a wall, a sign, a storefront, or a piece of furniture in a public space, don’t shoot it immediately. Wait. See who shows up and what they do with it.
What I’d Add From My Own Experience
The step I return to most from this tutorial is the diagnosis habit in Step 4. I started keeping a private folder called “autopsy” in my Lightroom catalog, where I move every rejected frame before I delete it. Once a month I scroll through it and look for patterns. My most common failure used to be subject-background separation, the same problem McKinnon identified in that first frame. Naming it repeatedly made me fix it faster than any composition tutorial ever did.
If you shoot film and you’re nervous about zone focus, try it first on a digital camera set to manual focus. Tape the focus ring down, set your aperture to f/8, and go for a walk. The exercise builds the instinct before you’re burning actual film to learn it.
The single most useful idea in this whole video is that quality beats quantity, and McKinnon models it honestly. He went in hoping for eight rolls and came back with three. But he came back with keepers, and he knew which ones they were. That’s the skill.
Watch the full tutorial on YouTube to see his Lightroom edits on the final selects and to hear his real-time reactions to each frame as it loads for the first time.
Comments
Leave a Comment