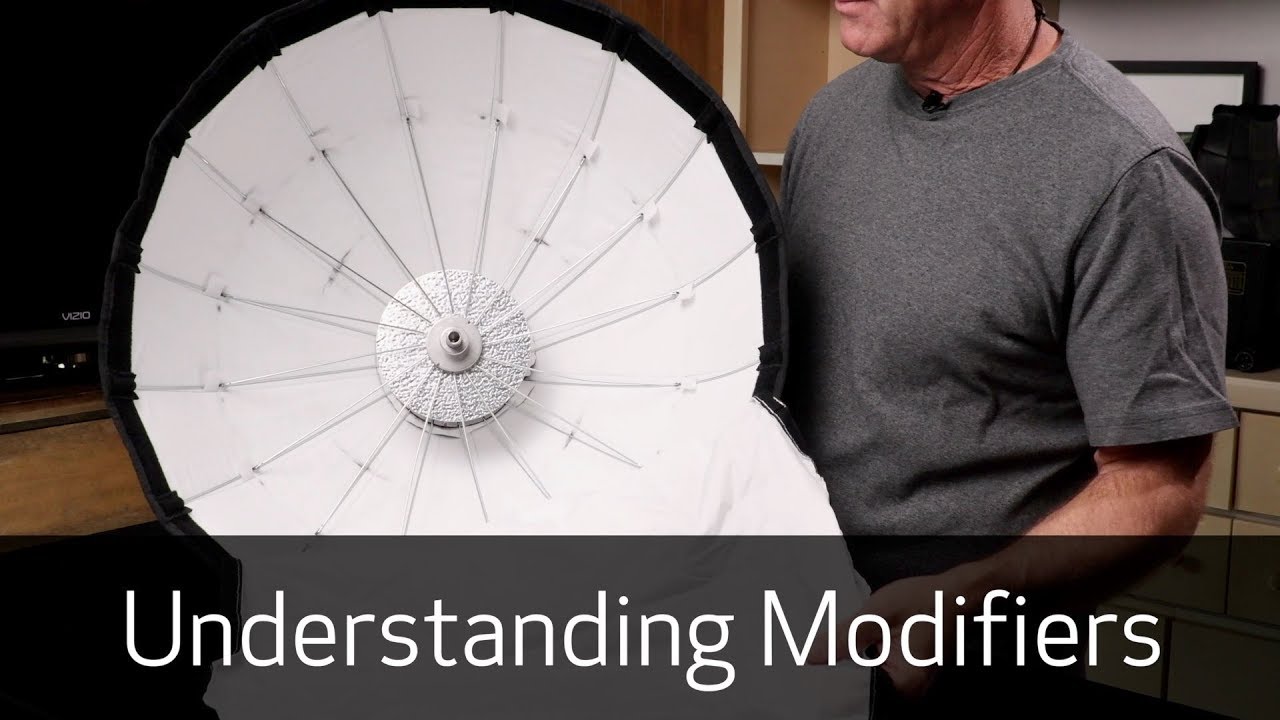
I spent an embarrassing amount of time blaming my gear for light that looked flat, harsh, or just plain unflattering. I’d drop money on a new softbox, get excited, and then wonder why my portraits still looked like I’d pointed a flashlight at someone’s face. It wasn’t until I started digging into how modifiers actually work — not just what they look like in an unboxing video — that things started clicking. In this Joel Grimes tutorial, Watch the full tutorial on YouTube, he walks through the physics of light modifiers in a way that finally made me understand what I’d been doing wrong for years.
The core insight sounds almost too simple once you hear it: soft light isn’t about the modifier you buy. It’s about how large the light source appears relative to your subject. That single idea reframes every decision you make when you’re setting up a shoot, from where you position your light to whether you even need that expensive piece of gear. Joel breaks it down systematically, and I’m going to walk you through each concept so you can apply it the next time you’re working with strobes or speedlights.
Step 1: Understand the Basic Anatomy of a Softbox
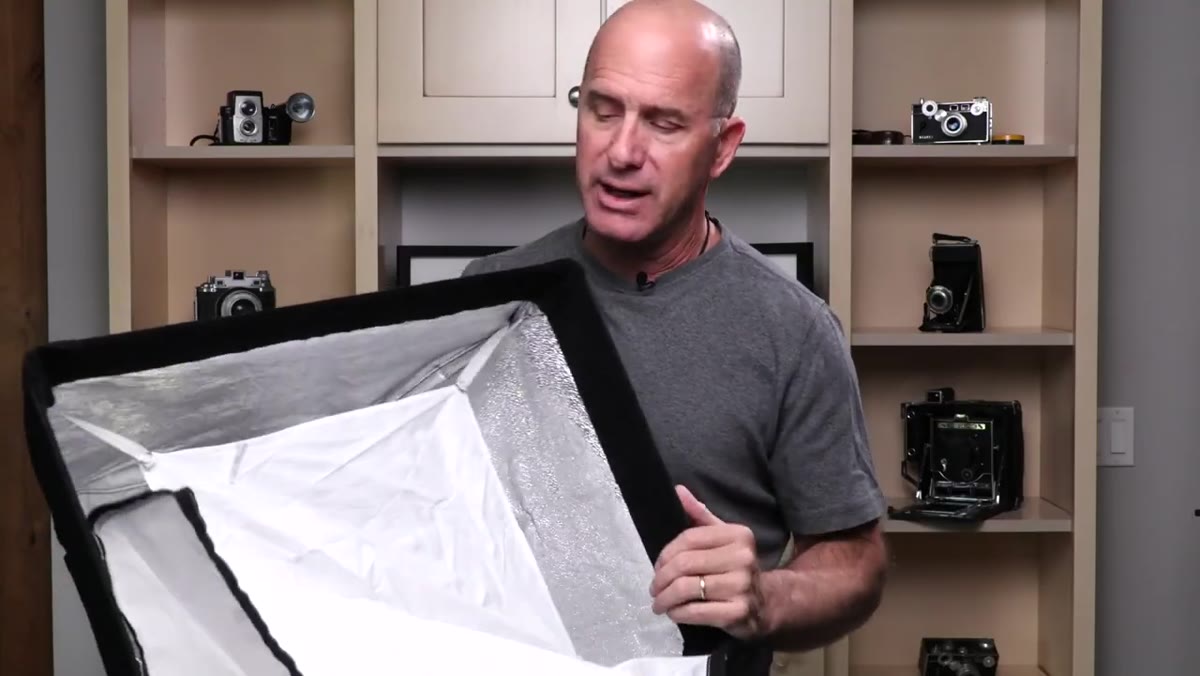 Softbox interior showing baffle, diffusion panels, and strobe mount
Before you can use a modifier well, you need to know what’s inside it. A standard softbox has three main components: a strobe mount at the back where your light source sits, an inner baffle (a translucent panel positioned partway through the box), and an outer diffusion panel on the front face. The strobe fires, light bounces and spreads through the interior, passes through the baffle, and then exits through the front diffusion. Each layer exists for a reason, and removing or ignoring any one of them changes the quality of your light in a meaningful way.
Softbox interior showing baffle, diffusion panels, and strobe mount
Before you can use a modifier well, you need to know what’s inside it. A standard softbox has three main components: a strobe mount at the back where your light source sits, an inner baffle (a translucent panel positioned partway through the box), and an outer diffusion panel on the front face. The strobe fires, light bounces and spreads through the interior, passes through the baffle, and then exits through the front diffusion. Each layer exists for a reason, and removing or ignoring any one of them changes the quality of your light in a meaningful way.
Step 2: Learn Why Adding More Diffusion Doesn’t Make Light Softer
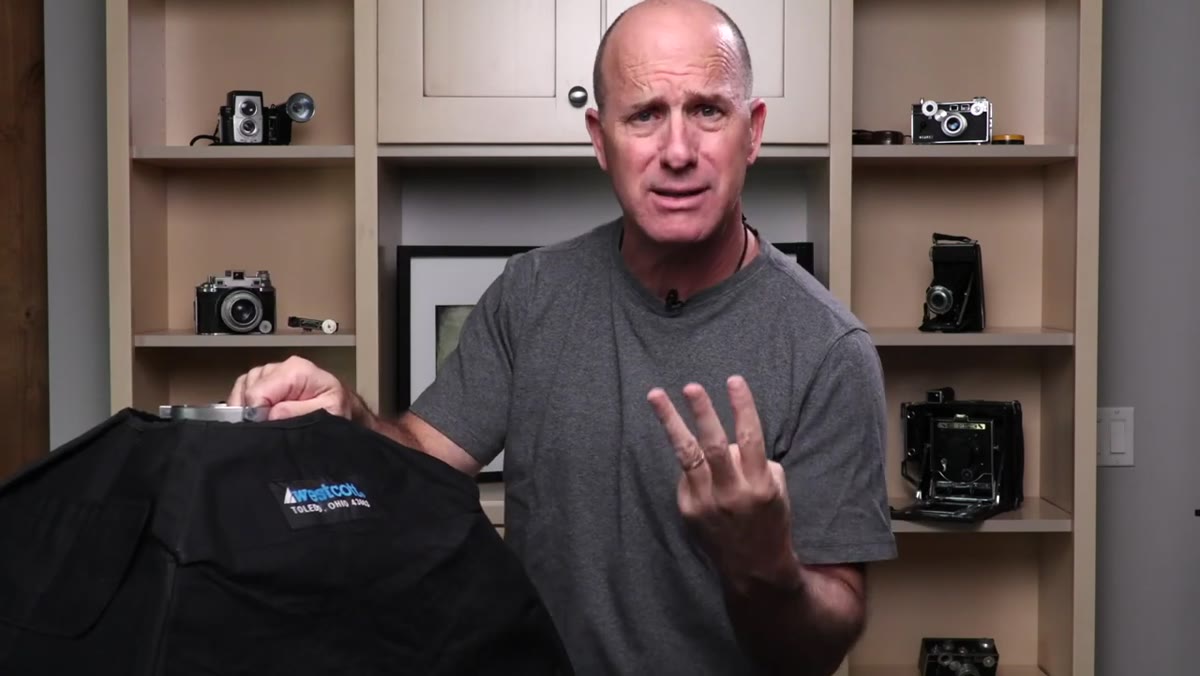 Softbox baffle removed, showing hot spot concentration in center
This is the mistake that trips up almost every beginner, and honestly, it tripped me up too. The instinct is logical: if one layer of diffusion softens light, two layers must soften it more, and three would be even better. But that’s not how it works. Stacking diffusion material doesn’t broaden your light source. It just dims it. What makes light soft is size, not density. If you fire your strobe through a softbox without the inner baffle installed, you’ll see a bright hot spot concentrated in the center of the front panel, with very little light reaching the edges. That’s effectively a small, intense source, no matter how large the softbox physically is. The baffle’s job is to spread the light more evenly so the entire front surface becomes the source, not just the center.
Softbox baffle removed, showing hot spot concentration in center
This is the mistake that trips up almost every beginner, and honestly, it tripped me up too. The instinct is logical: if one layer of diffusion softens light, two layers must soften it more, and three would be even better. But that’s not how it works. Stacking diffusion material doesn’t broaden your light source. It just dims it. What makes light soft is size, not density. If you fire your strobe through a softbox without the inner baffle installed, you’ll see a bright hot spot concentrated in the center of the front panel, with very little light reaching the edges. That’s effectively a small, intense source, no matter how large the softbox physically is. The baffle’s job is to spread the light more evenly so the entire front surface becomes the source, not just the center.
Step 3: Recognize What “Source Size” Actually Means
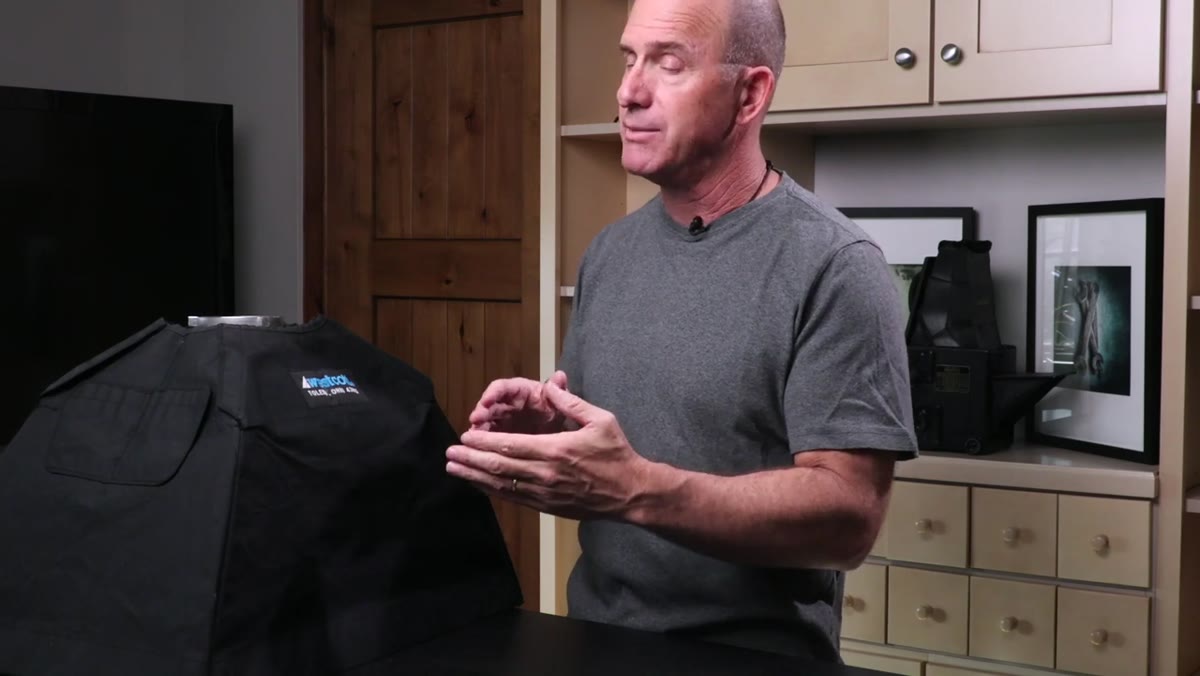 Diagram showing larger source equals softer light relationship
Source size is always relative to your subject, not absolute. A 60-inch softbox positioned 10 feet from your subject behaves like a small, hard source. That same softbox moved to 3 feet from your subject wraps the light around them and produces beautiful, soft shadows with gradual falloff. This is why moving your light closer is often more powerful than buying a bigger modifier. The ratio between the modifier’s size and the distance to your subject determines how soft the light feels. Keep that ratio in mind every time you set up, and you’ll stop chasing gear you don’t actually need.
Diagram showing larger source equals softer light relationship
Source size is always relative to your subject, not absolute. A 60-inch softbox positioned 10 feet from your subject behaves like a small, hard source. That same softbox moved to 3 feet from your subject wraps the light around them and produces beautiful, soft shadows with gradual falloff. This is why moving your light closer is often more powerful than buying a bigger modifier. The ratio between the modifier’s size and the distance to your subject determines how soft the light feels. Keep that ratio in mind every time you set up, and you’ll stop chasing gear you don’t actually need.
Step 4: Diagnose What Was Wrong With Umbrella Technique
 Umbrella setup with light aimed at center, creating partial fill
Joel’s honest admission about using umbrellas wrong for years is worth sitting with. The problem was positioning: he’d mount a standard reflector hood on the strobe (which throws light in roughly a 50-to-60-degree spread), point it into the center of a 60-inch umbrella, and end up illuminating only the middle third of the reflective surface. That lit portion might measure 30 inches across at best. A 30-inch effective source at 5 feet from your subject is not soft light. It’s actually quite harsh. If you’ve ever looked at your umbrella shots and wondered why they look similar to bare flash, this is almost certainly why.
Umbrella setup with light aimed at center, creating partial fill
Joel’s honest admission about using umbrellas wrong for years is worth sitting with. The problem was positioning: he’d mount a standard reflector hood on the strobe (which throws light in roughly a 50-to-60-degree spread), point it into the center of a 60-inch umbrella, and end up illuminating only the middle third of the reflective surface. That lit portion might measure 30 inches across at best. A 30-inch effective source at 5 feet from your subject is not soft light. It’s actually quite harsh. If you’ve ever looked at your umbrella shots and wondered why they look similar to bare flash, this is almost certainly why.
Step 5: Fix It By Spreading Light Across the Full Umbrella
 Strobe head backed away from umbrella, spreading light to edges
The fix is straightforward once you understand the problem. Remove the standard reflector hood from your strobe, or swap it for a wider-angle one, and back the strobe head as far down the mounting rod as it will go, away from the umbrella surface. This wider throw angle spreads light across the full diameter of the umbrella. Now your 60-inch umbrella is actually working as a 60-inch source. At the same shooting distance, the light will be dramatically softer. No new gear required. Just repositioning what you already own.
Strobe head backed away from umbrella, spreading light to edges
The fix is straightforward once you understand the problem. Remove the standard reflector hood from your strobe, or swap it for a wider-angle one, and back the strobe head as far down the mounting rod as it will go, away from the umbrella surface. This wider throw angle spreads light across the full diameter of the umbrella. Now your 60-inch umbrella is actually working as a 60-inch source. At the same shooting distance, the light will be dramatically softer. No new gear required. Just repositioning what you already own.
Step 6: Apply the Same Logic to Large Silks and Scrims
 Large silk diffusion panel with light source positioned behind it
The same physics applies when you’re working with large silk panels or scrim frames. Joel sometimes uses scrim diffusion setups where he places any light source, whether a bare strobe, an umbrella, or a reflector, behind a large piece of diffusion fabric. The key is how far back you position the source. Back the light up so it spreads evenly across the entire silk surface, and the silk becomes your modifier. The wider the spread hitting that diffusion material, the larger and softer the apparent source that reaches your subject. This approach is incredibly versatile because you can adjust softness on the fly just by moving the light closer to or farther from the silk.
Large silk diffusion panel with light source positioned behind it
The same physics applies when you’re working with large silk panels or scrim frames. Joel sometimes uses scrim diffusion setups where he places any light source, whether a bare strobe, an umbrella, or a reflector, behind a large piece of diffusion fabric. The key is how far back you position the source. Back the light up so it spreads evenly across the entire silk surface, and the silk becomes your modifier. The wider the spread hitting that diffusion material, the larger and softer the apparent source that reaches your subject. This approach is incredibly versatile because you can adjust softness on the fly just by moving the light closer to or farther from the silk.
What I Do Differently on Location
I shoot a lot outdoors, where I’m balancing strobes with ambient light and I can’t always control my modifier-to-subject distance. The principle I come back to constantly is this: when my light starts looking harsh in the back of the camera, my first move is to bring the modifier closer, not to swap it out. On a recent shoot in Seattle’s Pike Place Market, I was working with a single 36-inch octobox and getting crunchy shadows on my subject’s face. Closing the distance from about 6 feet to 3 feet transformed the light in one move. No new modifier. No second strobe. Just applying what Joel makes clear in this tutorial: distance is the variable you’re actually controlling when you adjust light quality.
The single most important idea to carry with you is this: a modifier’s physical size means nothing without even light distribution across its surface, and even perfectly distributed light goes harsh if you’re working too far away. Position and spread come before any purchasing decision. Before you add another modifier to your bag, try adjusting where your current one sits in relation to your subject. You’ll likely find that the gear you already own is more capable than you thought.
Watch the full tutorial on YouTube to see Joel demonstrate each of these concepts with his own gear, and pay attention to how he talks about testing your light before you commit to a setup. That testing mindset alone is worth the watch.
Comments
Leave a Comment