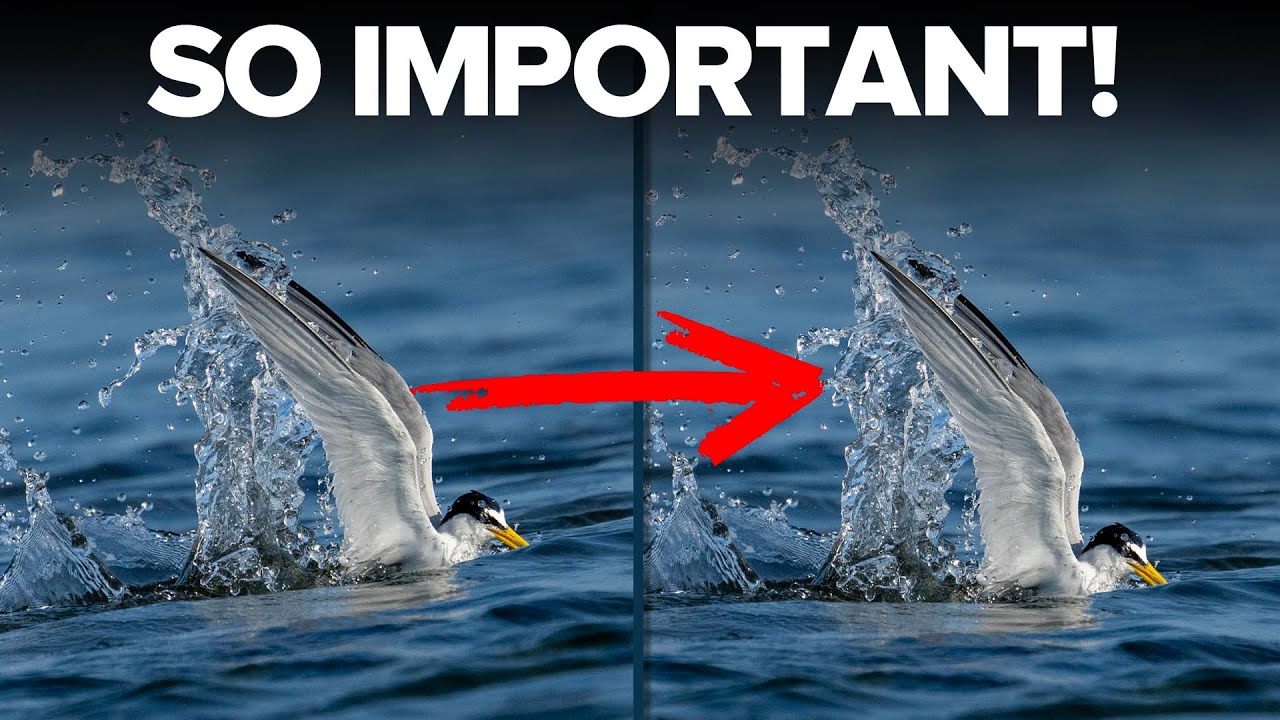
Every Sunday morning I’m out walking with my camera, and shorebirds near the water are some of my favorite subjects. I’ve spent more Sunday mornings than I’d like to admit standing at the edge of Puget Sound, thrilled with a shot in the field, only to get home and feel like something is subtly off about the image. The bird is sharp. The light is good. But the whole frame feels like it’s sliding to one side. It took me longer than I want to admit to realize the culprit was almost always a crooked horizon, hidden by the fact that water doesn’t give you obvious reference points the way a building or a tree line does.
That’s exactly the problem Matt Kloskowski tackles in this tutorial, and the moment I watched it I had that specific kind of frustration that comes from learning something you wish you’d known years earlier. Watch the full tutorial on YouTube - it’s short, practical, and the kind of thing that will permanently change how you review your water shots.
The core idea is simple but genuinely eye-opening: water photos are deceptively hard to level by eye, because the water itself fills the frame with texture rather than a clear line. But that texture is actually packed with alignment clues, if you know where to look.
Step 1: Open the Crop Tool and Switch to the Straighten Mode
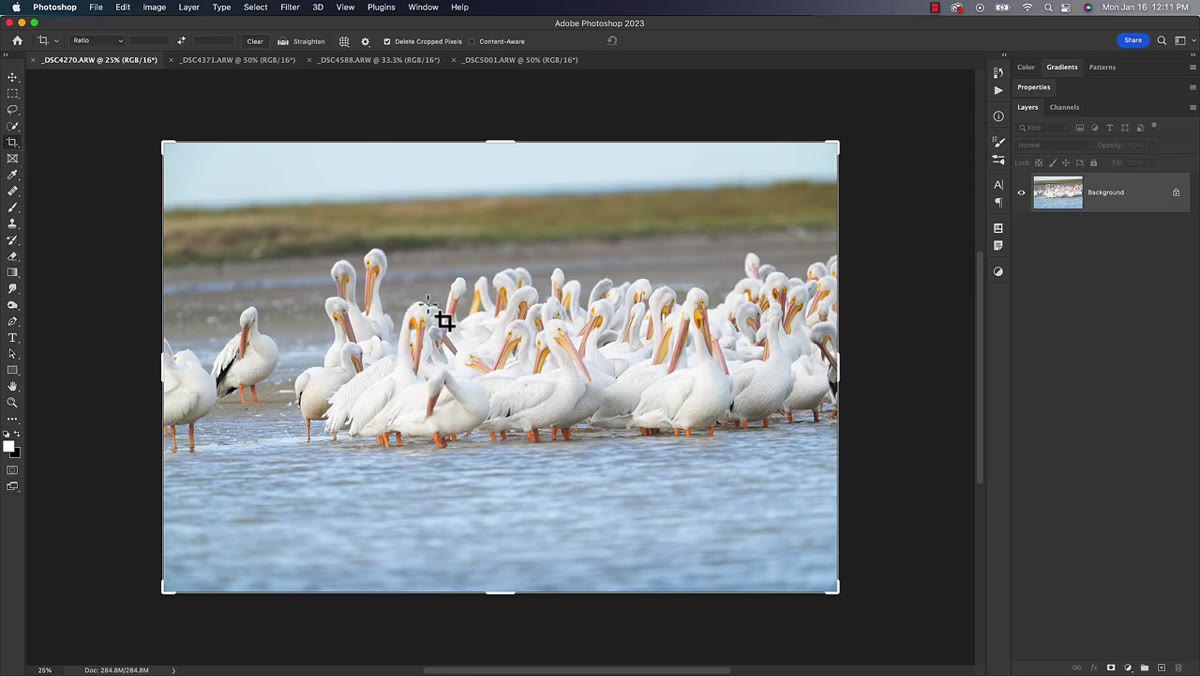 Photoshop crop tool selected, straighten tool highlighted in toolbar
In Photoshop, grab the Crop tool from the left toolbar (keyboard shortcut: C). Once it’s active, look along the top options bar for the Straighten tool - it looks like a small level icon. In Lightroom, the process is nearly identical: enter the Crop Overlay with R, and you’ll find the Angle tool or the Straighten tool right in the crop panel. Both work on the same principle. You’re not drawing a crop boundary here. You’re drawing a reference line that tells the software what “level” should mean for this particular photo.
Photoshop crop tool selected, straighten tool highlighted in toolbar
In Photoshop, grab the Crop tool from the left toolbar (keyboard shortcut: C). Once it’s active, look along the top options bar for the Straighten tool - it looks like a small level icon. In Lightroom, the process is nearly identical: enter the Crop Overlay with R, and you’ll find the Angle tool or the Straighten tool right in the crop panel. Both work on the same principle. You’re not drawing a crop boundary here. You’re drawing a reference line that tells the software what “level” should mean for this particular photo.
Step 2: Look for the Obvious Horizon First
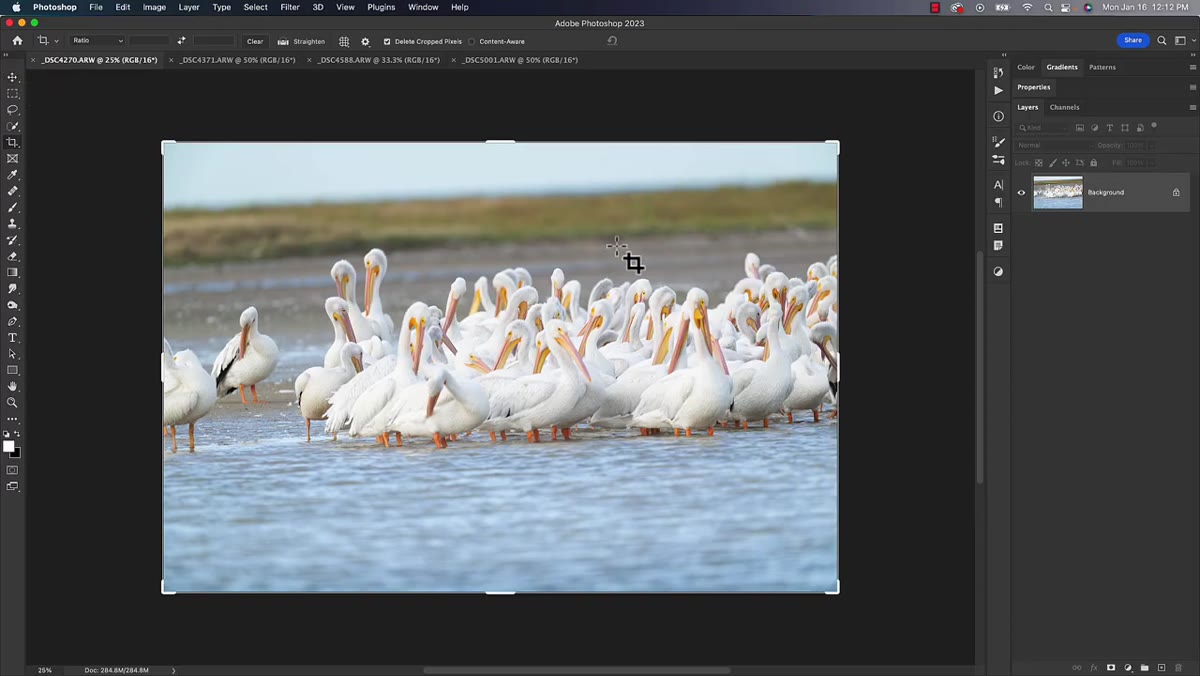 Bird photo with visible seagrass horizon line in background
Before you do anything else, scan the background of your image for any clear horizontal reference. In many coastal shots, you’ll have a distant treeline, a strip of beach grass, or the edge where water meets land. If that reference exists and it’s visible, use it. Draw your straighten line directly along it, click confirm, and you’re done. This is the easy case, and it’s worth checking before you go hunting for subtler clues. The reason this step matters is that beginners often skip the crop/straighten phase entirely during editing, especially when they’re excited about the subject. Make it a habit to check for tilt on every single water photo before you do anything else.
Bird photo with visible seagrass horizon line in background
Before you do anything else, scan the background of your image for any clear horizontal reference. In many coastal shots, you’ll have a distant treeline, a strip of beach grass, or the edge where water meets land. If that reference exists and it’s visible, use it. Draw your straighten line directly along it, click confirm, and you’re done. This is the easy case, and it’s worth checking before you go hunting for subtler clues. The reason this step matters is that beginners often skip the crop/straighten phase entirely during editing, especially when they’re excited about the subject. Make it a habit to check for tilt on every single water photo before you do anything else.
Step 3: Use the Waterline at the Bird’s Legs as Your Level
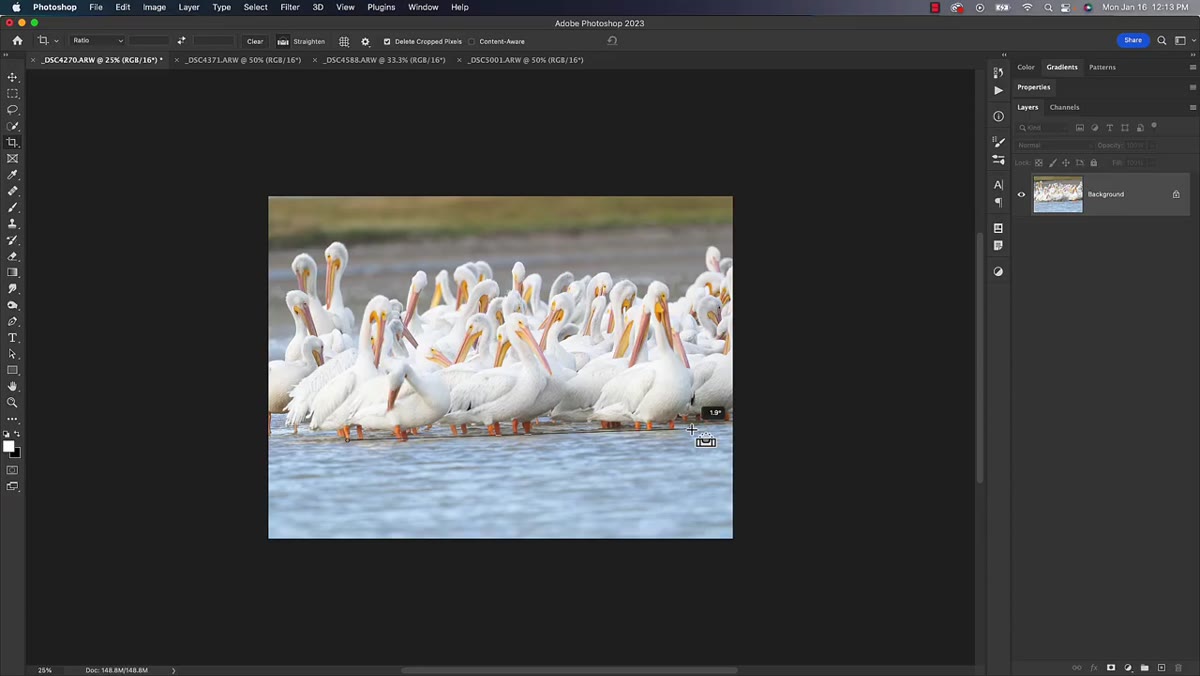
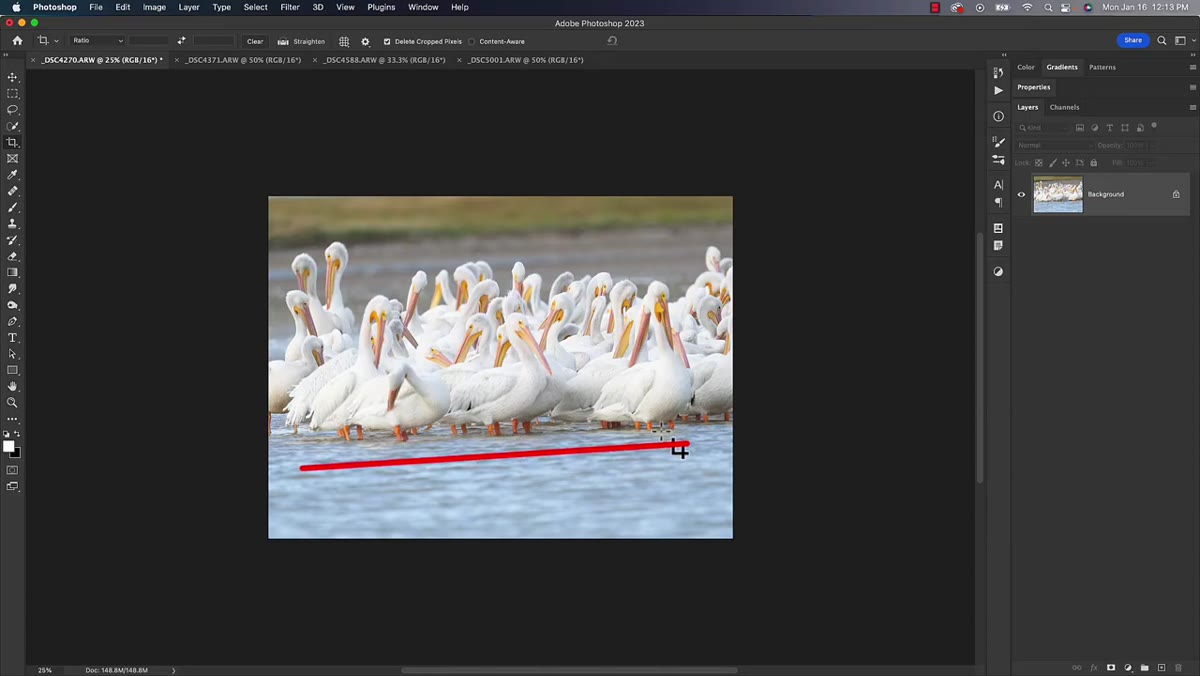 Close-up of bird’s legs in water, straighten tool being dragged along waterline
When the background horizon is cropped out or too distant to read clearly, shift your focus to the water surface right where the bird is standing. If the bird’s legs are submerged even slightly, there’s a waterline - the point where leg meets water. On a properly leveled image, that waterline should run horizontally across the frame. Draw your straighten line from one leg’s waterline point across to the same level on the other side. If the bird is the only subject, use the water surface immediately surrounding the feet. This is one of those small observations that sounds obvious once someone says it out loud, but it genuinely never occurred to me until I saw it demonstrated.
Close-up of bird’s legs in water, straighten tool being dragged along waterline
When the background horizon is cropped out or too distant to read clearly, shift your focus to the water surface right where the bird is standing. If the bird’s legs are submerged even slightly, there’s a waterline - the point where leg meets water. On a properly leveled image, that waterline should run horizontally across the frame. Draw your straighten line from one leg’s waterline point across to the same level on the other side. If the bird is the only subject, use the water surface immediately surrounding the feet. This is one of those small observations that sounds obvious once someone says it out loud, but it genuinely never occurred to me until I saw it demonstrated.
Step 4: Read the Ripple Texture as an Alignment Guide
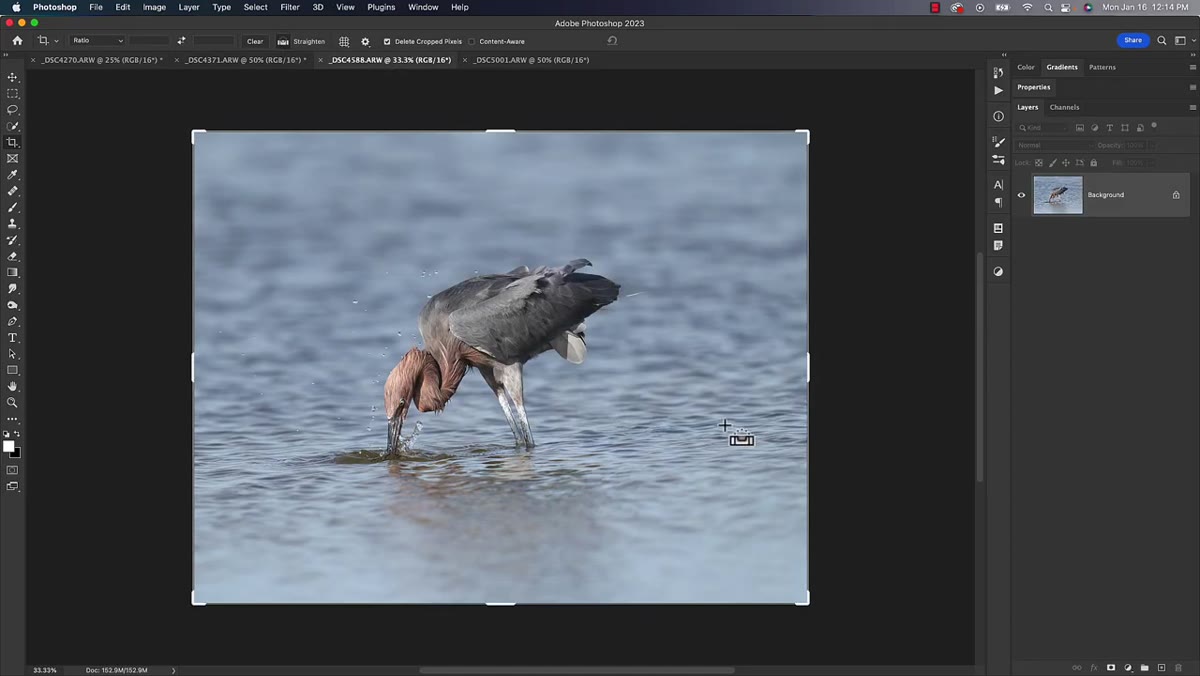
 Ripple patterns in water showing diagonal slant, straighten line being drawn along ripples
This is the technique that really stuck with me. Even when you can’t see legs or a background line, the water itself tells you when something is crooked. Natural ripples and wave patterns in calm water travel in roughly parallel horizontal bands. If those bands are angling upward or downward across your frame, the camera was tilted when you shot. Drag your straighten line along one of those ripple bands rather than the horizon, and the software will calculate the correction angle. It sounds subtle, but once you train your eye to see ripple angle, you will never stop seeing it in photos - yours and everyone else’s.
Ripple patterns in water showing diagonal slant, straighten line being drawn along ripples
This is the technique that really stuck with me. Even when you can’t see legs or a background line, the water itself tells you when something is crooked. Natural ripples and wave patterns in calm water travel in roughly parallel horizontal bands. If those bands are angling upward or downward across your frame, the camera was tilted when you shot. Drag your straighten line along one of those ripple bands rather than the horizon, and the software will calculate the correction angle. It sounds subtle, but once you train your eye to see ripple angle, you will never stop seeing it in photos - yours and everyone else’s.
Step 5: Confirm the Correction and Re-evaluate the Crop
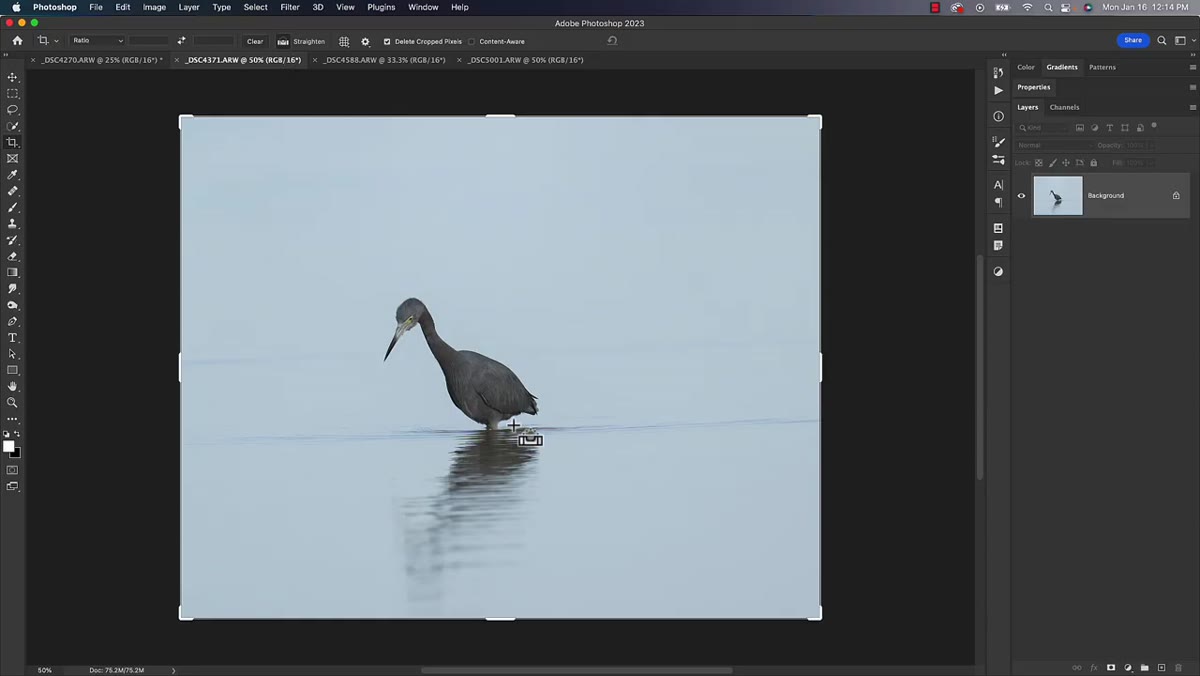 Corrected bird photo after straightening, crop boundary adjusted around image
After you confirm the straighten, the software will rotate the image and usually auto-crop to remove the blank corner triangles that rotation creates. Check that the crop still works compositionally. A significant rotation might bite into a wing tip or trim the bird’s reflection in a way that hurts the image. If that happens, zoom out slightly before straightening so you have more pixels to work with, or plan to use content-aware fill on small corner gaps. This is worth keeping in mind at the shooting stage too: giving yourself a little extra space around your subject in-camera preserves more options in post.
Corrected bird photo after straightening, crop boundary adjusted around image
After you confirm the straighten, the software will rotate the image and usually auto-crop to remove the blank corner triangles that rotation creates. Check that the crop still works compositionally. A significant rotation might bite into a wing tip or trim the bird’s reflection in a way that hurts the image. If that happens, zoom out slightly before straightening so you have more pixels to work with, or plan to use content-aware fill on small corner gaps. This is worth keeping in mind at the shooting stage too: giving yourself a little extra space around your subject in-camera preserves more options in post.
Step 6: Repeat the Check on Every Water Photo in a Shoot
 Multiple bird photos shown side by side in Lightroom grid view
The tilt in water photos is rarely dramatic. It’s usually one or two degrees - just enough to make the image feel uneasy without the viewer being able to name why. Because it’s so subtle, it’s easy to approve a photo in a quick pass and miss it. Matt’s recommendation, and mine after watching this, is to make the straighten check a dedicated stop in your editing workflow for any shot involving water. In Lightroom, you can use the Crop Overlay on every image in a series without breaking your culling rhythm. Build it into the habit so it’s not something you remember to do occasionally. It’s something you always do.
Multiple bird photos shown side by side in Lightroom grid view
The tilt in water photos is rarely dramatic. It’s usually one or two degrees - just enough to make the image feel uneasy without the viewer being able to name why. Because it’s so subtle, it’s easy to approve a photo in a quick pass and miss it. Matt’s recommendation, and mine after watching this, is to make the straighten check a dedicated stop in your editing workflow for any shot involving water. In Lightroom, you can use the Crop Overlay on every image in a series without breaking your culling rhythm. Build it into the habit so it’s not something you remember to do occasionally. It’s something you always do.
A Note on Shooting Into Light and Backlit Water
One situation where this technique gets tricky is when you’re shooting into the sun and the water is all glare. The ripple texture disappears into blown-out highlights, and the waterline at the bird’s legs can be almost impossible to read. My workaround is to check the horizon in the darkest part of the frame - usually a shadow area or the bird’s silhouette edge against the bright water. Failing that, I’ll use the bird’s body posture as a rough guide. A standing heron holds itself vertically, and if the bird looks like it’s leaning, that’s a flag to look harder for a reference point. It’s not perfect, but it gets you most of the way there when the water isn’t cooperating.
The single most important thing to take from this technique is that water is not a featureless background - it’s full of horizontal reference information that your straighten tool can use. Ripple lines, leg waterlines, distant shorelines. Once you start looking for them, you’ll find a usable reference in almost every water photo you’ve ever taken.
Watch the full tutorial on YouTube to see Matt walk through multiple real examples side by side. Seeing the before and after on several different images in quick succession is what makes the tilt finally click visually - and once you see it, you really can’t unsee it.
Comments
Leave a Comment