Light direction is something I think about on almost every shoot. Where is it coming from? What is it hitting? What is it missing? But for a long time, I thought about those questions only in terms of a single source - one window, one flash, one reflector. It wasn’t until I started digging into the concept of global illumination that I realized the absence of direction is just as powerful a tool to understand as direction itself. Watch the full tutorial on YouTube to follow along with the original explanation.
In this Visual Education tutorial, the concept gets broken down in a way that finally made it click for me. Global illumination isn’t just a fancy term from 3D rendering software. It’s a real optical principle, and understanding it changes how you read any lighting setup - whether you’re in a studio, on a street corner, or standing outside on a heavily overcast day wondering why your portraits look so flat.
The short version is this: the more directions light comes from simultaneously, the fewer shadows you get. Push that idea to its logical extreme and you get something that sounds almost impossible - light from everywhere at once. No single source. No dominant angle. And no shadows. Here’s how to actually think through that concept in a way you can apply to your own work.
Step 1: Understand What “Direction” Actually Means in a Lighting Setup
 Presenter speaking directly to camera about light direction
Before you can use global illumination as a concept, you need to be clear on what directional light actually does to a scene. A single light source - a bare flash, a window on one wall, the sun on a clear afternoon - creates shadows that fall predictably away from the source. The stronger and more focused the source, the harder and more defined those shadows become. This is the foundation everything else builds on.
Presenter speaking directly to camera about light direction
Before you can use global illumination as a concept, you need to be clear on what directional light actually does to a scene. A single light source - a bare flash, a window on one wall, the sun on a clear afternoon - creates shadows that fall predictably away from the source. The stronger and more focused the source, the harder and more defined those shadows become. This is the foundation everything else builds on.
When you understand that shadows are simply the absence of light on the side of an object facing away from your source, you can start to ask: what happens when you add more sources? Each new light fills in some of those shadows. Add enough sources from enough angles, and the shadows start to shrink and soften until they almost disappear entirely.
Step 2: Grasp Why a Shadowless Environment Is Theoretically Possible
 Presenter explaining the relationship between direction and shadows
The tutorial makes a point that I find genuinely useful for beginners: light that comes from all directions at once produces no visible shadows. The reasoning is straightforward once you hear it. If every angle around a subject is a light source, there is no unlit side. Every surface is receiving photons from somewhere.
Presenter explaining the relationship between direction and shadows
The tutorial makes a point that I find genuinely useful for beginners: light that comes from all directions at once produces no visible shadows. The reasoning is straightforward once you hear it. If every angle around a subject is a light source, there is no unlit side. Every surface is receiving photons from somewhere.
The one small caveat worth knowing is that true zero-shadow conditions are essentially impossible in the physical world. Something will always block light from reaching some surface - including the subject itself. The presenter points out, with some humor, that you’ll still have a shadow under your feet because your own body is blocking the light from below. That detail isn’t a flaw in the theory. It’s actually a useful reminder that shadows tell you where light physically cannot reach.
Step 3: Recognize That Global Illumination Means the Largest Possible Light Source
 Presenter describing light coming from everywhere as one large source
Here’s the reframe that made the biggest difference for me personally. When light comes from all directions, it’s not that you have many small sources - it’s that the entire surrounding environment becomes one enormous source. And this connects directly to something most photographers learn early: larger light sources produce softer, more flattering light.
Presenter describing light coming from everywhere as one large source
Here’s the reframe that made the biggest difference for me personally. When light comes from all directions, it’s not that you have many small sources - it’s that the entire surrounding environment becomes one enormous source. And this connects directly to something most photographers learn early: larger light sources produce softer, more flattering light.
A small bare flash a meter away from your subject gives you harsh, high-contrast light. A large softbox gives you something gentler. An overcast sky gives you something gentler still, because now your light source is essentially the entire cloud layer above you - which is massive. Global illumination takes that principle to its endpoint. The source is everything, everywhere. The result is the softest, most diffuse light physically achievable.
Step 4: Picture the Ideal Physical Setup - a Full Hemisphere Studio
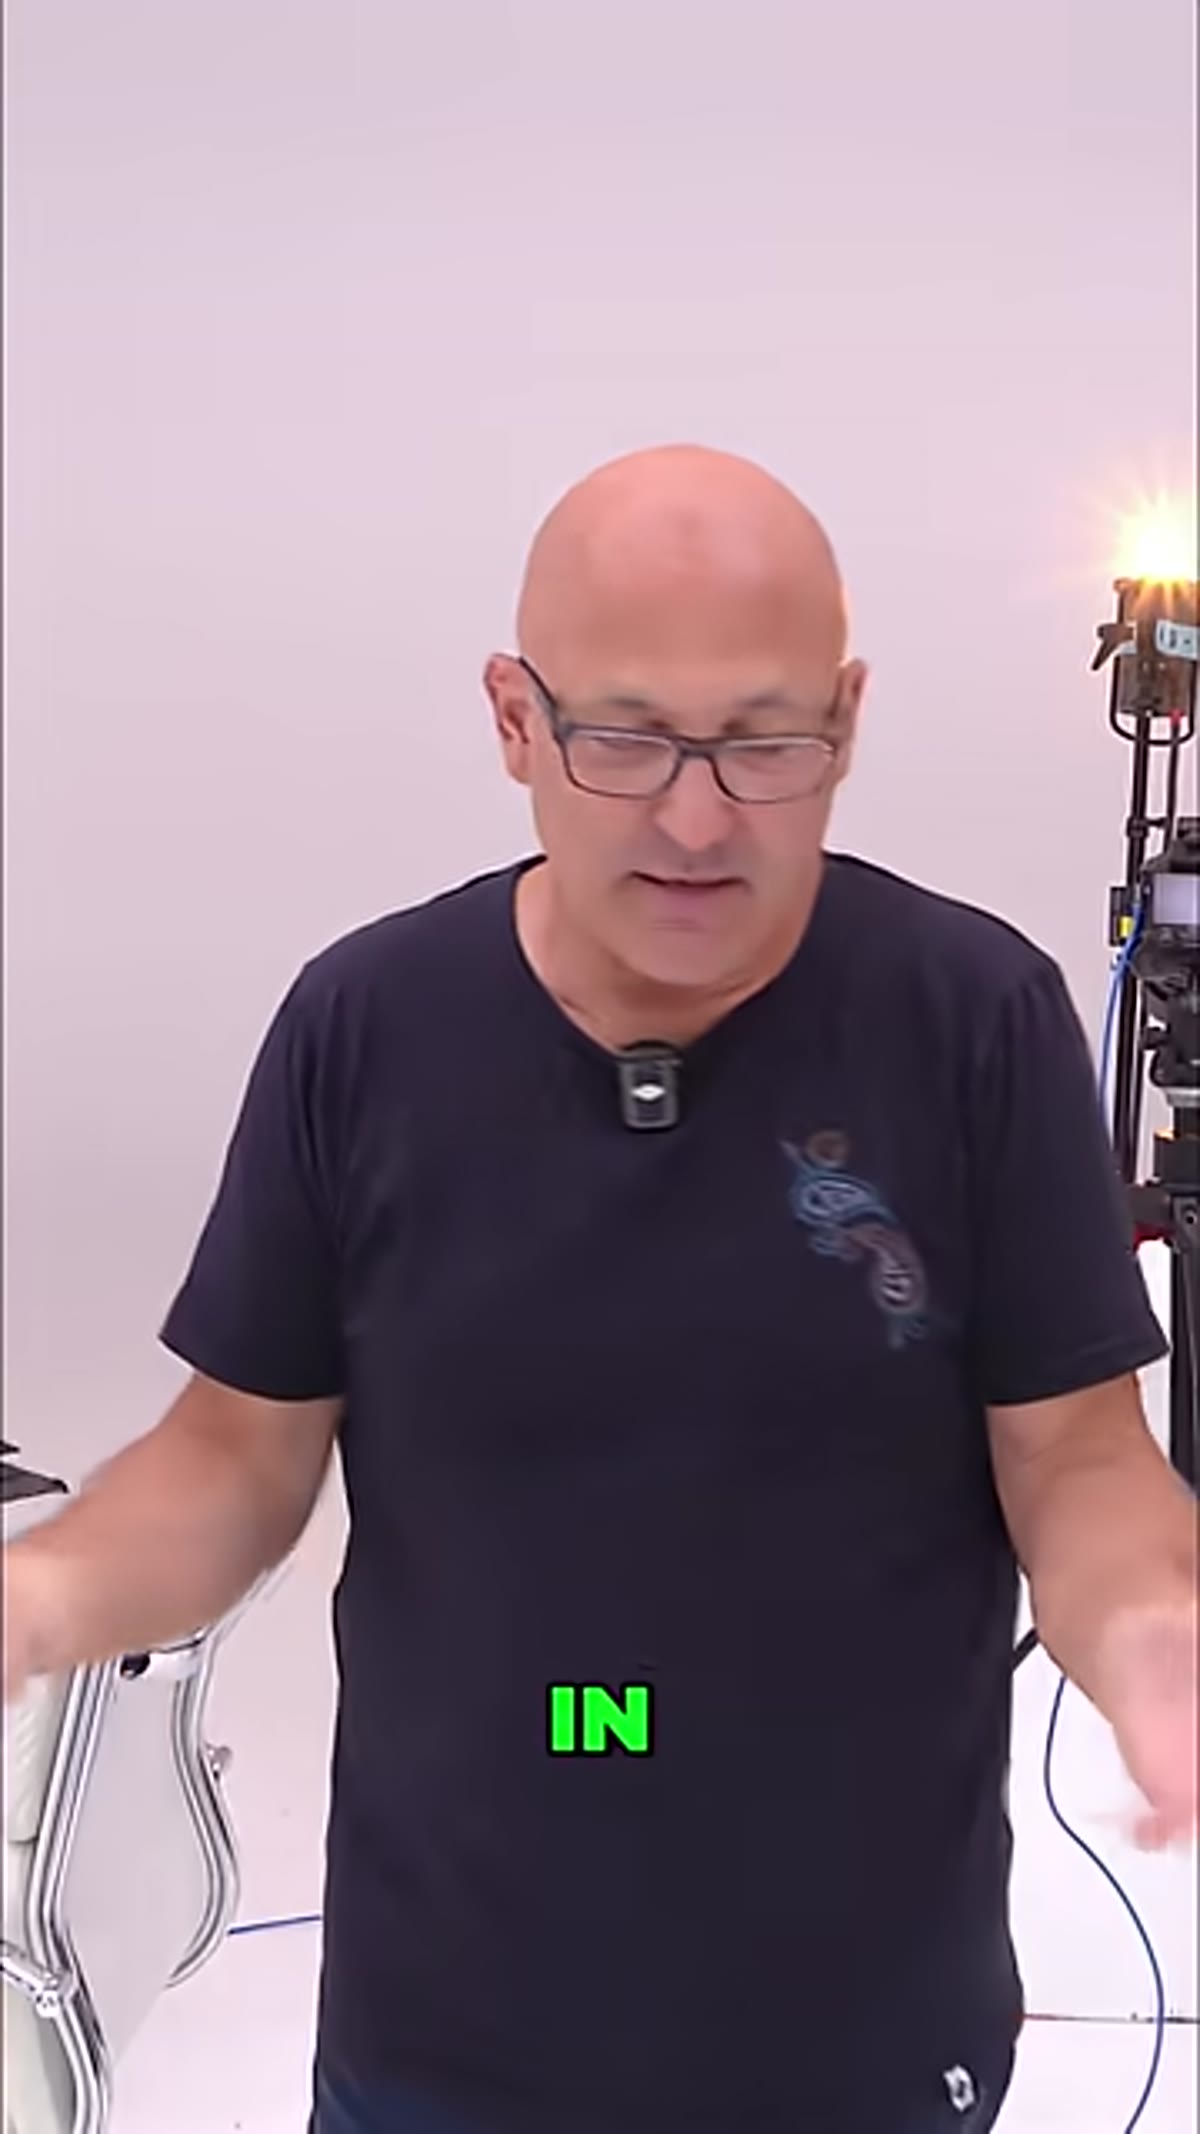 Presenter describing a dome-shaped all-white seamless studio
To make this concrete, the tutorial describes what a purpose-built global illumination studio would actually look like. Imagine a half-sphere - a dome shape - constructed from seamless white material. On the outside of that dome, you pack in as many lights as you can. Those lights shine through the material rather than bouncing off it, so the entire interior surface of the dome becomes a uniform, seamless emitter of light.
Presenter describing a dome-shaped all-white seamless studio
To make this concrete, the tutorial describes what a purpose-built global illumination studio would actually look like. Imagine a half-sphere - a dome shape - constructed from seamless white material. On the outside of that dome, you pack in as many lights as you can. Those lights shine through the material rather than bouncing off it, so the entire interior surface of the dome becomes a uniform, seamless emitter of light.
Your subject sits in the center of that hemisphere and receives light from every direction equally. There are no walls casting one dominant bounce. There are no gaps where shadow can creep in. It’s an engineering thought experiment more than a practical studio spec, but it’s a brilliant way to visualize the concept. If you’ve ever shot in a large, all-white cyclorama studio with heavy lighting from multiple angles, you’ve gotten a partial taste of this effect.
Step 5: Understand Why This Much Softness Can Actually Work Against You
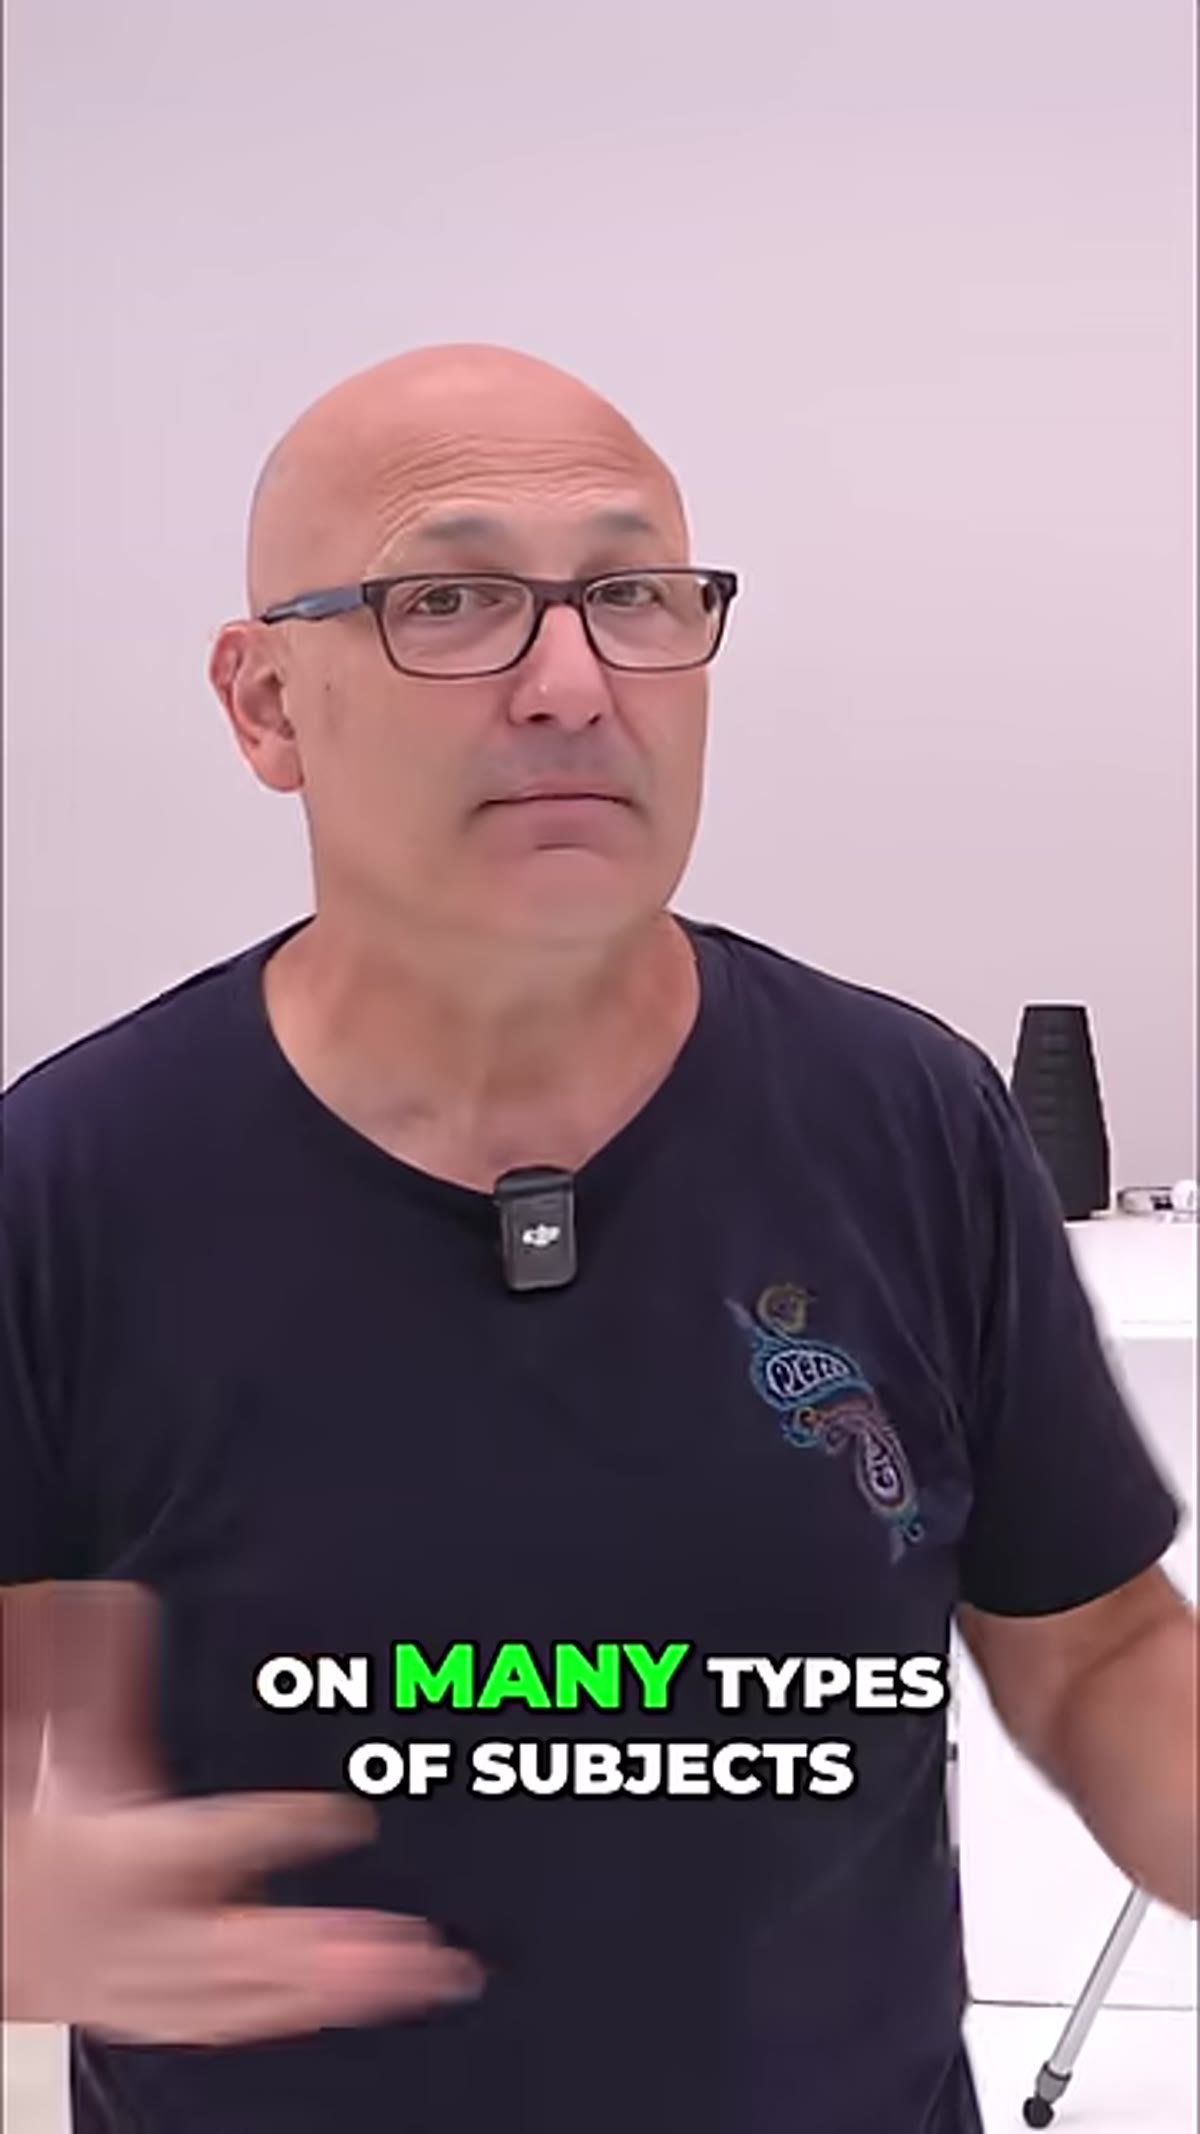 Presenter noting that flat shadowless light can look boring on some subjects
This is the part of the tutorial I want to make sure doesn’t get skipped, because it’s where the real practical wisdom lives. A fully shadowless environment produces light that is, to use the presenter’s word, boring. And I think that’s exactly the right word.
Presenter noting that flat shadowless light can look boring on some subjects
This is the part of the tutorial I want to make sure doesn’t get skipped, because it’s where the real practical wisdom lives. A fully shadowless environment produces light that is, to use the presenter’s word, boring. And I think that’s exactly the right word.
Shadows are what reveal form. They tell a viewer that a nose is three-dimensional, that a fabric has texture, that a landscape has depth. When you remove every shadow from a portrait, skin can look oddly flat. Product shots can lose the tactile quality that makes them feel real. Architecture shot under dead-flat light looks like a technical drawing rather than a place. Global illumination is a useful limit to understand - but pushing toward it intentionally is only the right move for specific subjects and specific goals.
What I Actually Do With This Knowledge on Real Shoots
I don’t have a hemisphere studio. I don’t think most of us do. But understanding global illumination has genuinely changed how I troubleshoot problem lighting situations. When a subject looks flat and lifeless, I now ask myself if I’ve accidentally chased too much softness - too many bounces, too many fill lights, too much ambient coming from all directions. Sometimes the fix isn’t adding more light. It’s subtracting some to let a single direction dominate again.
On my Sunday morning photo walks around Seattle, I’ve started paying attention to the light quality between buildings in overcast weather versus the moment the sun cuts through. The difference is almost always about direction. The flat overcast days produce images that need something extra - a person, a subject with strong graphic shape, a composition that creates its own structure. The directional light makes almost anything look interesting on its own.
The single most useful thing to take away from this tutorial is that light quality and light direction are not the same variable. You can have soft light with strong direction. You can have hard light with almost no directionality at all. Global illumination sits at one extreme of the direction spectrum, and knowing that extreme exists helps you understand every point between it and a bare flash on a boom arm.
Watch the full tutorial on YouTube - the Visual Education channel consistently explains concepts like this with a clarity that takes me back to when I first started making sense of light, and this one is worth a watch even if you’ve been shooting for years.
Comments (3)
Tried this technique this morning. Game changer for real.
The before and after really sells it. Incredible difference.
Couldn't agree more. I've seen this make a huge difference in photoshop work specifically.
Leave a Comment