When I first started building out a home studio setup, I made every rookie mistake in the book. I bought modifiers I didn’t understand, placed them wherever felt intuitive, and wondered why my portraits still looked harsh and flat. The white shoot-through umbrella was the first modifier that genuinely changed that, mostly because it’s cheap enough that I wasn’t afraid to experiment with it. But “cheap and forgiving” doesn’t mean you can just point it at your subject and call it a day. There’s a right way to use one, and getting it wrong wastes both light and money.
Kyle Taylor from Visual Education put together a really detailed breakdown of exactly this modifier, covering not just what it does but the specific setup decisions that make or break your results. Watch the full tutorial on YouTube if you want to see it demonstrated live. But if you want a written reference you can actually pull up mid-setup, here’s how it all works.
Step 1: Understand What You’re Actually Buying
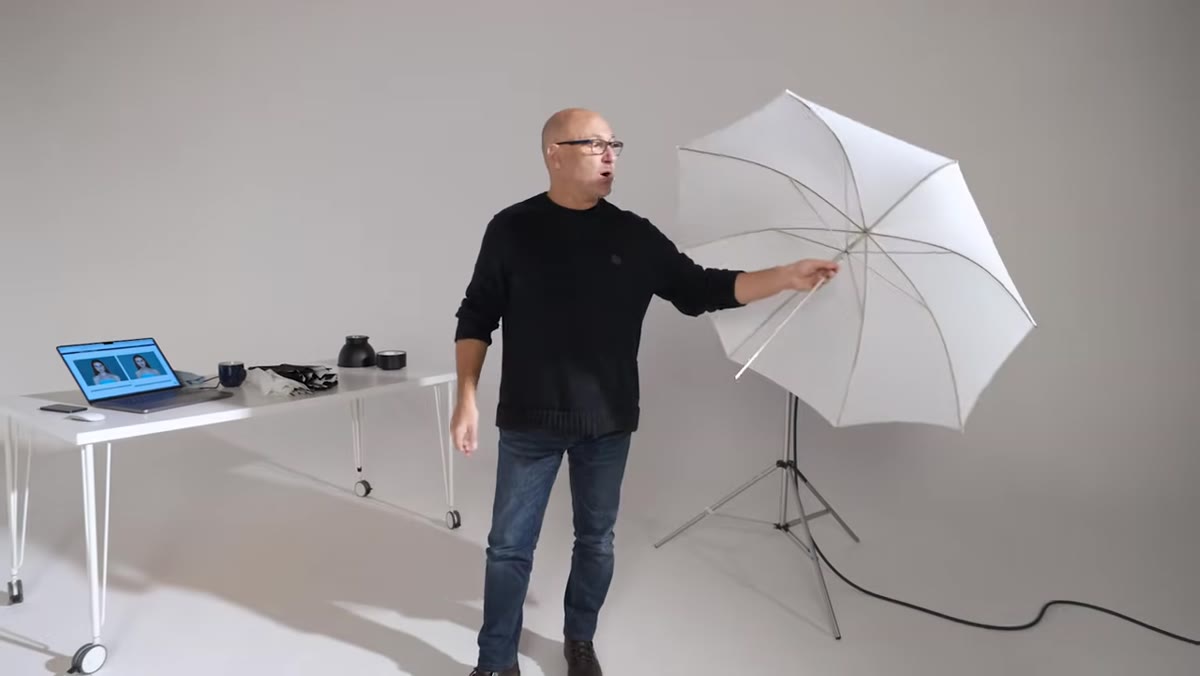 White translucent umbrella held open showing fabric diffusion material
A white shoot-through umbrella is, at its core, a single layer of diffusion material stretched over an umbrella frame. That diffusion material is functionally similar to what you’d find on the front panel of a softbox, but it’s one layer rather than two, and it has no internal silver lining to bounce and redirect light. You’re simply firing your strobe or flash through the fabric and using the umbrella’s diameter to create a larger, softer light source than your bare bulb provides. These run as low as $10 from independent brands, and a 105 cm (roughly 33-inch) diameter is a solid starting size for most portrait work. Larger sizes exist and work on the same principles.
White translucent umbrella held open showing fabric diffusion material
A white shoot-through umbrella is, at its core, a single layer of diffusion material stretched over an umbrella frame. That diffusion material is functionally similar to what you’d find on the front panel of a softbox, but it’s one layer rather than two, and it has no internal silver lining to bounce and redirect light. You’re simply firing your strobe or flash through the fabric and using the umbrella’s diameter to create a larger, softer light source than your bare bulb provides. These run as low as $10 from independent brands, and a 105 cm (roughly 33-inch) diameter is a solid starting size for most portrait work. Larger sizes exist and work on the same principles.
Step 2: Don’t Use It with a Bare Bulb Setup
 Bare bulb studio strobe firing with no reflector attached
This one surprised me when I first saw it explained clearly. You can technically mount a shoot-through umbrella directly onto a bare bulb strobe, but it’s an inefficient way to work. With no reflector attached, light sprays in every direction. A significant portion escapes sideways, bouncing around your studio walls and ceiling before it ever reaches your subject. That scattered light fills in shadows you might actually want, and it means you’re losing a lot of your light energy before it does any useful work. Unless you’re deliberately going for a soft, ambient, shadow-free look in a small space, this approach costs you more than it gives you.
Bare bulb studio strobe firing with no reflector attached
This one surprised me when I first saw it explained clearly. You can technically mount a shoot-through umbrella directly onto a bare bulb strobe, but it’s an inefficient way to work. With no reflector attached, light sprays in every direction. A significant portion escapes sideways, bouncing around your studio walls and ceiling before it ever reaches your subject. That scattered light fills in shadows you might actually want, and it means you’re losing a lot of your light energy before it does any useful work. Unless you’re deliberately going for a soft, ambient, shadow-free look in a small space, this approach costs you more than it gives you.
Step 3: Skip the Standard Reflector Too
 Standard reflector mounted on strobe showing narrow beam angle
Most studio strobes ship with a standard reflector, and that standard reflector has a hole in it specifically so you can pass an umbrella stem through. Logical, right? The problem is that a standard reflector concentrates your beam to roughly a 70-degree spread. For a shoot-through umbrella, especially one larger than 33 inches, that tight beam means the light hits the center of the umbrella much harder than the edges. You end up with uneven illumination across the fabric, which defeats the purpose of using a large, soft modifier in the first place.
Standard reflector mounted on strobe showing narrow beam angle
Most studio strobes ship with a standard reflector, and that standard reflector has a hole in it specifically so you can pass an umbrella stem through. Logical, right? The problem is that a standard reflector concentrates your beam to roughly a 70-degree spread. For a shoot-through umbrella, especially one larger than 33 inches, that tight beam means the light hits the center of the umbrella much harder than the edges. You end up with uneven illumination across the fabric, which defeats the purpose of using a large, soft modifier in the first place.
Step 4: Use a Wide-Angle Reflector Instead
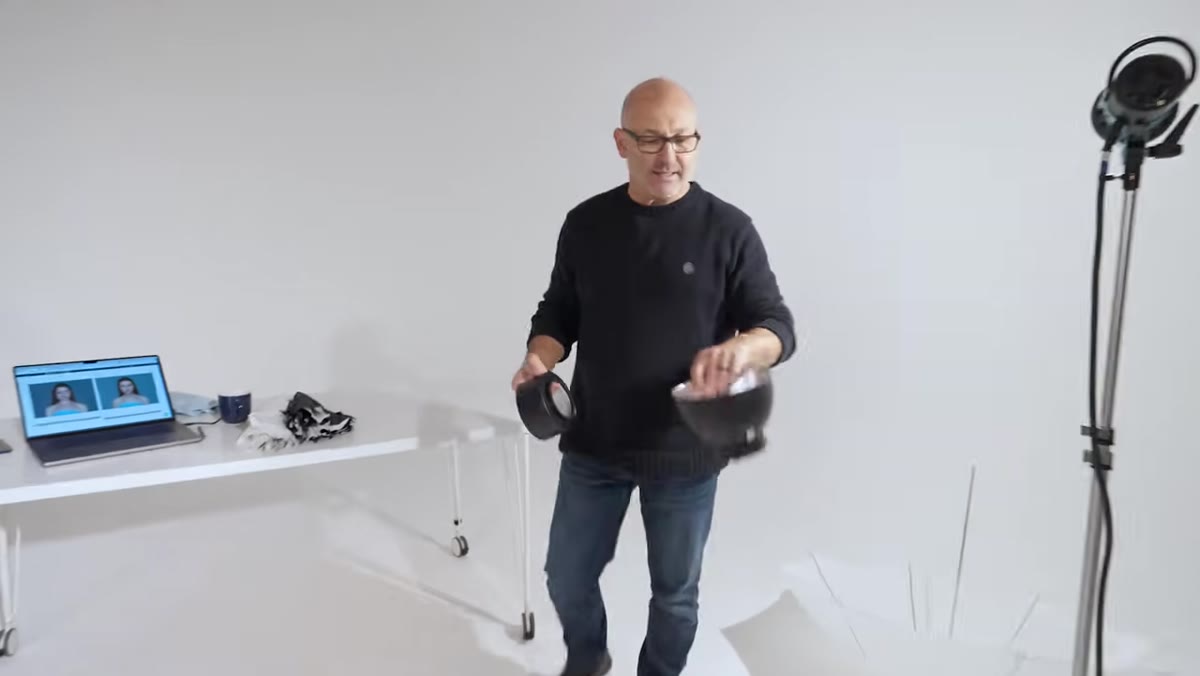
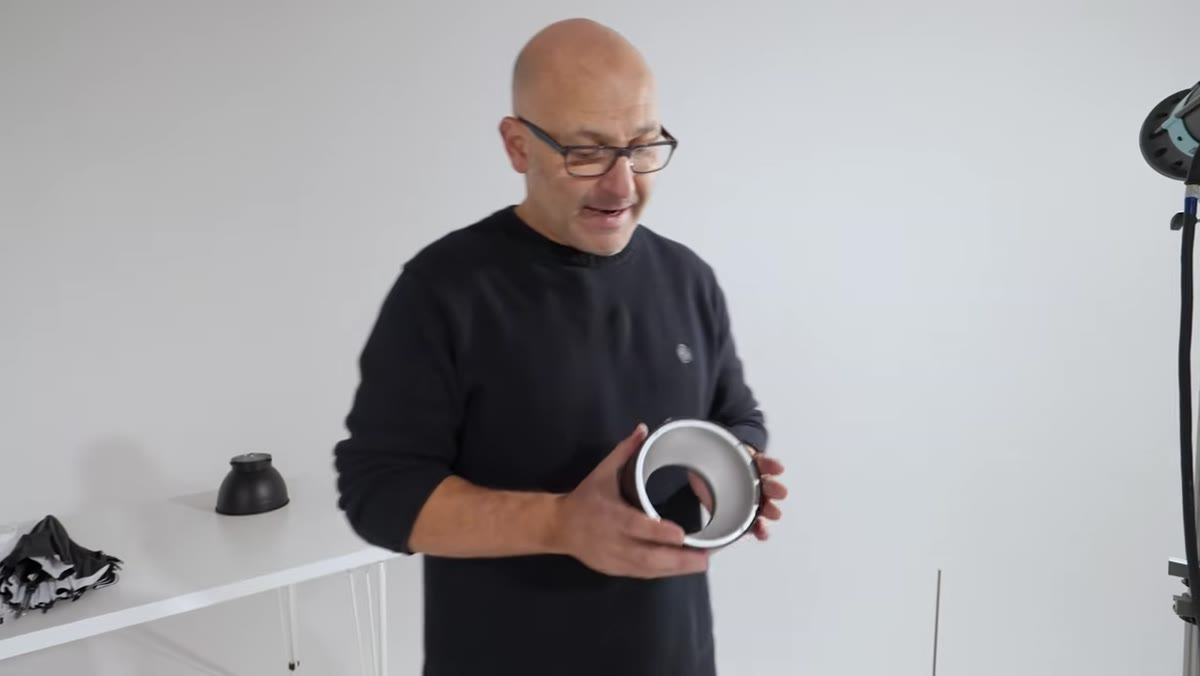 Wide reflector being attached to strobe, shorter and stubbier than standard
The fix is straightforward once you know it exists: swap in a wide-angle reflector. These are shorter and stubbier than standard reflectors, and they spread light at a broader angle. The wider spread means more of your umbrella’s surface area gets hit with even light, which gives you the smooth, consistent diffusion you’re actually after. The wide reflector still prevents light from spraying out sideways, so you’re not losing energy the way you do with a bare bulb, but it opens the beam enough to fill the umbrella properly. If your strobe kit didn’t come with one, they’re inexpensive to add and genuinely worth it if umbrellas are part of your regular toolkit.
Wide reflector being attached to strobe, shorter and stubbier than standard
The fix is straightforward once you know it exists: swap in a wide-angle reflector. These are shorter and stubbier than standard reflectors, and they spread light at a broader angle. The wider spread means more of your umbrella’s surface area gets hit with even light, which gives you the smooth, consistent diffusion you’re actually after. The wide reflector still prevents light from spraying out sideways, so you’re not losing energy the way you do with a bare bulb, but it opens the beam enough to fill the umbrella properly. If your strobe kit didn’t come with one, they’re inexpensive to add and genuinely worth it if umbrellas are part of your regular toolkit.
Step 5: Position the Umbrella at the Right Depth
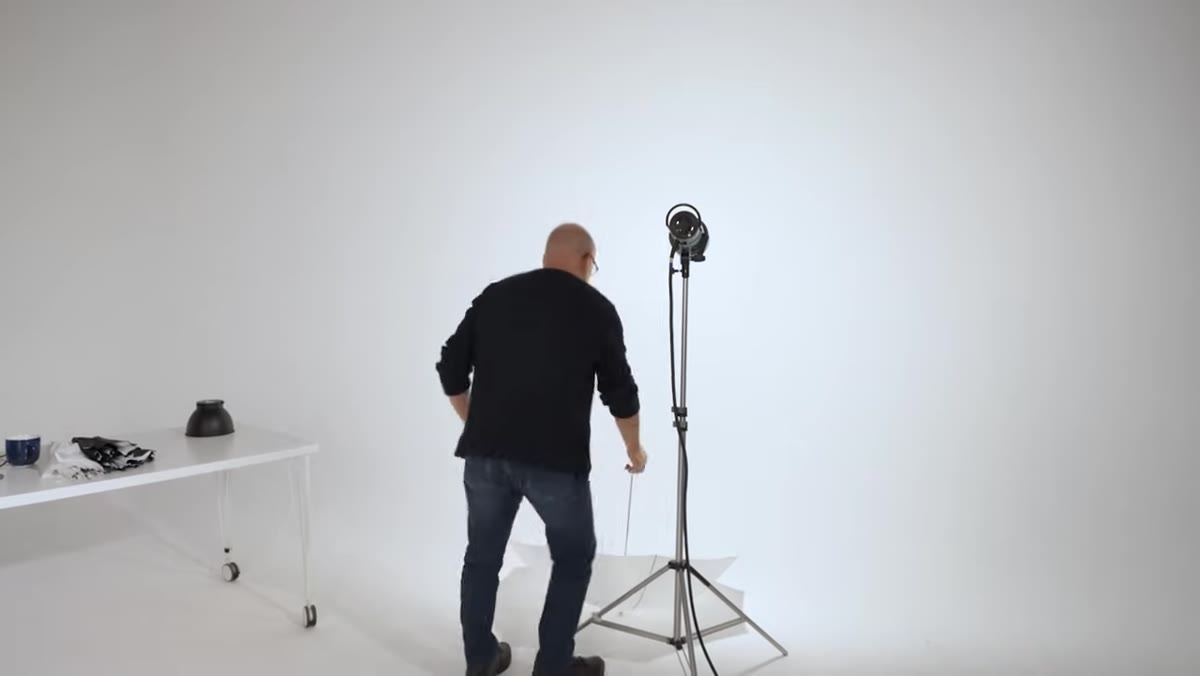 Umbrella partially inserted showing edge darkening from incorrect depth
Here’s the step that I see skipped most often, and it’s probably the most important one. Once your wide reflector is attached and your umbrella is mounted, you need to pay attention to how far the umbrella sits from the light source along the stem. If the umbrella is pushed in too close, the beam from your reflector won’t reach the outer edges of the fabric. You’ll see darker areas forming at the perimeter of the umbrella, meaning only the center portion is actually contributing soft light. That’s not a large source anymore, it’s a medium source with wasted edges.
Umbrella partially inserted showing edge darkening from incorrect depth
Here’s the step that I see skipped most often, and it’s probably the most important one. Once your wide reflector is attached and your umbrella is mounted, you need to pay attention to how far the umbrella sits from the light source along the stem. If the umbrella is pushed in too close, the beam from your reflector won’t reach the outer edges of the fabric. You’ll see darker areas forming at the perimeter of the umbrella, meaning only the center portion is actually contributing soft light. That’s not a large source anymore, it’s a medium source with wasted edges.
Step 6: Pull the Umbrella Out Until the Whole Surface Lights Up
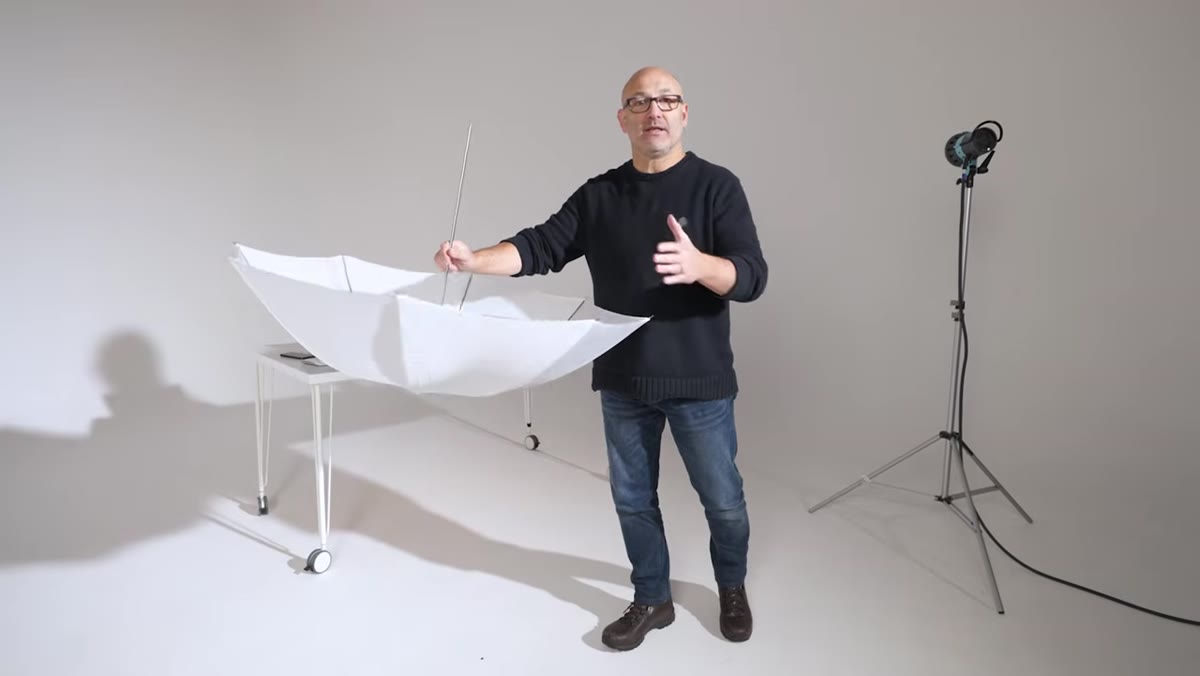
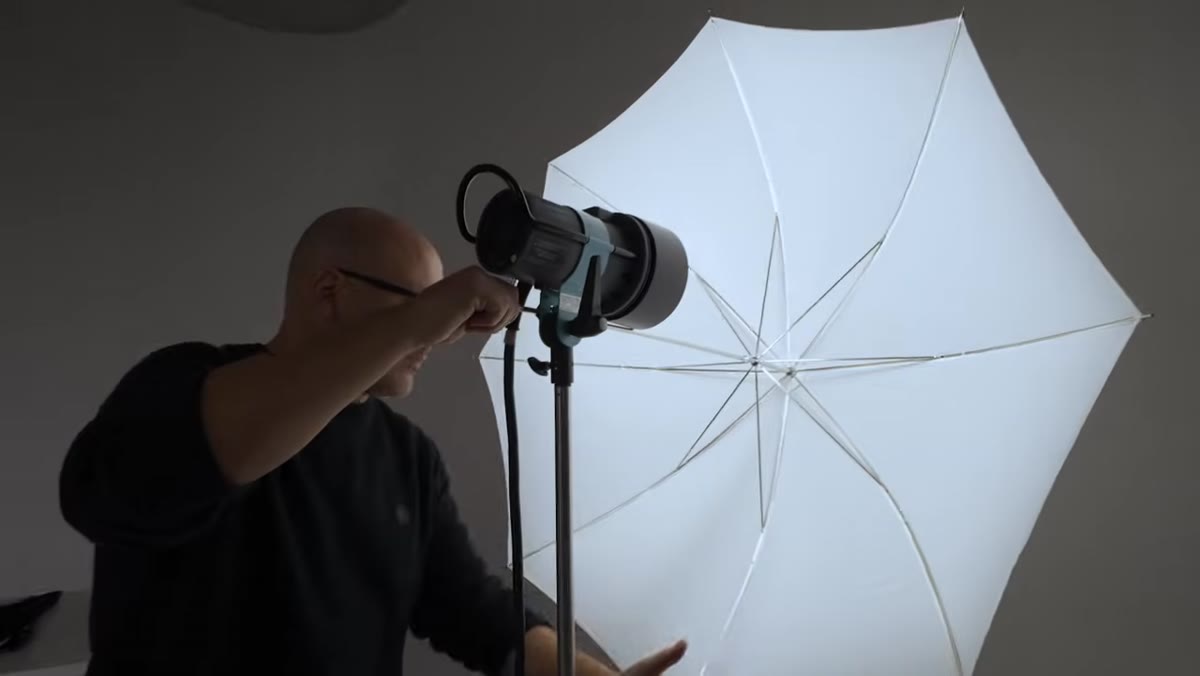 Umbrella pulled to correct distance showing even illumination across full surface
The fix is to physically slide the umbrella further out along the stem, away from the strobe head, until the beam fully covers the entire umbrella surface with even light. You’re looking for consistent brightness from the center all the way to the edges, with no visible falloff. The exact distance will vary depending on your specific reflector and umbrella size, so take a moment to eyeball it before you shoot. This is one of those adjustments that sounds minor but dramatically changes the quality of light your subject actually receives. A fully illuminated umbrella is doing its job. A partially illuminated one is just a smaller, less efficient modifier pretending to be a big soft one.
Umbrella pulled to correct distance showing even illumination across full surface
The fix is to physically slide the umbrella further out along the stem, away from the strobe head, until the beam fully covers the entire umbrella surface with even light. You’re looking for consistent brightness from the center all the way to the edges, with no visible falloff. The exact distance will vary depending on your specific reflector and umbrella size, so take a moment to eyeball it before you shoot. This is one of those adjustments that sounds minor but dramatically changes the quality of light your subject actually receives. A fully illuminated umbrella is doing its job. A partially illuminated one is just a smaller, less efficient modifier pretending to be a big soft one.
My Experience: The Softbox Comparison Worth Knowing About
I’ve used shoot-through umbrellas alongside softboxes regularly, and there are real tradeoffs beyond the price difference. Umbrellas are faster to set up and easier to transport, which matters a lot on location shoots. But because there’s no housing around them, light does spill in more directions than a softbox allows. In a small room with white walls, that spill actually works in your favor by bouncing back and wrapping the light nicely. In a large dark studio, it can feel like you’re fighting the environment. I tend to reach for my umbrella when I’m shooting lifestyle or environmental portraits where a little ambient bounce helps the image feel natural, and I switch to a softbox when I need tighter control, like product work or anything where shadow placement is critical. Neither modifier is universally better. They solve different problems.
The single most important thing I took away from this tutorial is the umbrella positioning step. The difference between a partially lit umbrella and a fully lit one isn’t subtle, and it’s easy to set up wrong and never know it. Get your wide reflector, thread the stem through, and then take thirty seconds to slide that umbrella out until the whole surface glows evenly before you take a single test shot.
Watch the full tutorial on YouTube to see Kyle demonstrate all of this with live light comparisons. Seeing the beam angles and shadow behavior in real time makes the setup logic click in a way that reading alone doesn’t fully capture.
Comments (1)
I've been looking for exactly this kind of tutorial. Perfect timing.
Leave a Comment