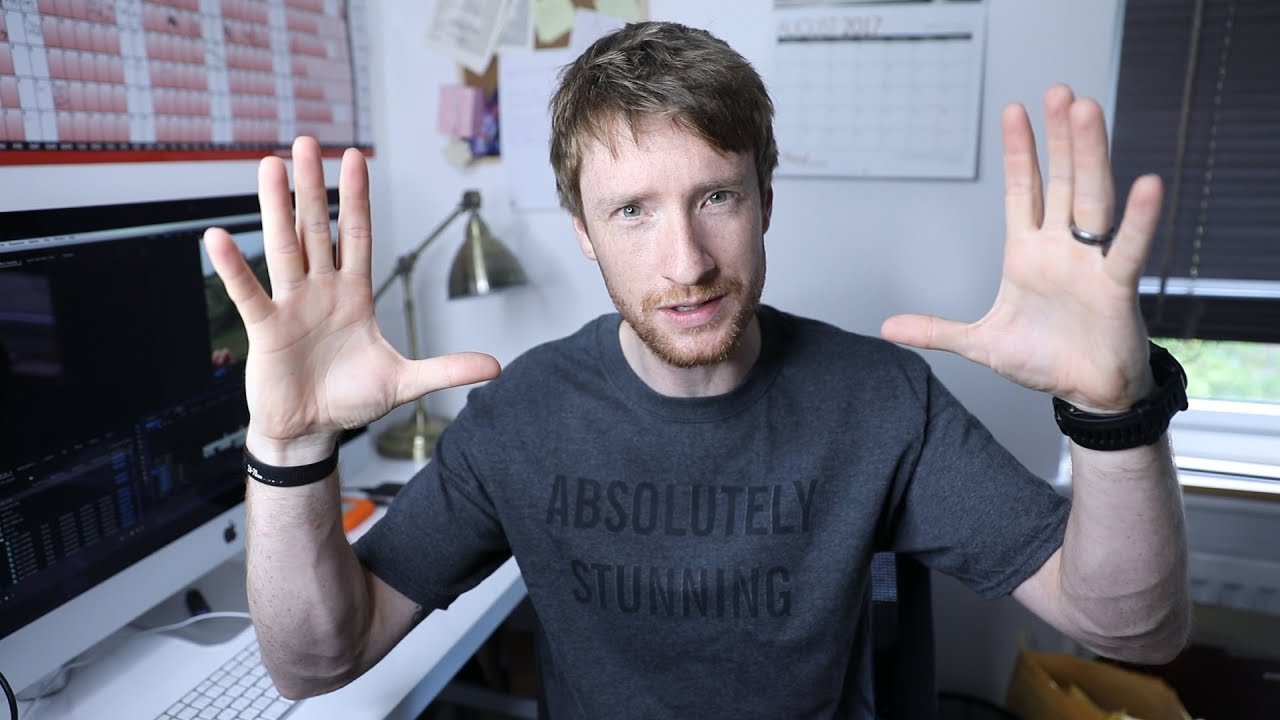
There’s a version of me that would have stayed at the bottom of that hill. I know her well. She’s the one who talks herself out of the harder hike, the uncertain light, the shot that might not work out. I thought about her a lot while watching this tutorial from Thomas Heaton, where he shares footage cut from his Iceland workshop series and gets surprisingly honest about fear, confidence, and what it actually feels like to lead other photographers when you’re still figuring things out yourself. Watch the full tutorial on YouTube
What struck me most is that the technical advice in this video is almost secondary to the emotional scaffolding around it. The Iceland landscape shots are gorgeous, yes. But the real lesson is about what happens when you push past the version of yourself that plays it safe. I started teaching photography after a stranger at a coffee shop asked how I got a particular shot on my phone. That question changed my whole relationship to what I was willing to share, and willing to attempt. This video hit that same nerve.
Here’s a breakdown of what Heaton demonstrates, and how to carry it into your own shooting.
Step 1: Commit to the Secondary Location, Even When the Group Stays Put
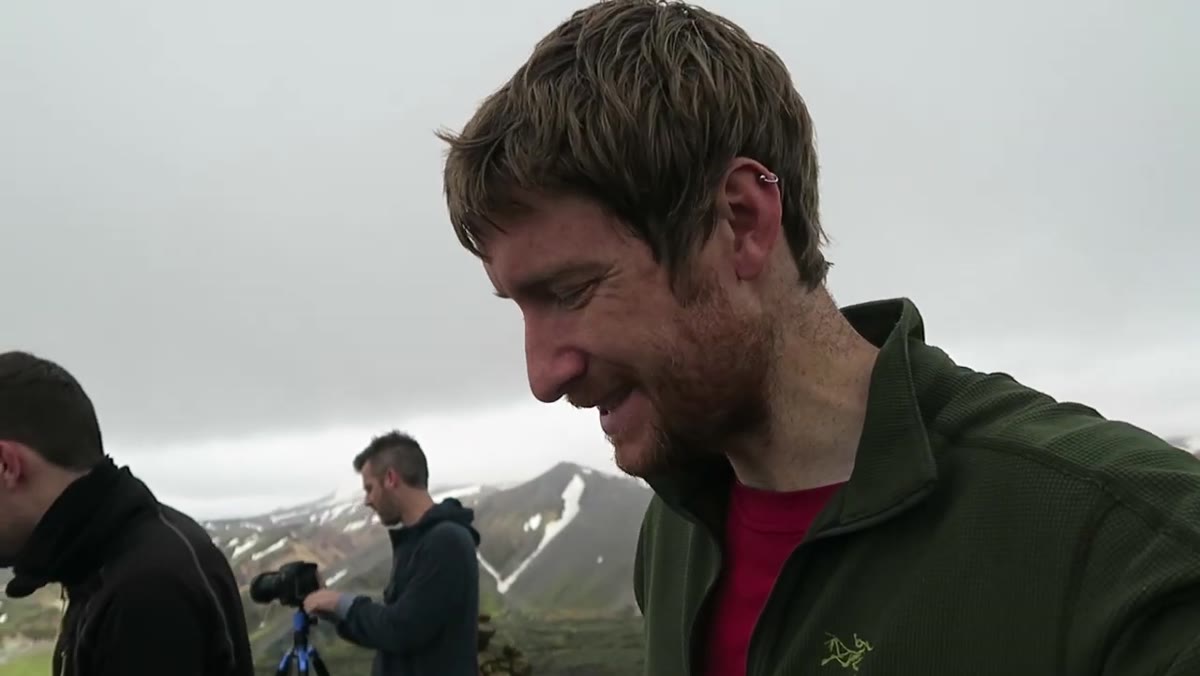
 Heaton hiking away from the main group toward a higher peak
Most workshop photographers, myself included, tend to follow the group. There’s safety in consensus. But in this segment, Heaton and a couple of others split off from the main group after an initial hike and push toward a much higher peak. The rest stayed behind. The higher group found completely different views, better scale, and shots the others never got.
The practical takeaway: always scout above and beyond your primary anchor point. When you arrive at a location, give yourself a five-minute window to look uphill or outward before setting up your tripod. What looks like a modest detour on a map often delivers a perspective shift that no amount of post-processing can replicate.
Step 2: Let the Landscape Tell You the Format Before You Decide
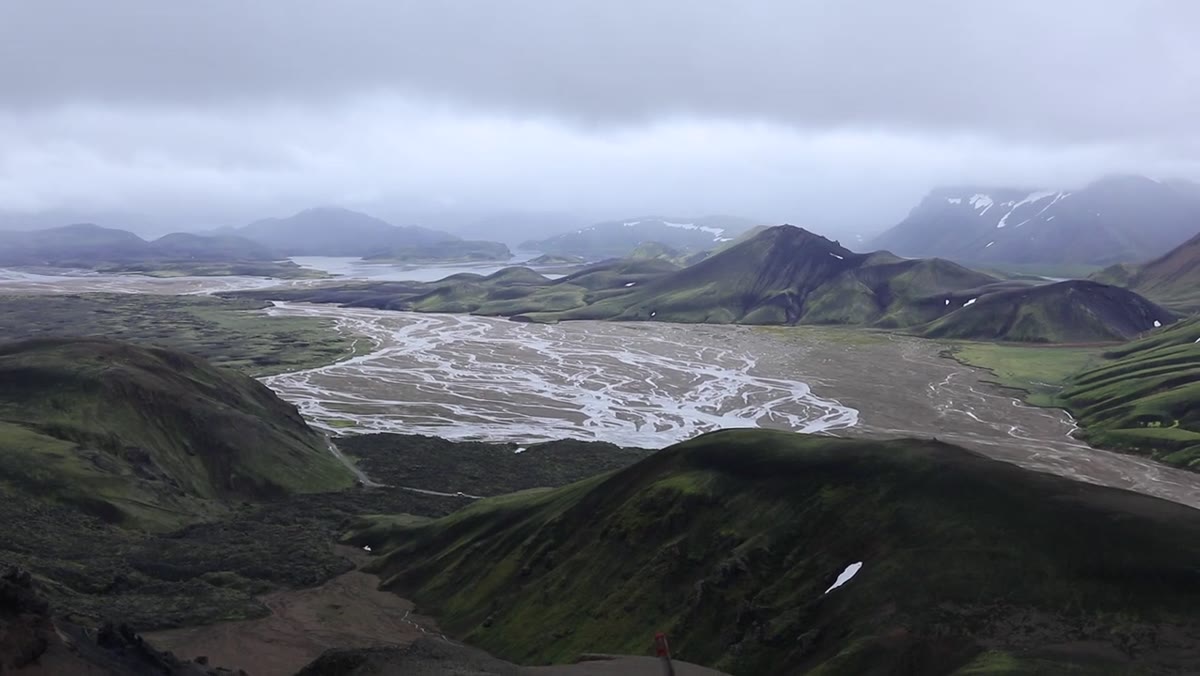
 Wide panoramic view from the summit, cameras set up along the ridge
Once Heaton reaches the summit, he doesn’t immediately default to a single focal length or a standard composition. He sits with the scene. His conclusion, arrived at organically, is that panoramic is the only format that does justice to the scale of what he’s looking at. He mentions that he’d been shooting panoramics for two weeks straight at that point, not because he planned to, but because Iceland kept demanding it.
This is an important discipline. Before you raise the camera, ask what the scene is actually asking for. Wide open landscapes with strong horizontal lines, mountain ridges, coastal shelves, tend to reward panoramics shot in portrait orientation for maximum resolution. Overlap each frame by 30 to 40 percent and keep your exposure locked manually so the stitching doesn’t create banding across the sky.
Step 3: Use Elevation to Solve the Perspective Problem
 Heaton gesturing toward the valley below, comparing high and low viewpoints
Heaton makes a point here that I want you to actually sit with. He says you simply cannot get the same perspective from down there. He’s not being dramatic. Elevation changes the relationship between foreground and background in ways that no wide-angle lens can fake. From the valley floor, distant peaks compress against the midground. From height, they separate, and the full depth of the landscape becomes legible.
If you have the option to gain even 50 to 100 feet of elevation at a landscape location, take it. Bring a lightweight travel tripod and use a longer focal length from higher up rather than fighting for foreground interest at the base. The compression from a 70-200mm shot taken from an elevated position often reads as more dramatic than a 16mm ultra-wide taken from the standard tourist pullout.
Step 4: Know When to Put the Polariser Away
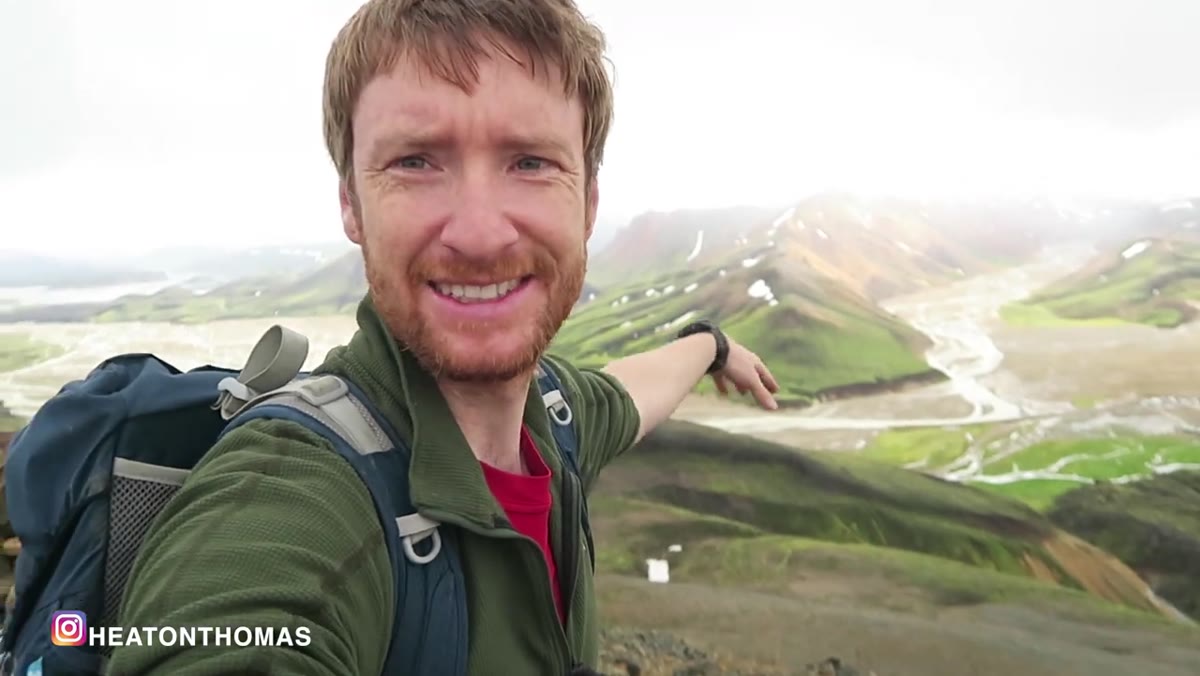 Overcast flat light across the Icelandic landscape, grey sky visible
This is the part of the title that most people click for, and it’s genuinely useful. Heaton addresses the instinct many photographers have to reach for a polarising filter as a default, as if it’s always improving things. On overcast or flat-lit days, a polariser is often doing nothing beneficial and is costing you one to two stops of light that you cannot afford to lose.
A polariser earns its place when the sun is at roughly 90 degrees to your shooting direction, when you’re dealing with reflective surfaces like water or wet rock, or when a blue sky needs contrast against clouds. On a grey Icelandic afternoon with no directional light and no specular reflections, it’s dead weight. Check your histogram after adding the filter. If the exposure has shifted left and the image doesn’t look richer in color or contrast, take it off. Simple as that.
Step 5: Treat Discomfort as Data, Not a Stop Sign
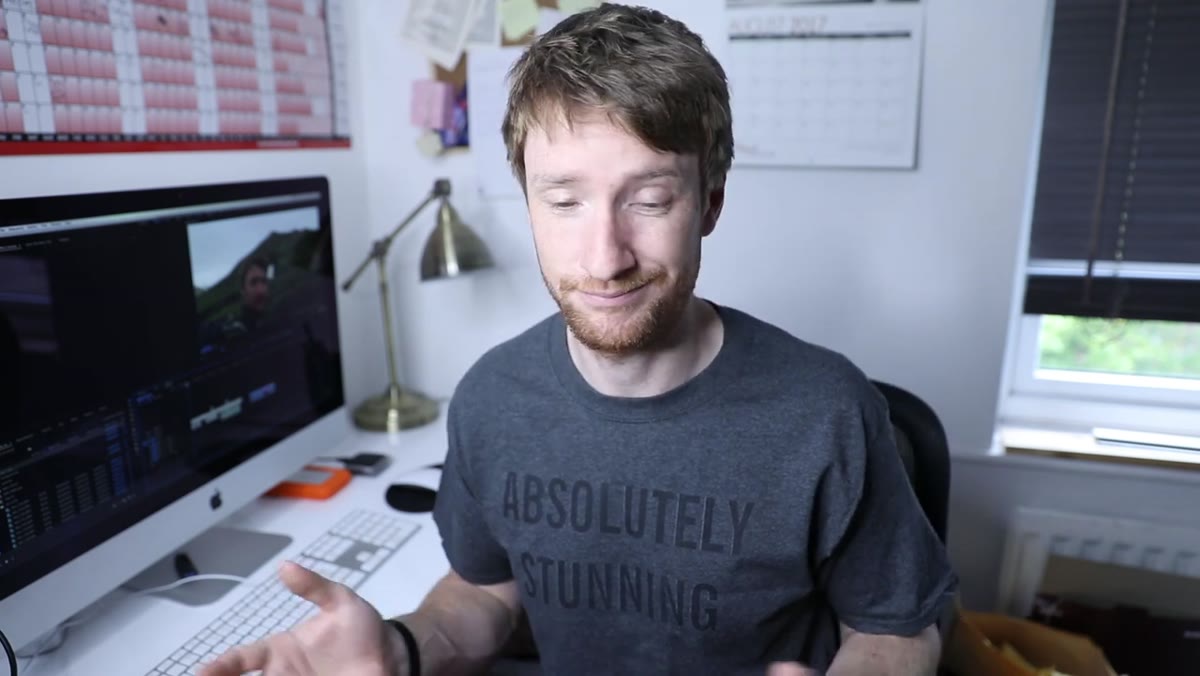
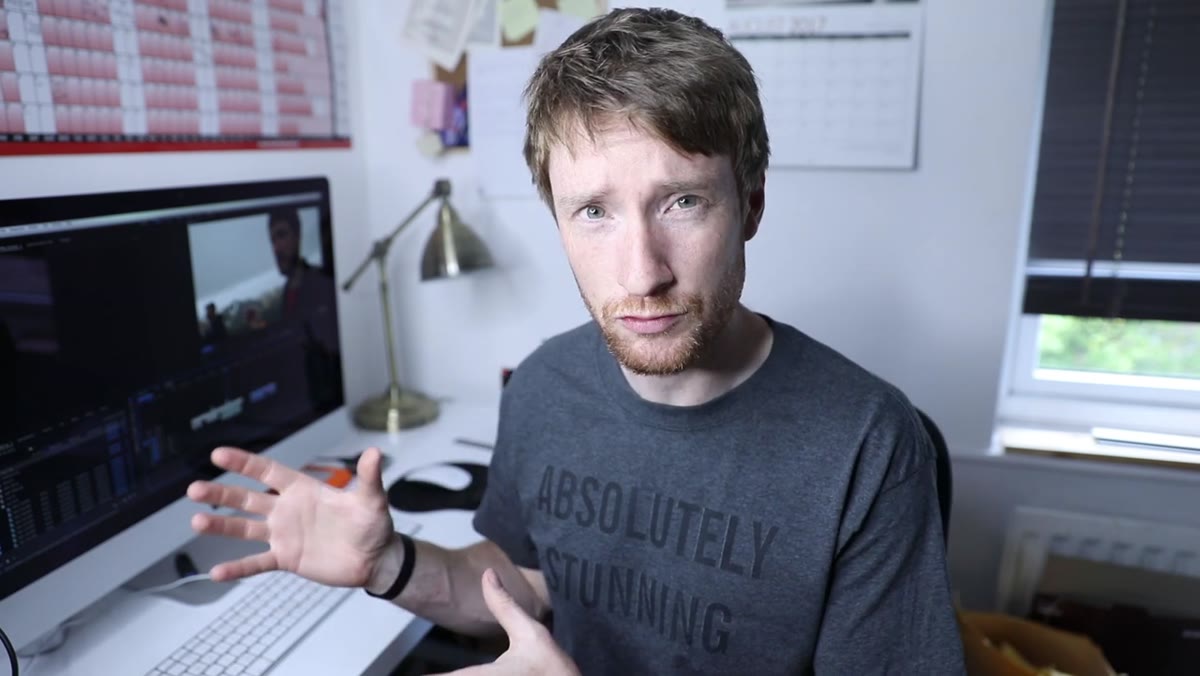 Heaton speaking directly to camera about the workshop experience and nerves
The most honest segment of this video has nothing to do with filters or focal lengths. Heaton talks about running his first group workshop and the anxiety that came with it. Leading a group means being accountable for other people’s creative experience. That is genuinely scary. But he did it, and the footage shows the result: other photographers getting shots they wouldn’t have found alone.
For anyone teaching, this is the part to pay attention to. Your discomfort is not a sign that you’re unqualified. It’s a sign that you care. The photographers who should worry are the ones who feel nothing. If you’re considering leading a photo walk, a small workshop, or even just inviting a friend out to shoot and offering guidance, the nervousness you feel is the green light, not the red one.
What I’d Add From My Own Experience
The polariser advice extends to one more situation that Heaton doesn’t explicitly cover but that I run into constantly on travel shoots: shooting into the light. When your subject is backlit or the sun is anywhere near your frame, a polariser will often kill the flare and atmosphere you actually want. I’ve ruined golden hour shots by reflexively screwing on a polariser out of habit. Now I keep it in my pocket during the first 20 minutes of golden hour and only add it if I’m shooting away from the sun toward a sky that needs work.
The broader principle, and the one this whole video is quietly making, is that defaults are not strategies. Panoramic because the landscape demands it. Polariser off because the light doesn’t support it. Harder hike because the view is worth it. Every one of those is an active choice, not a habit.
The single most important thing this video will teach you: the shot you talk yourself out of is almost always the one worth taking. Push up the hill. Remove the filter when it isn’t working. Lead the group somewhere new even when you’re not entirely sure what’s up there.
Watch the full tutorial on YouTube
Comments
Leave a Comment