I’ll be honest with you. My most-liked Instagram photo was taken on a $200 Android phone, and it still gets more saves than most of my mirrorless shots. That fact used to annoy me. Now it drives most of what I teach.
So when photographer Peter McKinnon dropped a hands-on camera test for the iPhone 12 Pro, I watched it twice. Not because I was shopping for a new phone, but because he asks the exact question I’ve been trying to articulate to students for years: why does a phone sometimes expose a scene better than a camera worth ten times as much? The answer isn’t magic. It’s computational photography doing in a fraction of a second what most of us are still doing manually in Lightroom. Watch the full tutorial on YouTube - then come back here for a breakdown of the techniques and why they matter beyond just iPhones.
What McKinnon’s test reveals is a set of photographic principles that apply whether you’re shooting on a phone, a mirrorless, or your old crop-sensor DSLR gathering dust in a closet. The iPhone just makes them visible in a way that’s hard to ignore.
Step 1: Evaluate Your Exposure Across the Whole Frame, Not Just the Subject
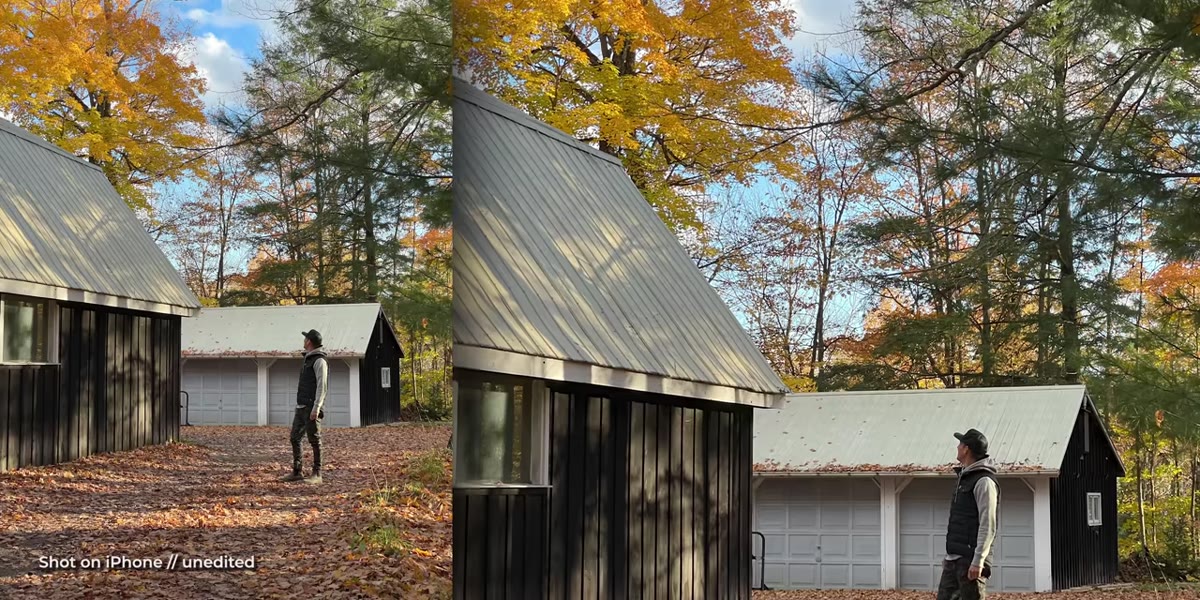 Ungraded portrait photo of Ash displayed on screen
Before you touch a single slider in post, train your eye to scan every corner of a frame for blown highlights and crushed shadows. McKinnon does this out loud with an ungraded straight-from-phone photo. He checks the shadows on a shed in the far background, the texture in a puffed vest, and the sky - all in the same image.
Ungraded portrait photo of Ash displayed on screen
Before you touch a single slider in post, train your eye to scan every corner of a frame for blown highlights and crushed shadows. McKinnon does this out loud with an ungraded straight-from-phone photo. He checks the shadows on a shed in the far background, the texture in a puffed vest, and the sky - all in the same image.
Most beginners lock onto the subject and forget the rest of the frame. A good exposure holds detail in all three zones: shadows, midtones, and highlights. When you’re shooting with a DSLR, use your histogram, not the screen preview. A histogram that hugs the right edge without clipping is your target. On your phone, tap and hold on your subject to lock focus and exposure, then drag the sun icon down slightly to protect your highlights.
Step 2: Understand What Dynamic Range Is Actually Doing for You
 Wide outdoor scene showing exposed sky and shadowed foreground
Dynamic range is the gap between the darkest and brightest tones a camera can capture in one shot. McKinnon explains this with a comparison most people can feel immediately: when you look out a window with your own eyes, you can read the room and see the street outside clearly. Your camera almost never can. It picks one or the other.
Wide outdoor scene showing exposed sky and shadowed foreground
Dynamic range is the gap between the darkest and brightest tones a camera can capture in one shot. McKinnon explains this with a comparison most people can feel immediately: when you look out a window with your own eyes, you can read the room and see the street outside clearly. Your camera almost never can. It picks one or the other.
The iPhone 12 Pro compresses that gap computationally, blending multiple exposures in real time. On a dedicated camera, you replicate this manually. Bracket three exposures (one stop under, correct, one stop over) and merge them in Lightroom or Photoshop. It’s more work, but understanding why you’re doing it, because your sensor sees less than your eye does, makes every exposure decision feel less arbitrary.
Step 3: Recognize When Over-Sharpening is Killing Your Image
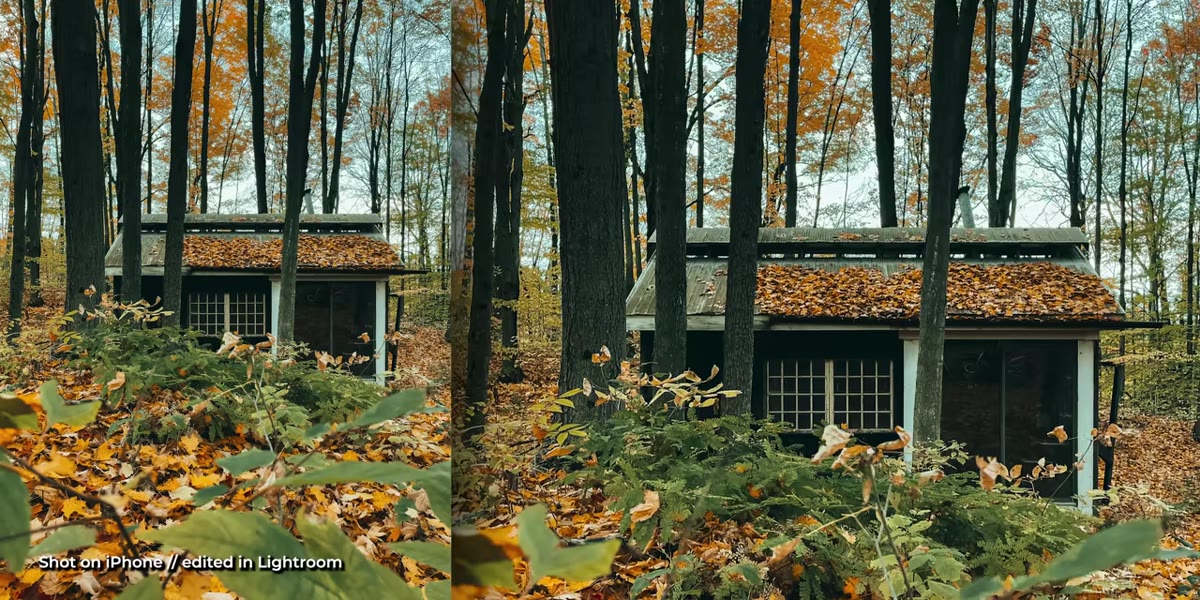
 Forest road photo showing overly sharpened details
McKinnon flags something that gets overlooked in phone photography hype: the iPhone’s processing can push sharpness past the point where an image looks natural. He shows a wide forest shot where the detail is technically impressive but visually uncomfortable - almost clinical.
Forest road photo showing overly sharpened details
McKinnon flags something that gets overlooked in phone photography hype: the iPhone’s processing can push sharpness past the point where an image looks natural. He shows a wide forest shot where the detail is technically impressive but visually uncomfortable - almost clinical.
When you bring a phone photo into Lightroom, don’t assume the file is finished. Check the Detail panel. If edges look crunchy or textures look etched rather than organic, pull the Sharpening Amount slider back and add a small amount of masking, hold Alt while dragging the Masking slider to see exactly where sharpening is being applied. You want edges sharp, not surfaces. The same principle applies to any camera: more sharpening is not always better sharpening.
Step 4: Use Portrait Mode as a Composition Teacher, Not Just a Background Blurring Tool
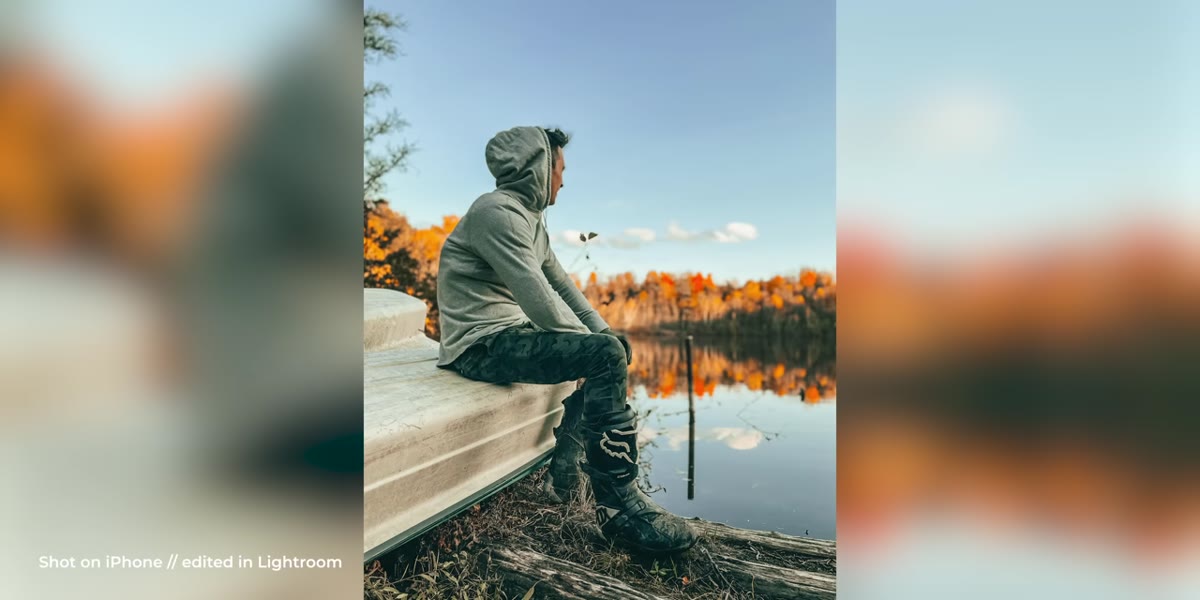 Portrait mode shot with depth of field and hair detail in focus
Portrait mode gets dismissed by serious photographers as a shortcut. McKinnon’s test shows why that framing misses the point. He zooms into a portrait shot and highlights how even small details like the flip of someone’s hair at the edge of the focal plane are rendered cleanly, with a smooth background transition that would require a fast prime lens on a traditional camera.
Portrait mode shot with depth of field and hair detail in focus
Portrait mode gets dismissed by serious photographers as a shortcut. McKinnon’s test shows why that framing misses the point. He zooms into a portrait shot and highlights how even small details like the flip of someone’s hair at the edge of the focal plane are rendered cleanly, with a smooth background transition that would require a fast prime lens on a traditional camera.
Use portrait mode to practice subject separation. Where are you placing your subject relative to the background? How much physical distance is there between them? A phone forces you to think about these things because portrait mode breaks down when the subject is too close to the background. That’s the same reason a 50mm at f/1.8 won’t blur your background if your subject is standing against a wall. Distance from background matters more than aperture in many situations.
Step 5: Use a Wide Aperture Lens for Low Light Before You Reach for a Flash
 Camera specs showing f/1.6 aperture on the wide lens
The iPhone 12 Pro’s wide-angle camera opens to f/1.6. McKinnon points to this as a key reason indoor photography improved so much on this model. A wider aperture means more light hitting the sensor in the same amount of time, which reduces the need to push ISO and introduce noise.
Camera specs showing f/1.6 aperture on the wide lens
The iPhone 12 Pro’s wide-angle camera opens to f/1.6. McKinnon points to this as a key reason indoor photography improved so much on this model. A wider aperture means more light hitting the sensor in the same amount of time, which reduces the need to push ISO and introduce noise.
On a dedicated camera, this translates directly: if you’re struggling with indoor photos, the first investment worth making isn’t a speedlight. It’s a fast prime lens. A 35mm or 50mm at f/1.8 will transform your indoor results for a fraction of what a flash setup costs, and it won’t flatten your scene with artificial light. Keep your ISO as low as you can by letting the lens do the work first.
What I’d Add From My Own Shooting
McKinnon’s test is a strong argument for computational photography, but there’s a caveat I come back to on my Sunday morning photo walks around Seattle. Phone cameras are phenomenal at reading a scene as-is. They are not as good at being directed.
When I want a specific mood, a cooler shadow tone, a deliberately underexposed sky for drama, the phone’s auto-processing fights me. A dedicated camera does what you tell it to. That creative control is still why I carry a mirrorless when the shot matters. But the lesson the phone teaches, checking every zone of your exposure before you shoot, understanding dynamic range as a real limitation, treating sharpness as something to taste rather than maximize, those habits make me a better shooter regardless of what’s in my hand.
Use the phone to audit your instincts. Use your camera to execute them intentionally.
The single biggest takeaway from McKinnon’s test is this: exposure quality is not about gear, it’s about understanding how light is distributed across your entire frame and making a deliberate choice about where to protect it. The iPhone 12 Pro does that calculation automatically. Learning to do it manually is what separates a good photo from a lucky one.
Watch the full tutorial on YouTube - McKinnon’s side-by-side comparisons and the actual sample photos are worth seeing in full.
Comments (3)
Love how you break down complex stuff into manageable steps.
This is going in my reference folder. Incredibly useful.
Great article! I actually covered something related on my site — the compositing angle is really complementary to this.
Leave a Comment