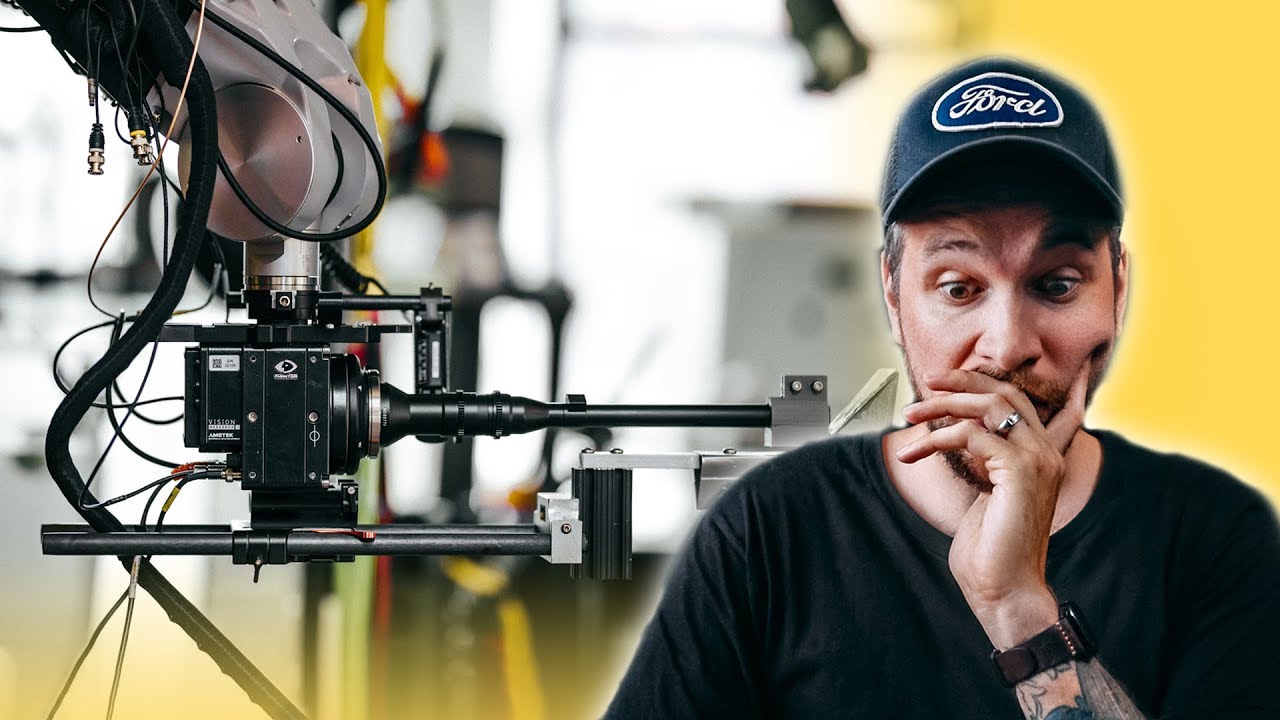
There’s a category of commercial photography work I used to scroll past thinking, “I have no idea how they did that.” A hamburger disassembled mid-air, every component suspended in perfect chaos, then somehow reassembled on landing. A sewing machine needle frozen at the exact moment thread loops through fabric. These aren’t happy accidents. They’re the result of a completely different way of thinking about camera movement and timing, and once you understand the system behind them, your own approach to controlled shooting changes permanently.
In this Peter McKinnon tutorial, he visits the New York studio of cinematographer Steve Giralt, who runs a facility built entirely around high-speed robotic camera systems. Watch the full tutorial on YouTube What McKinnon captures in this video isn’t just “look at the cool robots” content. It’s a practical education in what repeatability actually means when the margin for error is one frame. Even if you never touch a cinema robot in your life, the logic behind these setups will sharpen how you think about every controlled product or macro shot you attempt.
I shoot a lot of lifestyle and travel work, and most of my setups are loose and reactive. But every time I’ve had to do a product shoot or a food sequence with any real precision, I’ve felt the gap between what I could envision and what I could physically execute. This tutorial helped me understand why that gap exists and what professional studios do to close it.
Step 1: Understand What Robot Camera Systems Actually Solve
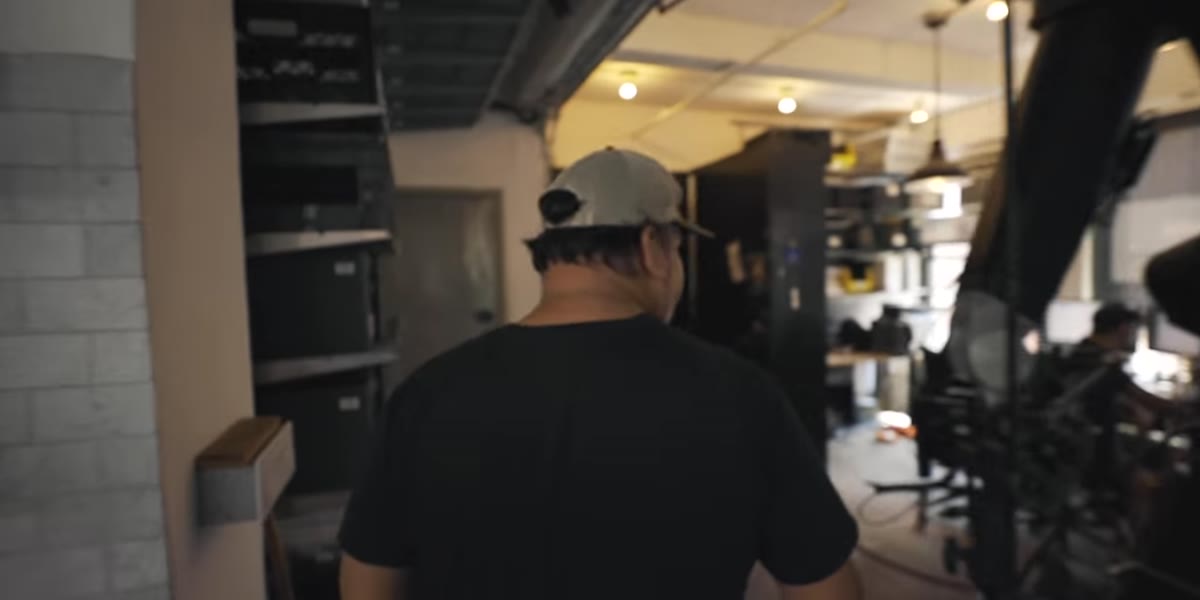 Steve Giralt introduces the Bolt cinema robot with Phantom camera
The core problem with complex product and commercial shots isn’t creative vision. It’s repeatability. When you need a camera to travel the exact same path at the exact same speed across fifty or a hundred takes, a human operator introduces variation every single time. Robot arms solve this by storing movement data and executing it identically on demand. The Bolt cinema robot shown in this studio is paired with a Phantom high-speed camera and can reproduce a move with sub-millimeter accuracy. For the photographer who needs to sync a camera move with a specific physical event, like liquid pouring or an object landing, that repeatability is everything.
Steve Giralt introduces the Bolt cinema robot with Phantom camera
The core problem with complex product and commercial shots isn’t creative vision. It’s repeatability. When you need a camera to travel the exact same path at the exact same speed across fifty or a hundred takes, a human operator introduces variation every single time. Robot arms solve this by storing movement data and executing it identically on demand. The Bolt cinema robot shown in this studio is paired with a Phantom high-speed camera and can reproduce a move with sub-millimeter accuracy. For the photographer who needs to sync a camera move with a specific physical event, like liquid pouring or an object landing, that repeatability is everything.
Step 2: Recognize the Role of Speed and Timing Calibration
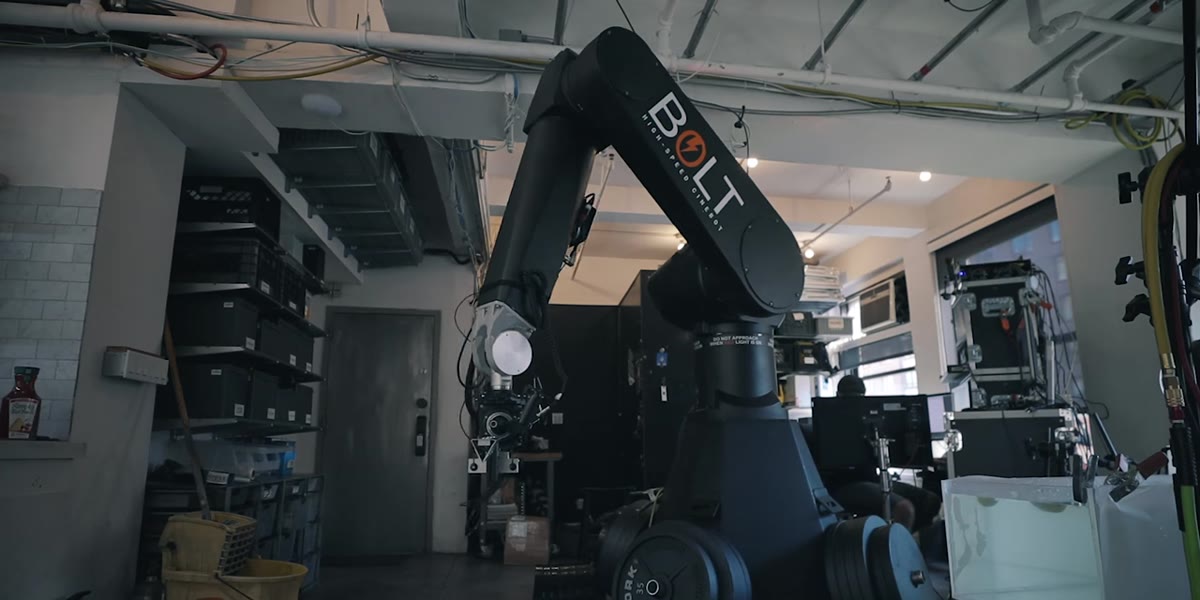 Bolt robot arm holding a Phantom 4K high-speed camera in studio
High-speed cameras capture at frame rates far beyond standard video, which means footage is slowed dramatically in post. This creates the smooth, suspended quality you see in premium food and beverage commercials. What most people miss is that the robot arm’s speed has to be calibrated to match the camera’s frame rate and the event being captured. If the arm moves too fast for the frame rate, the motion blurs. Too slow and the timing window for the action closes before the camera is in position. Getting this right requires mapping out the shot mathematically before anything is triggered.
Bolt robot arm holding a Phantom 4K high-speed camera in studio
High-speed cameras capture at frame rates far beyond standard video, which means footage is slowed dramatically in post. This creates the smooth, suspended quality you see in premium food and beverage commercials. What most people miss is that the robot arm’s speed has to be calibrated to match the camera’s frame rate and the event being captured. If the arm moves too fast for the frame rate, the motion blurs. Too slow and the timing window for the action closes before the camera is in position. Getting this right requires mapping out the shot mathematically before anything is triggered.
Step 3: Use Teach-by-Hand Programming for Complex Movement Paths
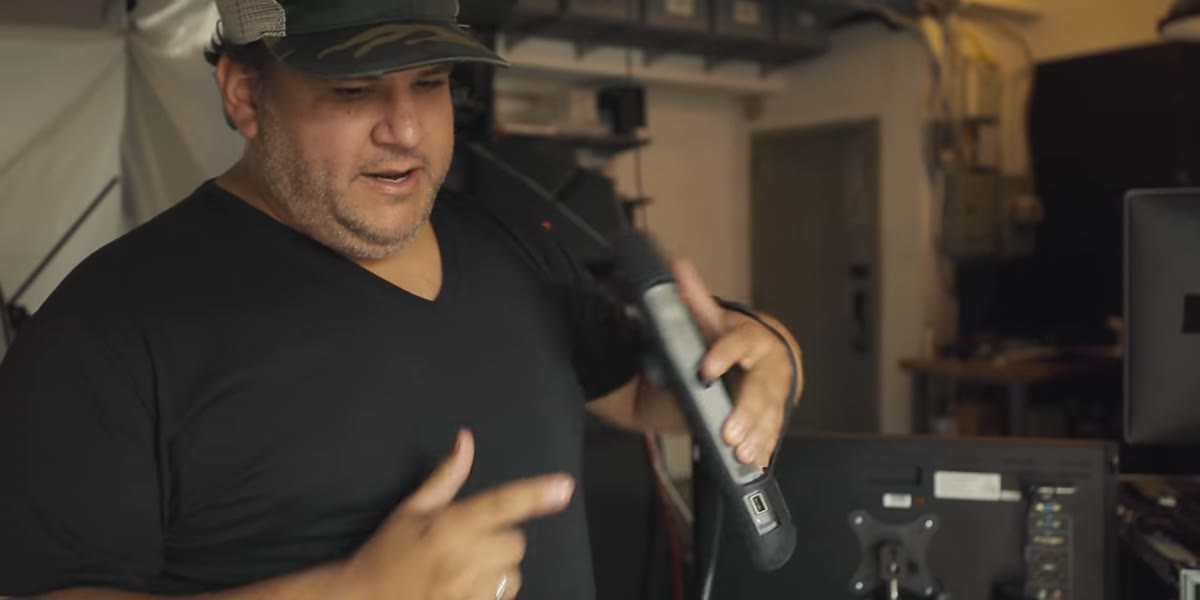 Steve demonstrates moving the robot arm by hand to record positions
One of the most practical revelations in the video is how some robot systems are programmed. Rather than coding a movement path numerically, the operator physically moves the arm through space by hand, and the system records those positions as keyframes. The robot then interpolates between those points and reproduces the path on command. For photographers building DIY motion control rigs or working with entry-level motorized sliders, this is the underlying concept you should understand. Record start and end positions, let the system handle the transition, and you get smooth, repeatable movement without programming expertise.
Steve demonstrates moving the robot arm by hand to record positions
One of the most practical revelations in the video is how some robot systems are programmed. Rather than coding a movement path numerically, the operator physically moves the arm through space by hand, and the system records those positions as keyframes. The robot then interpolates between those points and reproduces the path on command. For photographers building DIY motion control rigs or working with entry-level motorized sliders, this is the underlying concept you should understand. Record start and end positions, let the system handle the transition, and you get smooth, repeatable movement without programming expertise.
Step 4: Design Around the Conveyor and Gravity
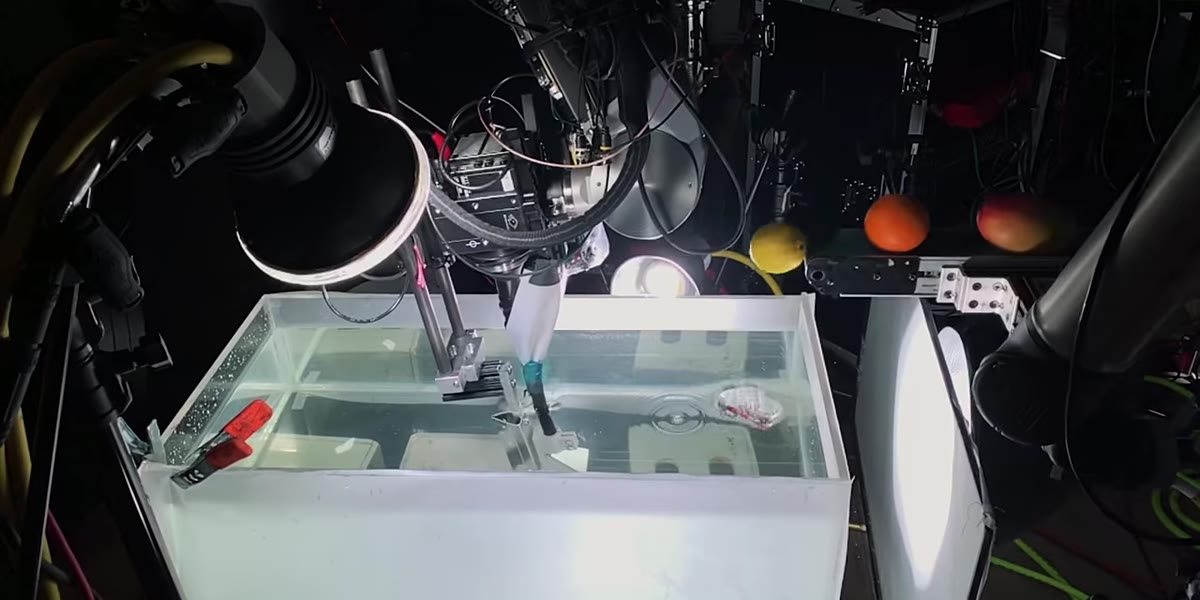 Steve explains the motorized conveyor belt attachment on the Bolt arm
The studio uses a motorized conveyor belt mounted directly to one of the robot arms, which allows solid objects to be moved or dropped with consistent force and timing on every single take. This matters because gravity is consistent but human hands are not. If your shot requires a product to fall, roll, or slide into frame, the mechanism delivering that motion should be mechanical, not manual. Even at a basic level, this means building simple rigs, a ramp, a track, a release trigger, rather than trying to hand-place objects on every take and hoping your timing holds.
Steve explains the motorized conveyor belt attachment on the Bolt arm
The studio uses a motorized conveyor belt mounted directly to one of the robot arms, which allows solid objects to be moved or dropped with consistent force and timing on every single take. This matters because gravity is consistent but human hands are not. If your shot requires a product to fall, roll, or slide into frame, the mechanism delivering that motion should be mechanical, not manual. Even at a basic level, this means building simple rigs, a ramp, a track, a release trigger, rather than trying to hand-place objects on every take and hoping your timing holds.
Step 5: Match Your Lighting Rig to Your Movement System
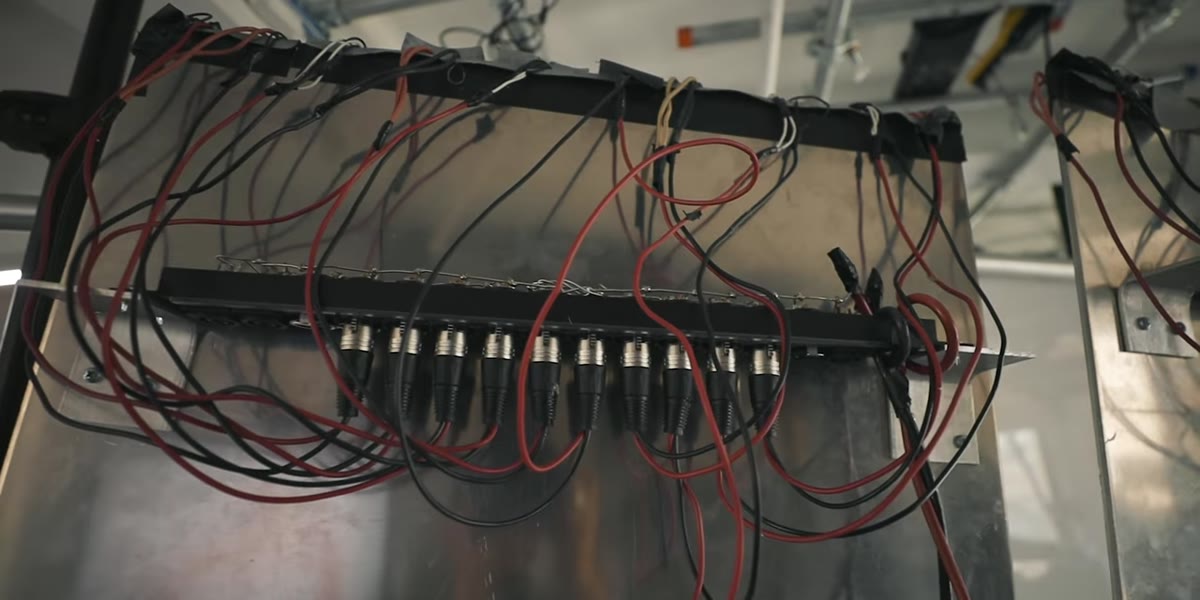 Custom-built 2000-watt LED lighting rig with liquid cooling system visible
The studio’s lighting rig is as engineered as the camera system. Custom-built LED panels running at 2000 watts each require liquid cooling, because at those output levels, heat buildup would degrade the color and eventually damage the panels. The lights are mounted overhead and designed to move in coordination with the camera arm. For the working photographer, the lesson here isn’t to build a liquid-cooled LED wall. It’s that your lighting setup needs to be as locked-in and repeatable as your camera setup. If your lights shift position between takes even slightly, your consistency collapses. Use proper stands, sandbag everything, and mark your positions.
Custom-built 2000-watt LED lighting rig with liquid cooling system visible
The studio’s lighting rig is as engineered as the camera system. Custom-built LED panels running at 2000 watts each require liquid cooling, because at those output levels, heat buildup would degrade the color and eventually damage the panels. The lights are mounted overhead and designed to move in coordination with the camera arm. For the working photographer, the lesson here isn’t to build a liquid-cooled LED wall. It’s that your lighting setup needs to be as locked-in and repeatable as your camera setup. If your lights shift position between takes even slightly, your consistency collapses. Use proper stands, sandbag everything, and mark your positions.
Step 6: Plan the Shot Backward from the Hero Moment
 Footage of hamburger components flying apart and landing perfectly stacked
What makes these shots extraordinary is that every one of them is built around a single hero moment, the needle at full penetration, the hamburger perfectly stacked on landing, the liquid crown at its peak. The camera path, the trigger timing, the conveyor speed, all of it is engineered backward from that one frame. Before you set up any controlled product shot, identify the one frame you need to be perfect. Everything else is a support structure for that moment.
Footage of hamburger components flying apart and landing perfectly stacked
What makes these shots extraordinary is that every one of them is built around a single hero moment, the needle at full penetration, the hamburger perfectly stacked on landing, the liquid crown at its peak. The camera path, the trigger timing, the conveyor speed, all of it is engineered backward from that one frame. Before you set up any controlled product shot, identify the one frame you need to be perfect. Everything else is a support structure for that moment.
What I’d Add From My Own Experience
Robot systems are out of reach for most of us, but the mental model they represent isn’t. When I do any kind of repeatable product or macro work, I build physical reference points for everything, tape marks for object placement, marked positions on my tripod head, consistent pour height for liquid shots. I also do dry runs without triggering the camera, just to see whether my setup actually delivers the same result twice. Usually it doesn’t, and fixing that before I start shooting saves hours.
The bigger shift this video pushed me toward is separating creative decisions from execution decisions. Figure out exactly what you want the shot to look like before you touch any equipment. Then engineer backward from that image. That’s how the robot system works, and honestly, it’s how every well-run photoshoot should work.
The single most important idea in this tutorial is that precision is a system problem, not a skill problem. If your setup can’t repeat a result mechanically, no amount of talent closes that gap. Build the system first, then shoot.
Watch the full tutorial on YouTube to see the robots in motion and hear Steve Giralt walk through the studio himself. Seeing the scale of the operation in real time makes the engineering logic click in a way that’s hard to convey in words.
Comments
Leave a Comment