There’s a version of a “big shoot day” that lives in your head when you’re starting out. Everything is organized. The gear is pristine. The lighting is perfect on the first try. Nobody is eating questionable amounts of wing sauce in the corner. Then you actually show up to one, and it’s controlled chaos from the first hour. I say this with love, because that chaos is exactly where the learning happens.
In this Peter McKinnon behind-the-scenes tutorial, Watch the full tutorial on YouTube, Peter documents a full downtown studio day covering both video and stills, juggling RED cameras, Canon cameras, a gimbal stabilizer rig, and a production crew on a hard deadline. What I appreciate about this one is that it doesn’t pretend shoots are clean or linear. It shows you the actual order of operations, the workarounds professionals use on the fly, and the honest emotional cost of a long shoot day. If you’ve ever wondered what separates a working photographer’s mindset from a hobbyist’s, it’s right there in how he moves through the day.
I’ve been on shoots that looked like this one from the outside, and I’ve also been the person scrambling to figure out a lighting problem with twenty minutes left on the studio clock. Breaking down what Peter does here gave me language for instincts I already had, and a few new tricks I genuinely hadn’t considered. Let’s walk through it.
Step 1: Arrive With a Shooting Order Already in Mind
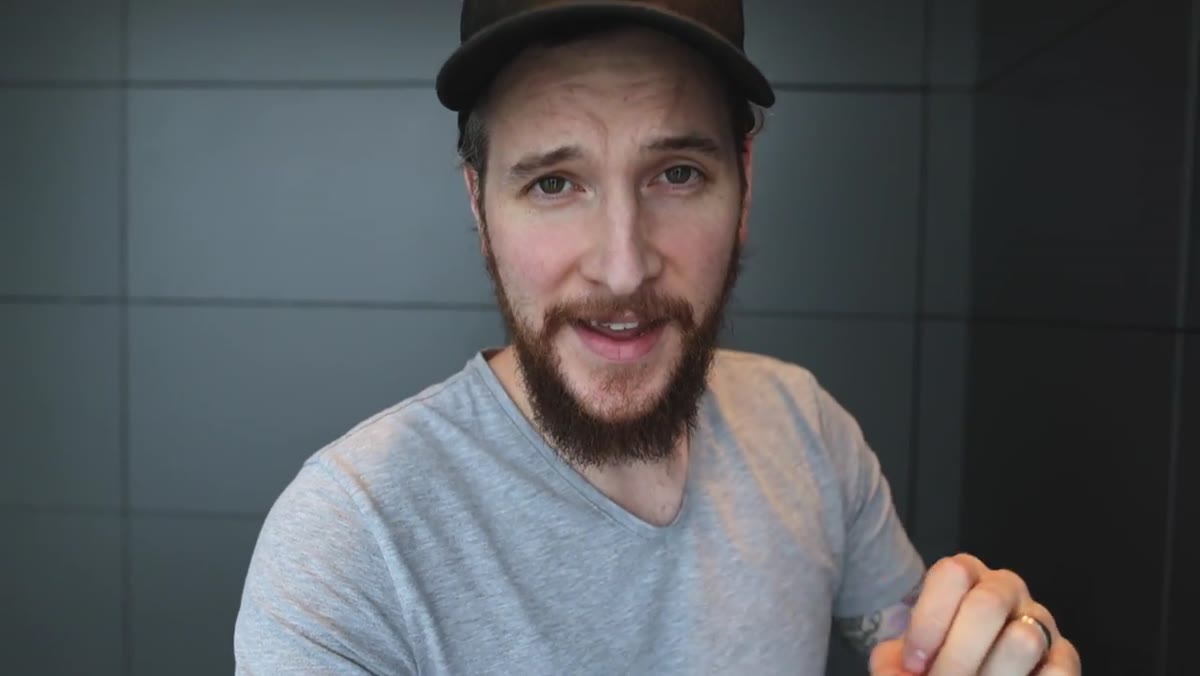 Peter walking into a packed downtown studio with gear
Before a single light is turned on, Peter already knows the sequence: primary shots first, then B-roll, then photos. This isn’t accidental. On a studio rental with a fixed end time, every minute you spend figuring out your order is a minute you’re not shooting. Write your shot list in priority order before you load the car. The expensive, crew-dependent setups go first while everyone still has energy and the clock has margin. Supplementary material, like B-roll and stills, fills the back end of the day.
Peter walking into a packed downtown studio with gear
Before a single light is turned on, Peter already knows the sequence: primary shots first, then B-roll, then photos. This isn’t accidental. On a studio rental with a fixed end time, every minute you spend figuring out your order is a minute you’re not shooting. Write your shot list in priority order before you load the car. The expensive, crew-dependent setups go first while everyone still has energy and the clock has margin. Supplementary material, like B-roll and stills, fills the back end of the day.
This habit will save you more times than any piece of gear. On my own travel shoots, I keep a notes app list with my “must haves” separated from my “nice to haves” so I never leave a location having only gotten the nice-to-haves.
Step 2: Understand Your Light Sources Before You Start Modifying Them
 Tube lights mounted in studio setup, one side taped off
Peter points out that the tube lights in this studio emit light in a full 360 degrees, which sounds great until you realize they’re also throwing light onto your background when you only want to illuminate your subject. His crew solves this by taping off one side of each tube, effectively turning an omnidirectional source into a directional one. It’s a simple, low-cost fix that takes maybe three minutes and completely changes how controlled your image looks.
Tube lights mounted in studio setup, one side taped off
Peter points out that the tube lights in this studio emit light in a full 360 degrees, which sounds great until you realize they’re also throwing light onto your background when you only want to illuminate your subject. His crew solves this by taping off one side of each tube, effectively turning an omnidirectional source into a directional one. It’s a simple, low-cost fix that takes maybe three minutes and completely changes how controlled your image looks.
The principle here applies to any light source, not just tubes. Before you start adjusting your camera settings to compensate for spill or unwanted background illumination, ask whether you can modify the light itself. Flags, tape, black wrap, even a piece of cardboard can redirect or block light more precisely than any camera setting will.
Step 3: Manage Your Timeline Like a Producer, Not Just a Photographer
 Crew mid-shoot, studio rental clock running out
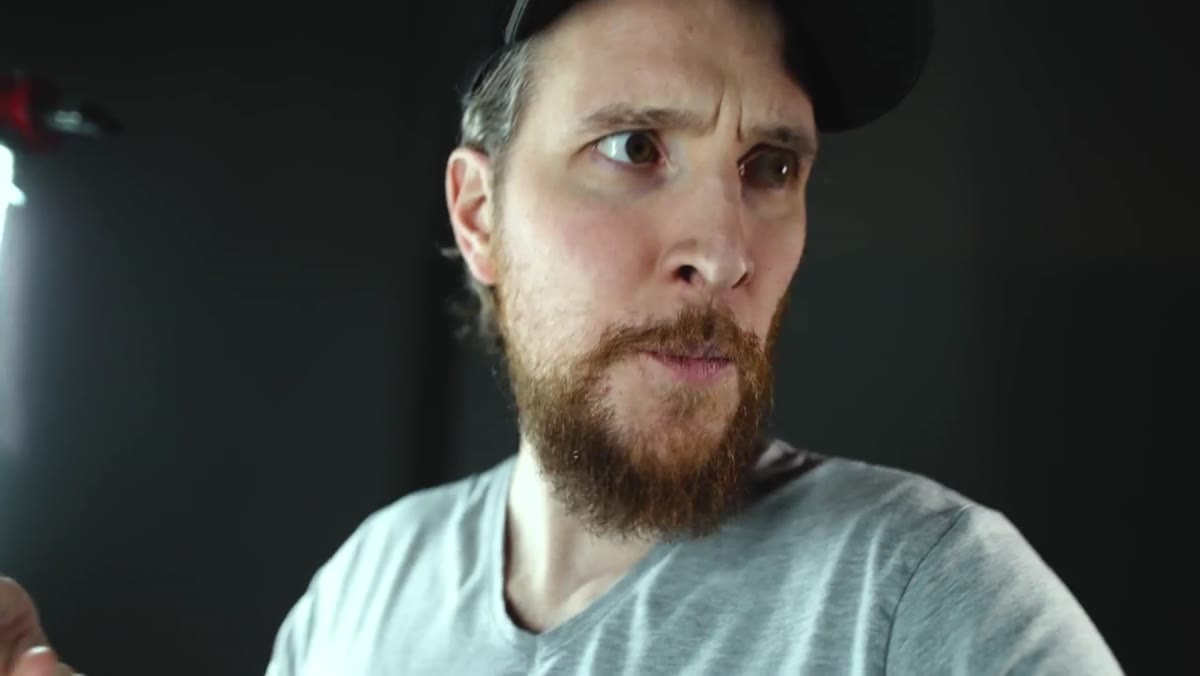
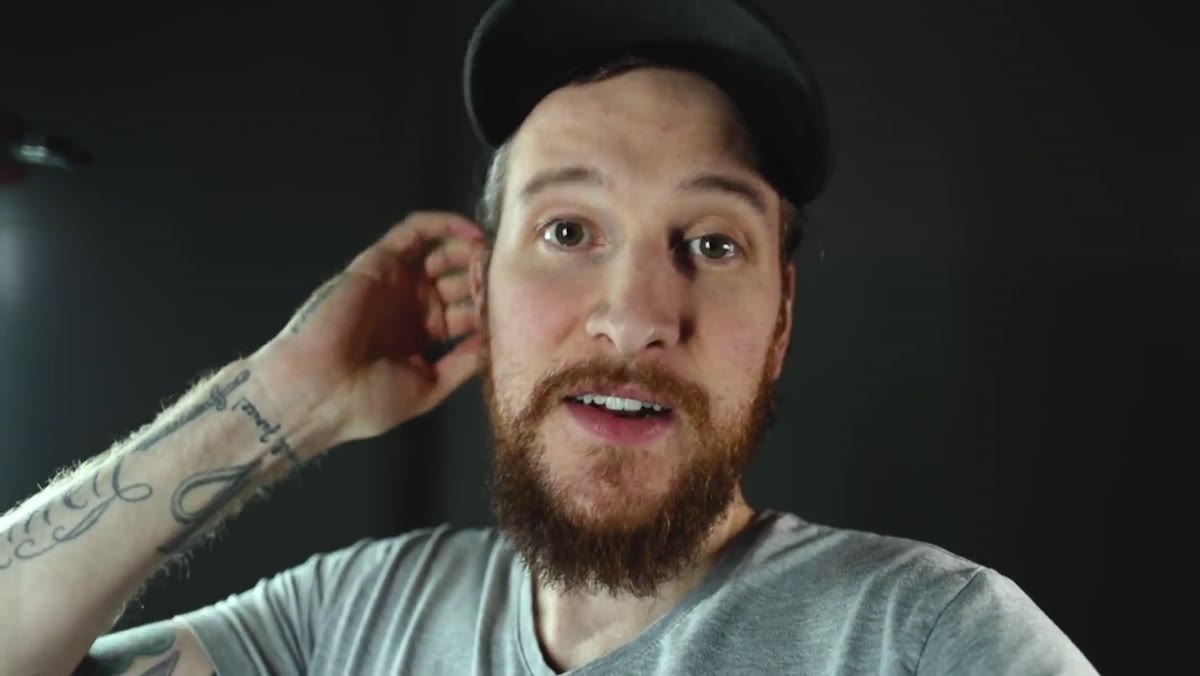
At the point in the shoot where Peter gives his update, the studio time is already up and they’re running over because the photo portion still hasn’t happened. He acknowledges it plainly and keeps moving. There’s no panic, just a recalibration. This is the professional mindset in practice: you build buffer time into your schedule, you know which elements are non-negotiable, and when things run long, you adapt rather than spiral.
Crew mid-shoot, studio rental clock running out
At the point in the shoot where Peter gives his update, the studio time is already up and they’re running over because the photo portion still hasn’t happened. He acknowledges it plainly and keeps moving. There’s no panic, just a recalibration. This is the professional mindset in practice: you build buffer time into your schedule, you know which elements are non-negotiable, and when things run long, you adapt rather than spiral.
If you’re renting studio time, add 20 to 30 percent extra time to your estimate and book it. If you can’t afford that buffer, trim your shot list before the shoot, not during it.
Step 4: Know the Trade-Offs of Your Stabilization Tools Before You’re On Set
 Movi stabilizer rig loaded with RED camera, operator holding it
Peter uses a Movi gimbal stabilizer rig to fly the RED camera, and he’s honest about the experience. The footage it produces is cinematic and smooth. The process of operating it for hours is physically exhausting and technically demanding. He calls it a love-hate tool, and that framing matters. Every piece of gear you add to a production has a cost, whether that’s weight, setup time, operator fatigue, or learning curve. Knowing that cost ahead of time means you can plan for it.
Movi stabilizer rig loaded with RED camera, operator holding it
Peter uses a Movi gimbal stabilizer rig to fly the RED camera, and he’s honest about the experience. The footage it produces is cinematic and smooth. The process of operating it for hours is physically exhausting and technically demanding. He calls it a love-hate tool, and that framing matters. Every piece of gear you add to a production has a cost, whether that’s weight, setup time, operator fatigue, or learning curve. Knowing that cost ahead of time means you can plan for it.
If you’re incorporating a gimbal or stabilizer into your workflow for the first time, practice with it extensively before the actual shoot. Balance it at home. Walk around your neighborhood with it loaded. The muscle memory you build in low-stakes situations is what keeps your footage usable when you’re running on hour six of a long shoot day.
Step 5: Transition Intentionally Between Photo and Video Portions
 Crew packing down video gear, shifting to photo setup
When the video portion wraps, Peter’s team moves into a full reset. Gear gets packed, space gets cleaned, and the mental mode switches to stills. This matters because photo and video require genuinely different technical setups, different lighting ratios, different communication with talent, and a different pace. Trying to run them simultaneously or bleeding one into the other without a clean break creates sloppy results on both ends.
Crew packing down video gear, shifting to photo setup
When the video portion wraps, Peter’s team moves into a full reset. Gear gets packed, space gets cleaned, and the mental mode switches to stills. This matters because photo and video require genuinely different technical setups, different lighting ratios, different communication with talent, and a different pace. Trying to run them simultaneously or bleeding one into the other without a clean break creates sloppy results on both ends.
If your shoot covers both formats, build a physical and mental transition into your schedule. Even fifteen minutes to reorganize the space and reset your own focus changes the quality of what comes next.
What I’d Add From My Own Experience
The thing this video doesn’t show explicitly, but that Peter’s whole shoot demonstrates, is how much a good crew affects creative output. You’ll notice he’s not running around solving every problem alone. Someone else balances the rig. Someone else manages the studio clock. Someone else apparently ordered five pounds of wing sauce (we don’t talk about the wing sauce).
When I started doing more structured shoots, I tried to do everything myself because I didn’t want to bother people or spend money on help. The work suffered for it. Even for smaller shoots, one extra person to help with reflectors, manage your tethering cable, or just watch your gear while you reposition makes a measurable difference. You don’t need a full crew to think like one. Assign tasks to whoever is with you, even if it’s just your partner or a friend.
The single most important thing this video reinforces is that professional shoots aren’t polished because everything goes right. They’re polished because experienced photographers know how to keep moving when things go sideways, and they plan in enough margin to absorb the surprises. Build that margin into your next shoot, whatever the scale, and you’ll spend less time scrambling and more time making images you’re proud of.
Watch the full tutorial on YouTube to see the full shoot day unfold in real time. It’s a great reminder that even the pros are figuring it out as they go.
Comments
Leave a Comment