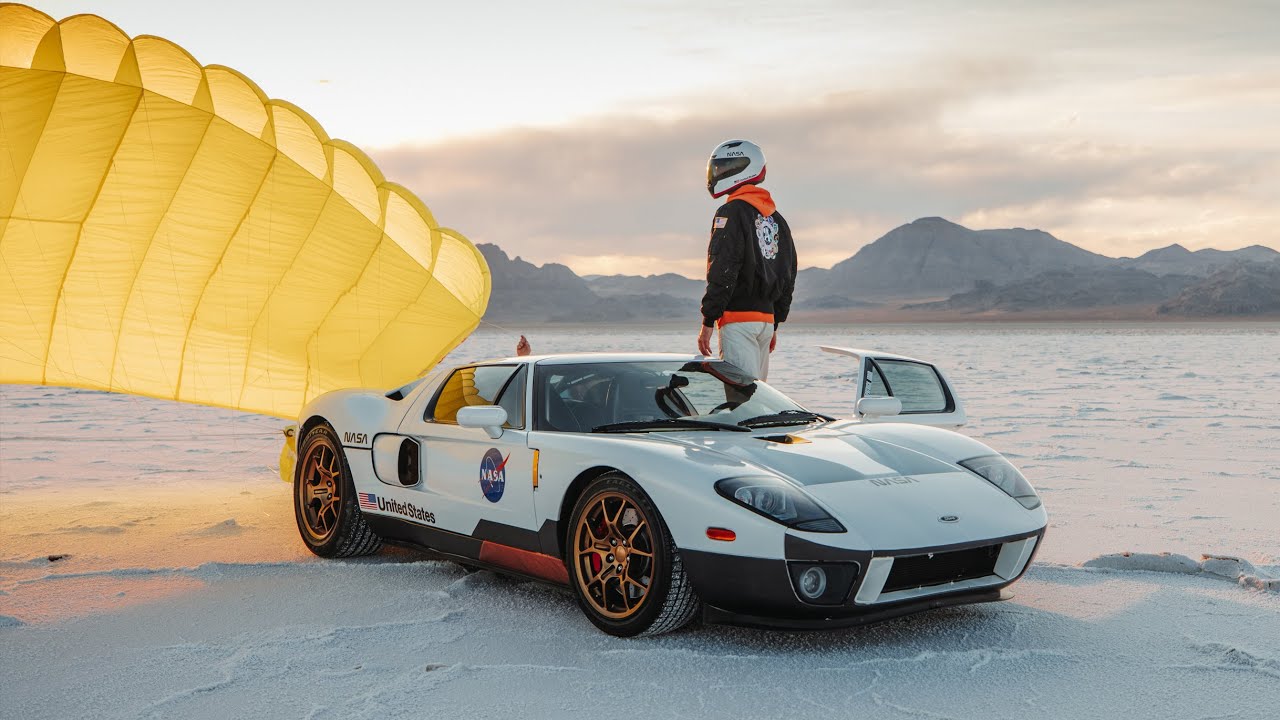
I’ll be honest: automotive photography is not my world. My Sunday photo walks lean toward foggy harbors and farmers markets, not horsepower and tire smoke. But some of the best photography lessons I’ve ever absorbed came from watching photographers work in genres completely outside my comfort zone. That’s exactly what happened when I sat down with Watch the full tutorial on YouTube — a Peter McKinnon video featuring automotive photographer Aaron Brimhall shooting a wrapped sports car out on the salt flats.
What struck me immediately wasn’t the car or the location. It was how deliberately Brimhall works. Every decision had a reason behind it, from the props he sourced to the orientation he chose to shoot in. These aren’t car-photography-specific lessons. They’re fundamental creative disciplines that transfer directly to any genre, and I’ve already started applying them to my own location shoots.
The video captures a real working session, not a polished demo. McKinnon is shadowing Brimhall, asking the questions you’d want to ask, which makes the whole thing feel less like a tutorial and more like being allowed into the room where the real work happens. Here’s what I pulled out of it.
Step 1: Build a Concept Before You Pick Up a Camera
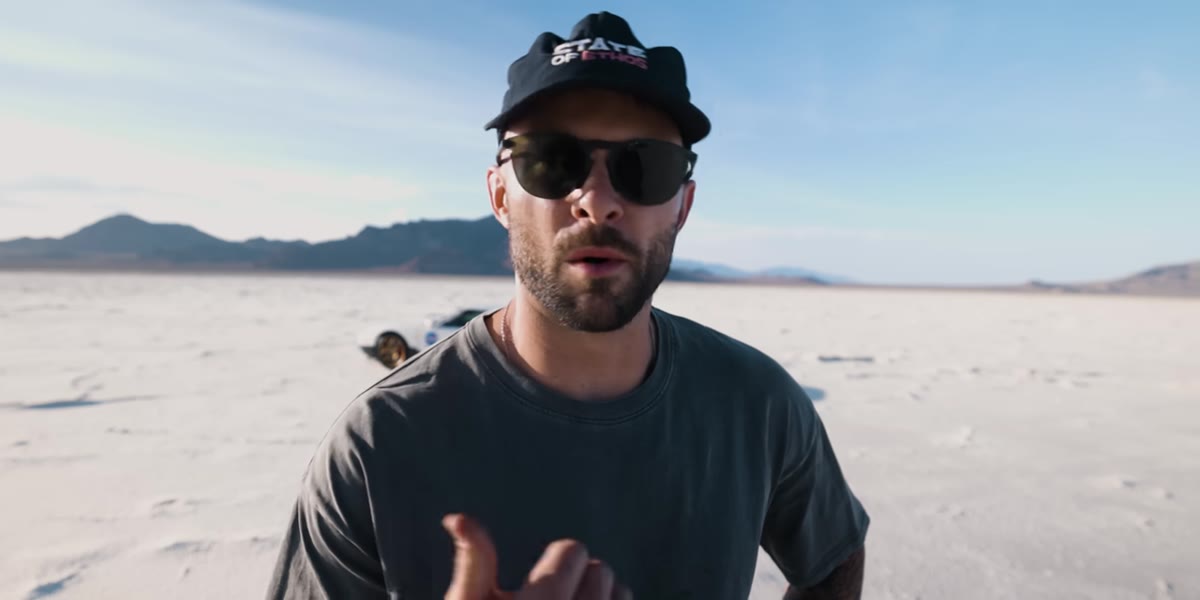 Brimhall explains parachute canopy concept for car shoot
Brimhall describes his process as coming up with an idea roughly 12 hours before a shoot, then deliberately pushing himself to make it more elaborate. For this session, the concept was specific and visual: a reserve parachute canopy draped over and behind the car, as if the vehicle had just dropped out of the sky and landed on the flats.
Brimhall explains parachute canopy concept for car shoot
Brimhall describes his process as coming up with an idea roughly 12 hours before a shoot, then deliberately pushing himself to make it more elaborate. For this session, the concept was specific and visual: a reserve parachute canopy draped over and behind the car, as if the vehicle had just dropped out of the sky and landed on the flats.
That level of pre-planning is what separates an interesting photo from a forgettable one. Before your next shoot, write down one sentence that describes the story your image will tell. Not the subject, the story. If you can’t write that sentence, you’re not ready to shoot yet. Gather props, source unusual elements, call a creative friend if you need a second brain. The concept is the work. Everything else is execution.
Step 2: Source Unusual Props That Add Narrative Weight
 Parachute canopy laid out beside the car on salt flats
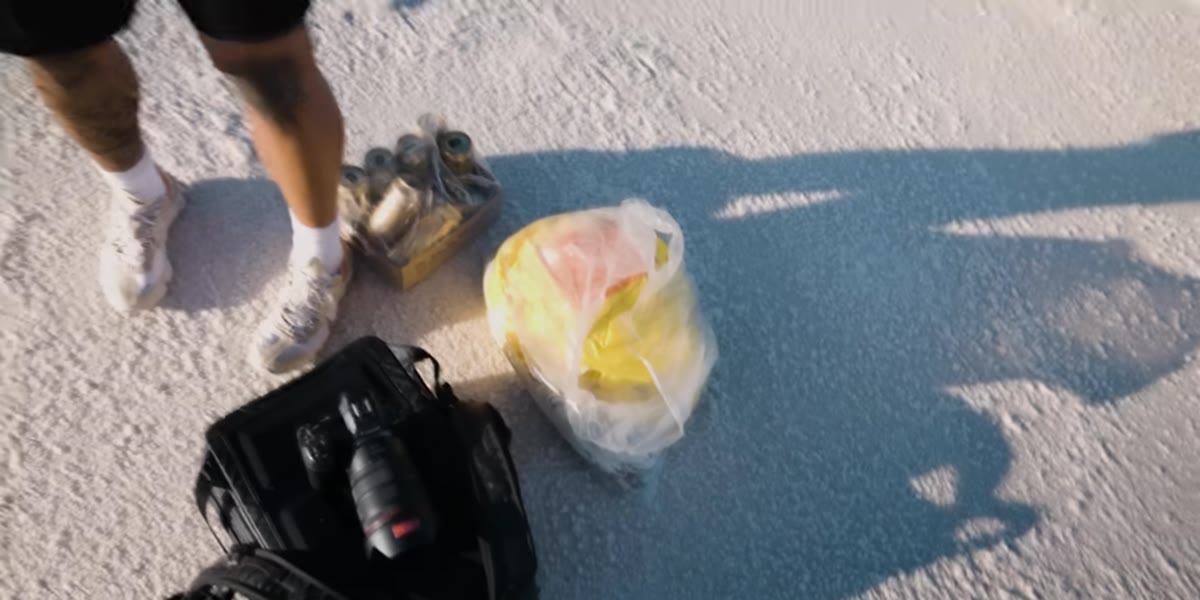
The parachute canopy Brimhall uses wasn’t a generic decoration. It came from a skydiver friend and carries real visual logic. A viewer’s eye sees it and immediately constructs a story. That’s the power of a prop that belongs to a world, rather than one that was grabbed for visual interest alone.
Parachute canopy laid out beside the car on salt flats
The parachute canopy Brimhall uses wasn’t a generic decoration. It came from a skydiver friend and carries real visual logic. A viewer’s eye sees it and immediately constructs a story. That’s the power of a prop that belongs to a world, rather than one that was grabbed for visual interest alone.
When you’re planning a shoot, think about what objects exist in the world your subject inhabits or, more interestingly, what objects exist in a world your subject definitely doesn’t inhabit. The contrast can do enormous narrative work. You don’t need expensive props. You need specific ones.
Step 3: Shoot Wide and Crop Later Rather Than Shooting Vertical
 Brimhall shooting horizontal on salt flats with car and parachute
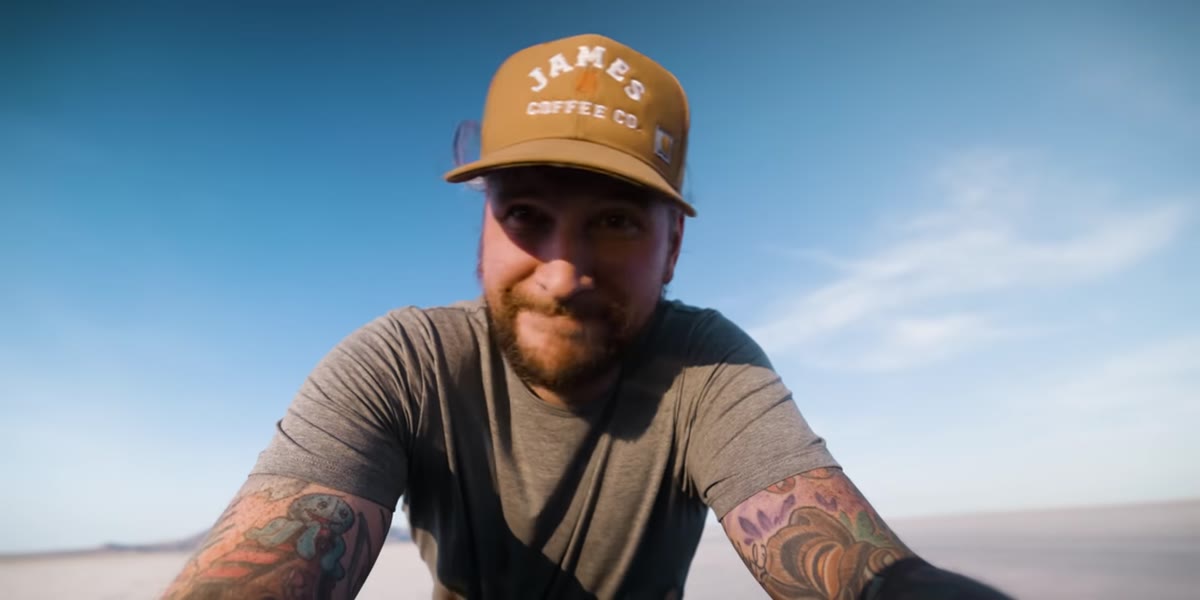
This was the moment in the video that genuinely stopped me. Brimhall makes a point of always shooting horizontally, even when the final output might need a vertical crop for Instagram or print. His reasoning is simple and practical: if you shoot wide, you have the information to crop however you need. If you shoot vertical from the start, you’ve already made that decision permanently.
Brimhall shooting horizontal on salt flats with car and parachute
This was the moment in the video that genuinely stopped me. Brimhall makes a point of always shooting horizontally, even when the final output might need a vertical crop for Instagram or print. His reasoning is simple and practical: if you shoot wide, you have the information to crop however you need. If you shoot vertical from the start, you’ve already made that decision permanently.
McKinnon has an almost comic moment of realizing he’s been defaulting to vertical for social media so long that he’d forgotten this flexibility existed. I felt that. Shooting wide then cropping to vertical means your composition can serve multiple platforms from a single frame. Next time you pick up your camera, flip it horizontal and stay there. Crop the vertical later in post. You’ll be surprised how much more creative room you give yourself.
Step 4: Position Props to Guide the Eye Through the Frame
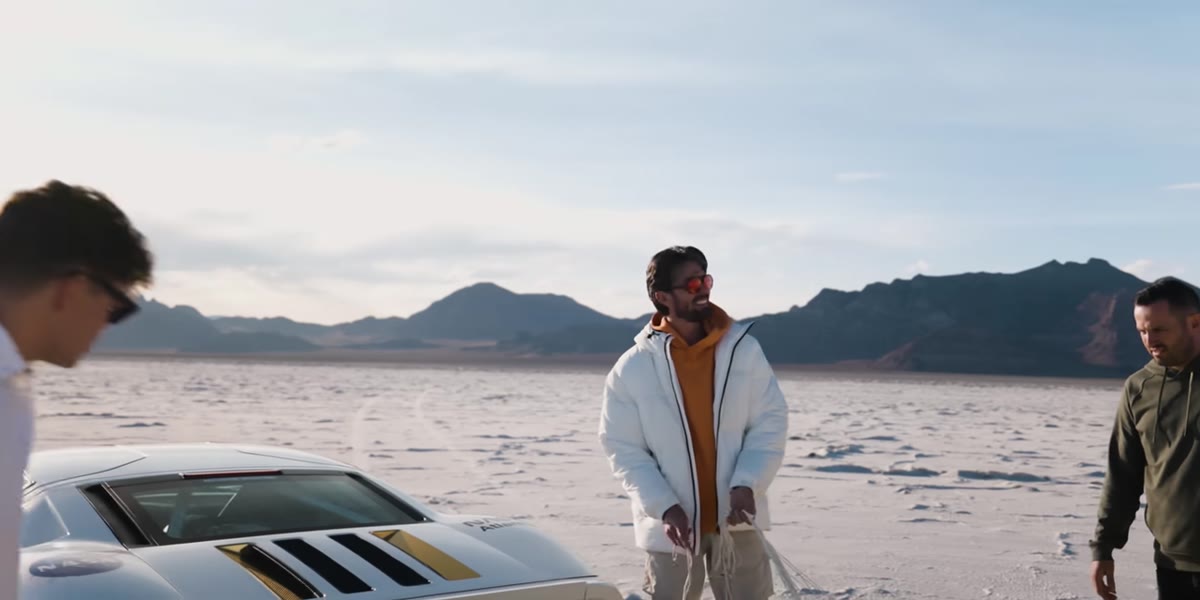 Canopy arranged behind car to create visual flow in scene
Once Brimhall commits to his concept, he doesn’t just place the canopy next to the car and start shooting. He arranges it deliberately so that it flows behind the vehicle in a way that creates movement and visual direction. The lines of the fabric pull the eye from one edge of the frame toward the focal point of the car.
Canopy arranged behind car to create visual flow in scene
Once Brimhall commits to his concept, he doesn’t just place the canopy next to the car and start shooting. He arranges it deliberately so that it flows behind the vehicle in a way that creates movement and visual direction. The lines of the fabric pull the eye from one edge of the frame toward the focal point of the car.
This is basic compositional thinking, but it’s easy to skip when you’re excited to shoot. Take an extra five minutes before your first frame to walk around your subject and check that every major element in the scene is doing compositional work. If something isn’t guiding the eye or adding to the story, move it or remove it.
Step 5: Let the Environment Do the Exposure Work
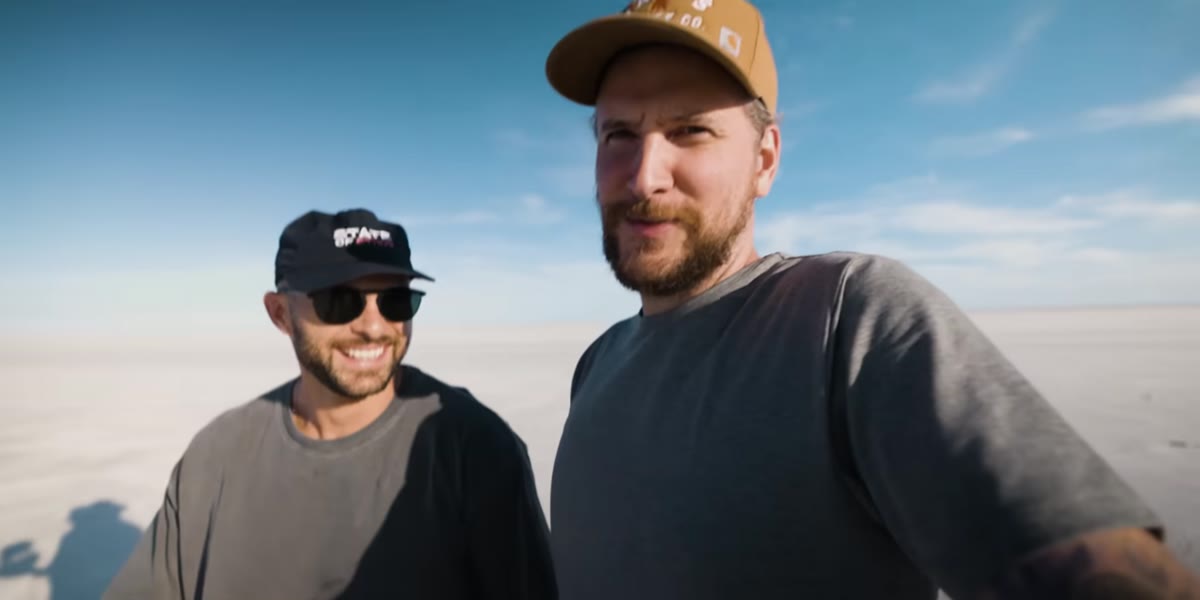 Bright salt flat conditions described, shooter adjusting for harsh light
Shooting on the salt flats in full daylight is an extreme exposure challenge. The white surface reflects light in every direction and can easily blow out highlights or confuse your camera’s metering. Brimhall acknowledges the brightness directly and adjusts accordingly rather than fighting it.
Bright salt flat conditions described, shooter adjusting for harsh light
Shooting on the salt flats in full daylight is an extreme exposure challenge. The white surface reflects light in every direction and can easily blow out highlights or confuse your camera’s metering. Brimhall acknowledges the brightness directly and adjusts accordingly rather than fighting it.
In high-contrast outdoor conditions, expose for the highlights first. Use your histogram, not just the preview screen. If you’re shooting in a bright reflective environment, dial your exposure compensation down by at least one stop from what the camera suggests, then check your histogram and adjust from there. Protecting your highlights in-camera gives you far more flexibility in post than trying to recover blown whites.
Step 6: Commit to the Shot and Roll With What You Have
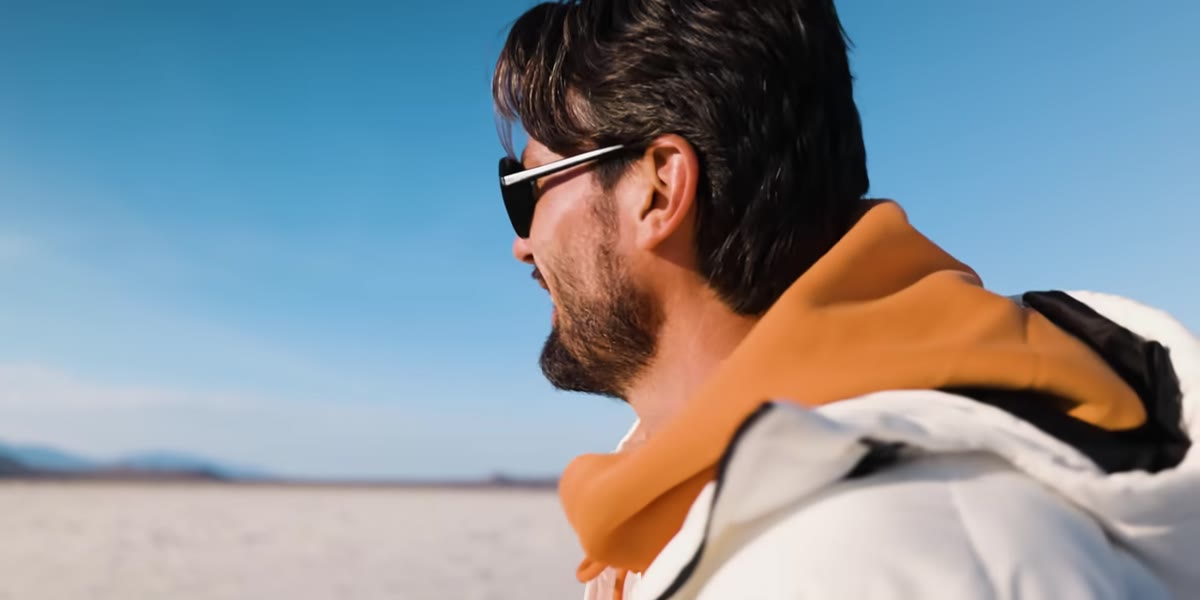 Brimhall affirming the half-formed concept and deciding to start shooting
One of Brimhall’s working principles that comes through clearly in the video is his willingness to commit to a concept even when it’s still evolving. He doesn’t wait for perfect conditions or a fully formed plan. He sets up what he has, starts shooting, and refines as he goes.
Brimhall affirming the half-formed concept and deciding to start shooting
One of Brimhall’s working principles that comes through clearly in the video is his willingness to commit to a concept even when it’s still evolving. He doesn’t wait for perfect conditions or a fully formed plan. He sets up what he has, starts shooting, and refines as he goes.
This is genuinely hard to do if you’re a perfectionist, and I say that as someone who once spent four consecutive evenings at a waterfall trying to get one specific shot while my husband ate dinner alone at the hotel. The lesson I’ve slowly internalized is that your first frame rarely matches your final frame, and that’s fine. Start shooting. The act of shooting reveals what the image wants to be.
What I’d Add From My Own Experience
The concept-first approach Brimhall uses works for any genre, but it requires you to resist the urge to improvise your way through a shoot. I started keeping a notes app folder of shoot concepts I want to execute someday. Some of them are half-baked (which, as Brimhall suggests, is completely fine to send). The discipline of writing the concept down before I’m standing in front of the subject has measurably improved my work. It also makes the shoot itself faster, because I’m not standing there figuring out what I want while the light changes.
One caveat I’d offer specifically on the “shoot wide, crop vertical” advice: it only works if your lens is sharp edge to edge. If you’re shooting with a kit lens that softens toward the corners, cropping aggressively can reveal that weakness. Know your glass before you rely on this workflow.
The single most transferable idea from this whole video is the one that costs nothing: have a concept, and make it weird enough to be worth photographing. Everything else, the settings, the props, the location, serves that idea.
Watch the full tutorial on YouTube to see Brimhall and McKinnon work through the full session. Watching a photographer of that caliber actually at work, in real light with real constraints, is worth more than most formal lessons.
Comments
Leave a Comment