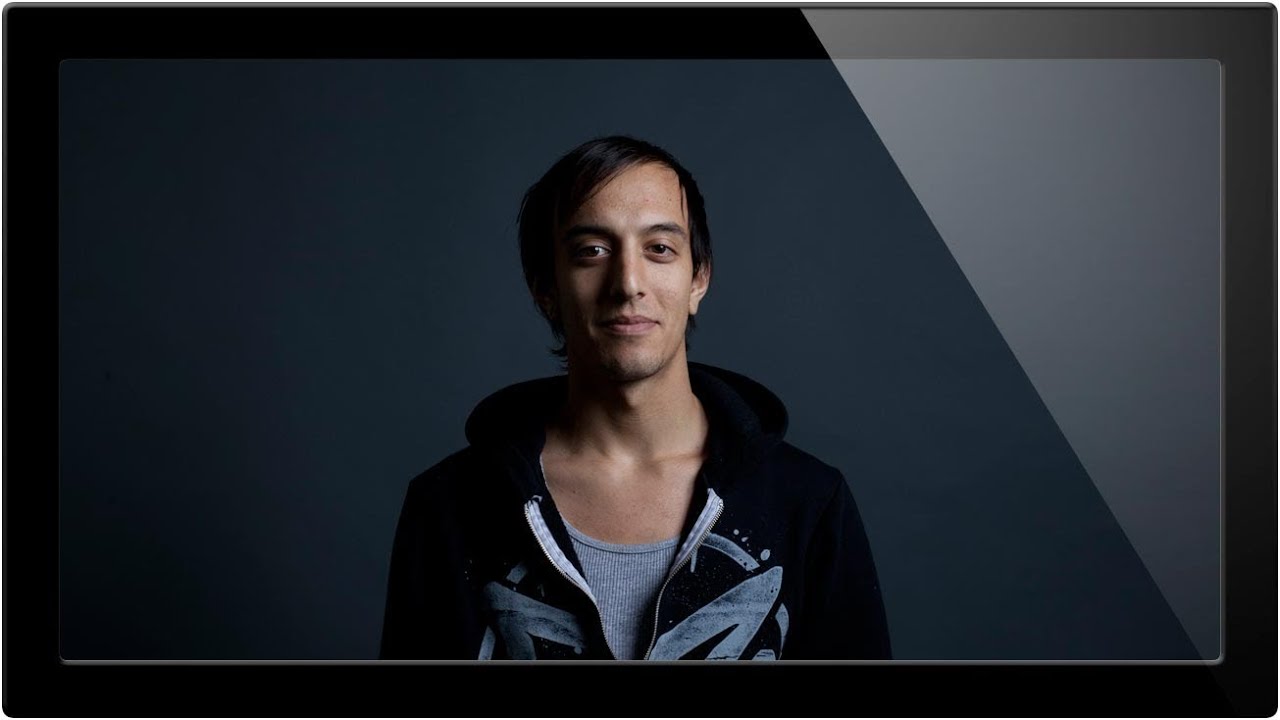
Lighting modifiers confused me for an embarrassingly long time. I understood the gear in theory, but whenever I actually set up a shoot, I’d grab whatever was closest and hope for the best. The results were fine. Not great. The kind of photos where the light technically works but something feels a little clinical, a little flat, a little “stock photo.” It wasn’t until I started deliberately comparing modifiers side by side, same subject, same strobe, just swapping what was in front of the light, that things started clicking.
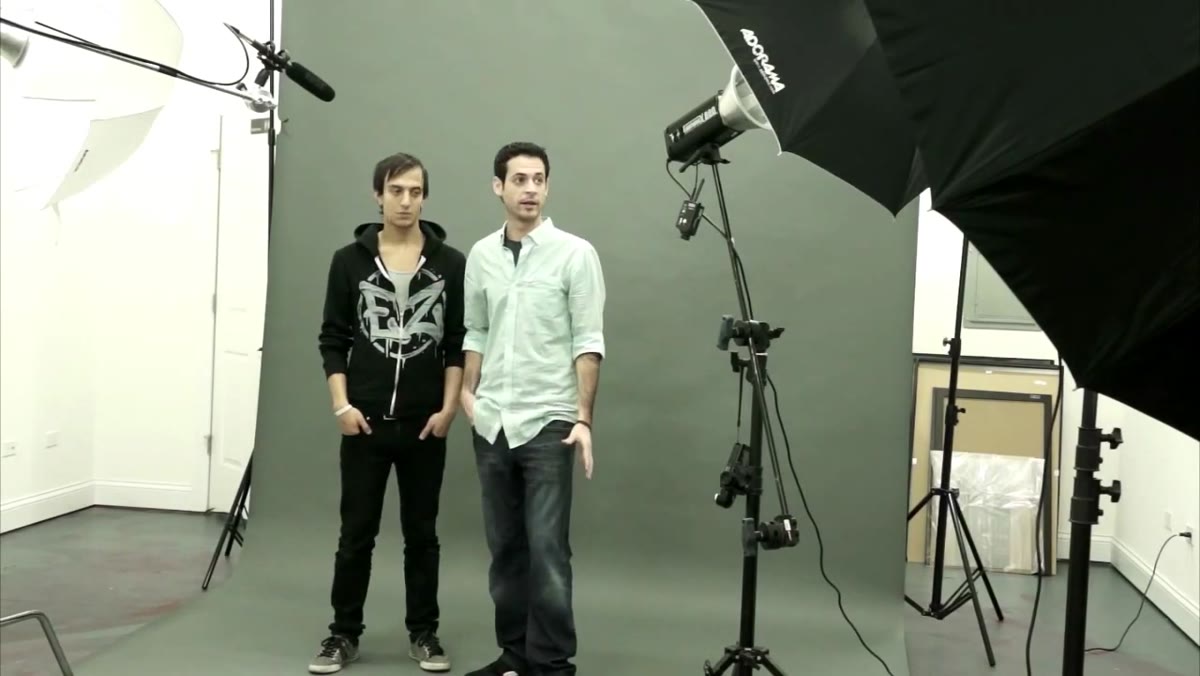
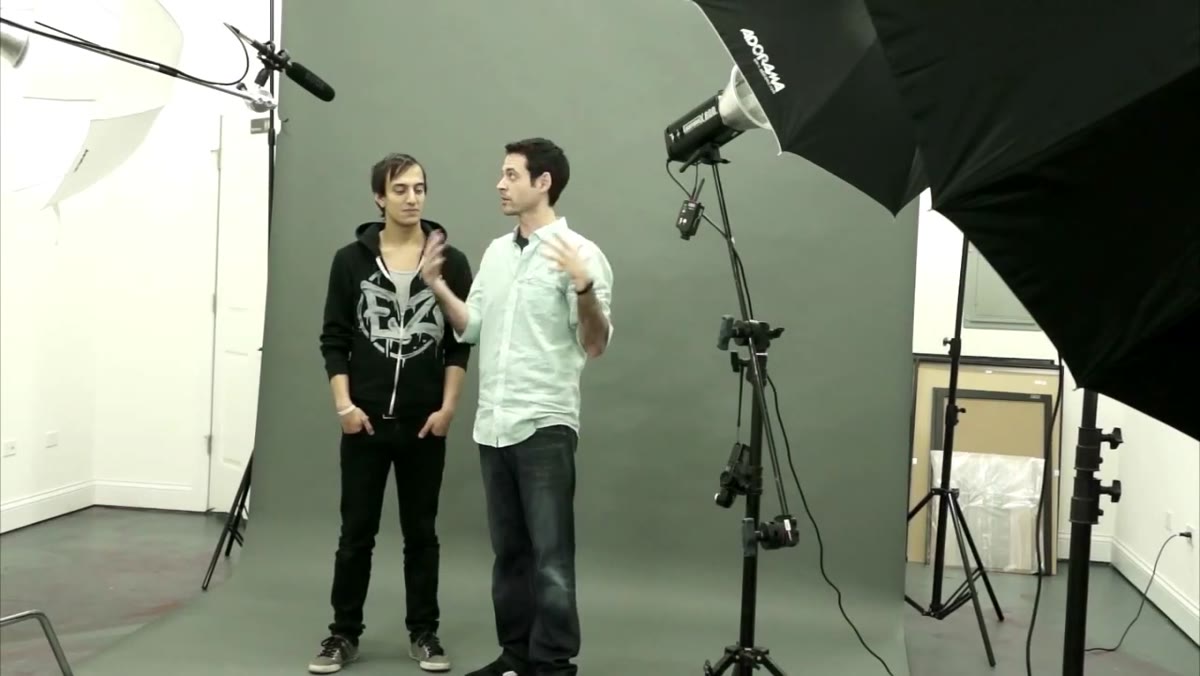
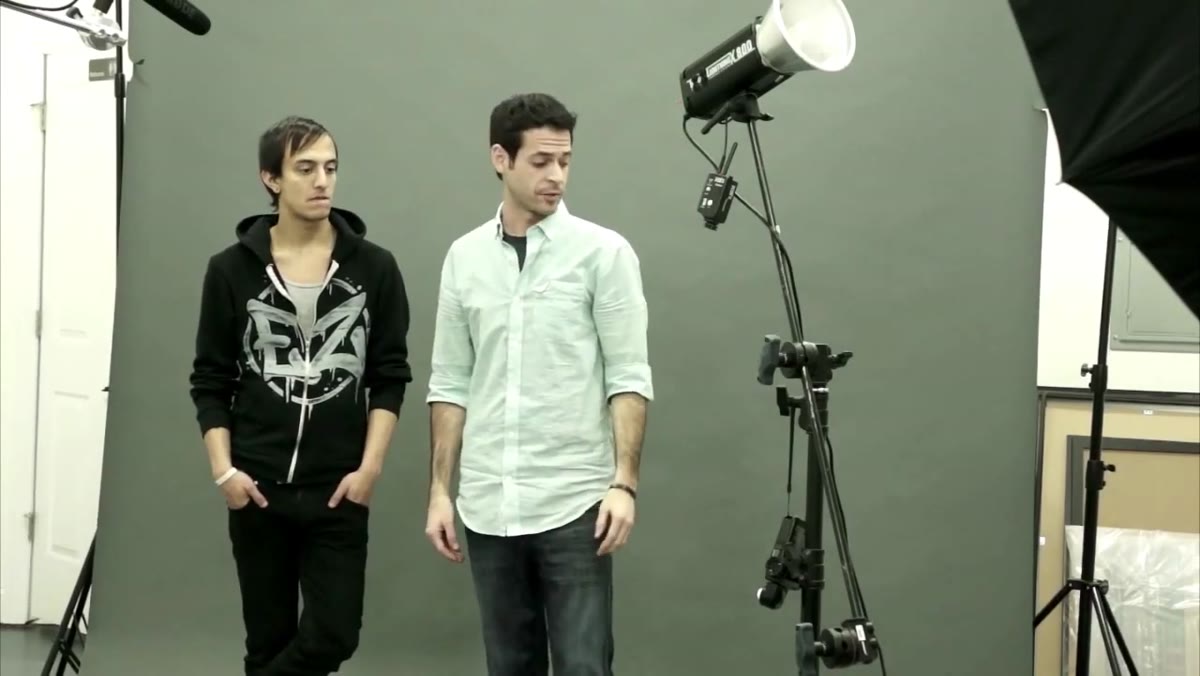
In this Aaron Nace (PHLEARN) tutorial, Watch the full tutorial on YouTube, Aaron walks through exactly that kind of comparison. He starts with a bare strobe, moves through a 7-inch reflector, and then works his way through different photography umbrellas, showing how each modifier changes not just the exposure reading but the quality and character of the light landing on his subject. It’s the kind of methodical, side-by-side teaching that’s rare to find, and it maps almost perfectly onto problems I’ve run into at real shoots.
What makes this tutorial worth your time isn’t the gear. It’s the logic behind the gear. Once you understand why a modifier does what it does, you stop guessing and start making actual decisions.
Step 1: Start Bare — Understand What Your Light Actually Does Without Help
 Bare strobe head pointed at subject with no modifier attached
Before adding any modifier, Aaron fires the strobe completely bare, no reflector, no dish, nothing. This is the baseline. A bare strobe throws light in every direction, which sounds like more coverage but actually means less controlled, less efficient output landing on your subject. When he meters the bare strobe, he gets a reading of f/11 at ISO 200 and 1/125th of a second. Write that down or remember it, because every modifier comparison from here is measured against it.
Bare strobe head pointed at subject with no modifier attached
Before adding any modifier, Aaron fires the strobe completely bare, no reflector, no dish, nothing. This is the baseline. A bare strobe throws light in every direction, which sounds like more coverage but actually means less controlled, less efficient output landing on your subject. When he meters the bare strobe, he gets a reading of f/11 at ISO 200 and 1/125th of a second. Write that down or remember it, because every modifier comparison from here is measured against it.
The lesson here is practical: always know what your light does unmodified. It gives you a reference point so you understand exactly how much each modifier is adding, subtracting, or reshaping the light.
Step 2: Add a 7-Inch Reflector and See What Focus Does to Exposure
 7-inch silver reflector attached to strobe head, aimed at subject
Attaching a 7-inch reflector, a small silver dish that mounts directly onto the strobe head, changes things immediately. The reflector redirects light that would otherwise scatter backward and sideways, pushing it forward toward the subject instead. When Aaron re-meters with the reflector in place, the reading jumps to f/14. That is a meaningful difference: the same strobe, the same power setting, but significantly more light arriving at the subject just by redirecting what was being wasted.
7-inch silver reflector attached to strobe head, aimed at subject
Attaching a 7-inch reflector, a small silver dish that mounts directly onto the strobe head, changes things immediately. The reflector redirects light that would otherwise scatter backward and sideways, pushing it forward toward the subject instead. When Aaron re-meters with the reflector in place, the reading jumps to f/14. That is a meaningful difference: the same strobe, the same power setting, but significantly more light arriving at the subject just by redirecting what was being wasted.
This is a useful thing to understand about modifiers in general. They do not only soften or diffuse light, some of them concentrate it and make it more powerful. A small reflector dish is one of the most efficient tools you have for squeezing maximum output from a strobe.
Step 3: Notice How Light Quality Changes, Not Just Quantity
 Subject’s face showing harsh shadows from small reflector
Here is where Aaron starts making the case for umbrellas. The 7-inch reflector is bright and efficient, but look at what it does to the subject’s face. The light is small and direct, which means the shadows are hard and defined, and the transition from highlight to shadow is abrupt. It can work for certain looks, high-contrast editorial, dramatic portraits, that kind of thing. But for most people photographing people, that harshness reads as unflattering.
Subject’s face showing harsh shadows from small reflector
Here is where Aaron starts making the case for umbrellas. The 7-inch reflector is bright and efficient, but look at what it does to the subject’s face. The light is small and direct, which means the shadows are hard and defined, and the transition from highlight to shadow is abrupt. It can work for certain looks, high-contrast editorial, dramatic portraits, that kind of thing. But for most people photographing people, that harshness reads as unflattering.
The size of a light source relative to the subject determines how hard or soft the light is. A bare bulb or small reflector is a tiny source. An umbrella, which spreads the light across a much larger surface area before it reaches the subject, acts as a bigger, softer source. Bigger source equals softer shadows. That is the whole game.
Step 4: Introduce the Shoot-Through Umbrella
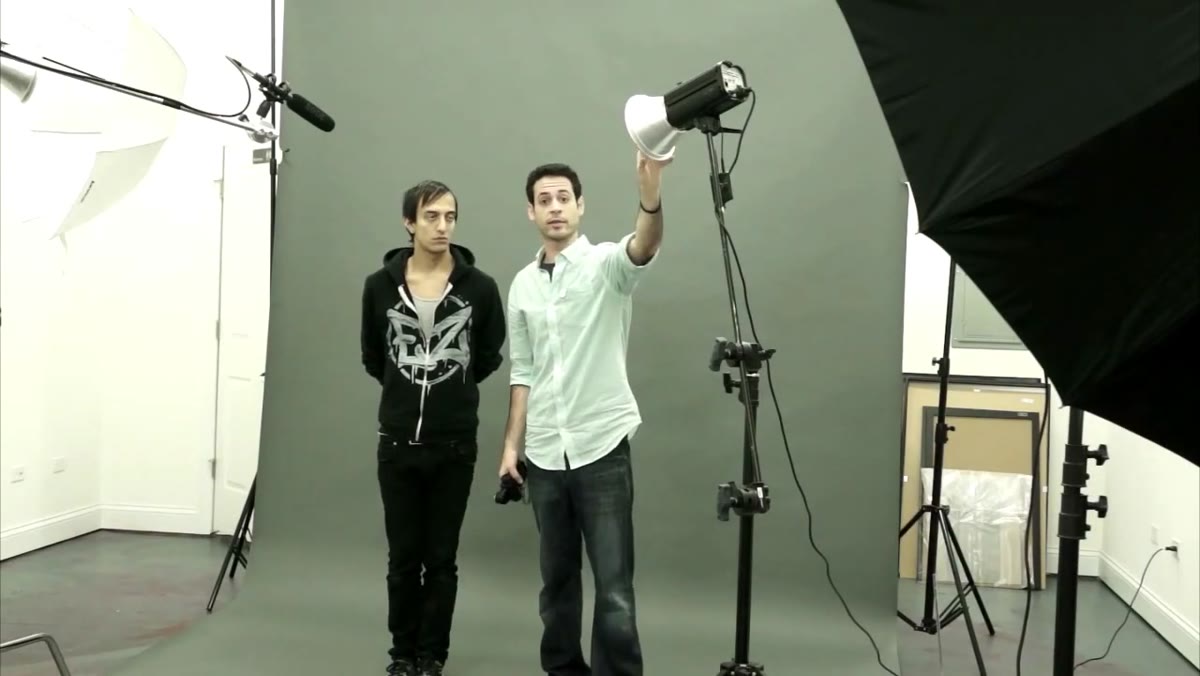 White shoot-through umbrella positioned between strobe and subject
A shoot-through umbrella is exactly what it sounds like. The strobe fires into the back of the umbrella, and the light passes through the white translucent fabric before reaching the subject. The fabric diffuses the light, spreading it and softening it considerably. Aaron positions the umbrella between the strobe and the subject, which is the key difference from a reflective umbrella, the light is traveling toward the subject through the material rather than bouncing back.
White shoot-through umbrella positioned between strobe and subject
A shoot-through umbrella is exactly what it sounds like. The strobe fires into the back of the umbrella, and the light passes through the white translucent fabric before reaching the subject. The fabric diffuses the light, spreading it and softening it considerably. Aaron positions the umbrella between the strobe and the subject, which is the key difference from a reflective umbrella, the light is traveling toward the subject through the material rather than bouncing back.
The trade-off is light loss. Some of the output is absorbed by the fabric and some spills in directions you may not want. Aaron re-meters and adjusts his camera settings accordingly. If you switch to a shoot-through umbrella mid-shoot and your images suddenly go dark, that is why. Budget for roughly a stop or more of light loss and adjust your aperture or bump your strobe power to compensate.
Step 5: Switch to a Reflective Umbrella and Compare the Output
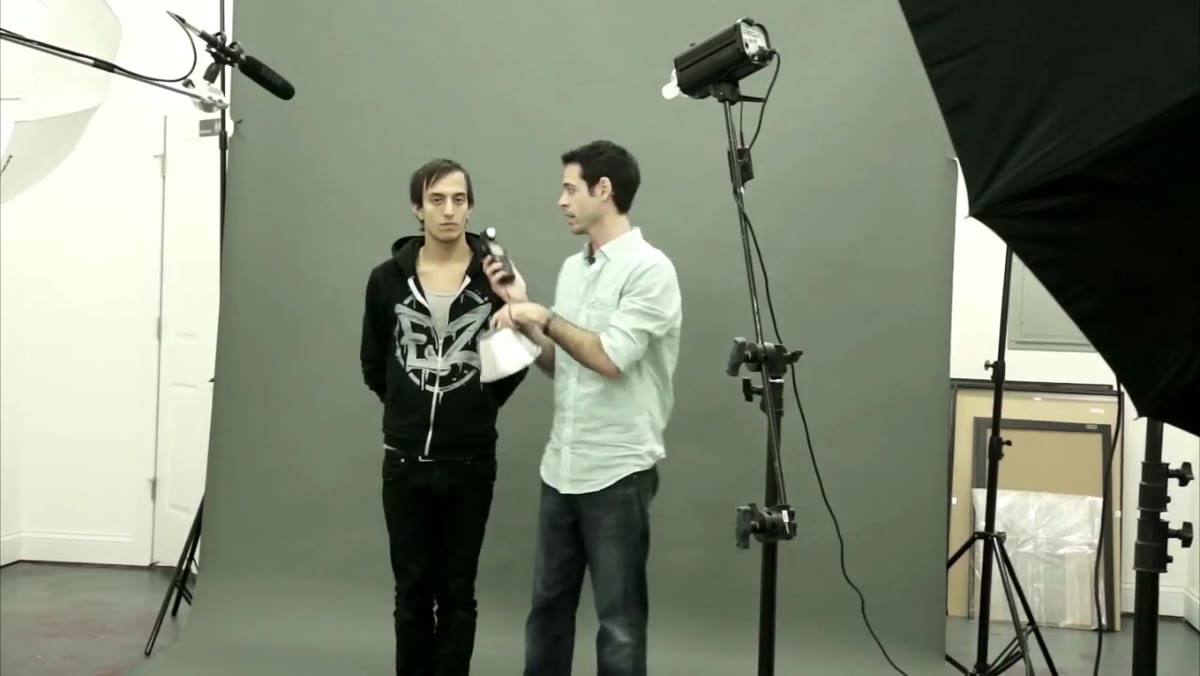 Silver reflective umbrella with strobe pointed away from subject
A reflective umbrella flips the setup. The strobe points away from the subject, firing into the inside of the umbrella, which bounces the light back toward the subject. The inside surface of the umbrella, whether silver or white, determines the character of the reflected light. Silver gives a slightly brighter, more contrasty result. White gives softer, more neutral output.
Silver reflective umbrella with strobe pointed away from subject
A reflective umbrella flips the setup. The strobe points away from the subject, firing into the inside of the umbrella, which bounces the light back toward the subject. The inside surface of the umbrella, whether silver or white, determines the character of the reflected light. Silver gives a slightly brighter, more contrasty result. White gives softer, more neutral output.
Because the light is bouncing off a large curved surface before reaching the subject, you get a bigger effective light source than a direct strobe with a small dish. The shadows are noticeably softer, and the highlight-to-shadow transition is more gradual. This is the setup I reach for most often when I am shooting portraits with a single light and I want the light to feel natural rather than constructed.
Step 6: Read Your Light Meter After Every Modifier Swap
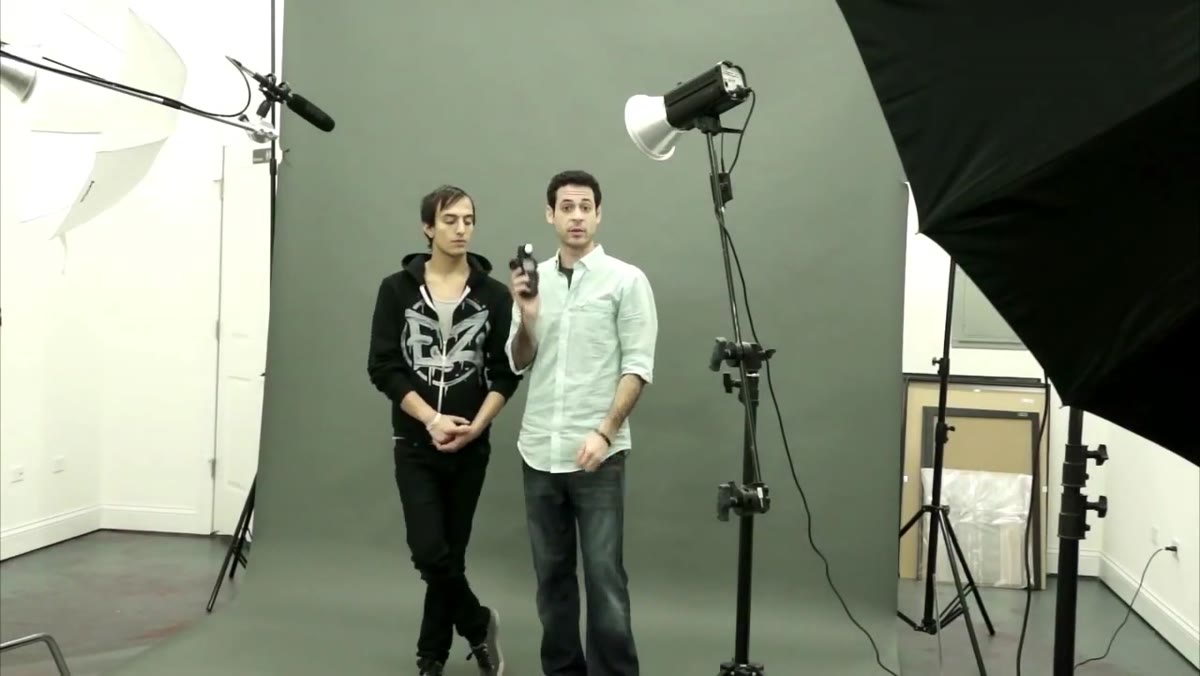 Light meter being held near subject’s face, reading displayed on screen
Aaron uses a handheld incident light meter throughout the tutorial, and it is worth talking about why. Every time a modifier is swapped, the amount of light reaching the subject changes. Without re-metering, you are guessing at your exposure, and guessing costs you time and consistency. Aaron’s readings shift across the session depending on what is in front of the strobe, and his camera settings shift with them.
Light meter being held near subject’s face, reading displayed on screen
Aaron uses a handheld incident light meter throughout the tutorial, and it is worth talking about why. Every time a modifier is swapped, the amount of light reaching the subject changes. Without re-metering, you are guessing at your exposure, and guessing costs you time and consistency. Aaron’s readings shift across the session depending on what is in front of the strobe, and his camera settings shift with them.
If you do not have a light meter, shoot tethered to a laptop or chimp your histogram aggressively after each modifier change. The histogram does not lie about exposure the way your eye does under mixed studio and ambient light.
My Take: Test Your Modifiers Before the Subject Arrives
I have a habit now that came directly from watching tutorials like this one. Before any shoot that involves strobes, I do a quick modifier test on a stand-in, sometimes a chair, sometimes my husband if he is not fast enough to leave the room. I fire through each modifier I am considering and take one frame with each. It takes ten minutes and it means I am not figuring out the light while a client is standing there getting bored.
The other thing worth knowing: shoot-through umbrellas are genuinely fantastic for outdoor fill because the light spills a little and feels less sculpted. Reflective umbrellas are better in smaller spaces where you want more control over where the light goes. Neither is the “better” option, they solve different problems.
The single biggest takeaway from this tutorial is that understanding your modifier is not about memorizing which one looks best. It is about understanding the relationship between light source size and shadow softness, and then choosing the tool that fits what the shot needs. Swap one modifier, re-meter, take a test frame. Repeat until it looks right.
Watch the full tutorial on YouTube to see Aaron demonstrate each modifier side by side with actual results on camera.
Comments (2)
Never thought of approaching it this way. Really creative.
I tried this on a client project yesterday and the results were way better than expected.
Leave a Comment