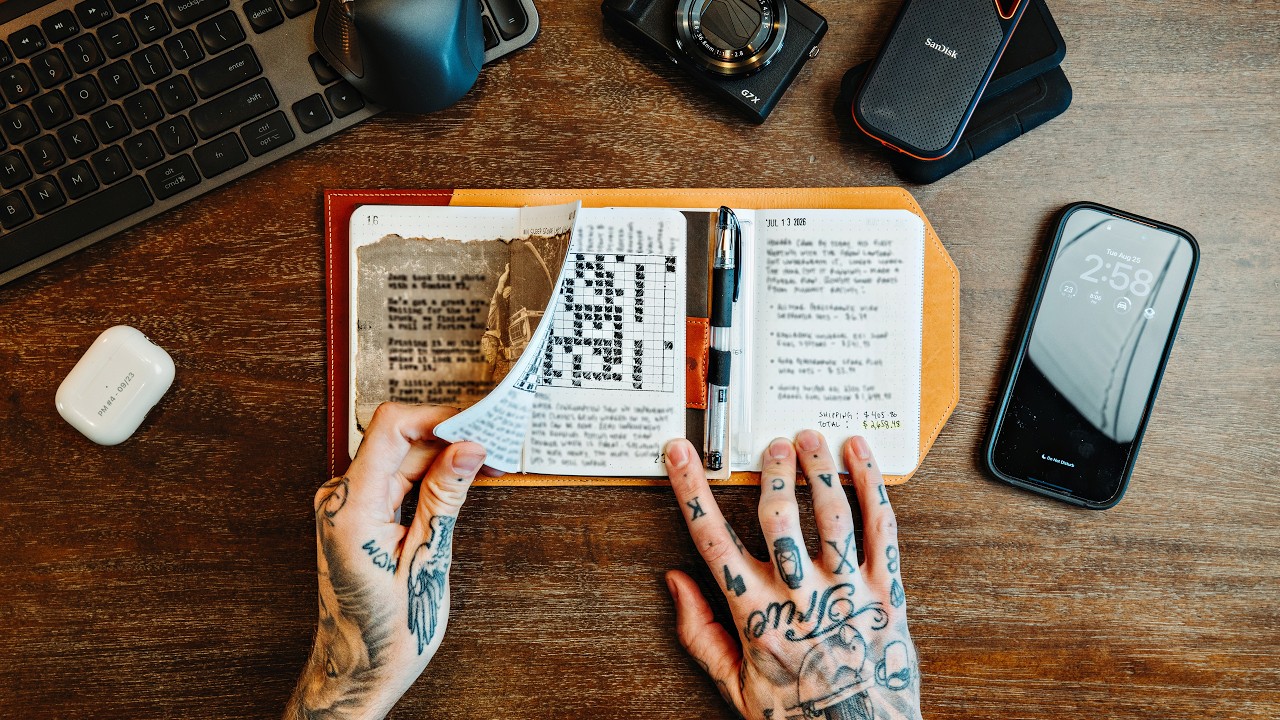
I shoot with my phone sometimes on purpose, just to prove it’s not the gear that matters. But here’s the thing I had to admit to myself last year: I wasn’t picking up my phone to shoot. I was picking it up to scroll. To check notifications. To fall into a thirty-minute Instagram hole when I should have been editing the shoot from the weekend before. My phone had quietly become the biggest obstacle between me and my actual creative work, and I didn’t even notice until my Sunday photo walks started feeling distracted instead of meditative.
That’s why this Peter McKinnon tutorial stopped me mid-scroll (the irony is not lost on me). Watch the full tutorial on YouTube before you read further if you want the full picture, but I’ll walk you through the whole system here because the details matter and they’re easy to miss on a first watch. McKinnon isn’t selling a productivity philosophy. He’s sharing a very specific, very physical setup that pulls your creative planning off your phone and onto paper, and the difference that makes is bigger than it sounds.
This system won’t change your shutter speed or fix your composition. What it will do is clear the mental clutter that keeps you from even picking up your camera in the first place.
Step 1: Choose a Modular Folio as Your Home Base
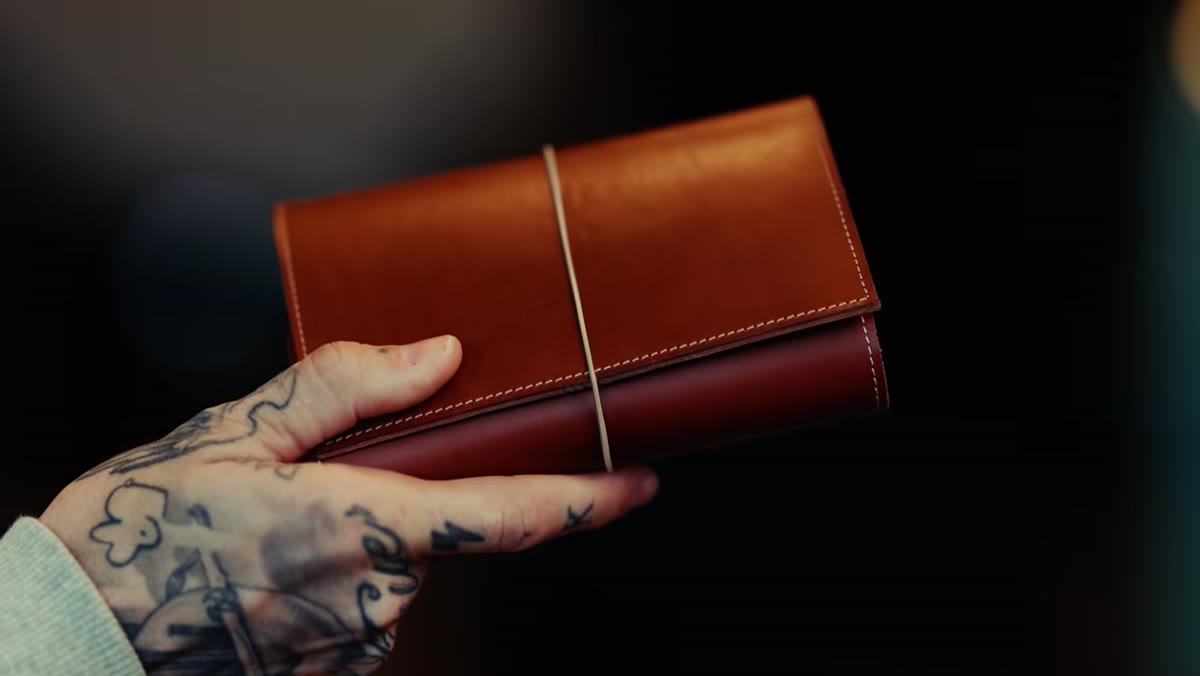 Peter holding open a leather folio with inserts visible
The foundation of the whole setup is a leather folio, not a single notebook. McKinnon uses one from Travelers Notebooks (also sold under the name Midori or Travelers Company), and the key word he uses is “modular.” That means the folio itself is just a shell. You fill it with interchangeable inserts depending on what you need that week or that project. If you’re in a heavy planning phase before a big shoot, you add a calendar insert. If you’re traveling, you might swap in a blank notebook for journaling. Nothing is permanent, which removes the pressure of getting it “right” from the start.
Peter holding open a leather folio with inserts visible
The foundation of the whole setup is a leather folio, not a single notebook. McKinnon uses one from Travelers Notebooks (also sold under the name Midori or Travelers Company), and the key word he uses is “modular.” That means the folio itself is just a shell. You fill it with interchangeable inserts depending on what you need that week or that project. If you’re in a heavy planning phase before a big shoot, you add a calendar insert. If you’re traveling, you might swap in a blank notebook for journaling. Nothing is permanent, which removes the pressure of getting it “right” from the start.
Look for a folio with an elastic closure and interior pockets on both sides. The pockets matter because they hold the small loose items that usually end up forgotten in a jacket pocket or lost in your camera bag. Sized for passport or field-note dimensions tends to be the most portable without feeling precious.
Step 2: Add a Stiff Card to the Front Pocket
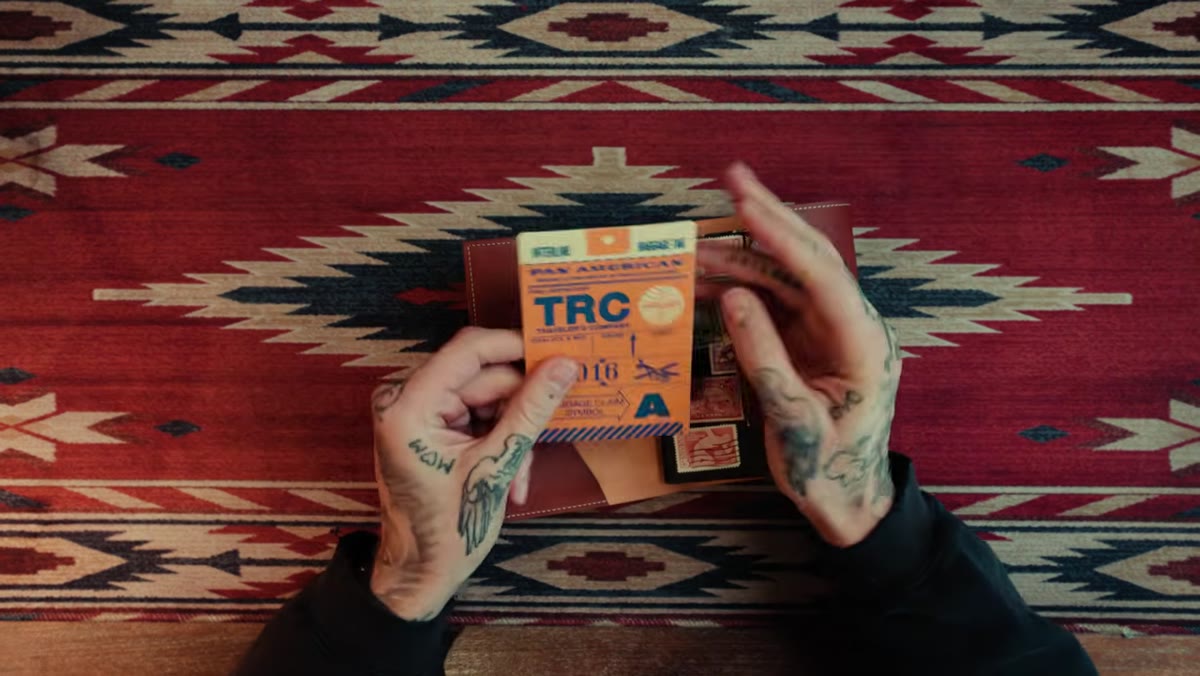 Paper backing card being slid out from front folio pocket
This sounds almost too simple to mention, but McKinnon makes a point of it and he’s right to. He keeps a stiff paper or card backing inside the front pocket of the folio. It serves three purposes: it acts as blotting paper so ink doesn’t bleed through to the page underneath, it doubles as a straight edge for drawing lines or underlines, and it creates a firm writing surface when the pages behind it have items taped or glued onto them.
Paper backing card being slid out from front folio pocket
This sounds almost too simple to mention, but McKinnon makes a point of it and he’s right to. He keeps a stiff paper or card backing inside the front pocket of the folio. It serves three purposes: it acts as blotting paper so ink doesn’t bleed through to the page underneath, it doubles as a straight edge for drawing lines or underlines, and it creates a firm writing surface when the pages behind it have items taped or glued onto them.
If you’re the kind of photographer who tapes receipts, ticket stubs, or reference images into your notebook (and I’d encourage you to try it), that last use case matters a lot. Writing on top of a lumpy page covered in taped-down scraps is miserable. A backing card fixes that instantly.
Step 3: Keep a Small Card Holder Insert for Adhesives and Supplies
 Card holder insert with double-sided tape strips inside folio
One of the reasons analog systems fail is friction. You want to tape something in and you don’t have tape. You want to write but your pen is in your coat. McKinnon solves this with a small card-holder insert tucked inside the folio that holds pre-cut double-sided adhesive strips. His wife pointed him toward this solution and it’s a good one. No tape roll, no scissors, no fumbling. Just peel and stick.
Card holder insert with double-sided tape strips inside folio
One of the reasons analog systems fail is friction. You want to tape something in and you don’t have tape. You want to write but your pen is in your coat. McKinnon solves this with a small card-holder insert tucked inside the folio that holds pre-cut double-sided adhesive strips. His wife pointed him toward this solution and it’s a good one. No tape roll, no scissors, no fumbling. Just peel and stick.
For photographers especially, think about what you’d actually want to stick in here. Boarding passes from travel shoots. A color swatch you spotted somewhere. A printed test crop from a shoot you want to revisit. Having adhesive strips ready means you’ll actually do it instead of thinking “I’ll sort that later” and never doing it.
Step 4: Attach a Magnetic Pen Loop to the Outside
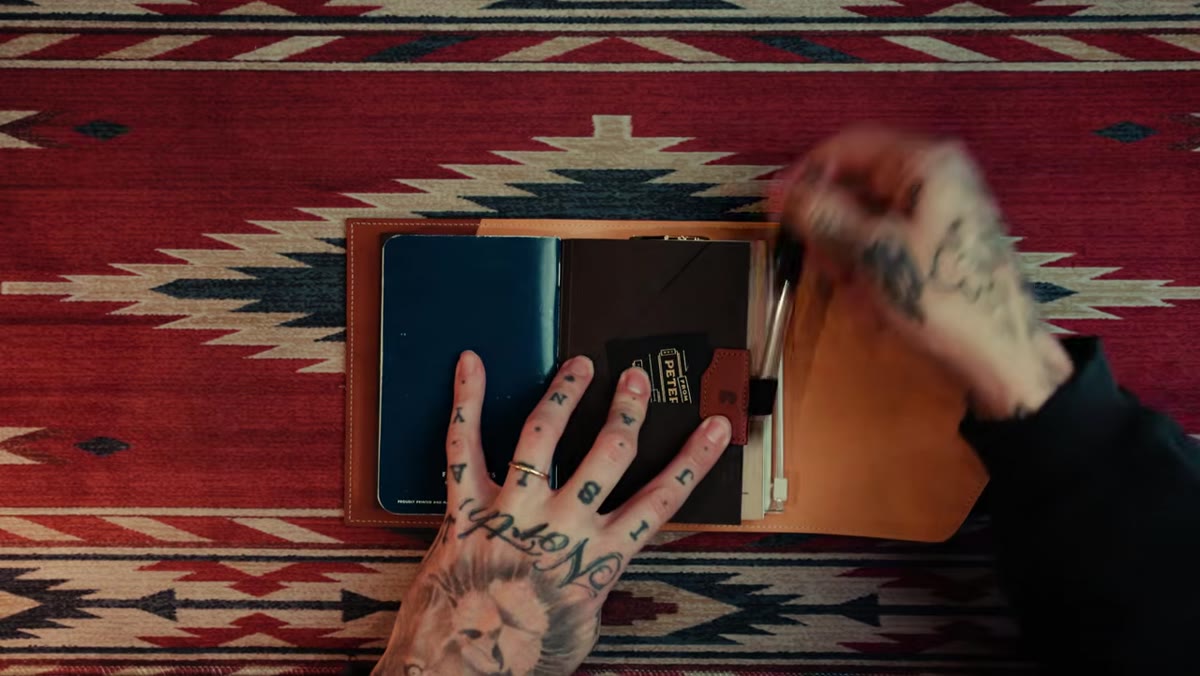 Magnetic pen loop attached to back of folio holding a pen
A notebook system without a reliable pen is just a pretty object. McKinnon attaches a magnetic pen loop to the back of his folio, and it holds his go-to pen, the Uniball Signo DX, securely without adding bulk. The magnetic closure means the pen doesn’t work loose in a bag, which is the death of most pen loops.
Magnetic pen loop attached to back of folio holding a pen
A notebook system without a reliable pen is just a pretty object. McKinnon attaches a magnetic pen loop to the back of his folio, and it holds his go-to pen, the Uniball Signo DX, securely without adding bulk. The magnetic closure means the pen doesn’t work loose in a bag, which is the death of most pen loops.
The pen choice matters more than people expect. The Signo DX writes finely and consistently, which makes it easier to write small in pocket-sized notebooks. Wider tips turn small notebooks into a mess fast. If you’re writing in the field, in cold weather or with gloves, test your pen in those conditions before committing.
Step 5: Use a Dateless Planner Insert for Your Calendar
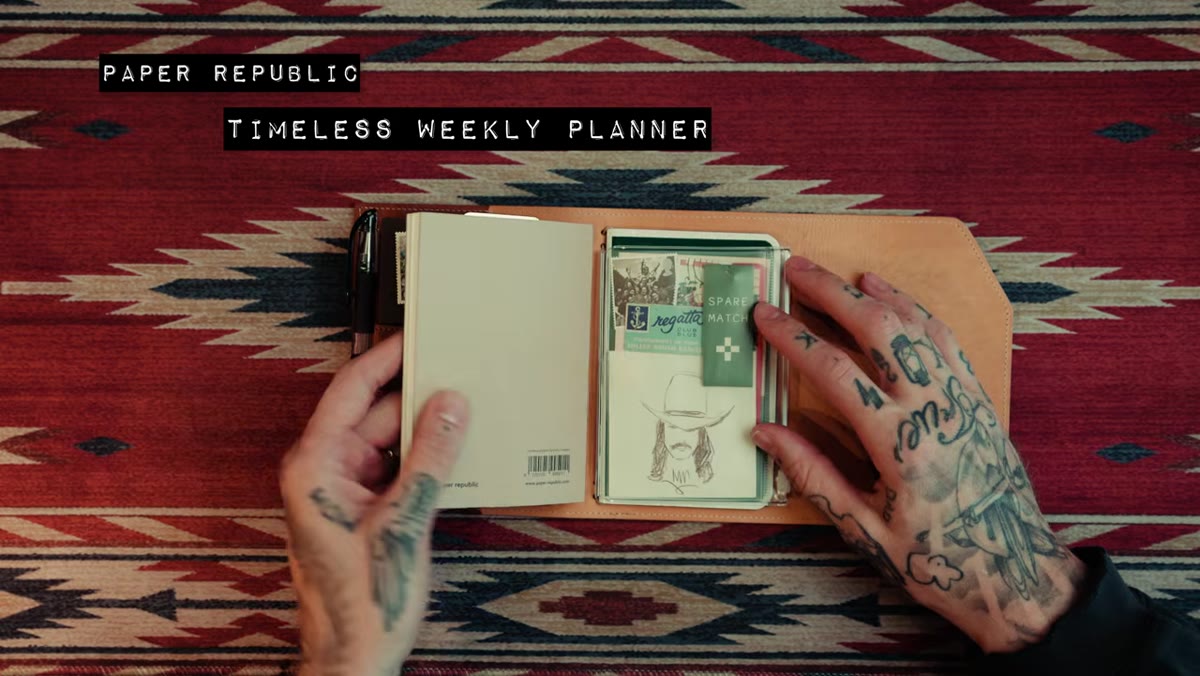 Paper Republic timeless planner insert open showing undated calendar layout
This was the piece that changed how I thought about the whole setup. McKinnon uses a “timeless planner” insert from Paper Republic, which means there are no dates pre-printed. You fill them in yourself when you’re ready to use the page. That means you can start the planner in October, or March, or the day your next project kicks off, without wasting a single page.
Paper Republic timeless planner insert open showing undated calendar layout
This was the piece that changed how I thought about the whole setup. McKinnon uses a “timeless planner” insert from Paper Republic, which means there are no dates pre-printed. You fill them in yourself when you’re ready to use the page. That means you can start the planner in October, or March, or the day your next project kicks off, without wasting a single page.
For photographers, this is genuinely useful. Shoot schedules don’t follow the Gregorian calendar. A project might run six weeks, then there’s a quiet month, then three shoots happen in ten days. A dateless planner bends to your actual work rhythm. McKinnon uses his to track deadlines, posting schedules, and events, with a running to-do list running alongside the calendar section. That combination, dates plus tasks on the same spread, keeps everything connected instead of scattered across three different apps.
Step 6: Use a Separate Field Notes Booklet for Ideas and Loose Thinking
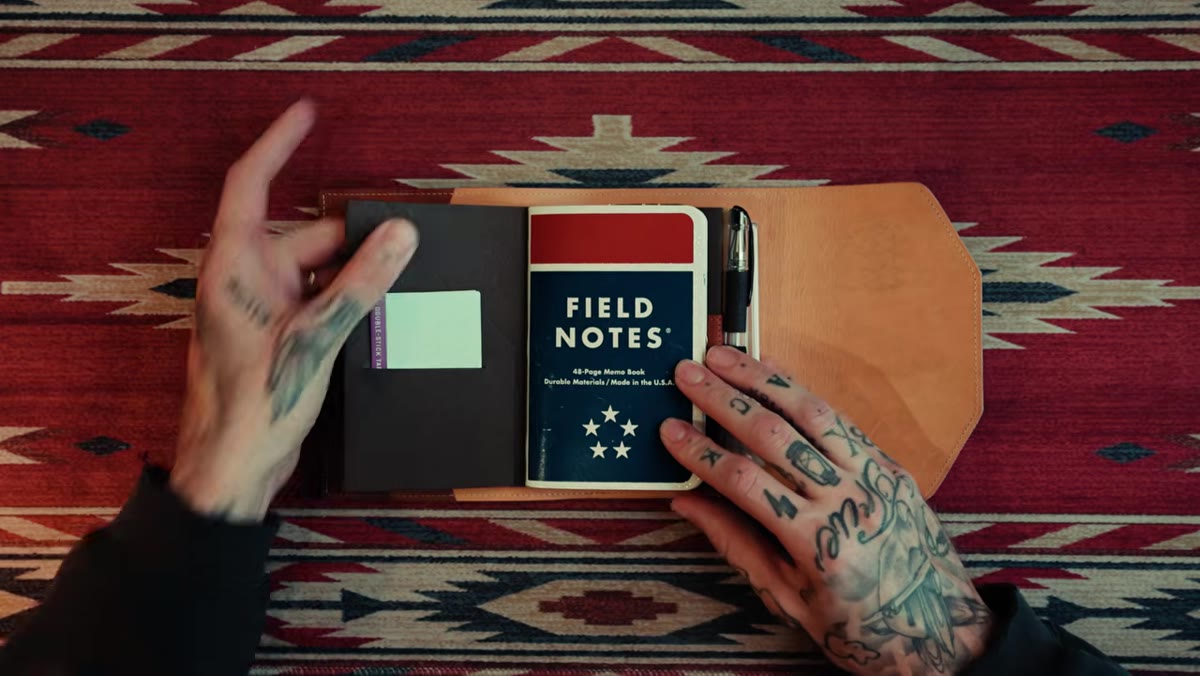
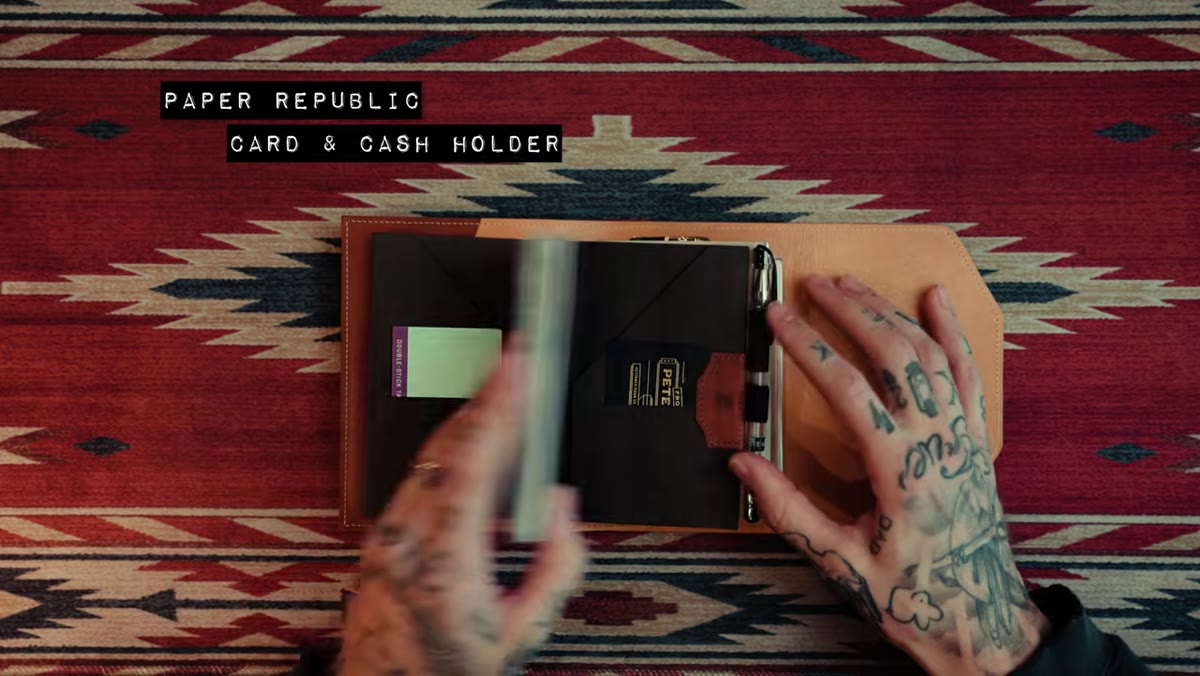 Field Notes booklet sitting in the center slot of the folio
Alongside the planner, McKinnon keeps a Field Notes booklet in the center slot of the folio for ideas, sketches, and whatever doesn’t belong in a structured calendar. This separation is intentional. The planner is for commitments. The Field Notes book is for thinking out loud.
Field Notes booklet sitting in the center slot of the folio
Alongside the planner, McKinnon keeps a Field Notes booklet in the center slot of the folio for ideas, sketches, and whatever doesn’t belong in a structured calendar. This separation is intentional. The planner is for commitments. The Field Notes book is for thinking out loud.
I’ve started doing something similar on photo walks. The planner stays home. The small booklet comes with me in a chest pocket. I jot down locations, light conditions I want to revisit, composition ideas that don’t pan out in the moment but might later. It’s a record of creative thinking rather than a task list, and treating it as separate keeps both functions clean.
Why This Works Differently Than a Notes App
Here’s my honest caveat after building a version of this system myself: the physical act of writing something down processes it differently than typing it. When I write a shoot location into my booklet, I can picture it. When I type it into a notes app, it disappears into a list of 200 other things. Paper is slower, which turns out to be the point. Slowing down your planning slightly makes the plan more real.
The other thing nobody tells you is that finishing a pen is a small, genuinely satisfying creative milestone. McKinnon mentions it and I thought he was being sentimental until it happened to me. It’s proof of work in a way a deleted app notification never will be.
The single most important takeaway from this tutorial is not which notebook brand to buy. It’s that removing your planning and creative thinking from your phone removes the temptation to drift into everything else on your phone. The notebook does one thing. That’s its whole value.
Watch the full tutorial on YouTube to see McKinnon walk through the folio, the inserts, and the full system in his own hands. The visual really helps when you’re trying to figure out how to set up your own version.
Comments
Leave a Comment