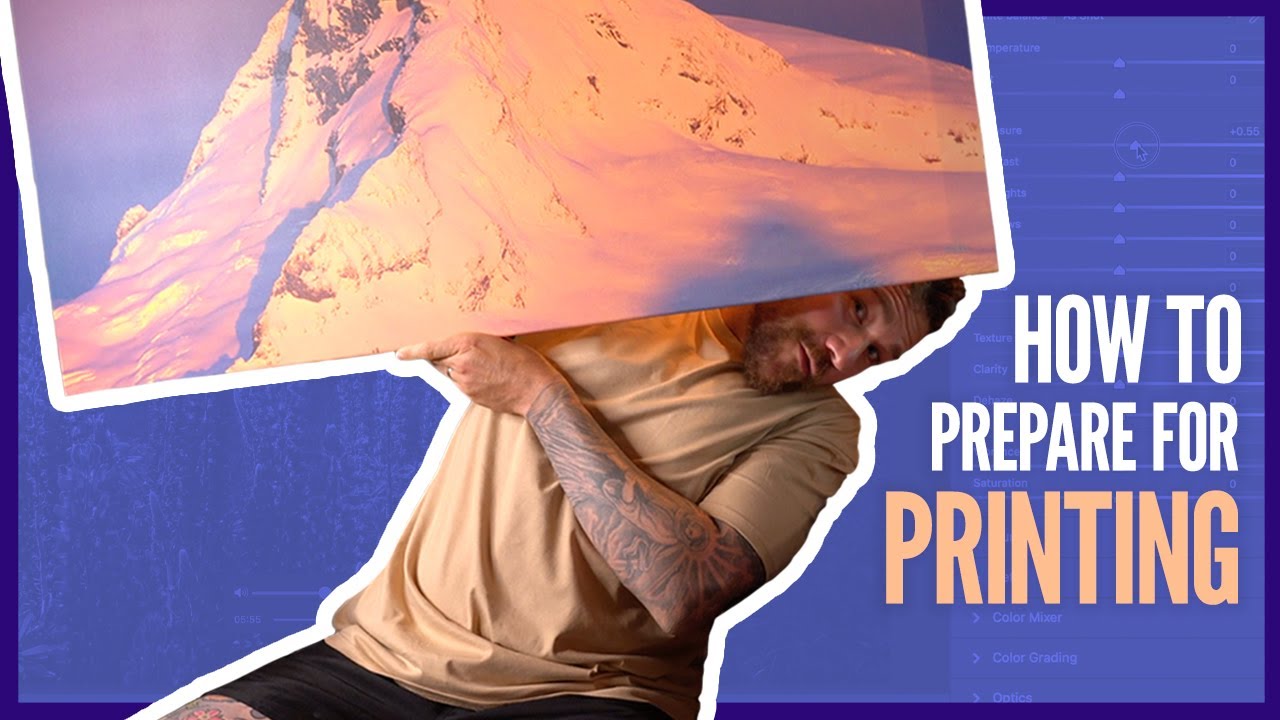
Getting a photo printed should feel exciting. In practice, it often feels like a gamble. I’ve opened print orders and spotted a dust spot dead-center in a clear sky, visible from across the room. I’ve had colors look muddy compared to what I saw on my monitor. I’ve exported the wrong file version entirely. None of those mistakes are expensive to fix once you know what to look for before you send anything to the lab.
I recently worked through Watch the full tutorial on YouTube by William Patino, where he breaks down the exact preparation process he runs on every image before it goes to print. His approach is refreshingly practical. He outsources the actual printing to professional labs (same as me, and honestly the best decision I ever made for my workflow) and focuses entirely on getting the file itself right. What I liked most is that he doesn’t overcomplicate it. Three focused steps, real results. Here’s how to follow along.
Step 1: Open Your Edited, Non-Raw File in Photoshop
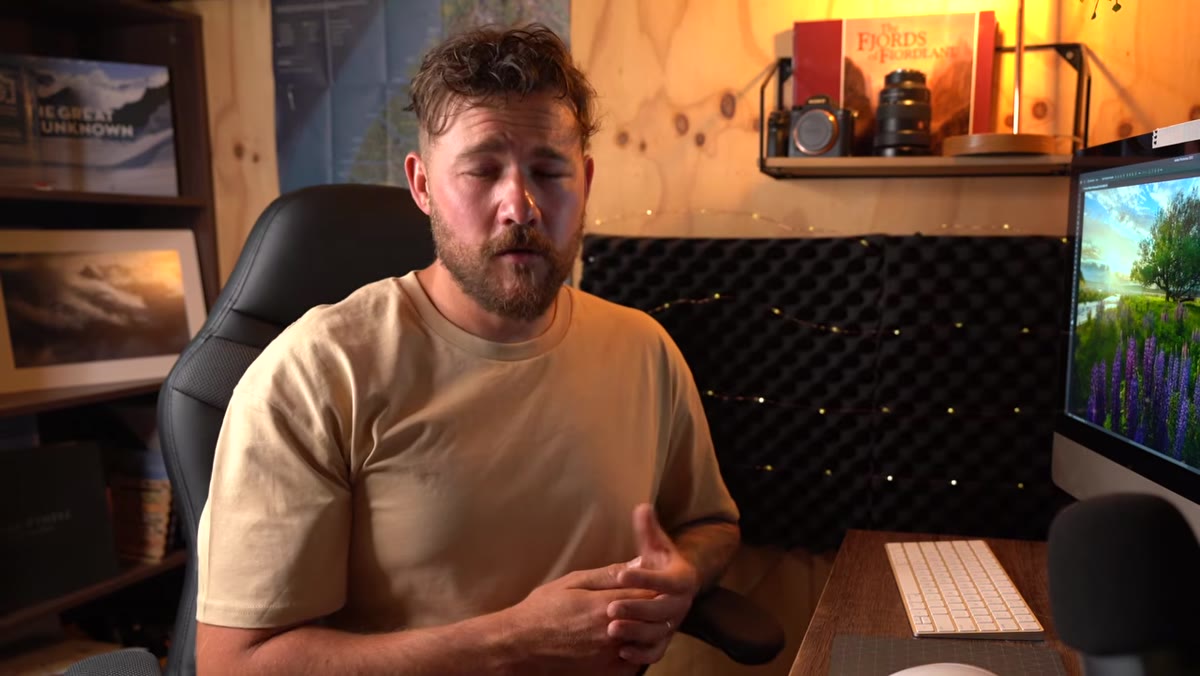 PSD file opened in Photoshop full screen
The file you bring into this process should already be your finished edit. Not a raw file, not a work-in-progress. Patino works from PSD files, which are uncompressed Photoshop documents that preserve all your layer data. A TIFF exported from Lightroom works just as well if that’s your editing home base. The point is that you’re starting from the highest-quality version of your image, not a flattened JPEG.
PSD file opened in Photoshop full screen
The file you bring into this process should already be your finished edit. Not a raw file, not a work-in-progress. Patino works from PSD files, which are uncompressed Photoshop documents that preserve all your layer data. A TIFF exported from Lightroom works just as well if that’s your editing home base. The point is that you’re starting from the highest-quality version of your image, not a flattened JPEG.
If you shoot and edit in Lightroom like I often do, export as a 16-bit TIFF before opening in Photoshop. Make sure you’re working at full resolution with no compression. Printing reveals everything, and starting from a degraded file means you’re fighting a losing battle before the process even begins.
Step 2: Duplicate Your Layer Before Touching Anything
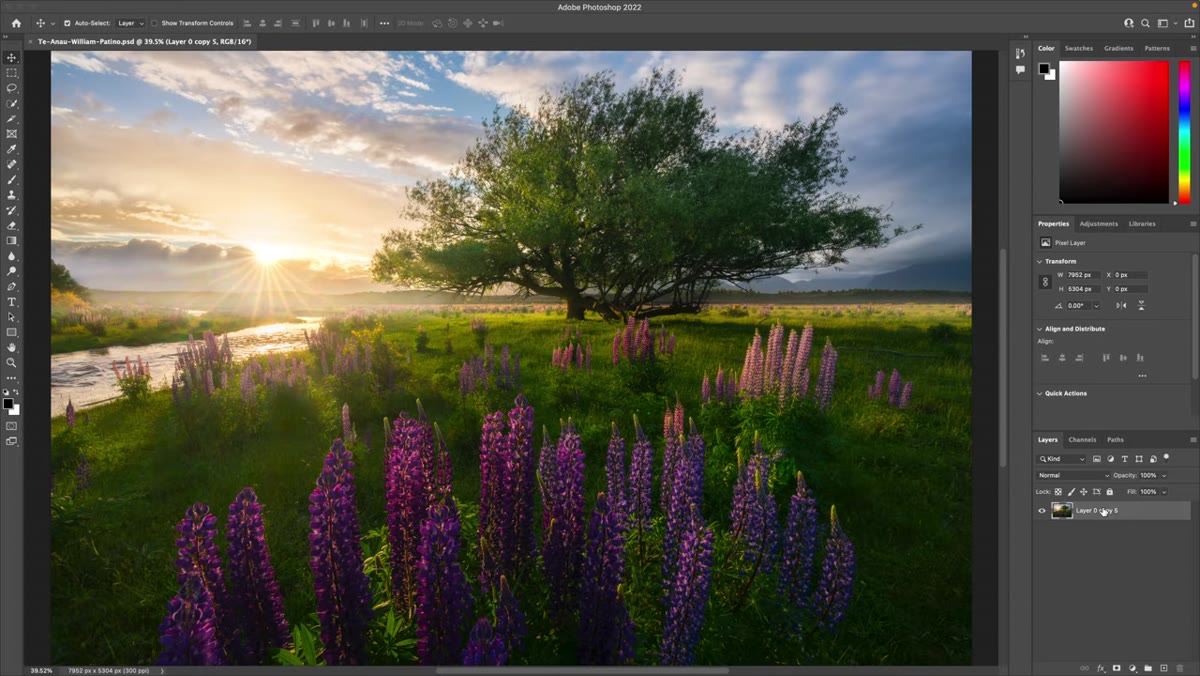 Duplicating the base layer in Photoshop layers panel
Before making any changes, duplicate your base layer using Command+J (or Ctrl+J on Windows). This is a non-negotiable habit. It means every correction you make is sitting on top of your original, so if you over-clone something or accidentally smear a detail, you can delete the duplicate and start fresh without damaging the underlying file.
Duplicating the base layer in Photoshop layers panel
Before making any changes, duplicate your base layer using Command+J (or Ctrl+J on Windows). This is a non-negotiable habit. It means every correction you make is sitting on top of your original, so if you over-clone something or accidentally smear a detail, you can delete the duplicate and start fresh without damaging the underlying file.
Think of it as your safety net. Patino is clear that he does this before anything else, and I’d second that completely. Even when you’re confident in what you’re doing, working on a copy costs you nothing and could save you a lot of frustration.
Step 3: Zoom In and Scan for Dust Spots
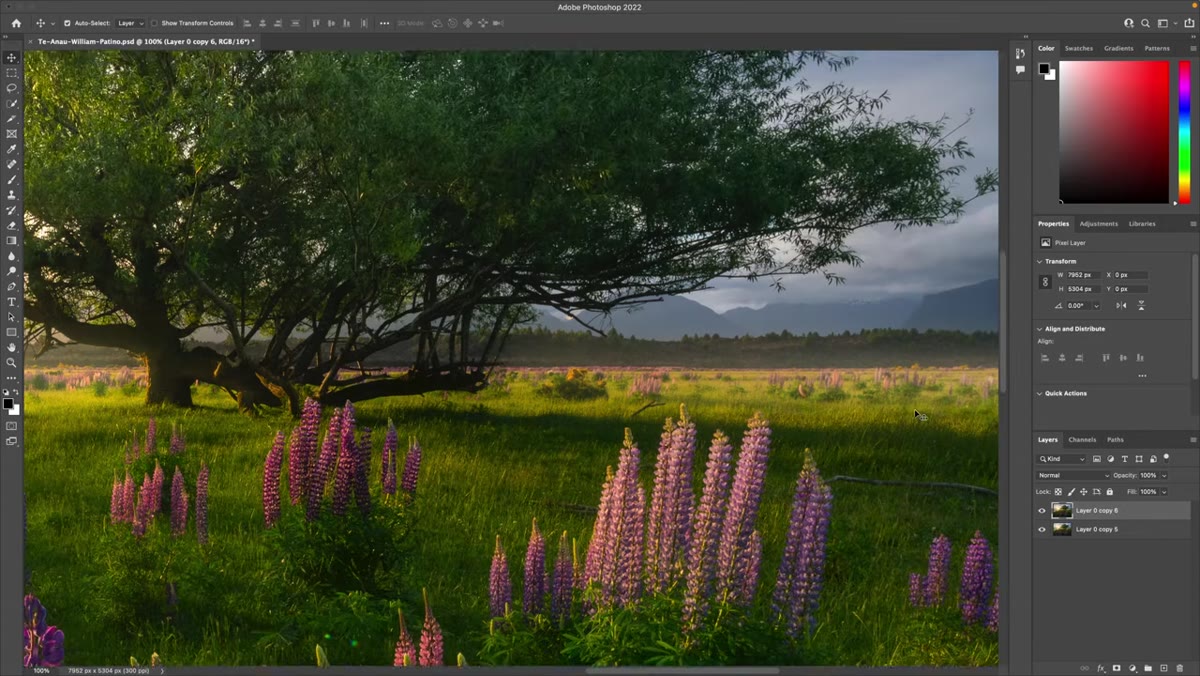 Zoomed to 100% showing dust spots in the sky area
This is the step that will save you the most heartache. Zoom into your image to around 100 percent using Command+Plus (or Ctrl+Plus), and then slowly move through the frame from left to right, top to bottom. You’re looking for dust spots, lens artifacts, or anything that slipped past you during the original edit.
Zoomed to 100% showing dust spots in the sky area
This is the step that will save you the most heartache. Zoom into your image to around 100 percent using Command+Plus (or Ctrl+Plus), and then slowly move through the frame from left to right, top to bottom. You’re looking for dust spots, lens artifacts, or anything that slipped past you during the original edit.
Patino makes an important point here: things you barely notice on screen become glaringly obvious in a physical print. The sky is the most common problem area because it’s a large expanse of similar tone and color, and any dark speck stands out immediately. Busier areas like grass or textured foregrounds are more forgiving, but you should still check them. Treat this scan like a proofreading pass. Slow and deliberate beats fast every time.
Step 4: Remove Dust Spots with the Clone Stamp Tool
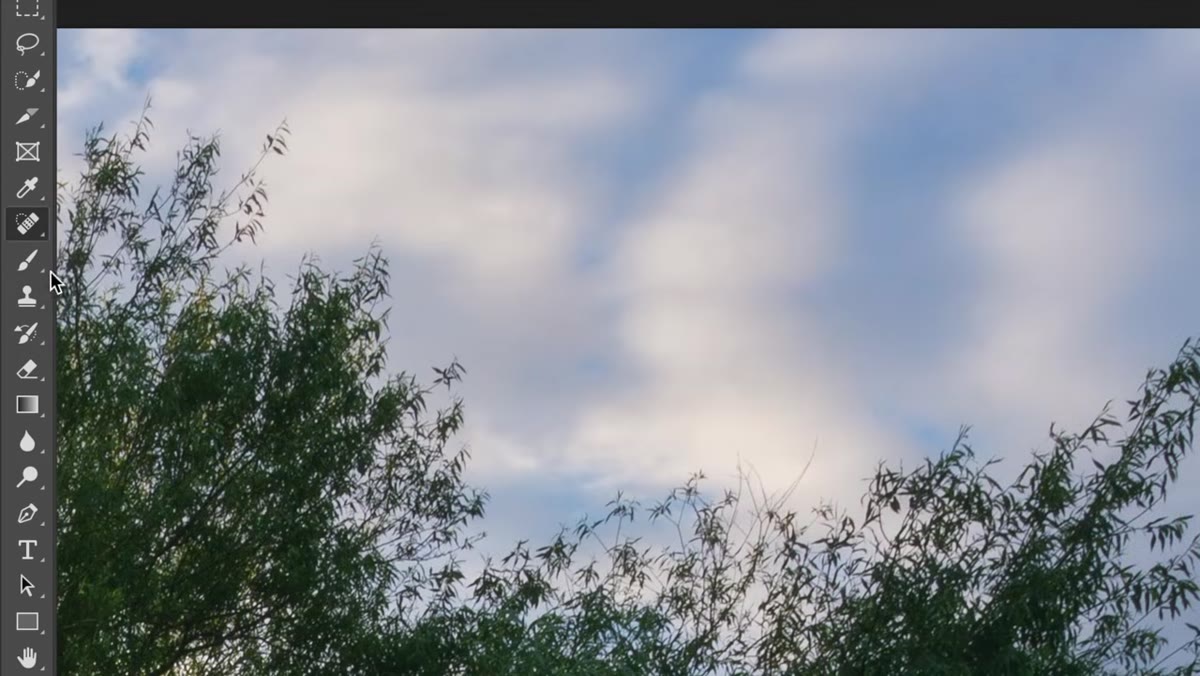 Clone stamp tool selected with opacity and hardness settings visible
Once you’ve found a dust spot or blemish, Patino’s preferred tool is the Clone Stamp rather than the Spot Healing Brush. The difference is control. The Clone Stamp lets you choose exactly which pixels you’re sampling from, which means you can avoid repeating patterns or accidentally pulling in a detail that doesn’t belong.
Clone stamp tool selected with opacity and hardness settings visible
Once you’ve found a dust spot or blemish, Patino’s preferred tool is the Clone Stamp rather than the Spot Healing Brush. The difference is control. The Clone Stamp lets you choose exactly which pixels you’re sampling from, which means you can avoid repeating patterns or accidentally pulling in a detail that doesn’t belong.
Set the opacity to around 70 percent rather than 100. At full opacity, a single clone stamp click can look too precise and repetitious. At 70 percent, you’re building up the correction gradually over a few gentle clicks, which blends far more naturally. Also set the hardness of the brush to zero. A hard-edged brush leaves visible circles even at low opacity. A fully soft brush feathers the correction invisibly into the surrounding area. Hold Alt (or Option on Mac) to sample a clean nearby area, then click a few times over the blemish. Less is more here.
Step 5: Work Methodically Across the Entire Frame
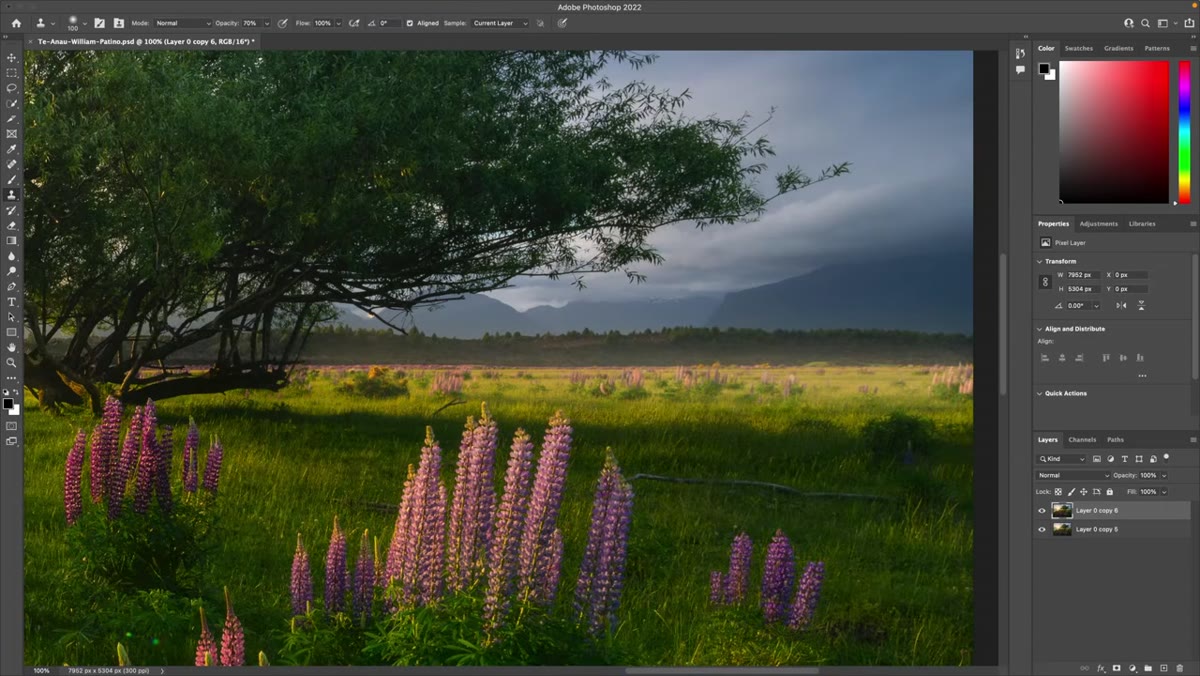 Scrolling across the image while zoomed in checking different areas
Don’t just fix the spots you noticed at first glance and call it done. After correcting whatever you found in the sky, keep scrolling across the rest of the image at that 100 percent zoom level. Patino walks through his image section by section, which is the only way to actually catch everything.
Scrolling across the image while zoomed in checking different areas
Don’t just fix the spots you noticed at first glance and call it done. After correcting whatever you found in the sky, keep scrolling across the rest of the image at that 100 percent zoom level. Patino walks through his image section by section, which is the only way to actually catch everything.
A quick tip that helps me: once I’ve fixed an area, I mentally check it off and move on without doubling back. If you keep revisiting areas you’ve already cleaned, you’ll start seeing problems that aren’t there. Trust the process, move in one direction, and finish the pass.
What I’d Add from My Own Experience
One thing Patino doesn’t get into, probably because it depends heavily on where you’re printing, is soft proofing before you finalize the file. Most professional print labs will provide ICC profiles for their paper and printer combinations. Loading that profile into Photoshop’s soft proof view (under View, then Proof Setup) gives you a simulation of how the colors will actually render on that specific paper stock.
I learned this the hard way after a print came back with noticeably cooler shadows than what I saw on my calibrated monitor. Now I always soft proof with the lab’s profile before exporting, and I adjust if anything looks off. It adds maybe ten minutes to the process and has completely eliminated color surprises for me. If your lab doesn’t provide profiles, ask them. Most reputable labs have them available on their website or will email one to you.
The single most important thing I took away from Patino’s tutorial is that print preparation is its own workflow step, not just an afterthought before you hit export. Set aside the time to actually do it properly. Zoom in, scan slowly, fix what you find, and proof the colors if you can. Your prints will look the way you intended them to, and you won’t be holding up a 16x20 under a lamp trying to figure out where that spot came from.
Watch the full tutorial on YouTube to see William Patino’s complete workflow, including his results at the end of the video.
Comments (2)
Just used this on a wedding shoot edit. Client was thrilled.
Quality content like this is rare. Keep it up.
Leave a Comment