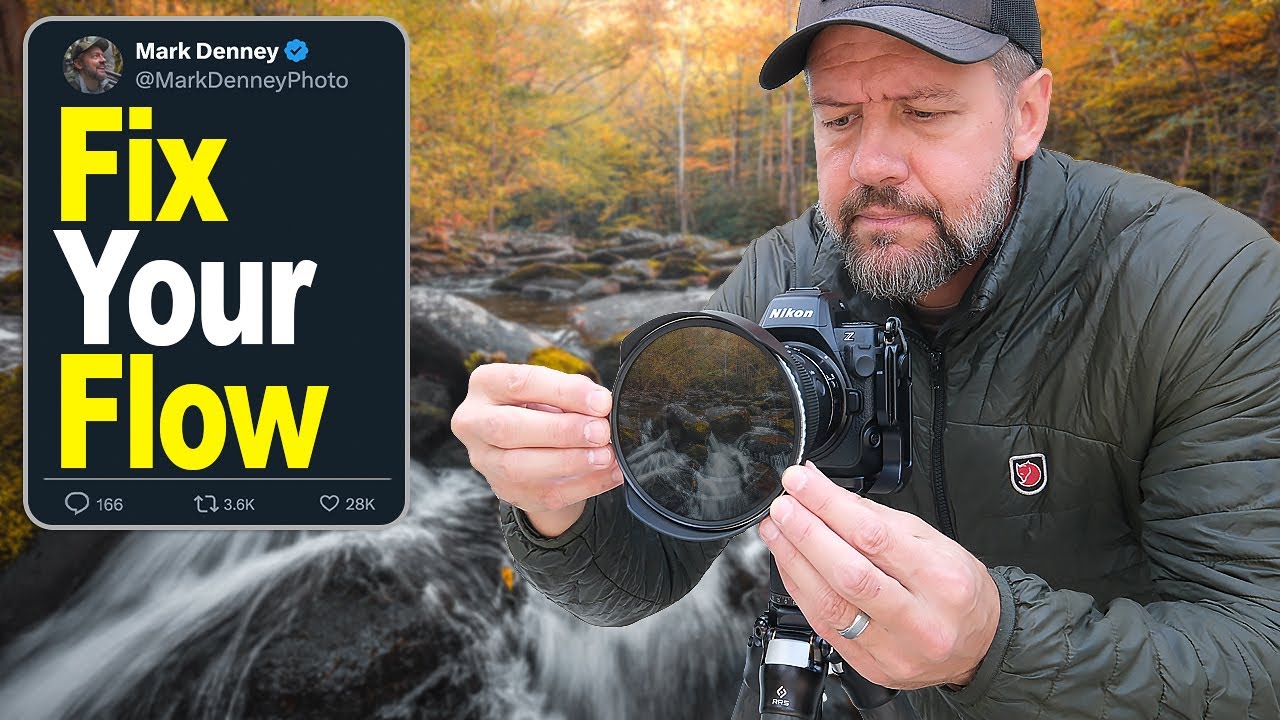
I once spent four nights at the same waterfall in Olympic National Park, missing dinner each time, chasing a shot I could already see perfectly in my head. I’d get home, open Lightroom, and the water looked like grey soup. I’d crank clarity. Pull highlights. Bump contrast. The water would gain texture but lose all sense of motion, all that silky depth that made me want to stay out past dark in the first place. It took me longer than I’d like to admit to understand that the problem wasn’t my exposure or my shutter speed choice. It was that I was treating water as one flat surface instead of what it actually is: a layered mix of highlights, midtones, and shadows that all move independently.
That’s exactly the problem that Watch the full tutorial on YouTube by Mark Denney tackles head-on. In this tutorial, Mark walks through a smarter, more surgical approach to editing moving water in Lightroom, using masking and the tone curve instead of the blunt instruments most of us default to. I’ve broken down his method below so you can follow along step by step, even without pausing the video every thirty seconds.
Step 1: Resist the Default Edits
 Clarity and dehaze sliders being pushed to extremes on water
Before you touch anything, recognize the trap. When water looks flat or blown out, the instinct is to reach for clarity, dehaze, and contrast. Mark demonstrates exactly why this backfires: pushing those global sliders adds apparent detail but destroys tonal separation. The water gets crunchy and grey. Highlights and shadows smash together. What you see on screen stops resembling what you saw in the field.
The fix isn’t a better slider setting. It’s a completely different approach. Set your global tone adjustments conservatively before you start, and leave the heavy lifting for the masked adjustments you’ll add in the next steps.
Step 2: Create a Dedicated Water Mask
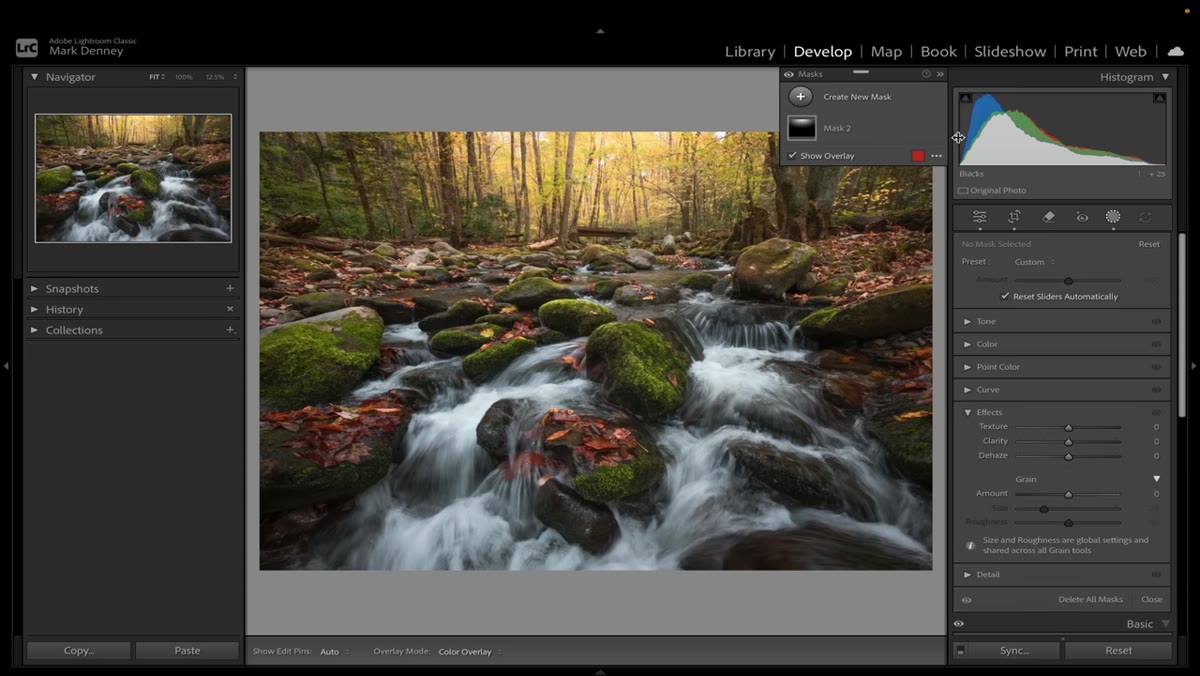 Lightroom’s mask panel open with landscape detection active
Go to the Masks panel in Lightroom and click the plus icon to add a new mask. From the selection options, choose “Select Landscape.” Lightroom’s AI will scan the image and identify landscape features like sky, vegetation, water, and ground. Find the water option in the list, check it, and click “Create New Mask.”
Lightroom’s landscape detection is genuinely impressive here, especially on images with clearly defined streams or waterfalls. Once the mask is created, rename it “Water” so your panel stays organized. This matters more than it sounds: when you’re making multiple targeted adjustments to different areas of an image, clean labeling keeps you from second-guessing which mask does what.
Step 3: Shape the Tone Curve for the Water Only
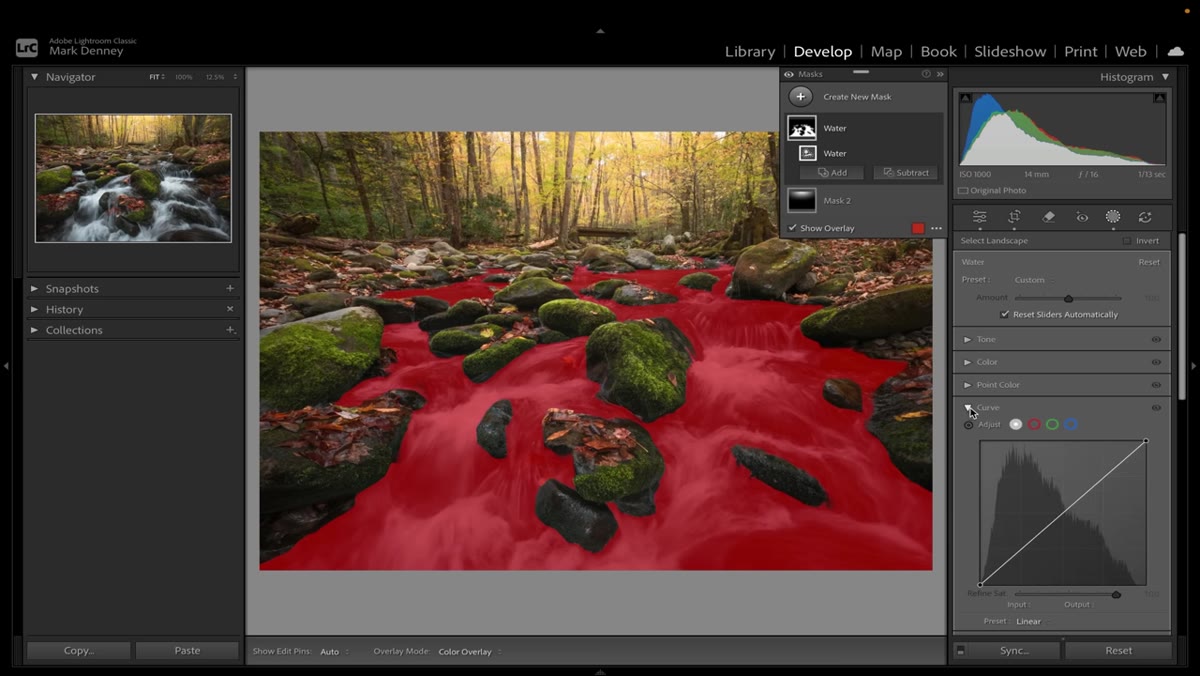 Tone curve panel open inside a water mask adjustment
With the water mask active, scroll down to the Tone Curve panel. This is where Mark’s approach gets precise. You’re going to make three small adjustments that work together to create the illusion of silky depth without losing structural detail.
First, grab the anchor point in the upper right corner of the curve (the highlights end) and pull it down to an output value of roughly 240. This softens the brightest whites in the water without fully crushing them. Then move to the lower left corner (the shadows end) and lift that point up to an output value of around 15. This raises the black point just enough to give shadow areas a slight lift and prevent them from going fully dark. Together, these two moves compress the tonal range of the water into a softer, more natural window. Done carefully, the water starts to look the way it felt when you were standing next to it.
Step 4: Add a Gentle S-Curve for Midtone Contrast
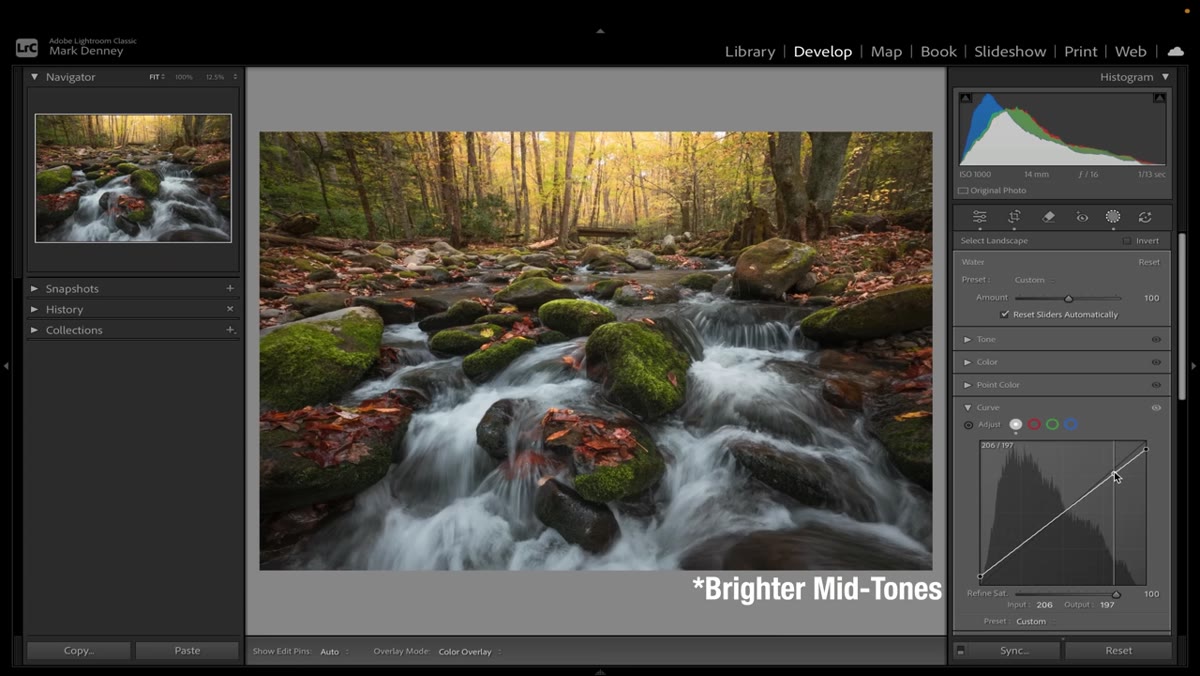 Slight S-curve being drawn on tone curve within water mask
After setting the highlight and shadow anchor points, add two more points to the middle of the curve to create a mild S-shape. Pull the upper-middle point up slightly and the lower-middle point down slightly. This adds gentle midtone contrast back into the water, giving it dimension and preventing the lifted shadows from making everything look hazy or washed out.
The key word here is “gentle.” Mark is not drawing an aggressive S-curve. The adjustments are subtle enough that if you toggle the mask on and off, the water looks more alive, not more processed. That’s the target: a before/after difference that feels natural rather than edited.
Step 5: Fine-Tune with Additional Mask Adjustments
 Additional sliders adjusted beneath the tone curve in the mask panel
Once your tone curve is set, you can support it with small tweaks to the other sliders within the same water mask. Mark uses a slight lift to the highlights slider and may bring shadows up just a touch depending on the specific image. These aren’t dramatic moves: they’re reinforcing the tonal story the curve is already telling.
Avoid adding clarity or texture here. That’s the whole point of using the tone curve instead. Clarity operates on midtone edges globally and tends to make water look overworked. The tone curve lets you shape luminosity without hardening the texture of moving water.
A Note from My Own Workflow
Here’s something Mark doesn’t specifically address but that I’ve found useful: this technique rewards good raw files. If your water is significantly clipped in the highlights at capture, the tone curve adjustment alone won’t rescue it. I’ve started slightly underexposing by a third to half a stop when I’m shooting waterfalls or streams in bright, dappled light, specifically to protect those highlight zones and give this technique more to work with in post.
I’ve also found that on images with very bright, direct sunlight hitting the water, adding a second separate mask using a gradient or brush over the blown areas, before applying the landscape mask edit, gives you even more control. Stack your masks intentionally. Lightroom can handle the complexity, and your water will thank you.
The single most important shift from this tutorial is conceptual, not technical: water is not one thing. It’s three tonal zones moving at different speeds and reflecting different amounts of light. When you edit them all at once with a single global slider, you’re averaging out everything that makes water look alive. When you separate them with a targeted mask and shape them individually with the tone curve, you’re working the way water actually behaves.
That reframe changed how I approach every water image I edit now, and I think it’ll do the same for you. Watch the full tutorial on YouTube to see Mark walk through it on his Smoky Mountains images and get a feel for exactly how subtle the cursor movements are in practice.
Comments (2)
I keep coming back to this article. It's that useful.
Quality content like this is rare. Keep it up.
Leave a Comment