
Every Sunday morning I do a photo walk. No agenda, no client brief, just me and whatever light shows up. And for a long time, those walks felt frustrating because my images looked cluttered, busy, like I was trying to say ten things at once. I knew something was off with my compositions but I couldn’t name what. Turns out I was skipping the most fundamental step entirely.
That’s exactly what stopped me mid-scroll when I found this tutorial by New Zealand-based landscape photographer and educator William Patino. Watch the full tutorial on YouTube. Patino photographs and teaches in the field roughly 300 days a year, and what he shares here isn’t beginner fluff. It’s the kind of insight that sounds almost too simple until you realize you haven’t actually been doing it.
What struck me most was his framing: that getting better results isn’t about adding more technique. It’s about cutting down to what actually matters. He’s been shooting without a tripod for six years. His workflow keeps getting leaner. And his images keep getting stronger. That’s the through-line of everything he teaches here, and it reoriented how I think about stepping into a scene.
Step 1: Look for the Big, Obvious Shapes First
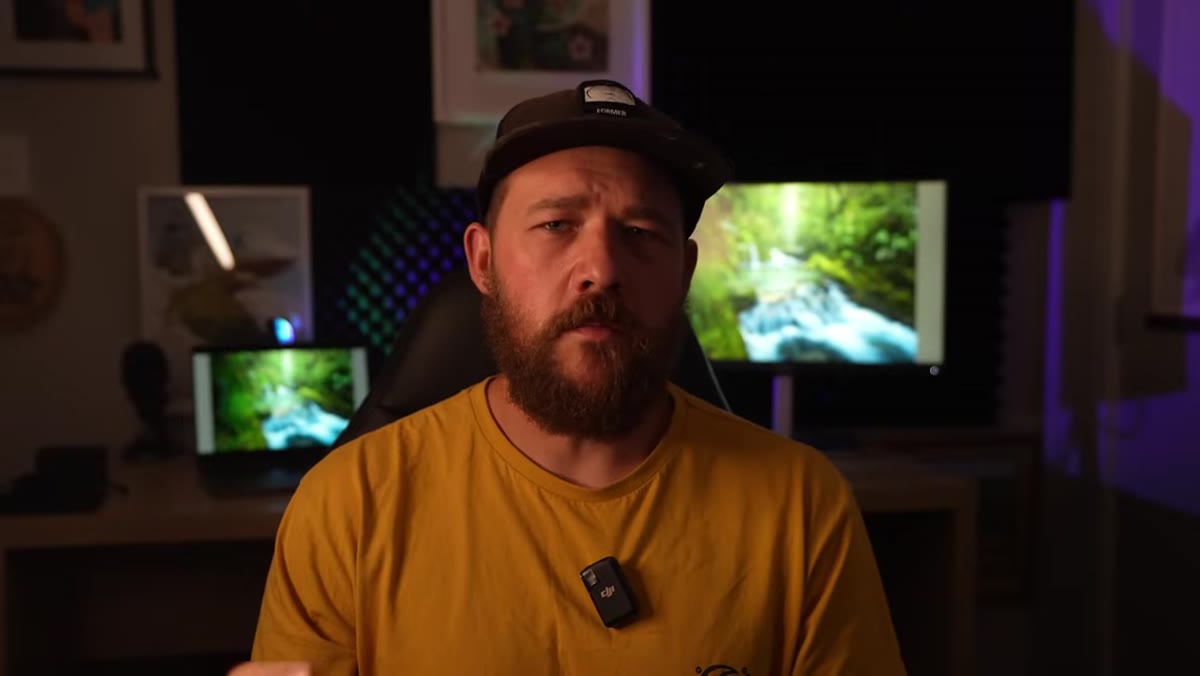
 caption: Patino gesturing at wide landscape scene while explaining shape identification
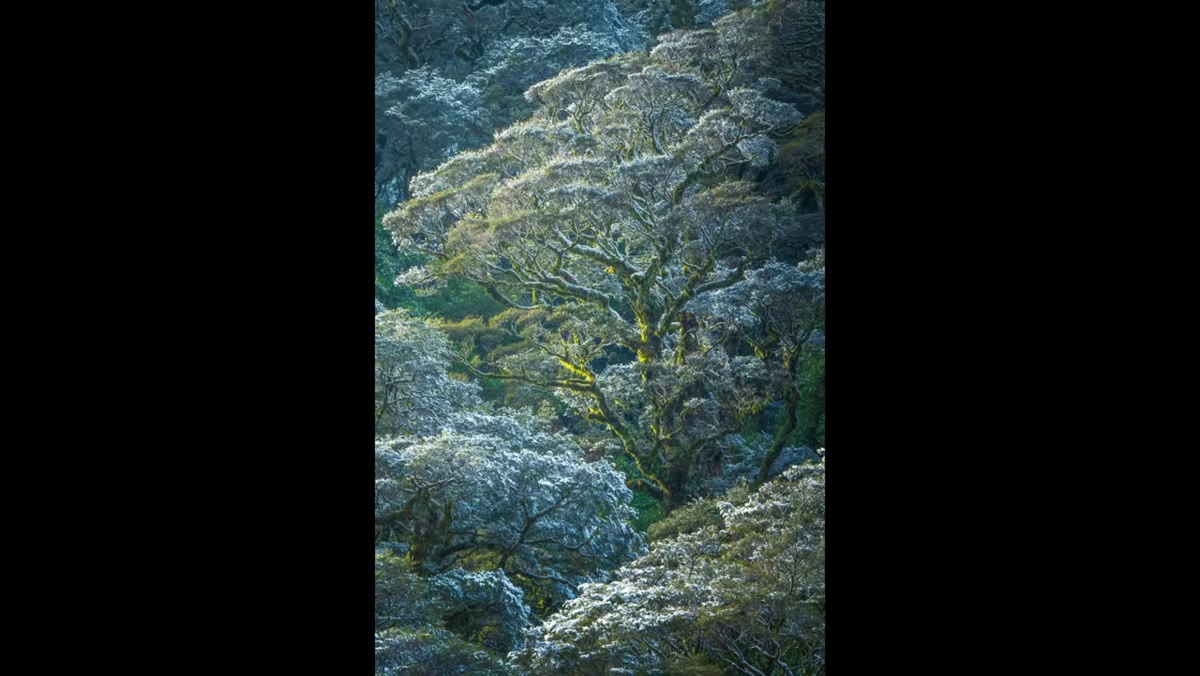
Before you think about settings, before you reach for your camera, scan the scene for its dominant shapes. Patino is direct about this: composition is fundamentally the alignment of shapes. Not leading lines, not the rule of thirds as an abstract grid, but actual physical shapes in the world in front of you. A boulder, a ridge line, a patch of still water reflecting the sky. These are your building blocks.
caption: Patino gesturing at wide landscape scene while explaining shape identification
Before you think about settings, before you reach for your camera, scan the scene for its dominant shapes. Patino is direct about this: composition is fundamentally the alignment of shapes. Not leading lines, not the rule of thirds as an abstract grid, but actual physical shapes in the world in front of you. A boulder, a ridge line, a patch of still water reflecting the sky. These are your building blocks.
The goal at this stage is to ignore the small stuff entirely. Don’t let a pretty texture or an interesting detail pull your eye until you’ve identified what the big shapes are and where they sit. Think of it like sketching a rough thumbnail before you paint. Get the major forms down first. Everything else follows from that.
Step 2: Balance the Shapes Within the Frame
 caption: Example landscape image showing primary shapes distributed across frame
Once you’ve spotted the primary shapes, your job is to arrange them so the eye moves through the image without getting lost or bouncing out of the edges. Patino describes this as achieving a sense of balance, not perfect symmetry, but a visual weight that feels settled. One large shape on the left might need a secondary element on the right to hold the frame together.
caption: Example landscape image showing primary shapes distributed across frame
Once you’ve spotted the primary shapes, your job is to arrange them so the eye moves through the image without getting lost or bouncing out of the edges. Patino describes this as achieving a sense of balance, not perfect symmetry, but a visual weight that feels settled. One large shape on the left might need a secondary element on the right to hold the frame together.
This applies whether you’re shooting a dramatic wide scene or something more intimate and close. The scale changes but the principle doesn’t. Ask yourself: where does my eye go first, and where does it go next? If it drifts off the edge of the frame with nothing to bring it back, you haven’t balanced the composition yet. Adjust your position, not your zoom, until the weight feels right.
Step 3: Guide the Eye Through the Frame Intentionally
 caption: Annotated image showing eye flow path through composed landscape
Balance alone isn’t enough. Patino wants the viewer’s eye to travel through the image in a way that feels natural and cohesive. In three-dimensional scenes, that often means constructing a path from foreground into the distance. In flatter or more intimate scenes, it means making sure nothing stops the eye dead or creates a visual dead-end.
caption: Annotated image showing eye flow path through composed landscape
Balance alone isn’t enough. Patino wants the viewer’s eye to travel through the image in a way that feels natural and cohesive. In three-dimensional scenes, that often means constructing a path from foreground into the distance. In flatter or more intimate scenes, it means making sure nothing stops the eye dead or creates a visual dead-end.
A practical way to test this before you shoot: stand still and trace with your eye where it wants to go within the scene. If it gets stuck or confused, walk laterally a few steps. Small positional changes often resolve major compositional problems without any camera adjustment. Patino’s handheld shooting style actually supports this habit since you’re naturally more mobile when you’re not locked to a tripod.
Step 4: Simplify Your Workflow Around a Single Strong Image
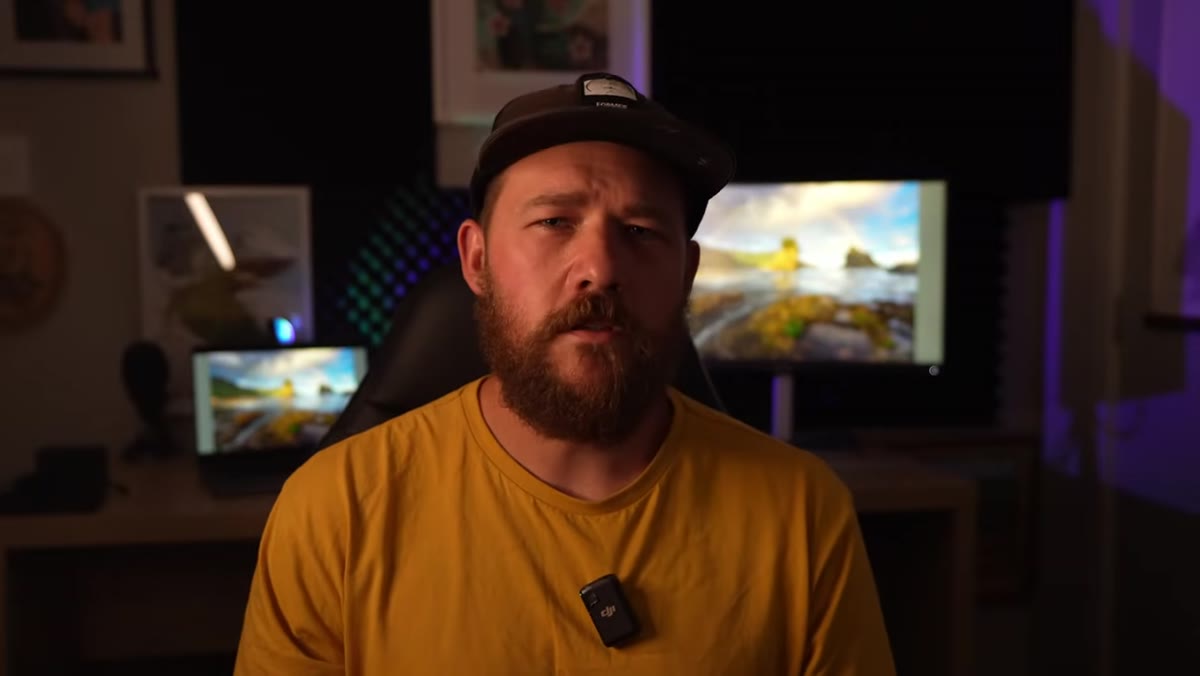 caption: Patino reviewing single image on camera screen in field
One of the subtler points Patino makes is about intention. He’s shifted from trying to capture everything in a location to committing fully to one image, the best image, and keeping the process as clean as possible. This means arriving with a simpler mental checklist and resisting the urge to overshoot.
caption: Patino reviewing single image on camera screen in field
One of the subtler points Patino makes is about intention. He’s shifted from trying to capture everything in a location to committing fully to one image, the best image, and keeping the process as clean as possible. This means arriving with a simpler mental checklist and resisting the urge to overshoot.
In practice, this looks like spending more time looking before you ever raise the camera. Patino has found that his images have gotten stronger as his workflow has gotten leaner, and that tracks with my own experience. When I’m clicking through forty near-identical frames, it usually means I didn’t make a real decision before I started shooting. Pick your composition deliberately, confirm your shapes are balanced, then shoot with confidence rather than volume.
Step 5: Let Composition Drive Your Technical Choices
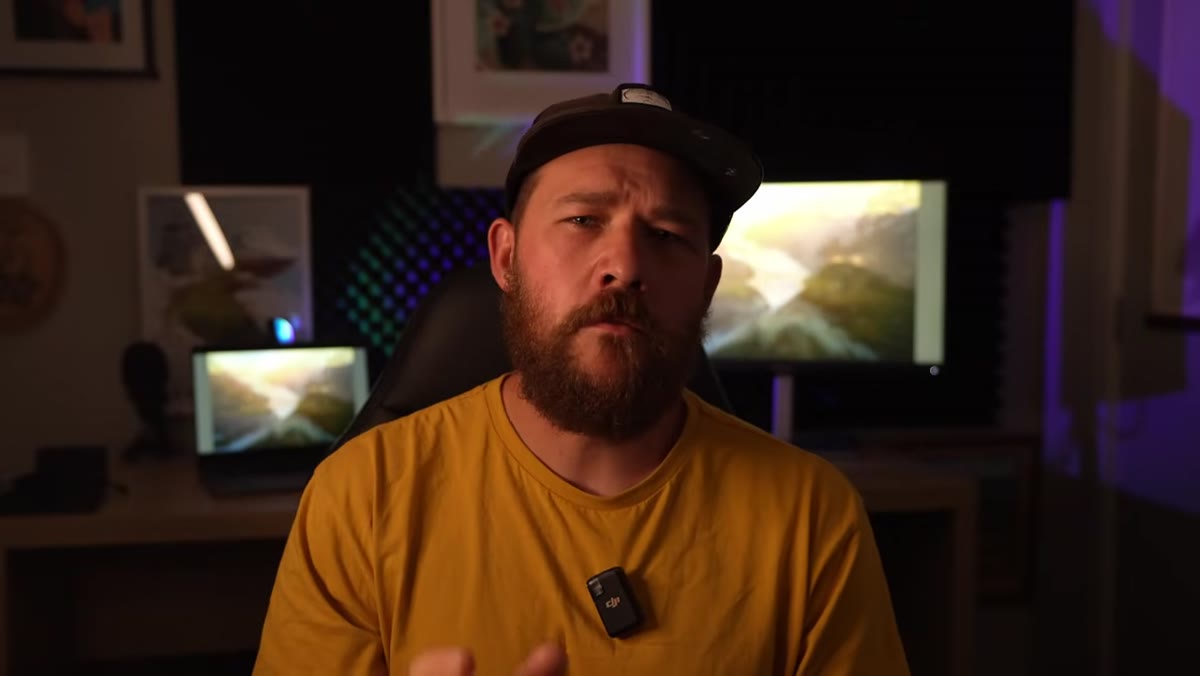 caption: Wide coastal landscape with strong foreground and layered background
Once your shapes are identified and balanced, your camera settings should serve the composition you’ve already chosen, not the other way around. If you’ve positioned yourself so a sweep of foreground rocks anchors the bottom left, your depth of field choice should keep that anchor sharp and readable. If a long shoreline creates the main line of travel through your frame, think about what shutter speed makes that line feel right, whether it’s frozen water or silky blur.
caption: Wide coastal landscape with strong foreground and layered background
Once your shapes are identified and balanced, your camera settings should serve the composition you’ve already chosen, not the other way around. If you’ve positioned yourself so a sweep of foreground rocks anchors the bottom left, your depth of field choice should keep that anchor sharp and readable. If a long shoreline creates the main line of travel through your frame, think about what shutter speed makes that line feel right, whether it’s frozen water or silky blur.
This is a mindset shift that matters: composition is the decision you make with your feet and your eyes. Settings are how you technically execute that decision. Too many photographers treat them as the same thing, and it results in technically correct images that feel empty.
What I’d Add From My Own Work
Patino’s shape-first approach changed how I shoot on my Sunday walks, but I had to build one extra habit on top of it. I started taking a quick phone photo before I set up my actual shot, just to test the composition with zero technical overhead. My most-liked Instagram photo was taken on a $200 phone and it forced me to prove that the ideas here hold up with the simplest tools imaginable. If the shapes don’t balance in that scrappy test frame, they won’t balance in the finished image either. Think of the phone shot as a compositional sketch, fast, low-stakes, and incredibly clarifying.
The other thing I’d add is patience with this process. The first few times you force yourself to stop and name the shapes before shooting, it feels slow. Then it becomes instinctive. I don’t consciously inventory shapes anymore on my walks. I just feel when the frame is settled or not. That’s what Patino is really pointing at: simplicity isn’t laziness, it’s fluency.
The single most transferable idea from this tutorial is that composition isn’t a system of rules. It’s the practice of finding shapes and arranging them until the eye has a good place to travel. Start there every time, and the rest of your decisions will have something solid to build on.
Watch the full tutorial on YouTube to see Patino walk through actual images from his year in the field. Seeing the shapes called out in real landscapes makes the whole framework click in a way that’s hard to replicate in text.
Comments (1)
Just used this on a wedding shoot edit. Client was thrilled.
Leave a Comment