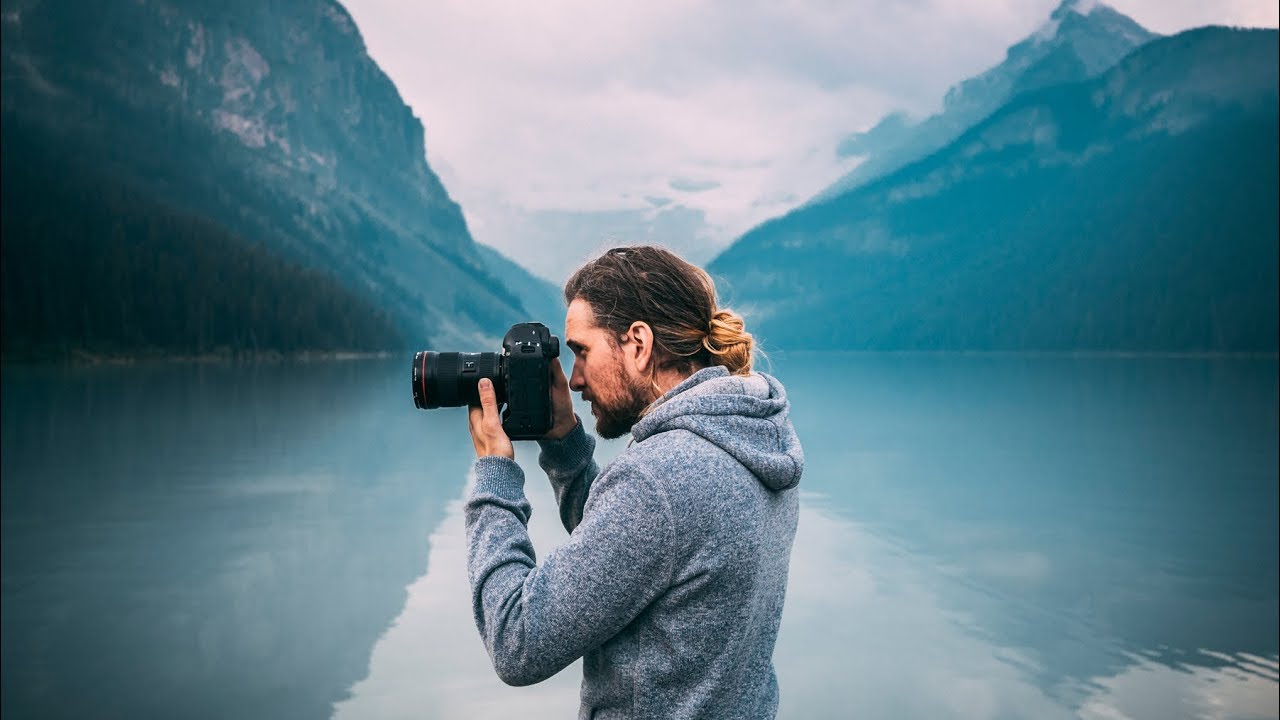
Every Sunday morning I do a photo walk through my neighborhood in Seattle. No agenda, no client, no pressure. Just me and whatever camera I feel like grabbing. And even after years of doing this professionally, I still catch myself making some of the same lazy habits I had when I first started. That’s why when I sat down with Watch the full tutorial on YouTube from Peter McKinnon, I found myself nodding along more than I expected. He names the exact patterns that hold beginners back, and honestly, a few of them took me longer to unlearn than I’d like to admit.
This breakdown is for anyone who owns a camera and keeps feeling like something is off in their photos without being able to pinpoint what it is. McKinnon frames these as mistakes, but I’d call them habits. They’re easy to form because nobody corrects you on them early, and they quietly limit your growth until someone finally points at them. Consider this that moment.
What follows is a step-by-step walkthrough of the core lessons from the tutorial, translated into concrete action you can take on your next shoot.
Step 1: Learn to Read the Histogram Instead of Trusting Your Eyes
 Histogram graph displayed on camera screen showing exposure data
The histogram is a simple graph built into almost every camera and editing app, and most beginners completely ignore it. The left edge of the graph represents your darkest shadows and blacks. The right edge represents your brightest highlights and whites. The middle is your midtones. When the graph spikes hard to one side and flattens on the other, your exposure has a real problem.
Histogram graph displayed on camera screen showing exposure data
The histogram is a simple graph built into almost every camera and editing app, and most beginners completely ignore it. The left edge of the graph represents your darkest shadows and blacks. The right edge represents your brightest highlights and whites. The middle is your midtones. When the graph spikes hard to one side and flattens on the other, your exposure has a real problem.
If that spike is crammed against the right wall, your highlights are blown out, meaning the bright areas of your image have lost all detail and can’t be recovered in editing. If it’s crushed against the left, your shadows are too deep and muddy. What you’re looking for is a curve that distributes reasonably across the middle of the graph with no hard clipping at either wall. McKinnon’s key point here: the LCD screen on the back of your camera lies to you. Bright ambient light makes dark images look fine, dim lighting makes overexposed shots look okay. The histogram doesn’t have opinions. Check it every time.
Step 2: Move Before You Shoot
 Photographer adjusting position and framing before taking the shot
This one stings a little because it sounds so simple. Before you press the shutter, ask yourself whether you have actually looked at everything in the frame. McKinnon’s example is a chair sitting just inside the edge of your shot that you could move two inches to the left and eliminate entirely. Or a garbage can behind your subject that would disappear if you just repositioned yourself slightly.
Photographer adjusting position and framing before taking the shot
This one stings a little because it sounds so simple. Before you press the shutter, ask yourself whether you have actually looked at everything in the frame. McKinnon’s example is a chair sitting just inside the edge of your shot that you could move two inches to the left and eliminate entirely. Or a garbage can behind your subject that would disappear if you just repositioned yourself slightly.
The habit to build is this: look at the edges of your frame, not just the subject. Most beginners lock onto what excites them and ignore everything else in the rectangle. Walk a few steps in any direction. Try a slightly higher or lower angle. Move your subject a few feet. These are free adjustments that cost you thirty seconds and can completely change the quality of the final image. Don’t settle for “close enough” when a small physical tweak would make it much better.
Step 3: Vary Your Vantage Point Deliberately
 Photographer walking to a different location to find a better angle
Related to moving before you shoot, but worth separating: most beginners shoot from eye level every single time because that’s where their eyes already are. McKinnon pushes the idea of actively trying different locations rather than assuming the first spot you stand in is the best one.
Photographer walking to a different location to find a better angle
Related to moving before you shoot, but worth separating: most beginners shoot from eye level every single time because that’s where their eyes already are. McKinnon pushes the idea of actively trying different locations rather than assuming the first spot you stand in is the best one.
Get lower to the ground. Climb something. Walk around your subject completely before committing to an angle. Some of my favorite travel shots came from lying flat on a wet sidewalk at 6 a.m., which is exactly the kind of thing I’d have been too self-conscious to do when I started. The point isn’t to be dramatic for the sake of it. The point is that a two-foot change in height or a ten-foot change in position can make the difference between a forgettable frame and one that actually stops people mid-scroll.
Step 4: Stop Accepting a “Good Enough” Frame
 Cluttered background visible in frame before subject is repositioned
There’s a pattern McKinnon identifies that I see constantly when I’m helping people learn: they take one or two shots of a scene and move on. Sometimes the first frame is great. More often, it’s a starting point. The mistake is treating it like the finished product.
Cluttered background visible in frame before subject is repositioned
There’s a pattern McKinnon identifies that I see constantly when I’m helping people learn: they take one or two shots of a scene and move on. Sometimes the first frame is great. More often, it’s a starting point. The mistake is treating it like the finished product.
Make it a rule to take at least three variations of any shot you care about. Change your position. Change your framing. Remove or rearrange one element. This isn’t about shooting a hundred identical frames and hoping one works. It’s about being intentional enough to ask, after each shot, “what would make this better?” That question alone will accelerate your growth faster than any piece of gear.
What I’d Add From My Own Experience
McKinnon’s advice is practical and immediately applicable, which is why I like it. But there’s one thing I’d layer on top of his histogram tip specifically: get in the habit of checking your histogram before you shoot, not just after.
If you’re in a challenging lighting situation, like a bright window behind your subject or a shaded figure against a sunlit background, use your camera’s exposure preview or live histogram to dial in your settings before you press anything. I spent an embarrassing amount of time on a waterfall trip a few years back getting shots that looked beautiful on the LCD and came home to find the highlights completely cooked. Now I check the histogram the way I check my mirrors before I pull out of a parking spot. It’s automatic, and it has saved me from a lot of quiet disappointment.
One more thing: if you’re newer to this and feel like these habits sound like a lot to track at once, pick one per shoot. This week, only focus on the histogram. Next week, add vantage point exploration. Layering skills this way keeps it from feeling overwhelming, and it gives each habit a real chance to stick before you add the next one.
The single most important takeaway from this tutorial is that better photos almost always come from slowing down before the shot rather than fixing things afterward. Check your histogram, move your feet, and question your first instinct about where to stand. Those three things alone will change what you bring home.
Watch the full tutorial on YouTube to see McKinnon walk through these points with his own examples. He covers a few additional mistakes beyond what I’ve expanded on here, and his explanations are worth watching straight through.
Comments (2)
Printing this out and pinning it next to my monitor. That good.
Applied this to my portfolio shots and the improvement is noticeable.
Leave a Comment