
Forest scenes break my brain every single time. I’ve stood at the edge of a dense woodland on my Sunday morning photo walks, looked into that wall of trunks and branches and moss, and felt absolutely paralyzed. It’s not like shooting at the coast, where the lighthouse or the sea stack basically tells you where to point your camera. In the forest, everything is competing for attention, and nothing is obviously “the subject.”
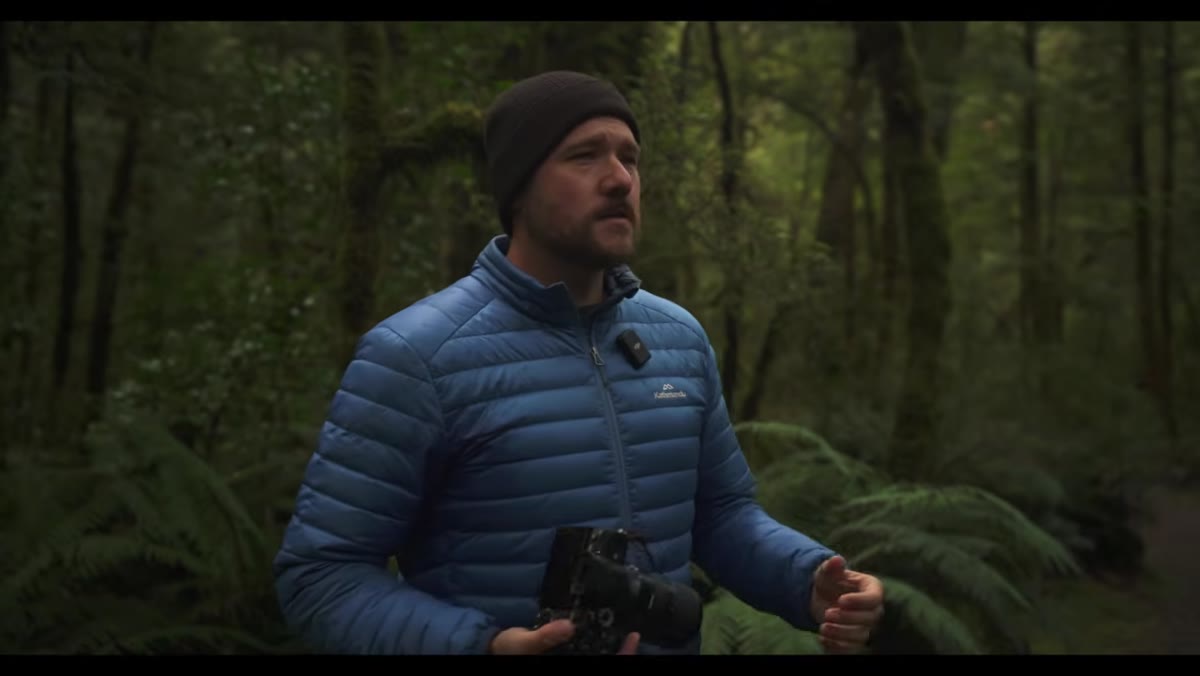
That’s exactly why I kept coming back to this William Patino tutorial filmed in the temperate rainforest of Fiordland, New Zealand. Watch the full tutorial on YouTube – it’s well worth your time before or after reading through these notes. Patino breaks down his approach with a clarity that I wish I’d had years ago, and the techniques he demonstrates translate directly to any dense woodland environment, whether you’re in New Zealand or the Pacific Northwest (very much my backyard here in Seattle).
What I appreciate most is that his framework is repeatable. It’s not about waiting for a magical moment or having a particularly photogenic forest. It’s a decision-making process you can run through every time you step into the trees.
Step 1: Start with a Mid-Range Lens, Not a Wide Angle
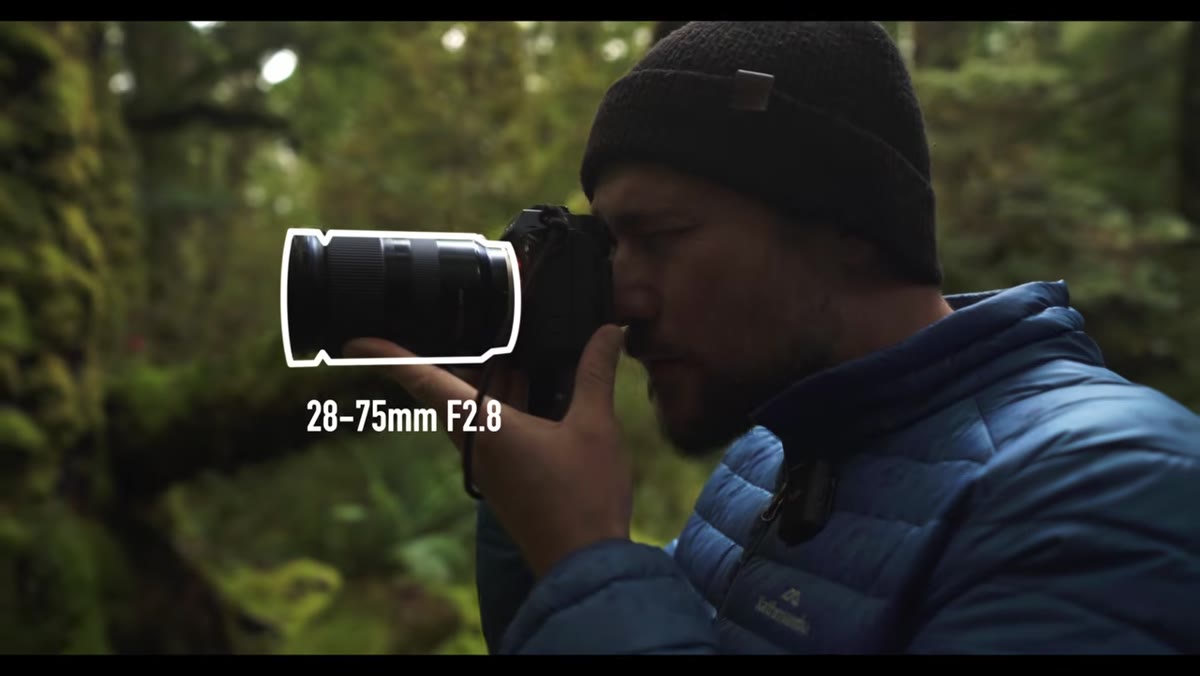 Photographer selecting mid-range lens beside dense beech trees
Most photographers, myself included, instinctively reach for a wide angle when shooting landscapes. The logic feels right – more scene, more drama, more depth. But in a forest, wide angles are often the enemy. They pull in so much visual information that the image collapses under its own complexity. Patino recommends beginning with a mid-range focal length (think 35mm to 85mm equivalent) to force yourself to isolate and simplify.
Photographer selecting mid-range lens beside dense beech trees
Most photographers, myself included, instinctively reach for a wide angle when shooting landscapes. The logic feels right – more scene, more drama, more depth. But in a forest, wide angles are often the enemy. They pull in so much visual information that the image collapses under its own complexity. Patino recommends beginning with a mid-range focal length (think 35mm to 85mm equivalent) to force yourself to isolate and simplify.
The practical effect is immediate: a mid-range lens acts like a filter on the chaos. Instead of trying to make sense of 180 degrees of tangled canopy, you’re working with a tighter slice of the scene that actually has a chance of reading as intentional. Start your session by just walking slowly and looking through the viewfinder at your mid-range focal length before you ever press the shutter. You’ll start to notice individual trees, pockets of light, and natural gaps in a way that a naked eye scan of the forest never quite delivers.
Step 2: Choose Your Light Conditions Carefully
 Backlit moss glowing between dark tree trunks in filtered light
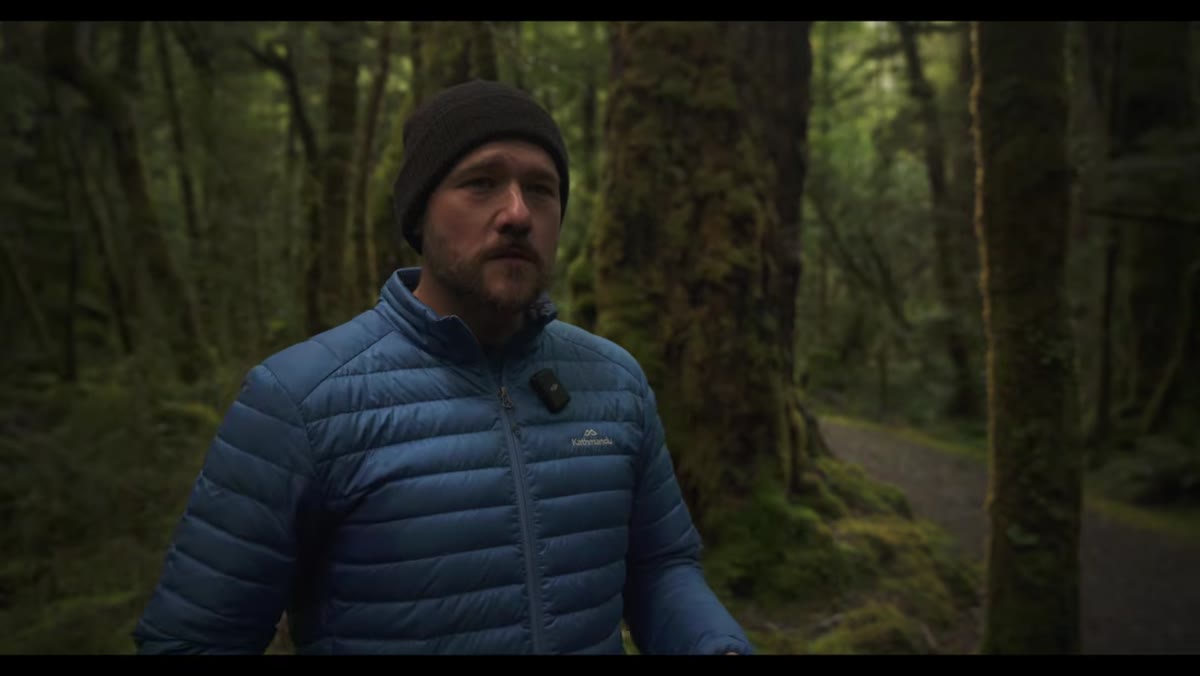
Direct, even sunlight is the enemy of a compelling forest image. When the sun is behind you and everything is lit uniformly, the eye doesn’t know where to rest. There’s no hierarchy, no mystery. Patino’s preference is overcast days or, when the sun is out, positioning himself so the light is either backlighting or side-lighting the trees rather than flooding the whole scene from the front.
Backlit moss glowing between dark tree trunks in filtered light
Direct, even sunlight is the enemy of a compelling forest image. When the sun is behind you and everything is lit uniformly, the eye doesn’t know where to rest. There’s no hierarchy, no mystery. Patino’s preference is overcast days or, when the sun is out, positioning himself so the light is either backlighting or side-lighting the trees rather than flooding the whole scene from the front.
The specific effect he points to is backlighting activating the moss and creating edge glow on the tree trunks – a quality of light that adds dimension without blowing out the details. If you’re shooting on a bright day and overcast isn’t an option, move deeper into the darker portions of the forest and let any bright areas (a gap in the canopy, a sunlit clearing in the distance) work as a focal point in the background. That contrast between shadow-heavy foreground and a luminous background pull draws the eye inward and creates a sense of depth that flat frontal lighting simply cannot.
Step 3: Identify One Main Subject Before You Frame Anything
 Large red beech tree singled out among surrounding forest
Before thinking about composition, find the tree (or root structure, or mossy boulder) that earns the main subject role. In a forest, this is genuinely hard work because everything is at roughly similar scale. Patino looks for the tree that “stands out from the rest” – usually the largest, most textured, or most dramatically lit specimen in the area he’s working.
Large red beech tree singled out among surrounding forest
Before thinking about composition, find the tree (or root structure, or mossy boulder) that earns the main subject role. In a forest, this is genuinely hard work because everything is at roughly similar scale. Patino looks for the tree that “stands out from the rest” – usually the largest, most textured, or most dramatically lit specimen in the area he’s working.
Only once that subject is locked in does he start thinking about how to frame it. Skipping this step is what leads to those busy, unfocused forest shots where the viewer’s eye just slides around the frame without landing anywhere. Spend time walking the scene before raising your camera. Identify your subject first. Everything else is in service of that decision.
Step 4: Use Surrounding Trees as Natural Framing Elements
 Smaller trees flanking large central beech creating visual frame
Once you have your main subject, use the surrounding trees to build a natural frame around it. This sounds almost too simple, but it’s remarkably effective. Patino positions himself so that smaller trees appear on either side of his hero tree, bracketing it and directing the viewer’s attention toward the center of the frame.
Smaller trees flanking large central beech creating visual frame
Once you have your main subject, use the surrounding trees to build a natural frame around it. This sounds almost too simple, but it’s remarkably effective. Patino positions himself so that smaller trees appear on either side of his hero tree, bracketing it and directing the viewer’s attention toward the center of the frame.
The key is symmetry in that framing, not necessarily perfect mirror-image symmetry, but a sense of visual balance. If you have a strong vertical element on the left side of the frame, look for something of similar visual weight on the right. Adjust your position laterally until that balance feels right. A few steps left or right can be the difference between a frame that feels contained and one that feels lopsided.
Step 5: Create Separation Between Layers
 Photographer shifting position to separate foreground and background trees
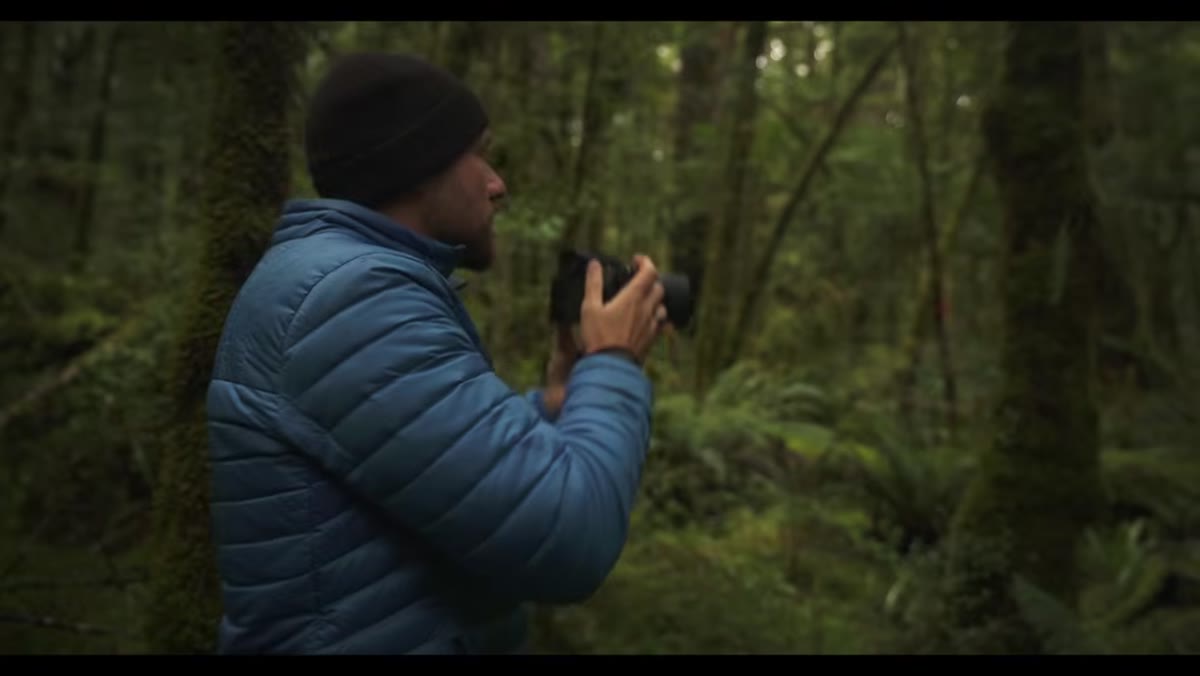
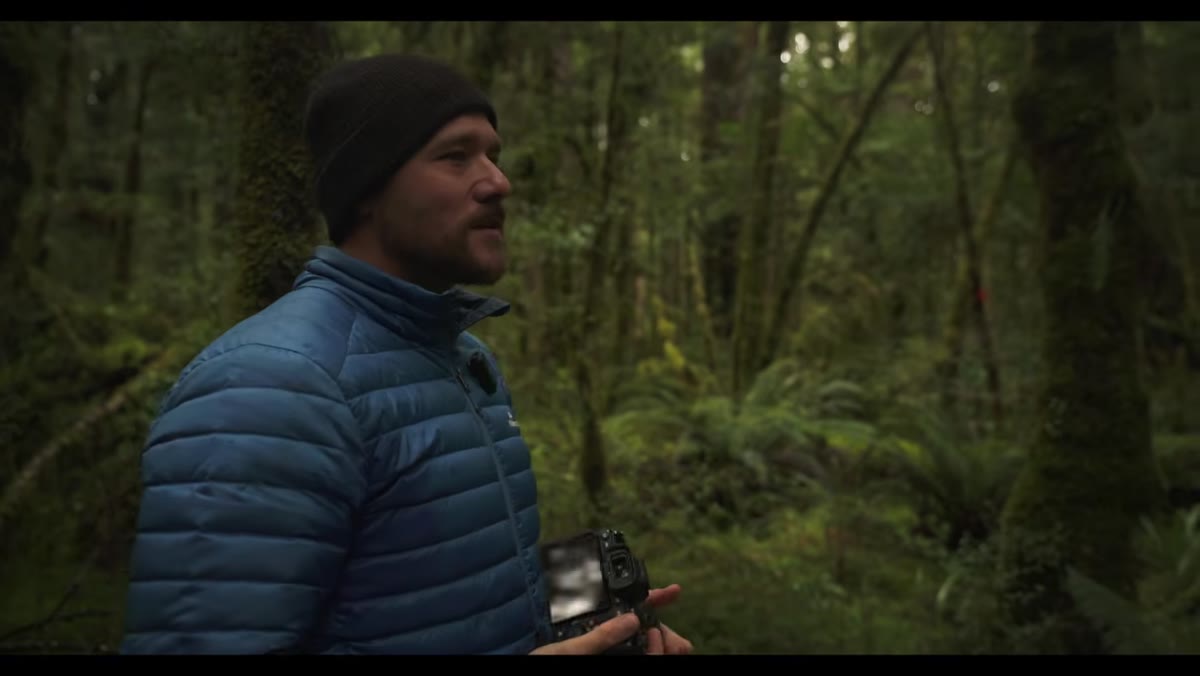
Dense forests compress depth. When you’re looking at a finished photograph, trees at different distances can appear to merge into a flat, confusing jumble. Patino addresses this with small, deliberate position adjustments – shifting left or right a foot or two to “open up” the gaps between trees at different focal planes.
Photographer shifting position to separate foreground and background trees
Dense forests compress depth. When you’re looking at a finished photograph, trees at different distances can appear to merge into a flat, confusing jumble. Patino addresses this with small, deliberate position adjustments – shifting left or right a foot or two to “open up” the gaps between trees at different focal planes.
The goal is to let the eye move through the image in layers: foreground trees, mid-ground trees, background trees. When those layers overlap and merge, the image loses its sense of three-dimensional space. When they’re separated even slightly, you feel the depth of the forest rather than just seeing a flat wall of wood and leaves. This is especially important when shooting at longer focal lengths, which compress distance. Ask yourself at every position: can the eye travel from front to back, or is everything stacking up into a flat mess?
A Note from Someone Who Shoots Forests Every Week
The technique I’ve personally leaned on most from Patino’s framework is the light management advice, specifically the idea of positioning yourself in the darker parts of the forest and letting light work in the background rather than across the whole frame. I spent years trying to find “good light” in forests the way I would at the coast – chasing golden hour from an open position. It rarely worked.
What actually works is finding the shade and looking outward. Even on my phone (yes, I bring my phone sometimes – old habit), this approach changes everything about how a forest image reads. The mystery that Patino talks about is real: front-lit forests look like snapshots, back-lit and shadow-framed forests look like somewhere you’d want to step into.
The single most transferable idea in this tutorial is this: simplify before you shoot. The forest will always give you more to look at than you can use. Your job as the photographer is to make decisions, not to include everything. Identify one subject. Build a frame around it. Separate your layers. Let the light create hierarchy rather than flooding everything equally.
Watch the full tutorial on YouTube to see Patino demonstrate these techniques in real time – watching him adjust his position to find layer separation is one of those things that clicks much faster visually than it does in words.
Comments
Leave a Comment