I used to think the secret to sharp, detailed images lived entirely in the lens. Better glass, better results. It took me an embarrassingly long time to realize I was throwing away information at the capture stage before I even opened Photoshop. I’d shoot in RAW, feel good about myself, then import a file and wonder why aggressive edits made skin tones look plasticky or why a sky gradient would start showing visible bands instead of a smooth transition. The answer, it turned out, wasn’t in my editing technique. It was in the data I was working with before I touched a single slider.
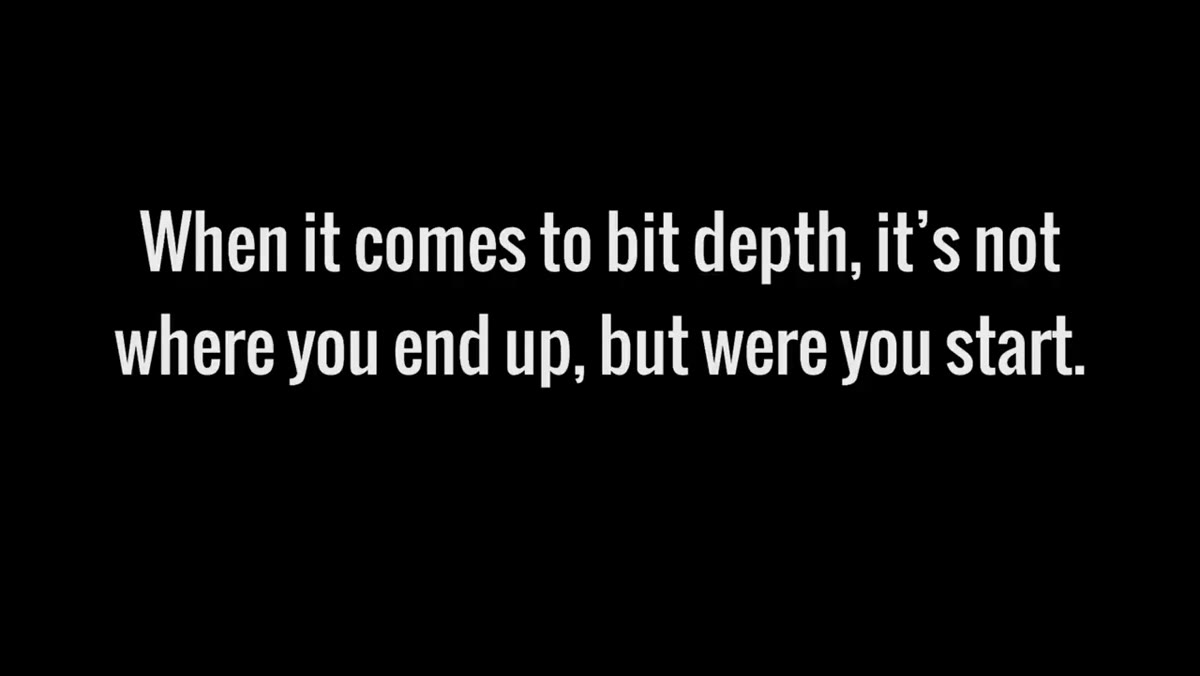
In this Joel Grimes tutorial on bit depth, the commercial photographer with nearly four decades of experience cuts straight to the concept that actually matters: it’s not where you end up in your workflow, it’s where you start. Watch the full tutorial on YouTube if you want to follow along. Joel skips the heavy math and focuses on the practical mindset shift, which is exactly what I needed when I first started digging into this topic. What follows is my breakdown of his core steps, with some context added from my own experience shooting travel and lifestyle work.
Step 1: Understand What Bit Depth Actually Means for Your Images
 Joel explaining the concept of bit depth at a whiteboard or intro frame
Bit depth determines how much color and tonal information is stored in each pixel of your image. The higher the bit depth, the more values are available between pure black and pure white, and across every color channel. A low-bit file has fewer steps between tones, which means when you push a slider hard in post, you start to see those steps rather than a smooth transition. Think of it like the difference between a staircase and a ramp. With more bits, you get the ramp.
Joel explaining the concept of bit depth at a whiteboard or intro frame
Bit depth determines how much color and tonal information is stored in each pixel of your image. The higher the bit depth, the more values are available between pure black and pure white, and across every color channel. A low-bit file has fewer steps between tones, which means when you push a slider hard in post, you start to see those steps rather than a smooth transition. Think of it like the difference between a staircase and a ramp. With more bits, you get the ramp.
Joel’s core argument is simple: start with as much data as possible, then reduce it as needed for final output. You can always throw information away. You cannot create it from nothing.
Step 2: Stop Shooting JPEG as Your Primary Format
 Camera menu or JPEG vs RAW format comparison on screen
JPEG is an 8-bit format, and it is compressed on top of that. By the time you open a JPEG in Photoshop, a huge portion of the original scene data has already been discarded by your camera. For quick turnaround work like photojournalism, where images go directly from camera to a news wire without any editing, JPEG makes sense. For anything where you intend to process the image, it doesn’t.
Camera menu or JPEG vs RAW format comparison on screen
JPEG is an 8-bit format, and it is compressed on top of that. By the time you open a JPEG in Photoshop, a huge portion of the original scene data has already been discarded by your camera. For quick turnaround work like photojournalism, where images go directly from camera to a news wire without any editing, JPEG makes sense. For anything where you intend to process the image, it doesn’t.
Joel is clear that shooting JPEG-only is only acceptable in that very specific professional context. For everyone else, switching your camera to RAW is the single fastest way to improve what you can do in post. Most modern cameras let you shoot RAW and JPEG simultaneously if you need both, so there’s no reason to choose JPEG as your editing starting point.
Step 3: Set Your Camera to Capture in RAW at 14-Bit
 Camera set to RAW format, 14-bit option shown in menu
Most current digital cameras capture RAW files at 14-bit. Joel notes that earlier digital cameras captured at 12-bit, and medium format cameras at the high end can capture 16-bit, but for the vast majority of photographers using full-frame or crop-sensor cameras, 14-bit RAW is the standard and it’s genuinely excellent to work with.
Camera set to RAW format, 14-bit option shown in menu
Most current digital cameras capture RAW files at 14-bit. Joel notes that earlier digital cameras captured at 12-bit, and medium format cameras at the high end can capture 16-bit, but for the vast majority of photographers using full-frame or crop-sensor cameras, 14-bit RAW is the standard and it’s genuinely excellent to work with.
Go into your camera’s image quality settings and confirm you are shooting RAW, not JPEG. If your camera offers a choice between 12-bit and 14-bit RAW, choose 14-bit. The file sizes are larger, but the editing flexibility you gain is worth it every time, especially if you’re doing any kind of significant tonal manipulation in post.
Step 4: Recognize Where 8-Bit, 14-Bit, and 16-Bit Each Fit
 Diagram or chart showing three bit depth levels side by side
Joel organizes bit depth into three practical tiers for capture: 8-bit (JPEG, avoid for editing), 14-bit (standard RAW from most cameras), and 16-bit (high-end medium format RAW). Each tier dramatically increases the number of tonal values available, which directly affects how much you can push contrast, shadows, highlights, and color grading before the image starts to fall apart visually.
Diagram or chart showing three bit depth levels side by side
Joel organizes bit depth into three practical tiers for capture: 8-bit (JPEG, avoid for editing), 14-bit (standard RAW from most cameras), and 16-bit (high-end medium format RAW). Each tier dramatically increases the number of tonal values available, which directly affects how much you can push contrast, shadows, highlights, and color grading before the image starts to fall apart visually.
He uses the example of landscape photography in the style of Ansel Adams to make this concrete. If you want a deep, rich black sky alongside smooth, detailed gradations in the land below, you need to be working with enough tonal information that your edits don’t create visible gaps between tones. The higher your starting bit depth, the more headroom you have to make those dramatic moves without degrading the image.
Step 5: Use HDR Processing to Reach 32-Bit in Photoshop
 Photoshop HDR merge dialog or 32-bit mode selection
Photoshop offers a 32-bit working mode, but you can’t get there from a single exposure. The only way to generate a true 32-bit file is to combine multiple exposures, typically an underexposed, a normally exposed, and an overexposed frame, and merge them as an HDR. This is what HDR was actually designed to do.
Photoshop HDR merge dialog or 32-bit mode selection
Photoshop offers a 32-bit working mode, but you can’t get there from a single exposure. The only way to generate a true 32-bit file is to combine multiple exposures, typically an underexposed, a normally exposed, and an overexposed frame, and merge them as an HDR. This is what HDR was actually designed to do.
Joel points out that HDR has a reputation problem because people associate it with the over-processed, tone-mapped look that was popular in the early 2010s. But that aesthetic is a stylistic choice made after the merge, not a property of HDR itself. A clean HDR merge at 32-bit gives you a file with more recoverable data than any single exposure can provide, and you can choose to edit it in a completely natural, realistic way. The goal is maximum information, not a particular look.
A Note on When This Actually Changes Your Results
I want to be honest about something: for a lot of everyday shooting, the difference between a well-edited 14-bit RAW and a 32-bit HDR file is subtle enough that viewers won’t notice. Where I’ve personally felt the impact most is in high-contrast scenes, like shooting interiors with windows, or landscape work where I’m pushing a sky and foreground in opposite directions at the same time. That’s where the extra data stops being theoretical and starts being visible.
I still sometimes grab my phone for a quick shot at the farmer’s market on my Sunday morning photo walks, and honestly, for a casual frame in good light, it’s fine. But the moment I know I’m going to spend real time in post, I want the highest bit depth I can get from the start. Walking into an edit with a 14-bit RAW file instead of a compressed JPEG feels like showing up to a job with the right tools instead of improvising.
The single most important thing Joel Grimes teaches in this tutorial is that bit depth is a starting-point decision, not an ending-point one. Every aggressive edit you make costs you data, and if you began with very little data, you’ll hit a wall fast. Shoot RAW at the highest bit depth your camera supports, and if you’re working in challenging lighting, consider bracketing for an HDR merge to give yourself that 32-bit ceiling in Photoshop.
Watch the full tutorial on YouTube to hear Joel walk through the full breakdown, including where 32-bit workflow runs into some current Photoshop limitations he covers toward the end.
Comments (2)
This is going in my reference folder. Incredibly useful.
Tried this technique this morning. Game changer for real.
Leave a Comment