
There is a moment in almost every beginner photographer’s journey where the technical stuff clicks into place and suddenly everything looks intentional. For me, that moment came with light - not finding more of it, but understanding what it does after it hits the subject. Specifically, what it does with shadows. I spent a long time treating shadows like a problem to eliminate. Now I treat them like a second subject in the frame, and that shift changed everything about how I work.
In this Visual Education tutorial - Watch the full tutorial on YouTube - the instructor breaks down two related but distinct concepts: shadow sharpness (how crisp or soft the edge of a shadow is) and shadow density (how dark the shadow actually gets). These sound like they might be the same thing. They are absolutely not, and confusing them is exactly the kind of mistake that keeps photos looking flat even when the exposure is technically correct. This tutorial works through both, starting with a single light source before layering in a second, and the progression makes the logic feel obvious by the end.
Step 1: Understand the Difference Between Shadow Sharpness and Shadow Density
 Instructor explaining shadow density versus sharpness concepts
Before you touch a single piece of gear, you need to lock in these two definitions, because they control completely different things. Shadow sharpness - sometimes called shadow crispness - refers to how hard or soft the transition is at the edge of a shadow. A sharp shadow has a very defined, clean line where light stops. A soft shadow has a gradual, feathered transition. Shadow density is separate: it is about how dark the shadow area actually is, regardless of how sharp its edges are. You can have a soft-edged shadow that is very deep and black, or a hard-edged shadow that is quite bright and filled with ambient light. Getting comfortable with this distinction is the whole foundation of the tutorial.
Instructor explaining shadow density versus sharpness concepts
Before you touch a single piece of gear, you need to lock in these two definitions, because they control completely different things. Shadow sharpness - sometimes called shadow crispness - refers to how hard or soft the transition is at the edge of a shadow. A sharp shadow has a very defined, clean line where light stops. A soft shadow has a gradual, feathered transition. Shadow density is separate: it is about how dark the shadow area actually is, regardless of how sharp its edges are. You can have a soft-edged shadow that is very deep and black, or a hard-edged shadow that is quite bright and filled with ambient light. Getting comfortable with this distinction is the whole foundation of the tutorial.
Step 2: Start With a Single Light Source and Observe Shadow Sharpness
 Single light positioned to cast shadow on subject
With one light set up, move it closer to and farther from your subject and watch what happens to the shadow edges - not the brightness, just the edges. This is the classic way to feel the difference between a hard light and a soft light. A small, distant light source creates hard, defined shadow edges. A large or close light source wraps around the subject and softens those edges. The size of the light relative to the subject is what drives sharpness, not the power of the light. A big softbox close to your subject will give you that smooth, gradual shadow transition. Move it across the room and the same softbox starts behaving more like a point source, giving you crisper edges.
Single light positioned to cast shadow on subject
With one light set up, move it closer to and farther from your subject and watch what happens to the shadow edges - not the brightness, just the edges. This is the classic way to feel the difference between a hard light and a soft light. A small, distant light source creates hard, defined shadow edges. A large or close light source wraps around the subject and softens those edges. The size of the light relative to the subject is what drives sharpness, not the power of the light. A big softbox close to your subject will give you that smooth, gradual shadow transition. Move it across the room and the same softbox starts behaving more like a point source, giving you crisper edges.
Step 3: Use Light Distance to Control Shadow Edge Quality
 Light source being repositioned relative to the subject
Once you can see the effect, start making deliberate adjustments and noting the results. Move your key light closer to your subject in small increments - maybe 30 centimeters at a time - and take a shot at each position. Look specifically at the shadow edge, not at the brightness of the image (you can compensate brightness with power). What you are building here is a personal mental reference for how much distance changes shadow quality with your specific modifier. Every modifier behaves a little differently. A bare strobe, an umbrella, and a softbox will all give you different shadow transitions at the same distance, and you want to know your tools before you are on a real shoot trying to problem-solve under pressure.
Light source being repositioned relative to the subject
Once you can see the effect, start making deliberate adjustments and noting the results. Move your key light closer to your subject in small increments - maybe 30 centimeters at a time - and take a shot at each position. Look specifically at the shadow edge, not at the brightness of the image (you can compensate brightness with power). What you are building here is a personal mental reference for how much distance changes shadow quality with your specific modifier. Every modifier behaves a little differently. A bare strobe, an umbrella, and a softbox will all give you different shadow transitions at the same distance, and you want to know your tools before you are on a real shoot trying to problem-solve under pressure.
Step 4: Introduce Shadow Density as a Separate Variable
 Demonstration showing how dark or filled the shadow area appears
After you are comfortable reading shadow edges, shift your attention to how dark the shadow area itself is. With a single light and no other light sources in the room, a shadow can go almost completely black. That might be what you want for a dramatic portrait or a moody product shot. But often it is too extreme - you lose all detail and texture in the shadow side, and the image loses dimension. This is where shadow density becomes a creative control rather than just a side effect of your lighting setup. The question is not just “where are the shadows?” but “how dark do I actually want them to be?”
Demonstration showing how dark or filled the shadow area appears
After you are comfortable reading shadow edges, shift your attention to how dark the shadow area itself is. With a single light and no other light sources in the room, a shadow can go almost completely black. That might be what you want for a dramatic portrait or a moody product shot. But often it is too extreme - you lose all detail and texture in the shadow side, and the image loses dimension. This is where shadow density becomes a creative control rather than just a side effect of your lighting setup. The question is not just “where are the shadows?” but “how dark do I actually want them to be?”
Step 5: Add a Second Light to Control Shadow Density
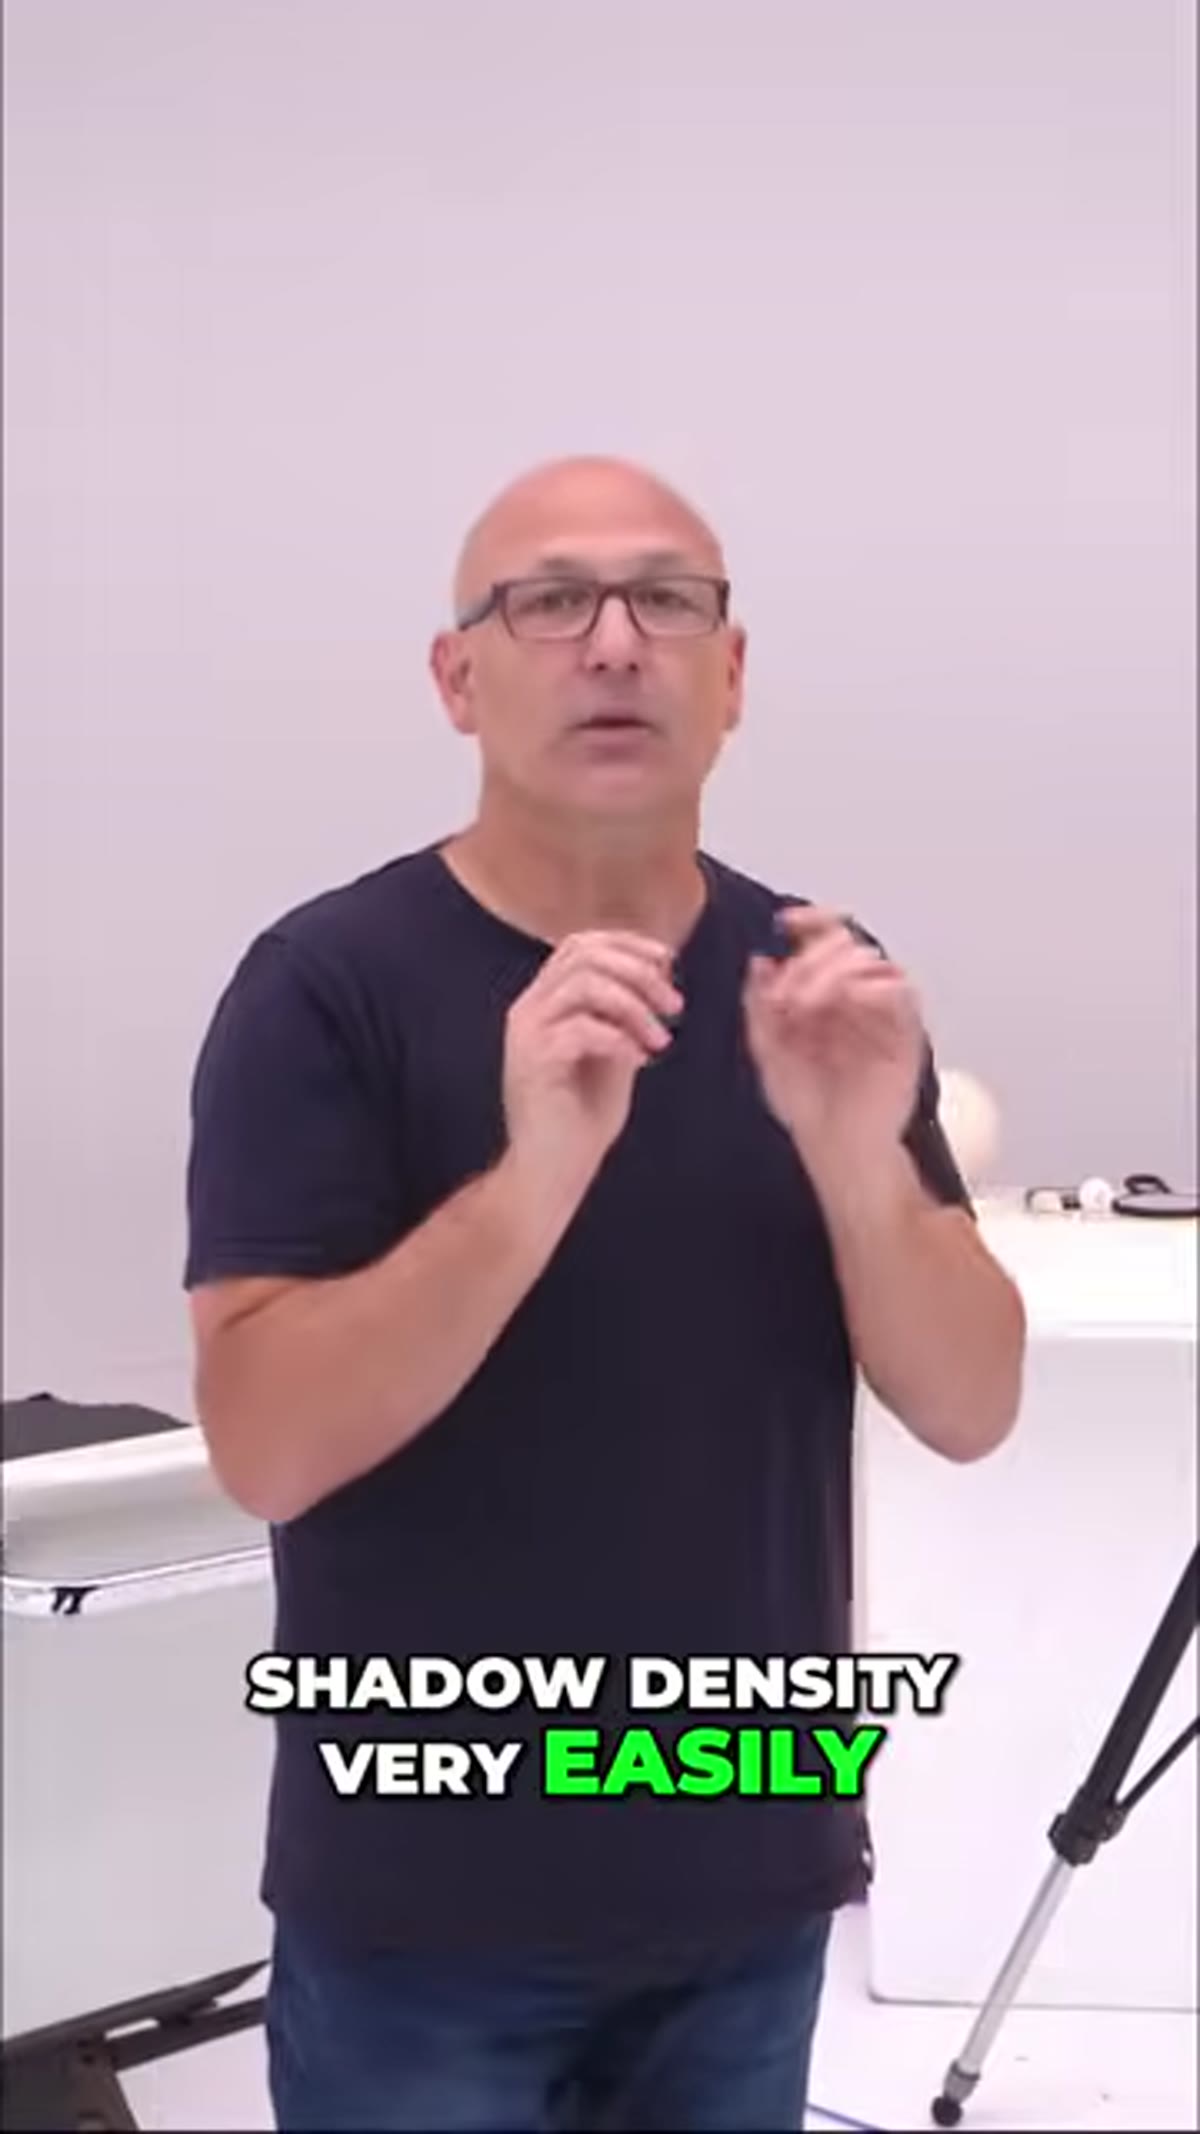 Second light being introduced to fill shadow area
The most direct way to manage shadow density is to add a fill light - a second, lower-powered light aimed specifically at the shadow area your key light is creating. The fill light does not need to be bright. Its only job is to lift the shadows to your target level. A ratio of 4:1 or 3:1 between key and fill is a common starting point for portraits - enough fill to retain shadow detail without flattening the image completely. Set your fill light to a lower power than your key, position it on the opposite side, and take test shots while gradually increasing the fill power until the shadow density looks right to your eye. You are not trying to eliminate the shadow. You are giving it a floor.
Second light being introduced to fill shadow area
The most direct way to manage shadow density is to add a fill light - a second, lower-powered light aimed specifically at the shadow area your key light is creating. The fill light does not need to be bright. Its only job is to lift the shadows to your target level. A ratio of 4:1 or 3:1 between key and fill is a common starting point for portraits - enough fill to retain shadow detail without flattening the image completely. Set your fill light to a lower power than your key, position it on the opposite side, and take test shots while gradually increasing the fill power until the shadow density looks right to your eye. You are not trying to eliminate the shadow. You are giving it a floor.
Step 6: Read the Relationship Between Both Lights Together
 Both lights in use showing combined shadow sharpness and density result
Once you have two lights working, you have independent control over two different qualities. Your key light position and modifier choice control the sharpness of shadow edges. Your fill light power controls how dark those shadows get. These two controls do not interfere with each other as long as your fill light is not so bright that it starts creating its own competing shadows. Practice adjusting one variable at a time - change only the fill power for a few shots, then change only the key light distance for a few shots - so you can hear each control clearly without the other muddying the result.
Both lights in use showing combined shadow sharpness and density result
Once you have two lights working, you have independent control over two different qualities. Your key light position and modifier choice control the sharpness of shadow edges. Your fill light power controls how dark those shadows get. These two controls do not interfere with each other as long as your fill light is not so bright that it starts creating its own competing shadows. Practice adjusting one variable at a time - change only the fill power for a few shots, then change only the key light distance for a few shots - so you can hear each control clearly without the other muddying the result.
What I Would Add From My Own Work
When I first started working with two lights, I kept going back and forth between adjusting both at once and then wondering why I could not figure out what changed. The fix for me was stupidly simple: I started treating each light as its own layer. I expose for the key light first, lock in the shadow edge quality I want, and only then introduce the fill and dial it in. This order matters because the key light is doing most of the creative heavy lifting - the fill is just supporting it. If you reverse the process and light with fill first, you end up chasing your tail. Also worth noting: a reflector counts as fill. On outdoor shoots, I use a cheap collapsible reflector to bounce light into shadows all the time. Same principle, no power cord required.
The single most important takeaway here is that shadow sharpness and shadow density are separate tools, and treating them as one thing is the reason so many lit photos look accidental rather than controlled. Once you can adjust each independently, your lighting decisions stop being guesses. Watch the full tutorial on YouTube to see the Visual Education instructor demonstrate the full progression from one light to two, and pay attention to how clearly the shadow changes at each stage. It is one of those tutorials worth watching twice.
Comments
Leave a Comment