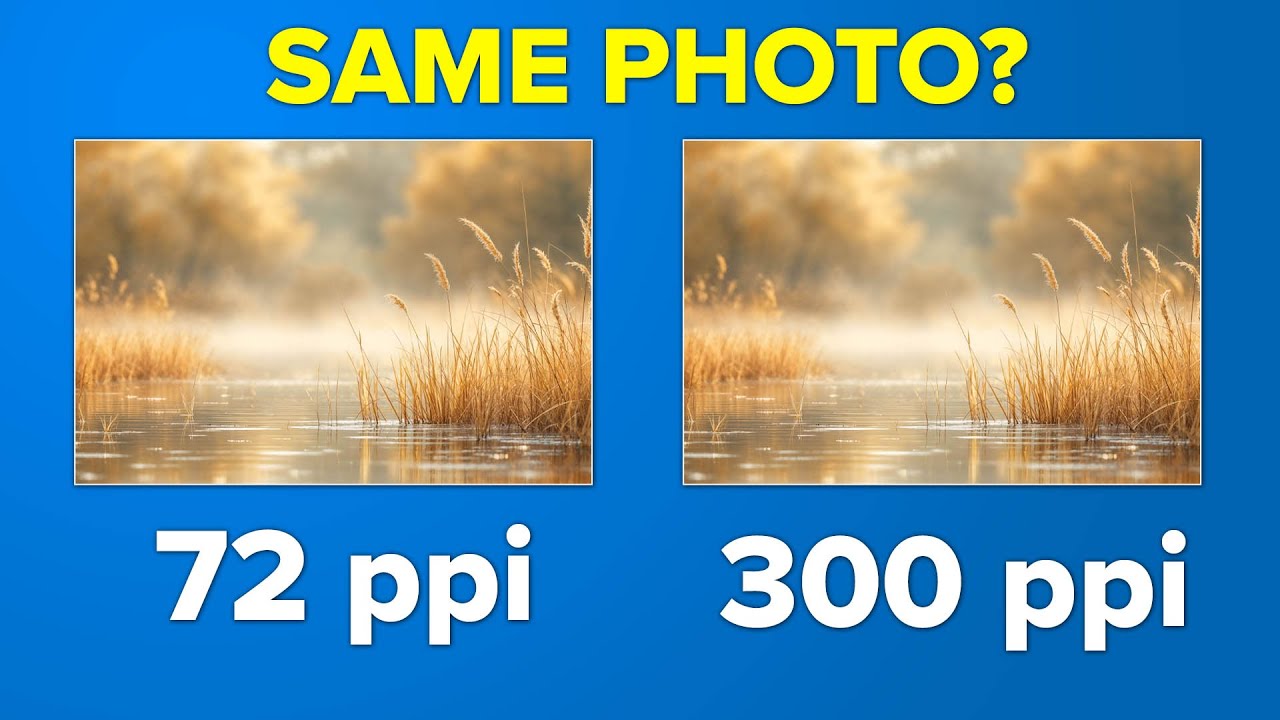
I used to freeze every time I saw the resolution dialog in Photoshop. PPI, DPI, pixel dimensions — the numbers would stare back at me and I’d just… guess. Usually 300, because someone on a forum once said 300 is “the printing standard,” and I accepted that as gospel without really understanding what I was agreeing to. If you’ve ever felt that same low-grade anxiety about resolution settings, you’re not alone, and this is the article I wish I’d had years ago.
In this Matt Kloskowski tutorial, Watch the full tutorial on YouTube, Matt does something most resolution explainers skip: he shows you the same photo at different PPI settings to prove that the number embedded in your file is not as fixed or as sacred as you’ve been led to believe. It reframed how I think about resolution entirely, and the logic clicks fast once you see it demonstrated.
Here’s the full walkthrough, step by step, so you can follow along whether or not you have the video open.
Step 1: Understand What PPI Actually Means
 Diagram or text explaining pixels per inch definition
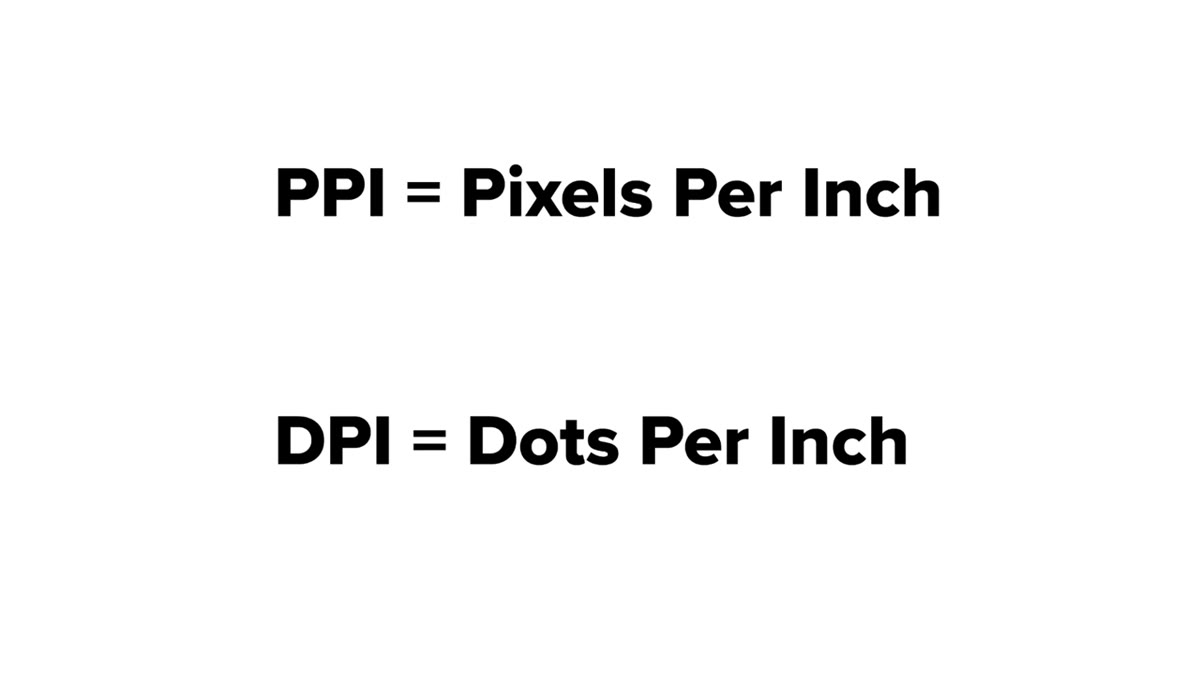
PPI stands for pixels per inch, and it answers one specific question: how many pixels are you squeezing into one inch of printed paper? That’s it. It’s a print concept. It has nothing to do with how your image looks on a phone, a monitor, a tablet, or any other screen. Screens are measured in inches for marketing reasons (it’s easier to picture a “27-inch monitor” than a “2560-pixel monitor”), but PPI plays zero role in how your photo renders on any of them.
Diagram or text explaining pixels per inch definition
PPI stands for pixels per inch, and it answers one specific question: how many pixels are you squeezing into one inch of printed paper? That’s it. It’s a print concept. It has nothing to do with how your image looks on a phone, a monitor, a tablet, or any other screen. Screens are measured in inches for marketing reasons (it’s easier to picture a “27-inch monitor” than a “2560-pixel monitor”), but PPI plays zero role in how your photo renders on any of them.
When you’re sharing work online or sending a JPEG to a client for web use, you can completely ignore PPI. The only number that matters for screens is pixel dimensions, which is the total count of pixels wide and tall in your image.
Step 2: Stop Using the Term DPI
 Text or callout separating PPI from DPI concepts
DPI stands for dots per inch, and it belongs to your printer, not your computer. Your printer has a fixed DPI that describes how many ink dots it physically lays down per inch. You cannot change that number from Photoshop or Lightroom. It’s a hardware spec, like the number of cylinders in a car engine.
Text or callout separating PPI from DPI concepts
DPI stands for dots per inch, and it belongs to your printer, not your computer. Your printer has a fixed DPI that describes how many ink dots it physically lays down per inch. You cannot change that number from Photoshop or Lightroom. It’s a hardware spec, like the number of cylinders in a car engine.
Because you have no control over DPI from your editing software, it’s not a useful term when prepping files. Matt’s point here is direct: drop DPI from your vocabulary when you’re talking about image prep. Switch to PPI, because that’s the number you can actually influence.
Step 3: Find Your Image’s Pixel Dimensions First
 Photoshop Image Size dialog showing pixel dimensions
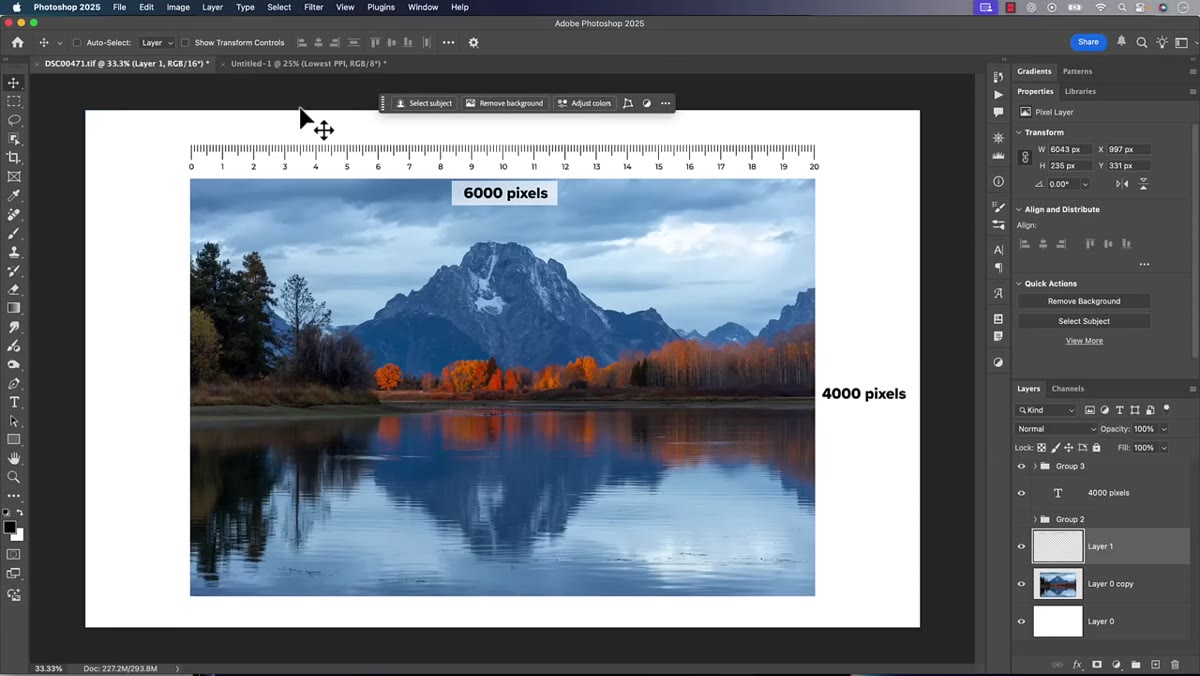
Before you think about resolution at all, open your file in Photoshop and go to Image, then Image Size. The first thing to look at is the pixel dimensions at the top: the total number of pixels wide and tall. In Matt’s example, he’s working with a file that’s 6,000 pixels wide by 4,000 pixels tall. That total pixel count is your real asset. It determines how large you can print and at what quality.
Photoshop Image Size dialog showing pixel dimensions
Before you think about resolution at all, open your file in Photoshop and go to Image, then Image Size. The first thing to look at is the pixel dimensions at the top: the total number of pixels wide and tall. In Matt’s example, he’s working with a file that’s 6,000 pixels wide by 4,000 pixels tall. That total pixel count is your real asset. It determines how large you can print and at what quality.
In Lightroom, you can find the same information under the Metadata panel. Either way, get comfortable knowing your pixel dimensions before you touch any resolution setting. That number is the foundation everything else is calculated from.
Step 4: Calculate Print Size From Pixel Dimensions
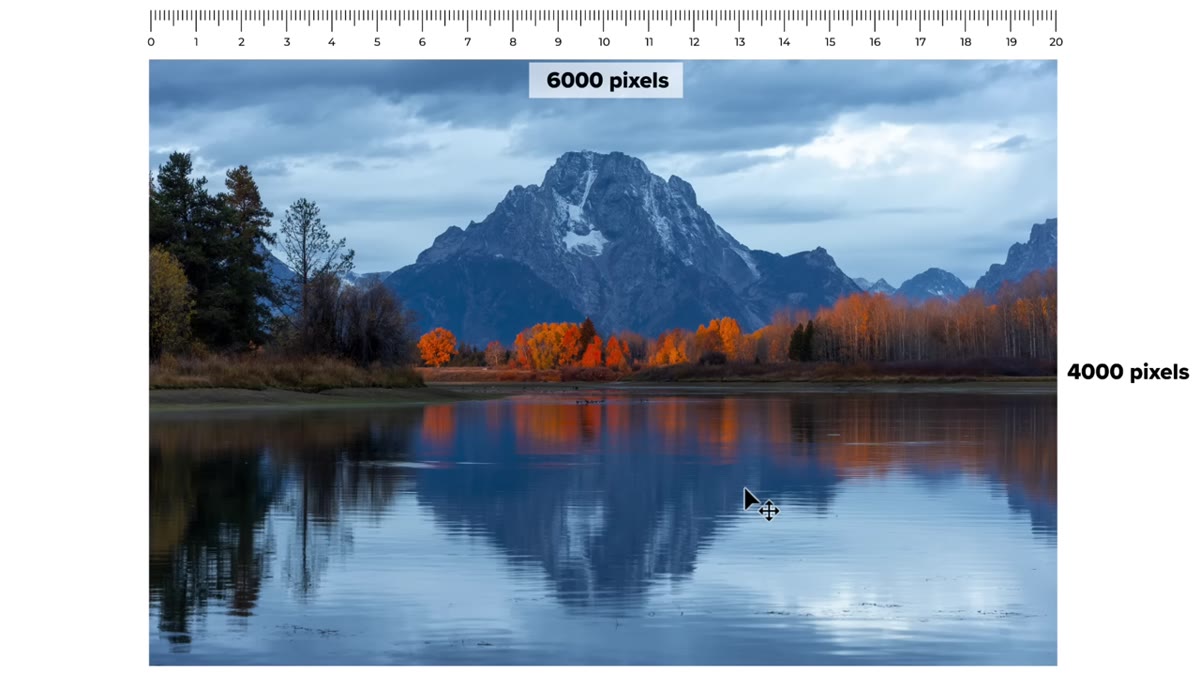 Division example showing 6000 pixels divided by 20 inches
Here’s where the math becomes genuinely useful, and it’s simpler than it sounds. If you want to print at a certain size, divide your pixel width by the number of inches you want the print to be. Matt’s 6,000-pixel-wide image printed at 20 inches gives you 6,000 divided by 20, which equals 300 pixels per inch. That’s a high-quality print result.
Division example showing 6000 pixels divided by 20 inches
Here’s where the math becomes genuinely useful, and it’s simpler than it sounds. If you want to print at a certain size, divide your pixel width by the number of inches you want the print to be. Matt’s 6,000-pixel-wide image printed at 20 inches gives you 6,000 divided by 20, which equals 300 pixels per inch. That’s a high-quality print result.
Flip it around: if you know your target PPI, divide your pixel width by that PPI number to find the maximum print size at that quality. A 6,000-pixel image at 300 PPI gives you a 20-inch-wide print. At 240 PPI (still a solid print quality for many lab printers), that same file prints at 25 inches wide. The pixels don’t change. Only how densely you’re packing them into the paper changes.
Step 5: Recognize That the Embedded PPI Number Is Not Fixed
 Photoshop dialog showing embedded PPI value in file
This is the part that trips people up the most. When you look at a photo’s metadata, you’ll often see a PPI value already embedded in the file, maybe 72, maybe 96, maybe 300. That number feels official, like it’s baked into the image forever. It’s not.
Photoshop dialog showing embedded PPI value in file
This is the part that trips people up the most. When you look at a photo’s metadata, you’ll often see a PPI value already embedded in the file, maybe 72, maybe 96, maybe 300. That number feels official, like it’s baked into the image forever. It’s not.
The embedded PPI is just a tag. Changing it without resampling does not add or remove a single pixel from your file. It’s like relabeling a jar of coffee without adding more coffee. The actual contents, your pixel data, stay exactly the same. So a photo labeled “72 PPI” and a photo labeled “300 PPI” can contain identical pixel dimensions and print identically if you set the right output size. Matt demonstrates this directly, and seeing it in action is what makes the concept finally stick.
Step 6: Resample Only When You Intend to Change Pixel Count
 Photoshop Image Size dialog with Resample checkbox visible
There is one time the PPI change does matter: when you check the Resample box in Photoshop’s Image Size dialog. Resampling tells Photoshop to actually add or remove pixels to hit a target resolution at a target size. This changes your file. It can increase file size significantly if you’re upscaling, or reduce detail if you’re downscaling aggressively.
Photoshop Image Size dialog with Resample checkbox visible
There is one time the PPI change does matter: when you check the Resample box in Photoshop’s Image Size dialog. Resampling tells Photoshop to actually add or remove pixels to hit a target resolution at a target size. This changes your file. It can increase file size significantly if you’re upscaling, or reduce detail if you’re downscaling aggressively.
For most standard print orders, you don’t need to resample. Give the lab your pixel dimensions, let them handle it, or simply calculate the PPI you’ll get at their standard print sizes and confirm it’s above 240 or so. Resampling is a tool for specific situations, like preparing a file for a very large format print where the original pixel count falls short, not a routine step.
A Note From My Own Print Workflow
I’ve started treating pixel dimensions the way I treat shutter speed: it’s one of the first things I check, not an afterthought. When I’m handing off files to a print lab, I now send the pixel dimensions in the email alongside the order, just so we’re speaking the same language. Half the confusion I used to have came from mixing up what the lab needed (pixels) with what I thought mattered (that embedded PPI tag).
For anyone who shoots mostly for Instagram or web clients, this knowledge also saves you from over-exporting. There’s no reason to set a specific PPI when exporting for screens. Just export at your full pixel dimensions, or resized to a pixel target if the platform has limits, and let the screen handle the rest.
The single most important thing to take from Matt’s tutorial is this: your pixel dimensions are your actual image quality. PPI is a derived number, calculated from those pixels and the physical size of the print. The embedded PPI tag in your file metadata is a label, not a lock. Once that distinction clicks, resolution stops being intimidating.
Watch the full tutorial on YouTube to see Matt demonstrate the same file at different PPI values side by side. Watching the numbers move while the image stays identical is the clearest proof I’ve seen that pixel dimensions are the only thing worth obsessing over.
Comments
Leave a Comment