
Every Sunday morning I take a photo walk through my neighborhood in Seattle, and I can tell you from years of doing it: most of the difference between a mediocre shot and a compelling one isn’t the camera, the subject, or even the composition. It’s where the light is coming from. I spent an embarrassing amount of time early in my career placing lights directly in front of subjects and wondering why my photos looked flat and lifeless. The image was technically correct. The exposure was fine. But something was always missing, and I couldn’t name it.
That “something” is dimension, and it comes from understanding how light wraps around a subject rather than just illuminating it head-on. In this Visual Education tutorial, the instructor uses something as humble as an onion to demonstrate exactly how repositioning a single light source can transform a shot from grocery store snapshot to high-end food editorial. The lesson sounds simple. The results are genuinely striking.
What makes this tutorial stick is that nothing else changes between the before and after shots. Same subject, same camera settings, same background. Just the light moves. That’s the whole lesson, and it’s one of those things you’ll start seeing everywhere once it clicks.
Step 1: Start With Your Subject and a Single Light Source
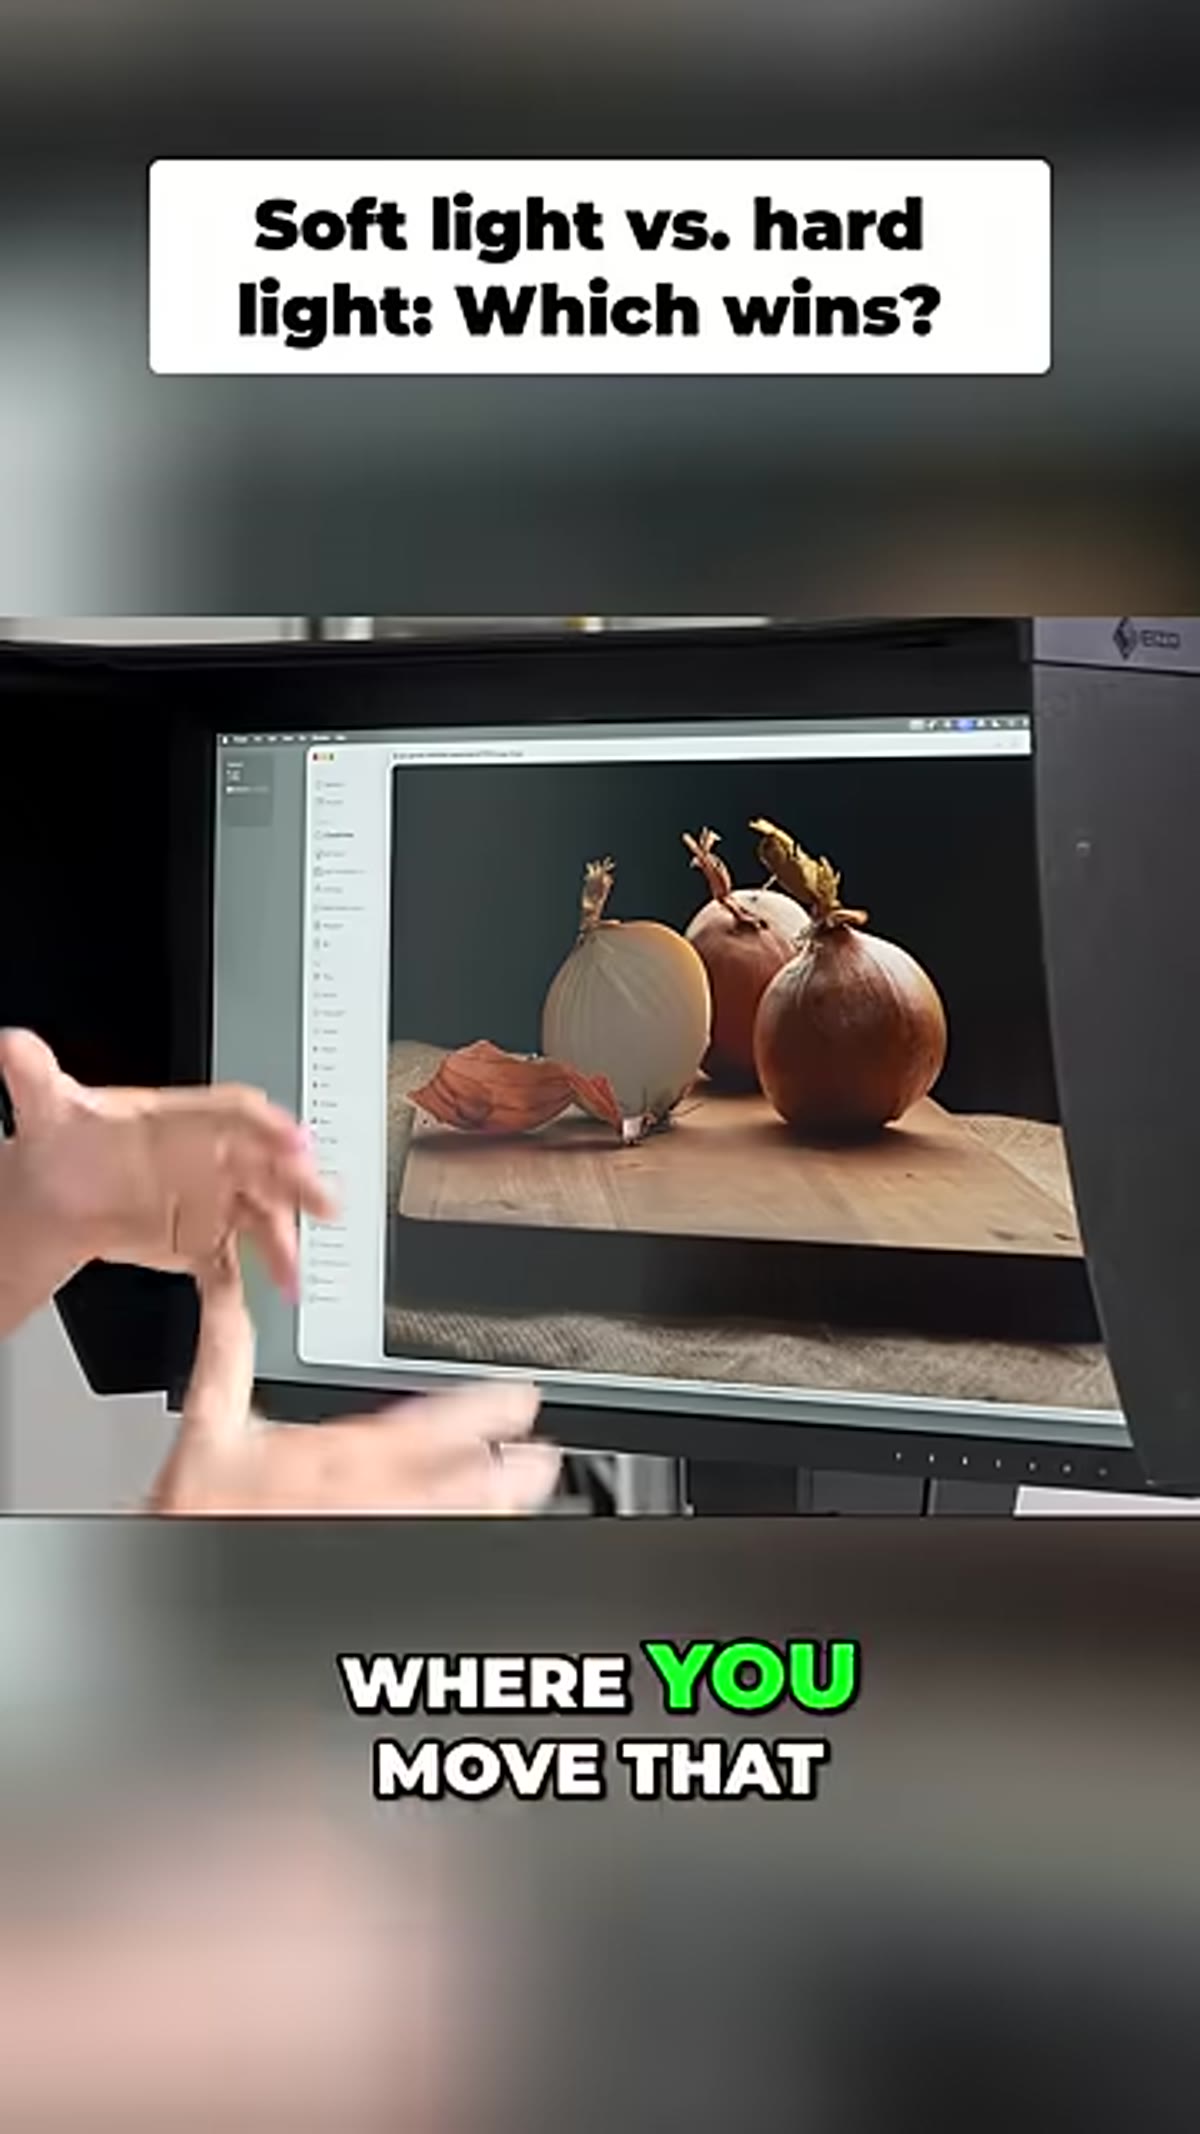 Soft light positioned in front of subject, flat result visible
Before you move anything, set up your subject and place your light directly in front of it, slightly off to one side at roughly a 45-degree angle. This is the default position most beginners use, and it works fine for product shots where clarity is the only goal. Take a test shot here so you have a reference point. You want to see what “before” looks like so the improvement is obvious to you when you compare.
Soft light positioned in front of subject, flat result visible
Before you move anything, set up your subject and place your light directly in front of it, slightly off to one side at roughly a 45-degree angle. This is the default position most beginners use, and it works fine for product shots where clarity is the only goal. Take a test shot here so you have a reference point. You want to see what “before” looks like so the improvement is obvious to you when you compare.
If you’re working with a continuous light, a window, or even a large reflector, the same principle applies. The specific tool matters less than understanding the angle. A bright window on a cloudy day is essentially a large soft light source, and you can use it for this exact exercise.
Step 2: Identify the Difference Between Hard and Soft Light
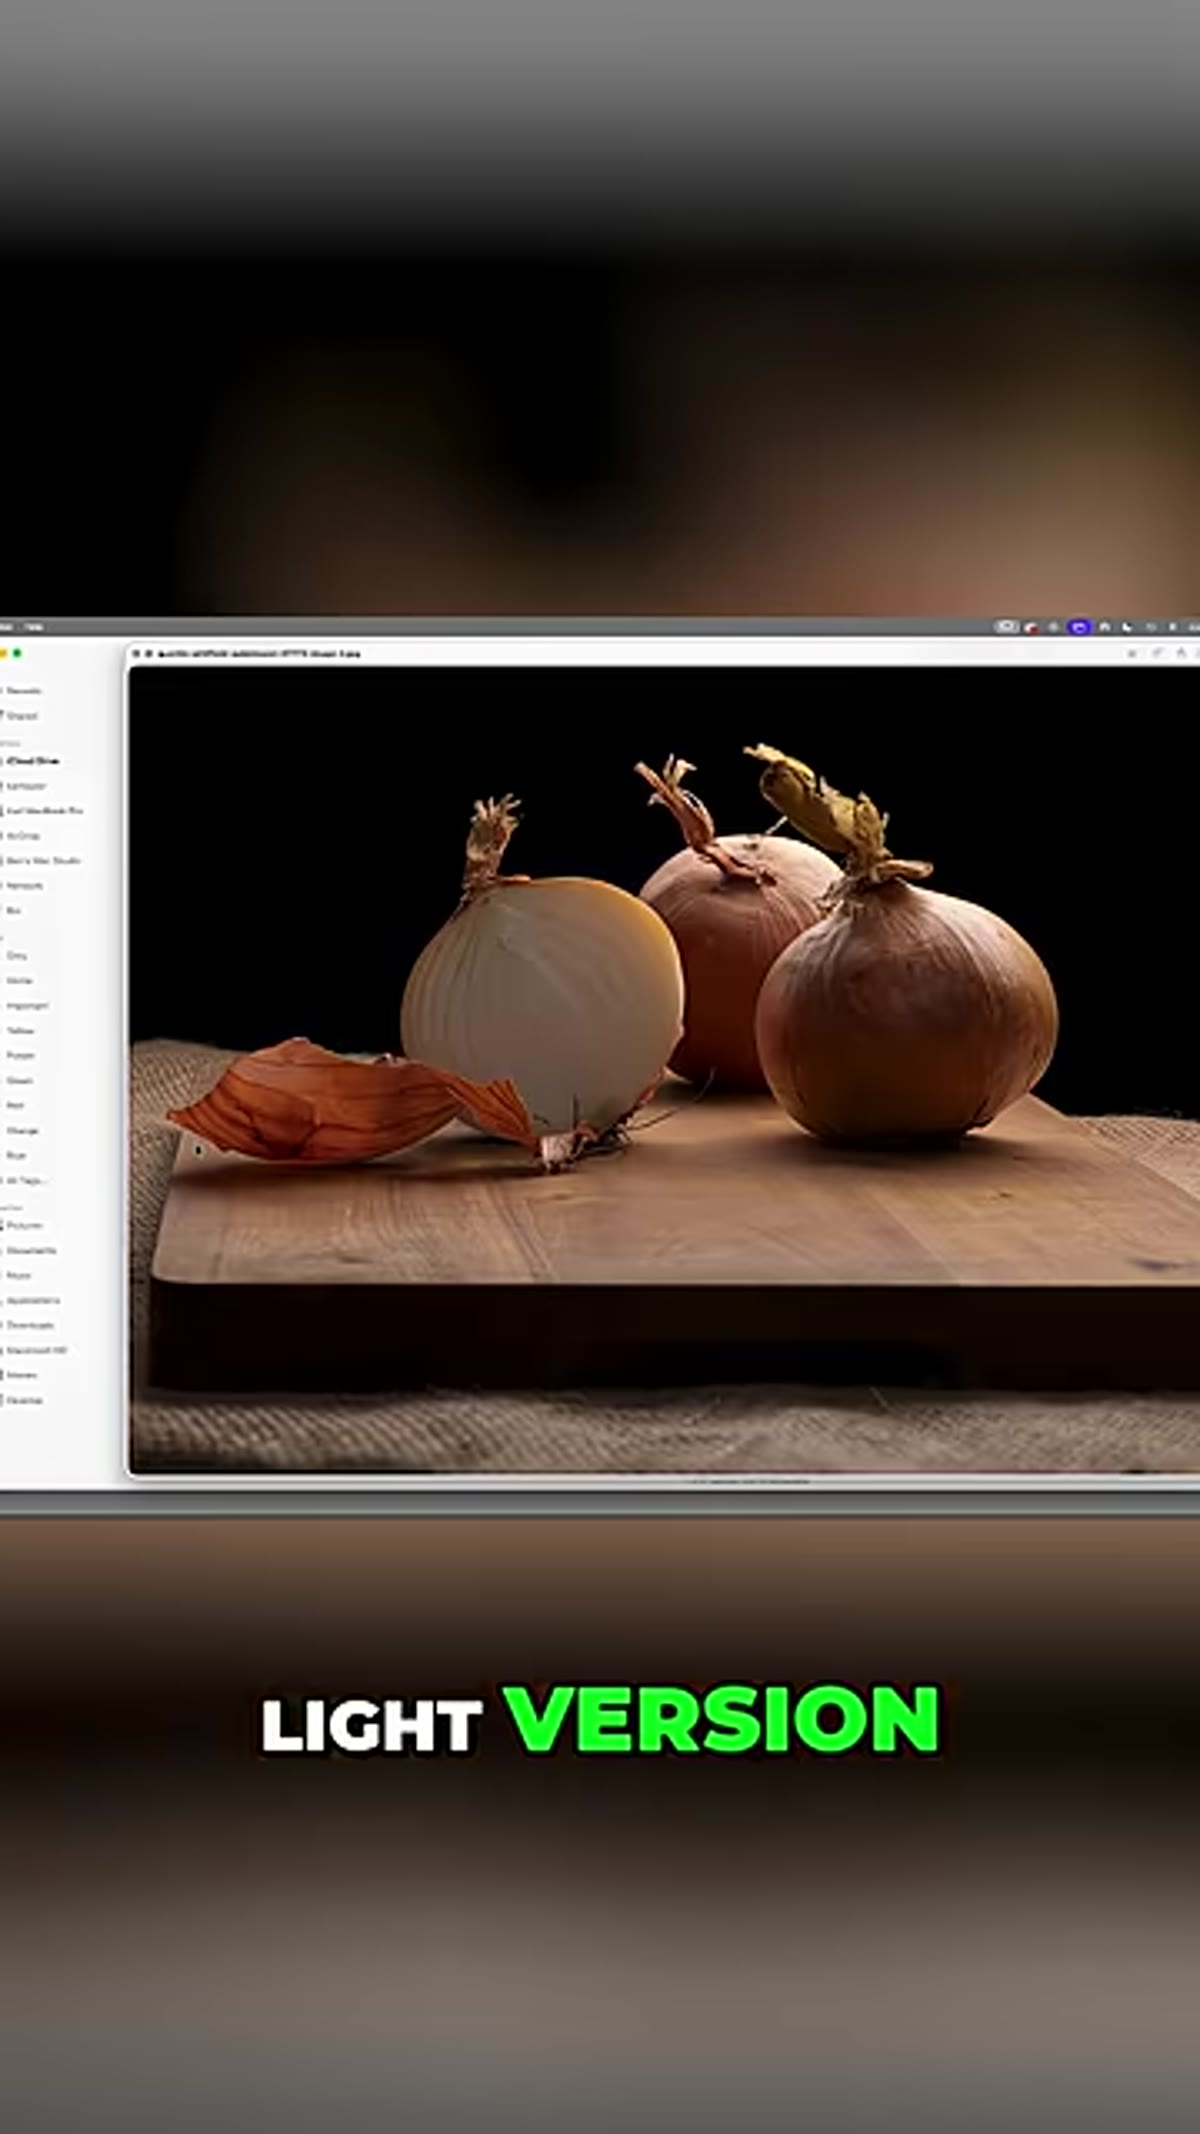 Hard light version of the shot shown on screen
Soft light comes from a large or diffused source, like a light with a softbox attached, a big window, or a reflector bouncing light indirectly. Hard light comes from a small, undiffused source and creates sharp, defined shadows. Both show up in this tutorial, and it’s worth knowing which you’re working with before you start repositioning.
Hard light version of the shot shown on screen
Soft light comes from a large or diffused source, like a light with a softbox attached, a big window, or a reflector bouncing light indirectly. Hard light comes from a small, undiffused source and creates sharp, defined shadows. Both show up in this tutorial, and it’s worth knowing which you’re working with before you start repositioning.
For most food and product photography, soft light is more forgiving and tends to produce a polished, commercial look. Hard light is more dramatic and can add a gritty or editorial quality. Neither is wrong. They’re just different tools, and the repositioning technique in this tutorial works with both.
Step 3: Move the Light Behind the Subject
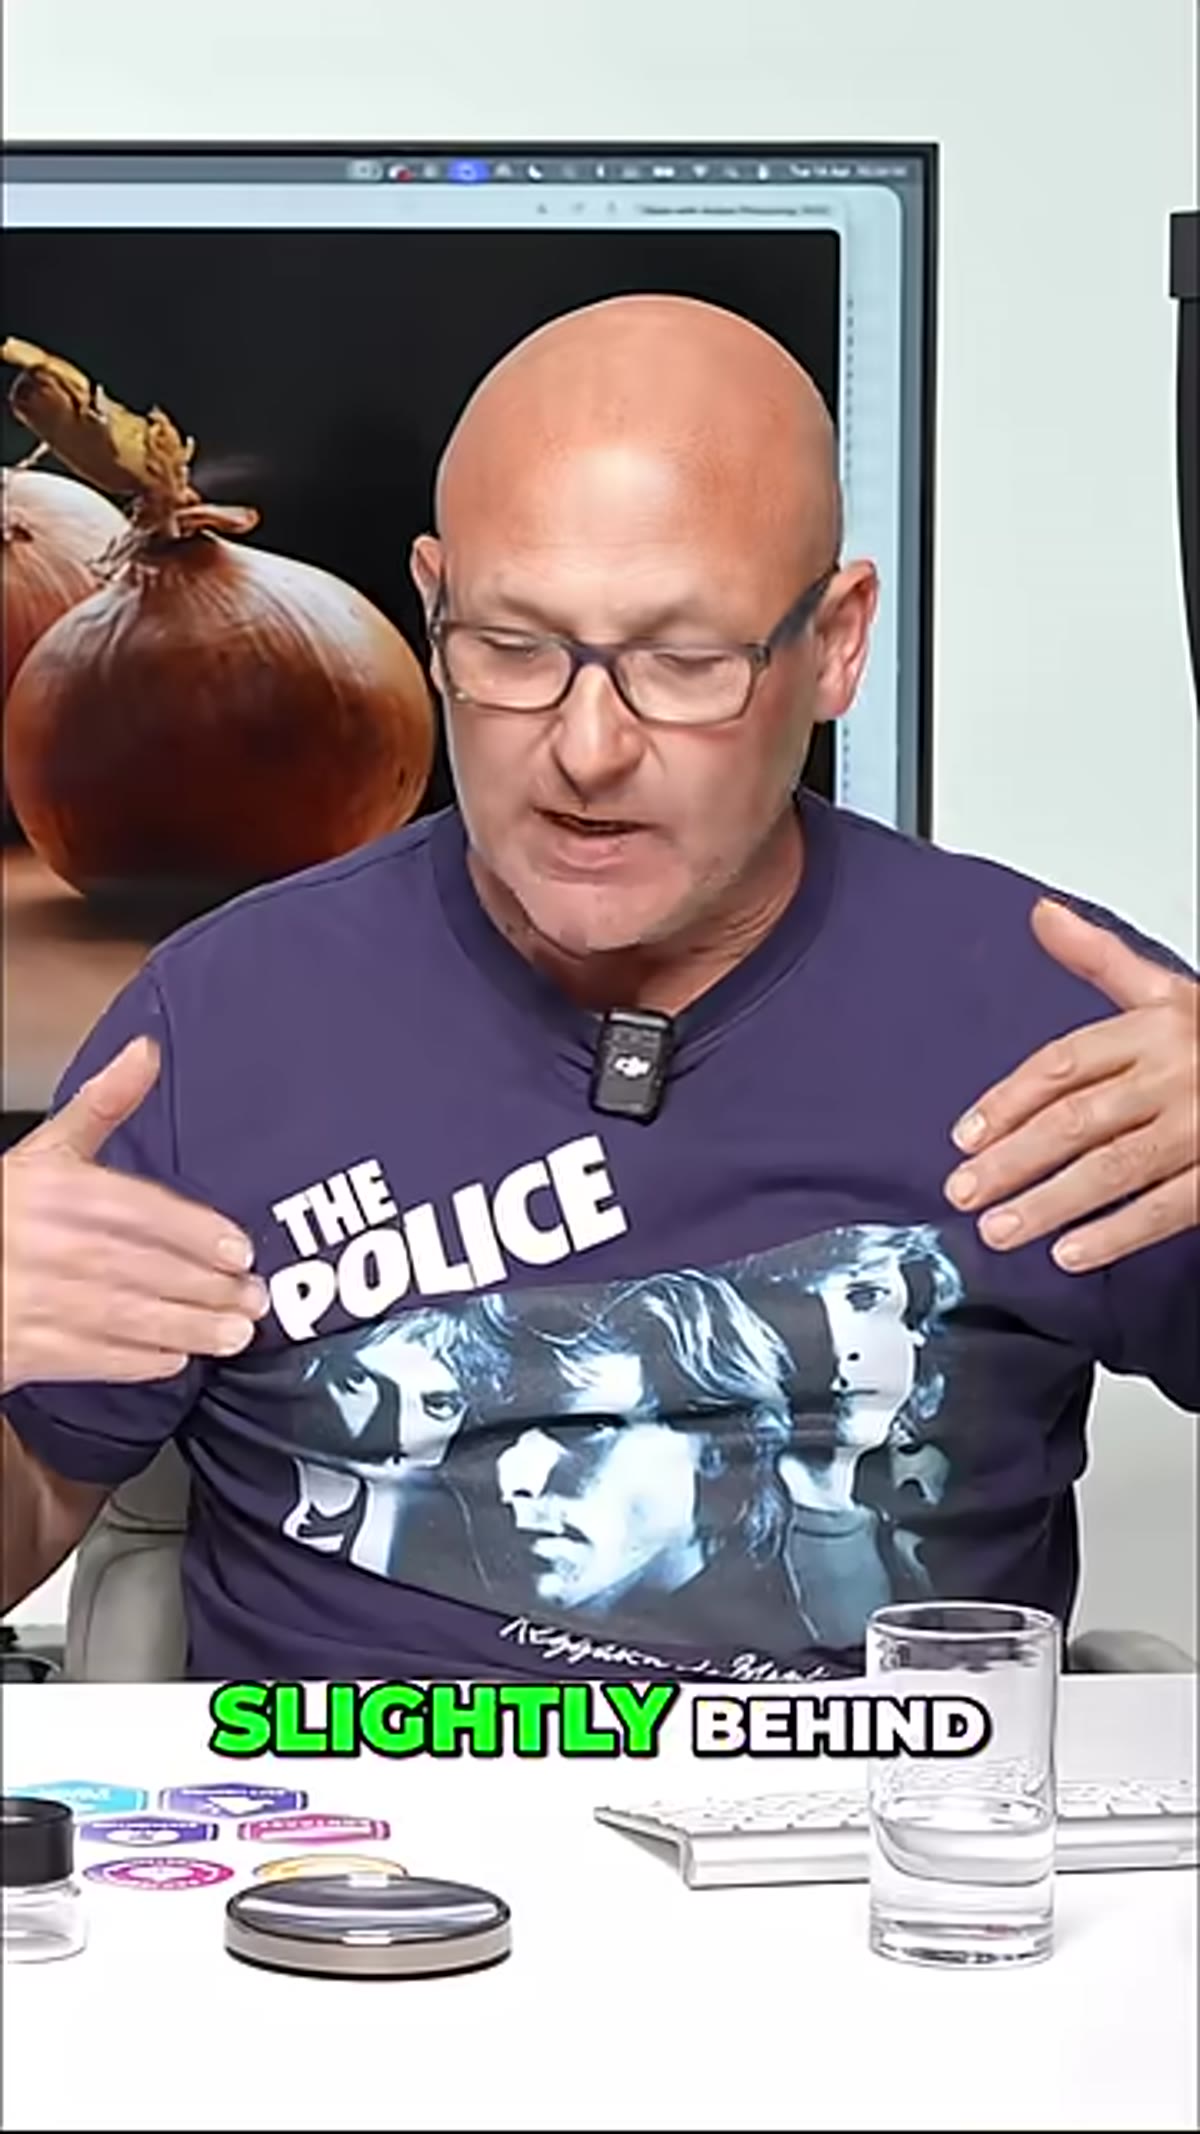 Light being moved backward, past the subject’s edge
This is the core move. Instead of keeping your light in front of the subject, slide it backward until it’s positioned slightly behind the subject’s plane, angled back toward the camera. You’re not going full backlight here, where the source is directly behind and pointing at your lens. You want the light source to be behind the subject but still angled so it wraps around the edges and catches the subject’s form.
Light being moved backward, past the subject’s edge
This is the core move. Instead of keeping your light in front of the subject, slide it backward until it’s positioned slightly behind the subject’s plane, angled back toward the camera. You’re not going full backlight here, where the source is directly behind and pointing at your lens. You want the light source to be behind the subject but still angled so it wraps around the edges and catches the subject’s form.
Think of it like the light is hugging the subject from behind rather than facing it head-on. For a round object like an onion, you’ll see the light catch the curves and create a gradient from highlighted edge to shadowed center. That gradient is what creates the perception of three-dimensional shape.
Step 4: Watch How Shadow and Highlight Create Form
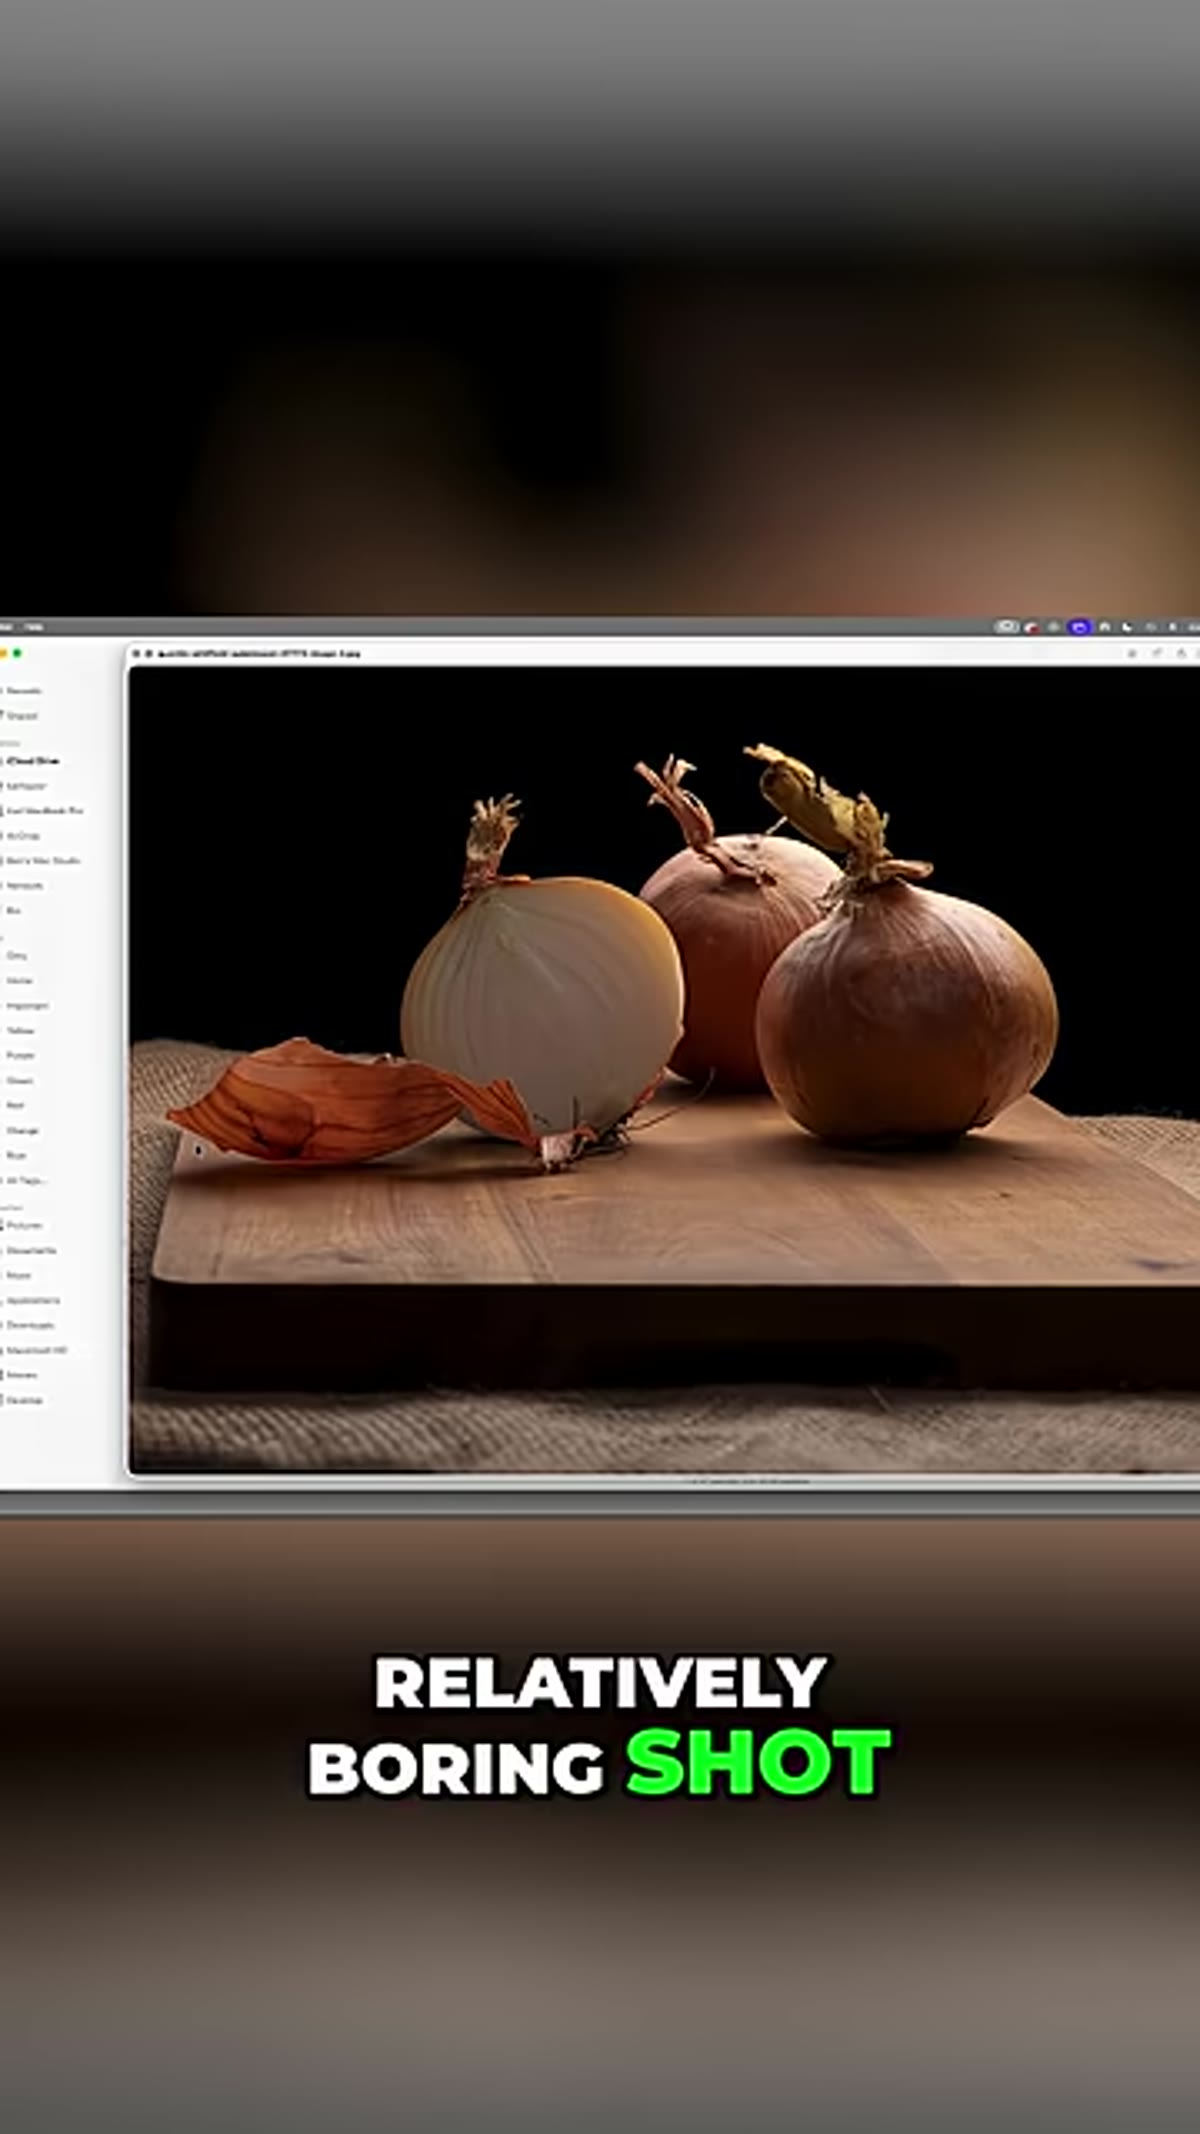
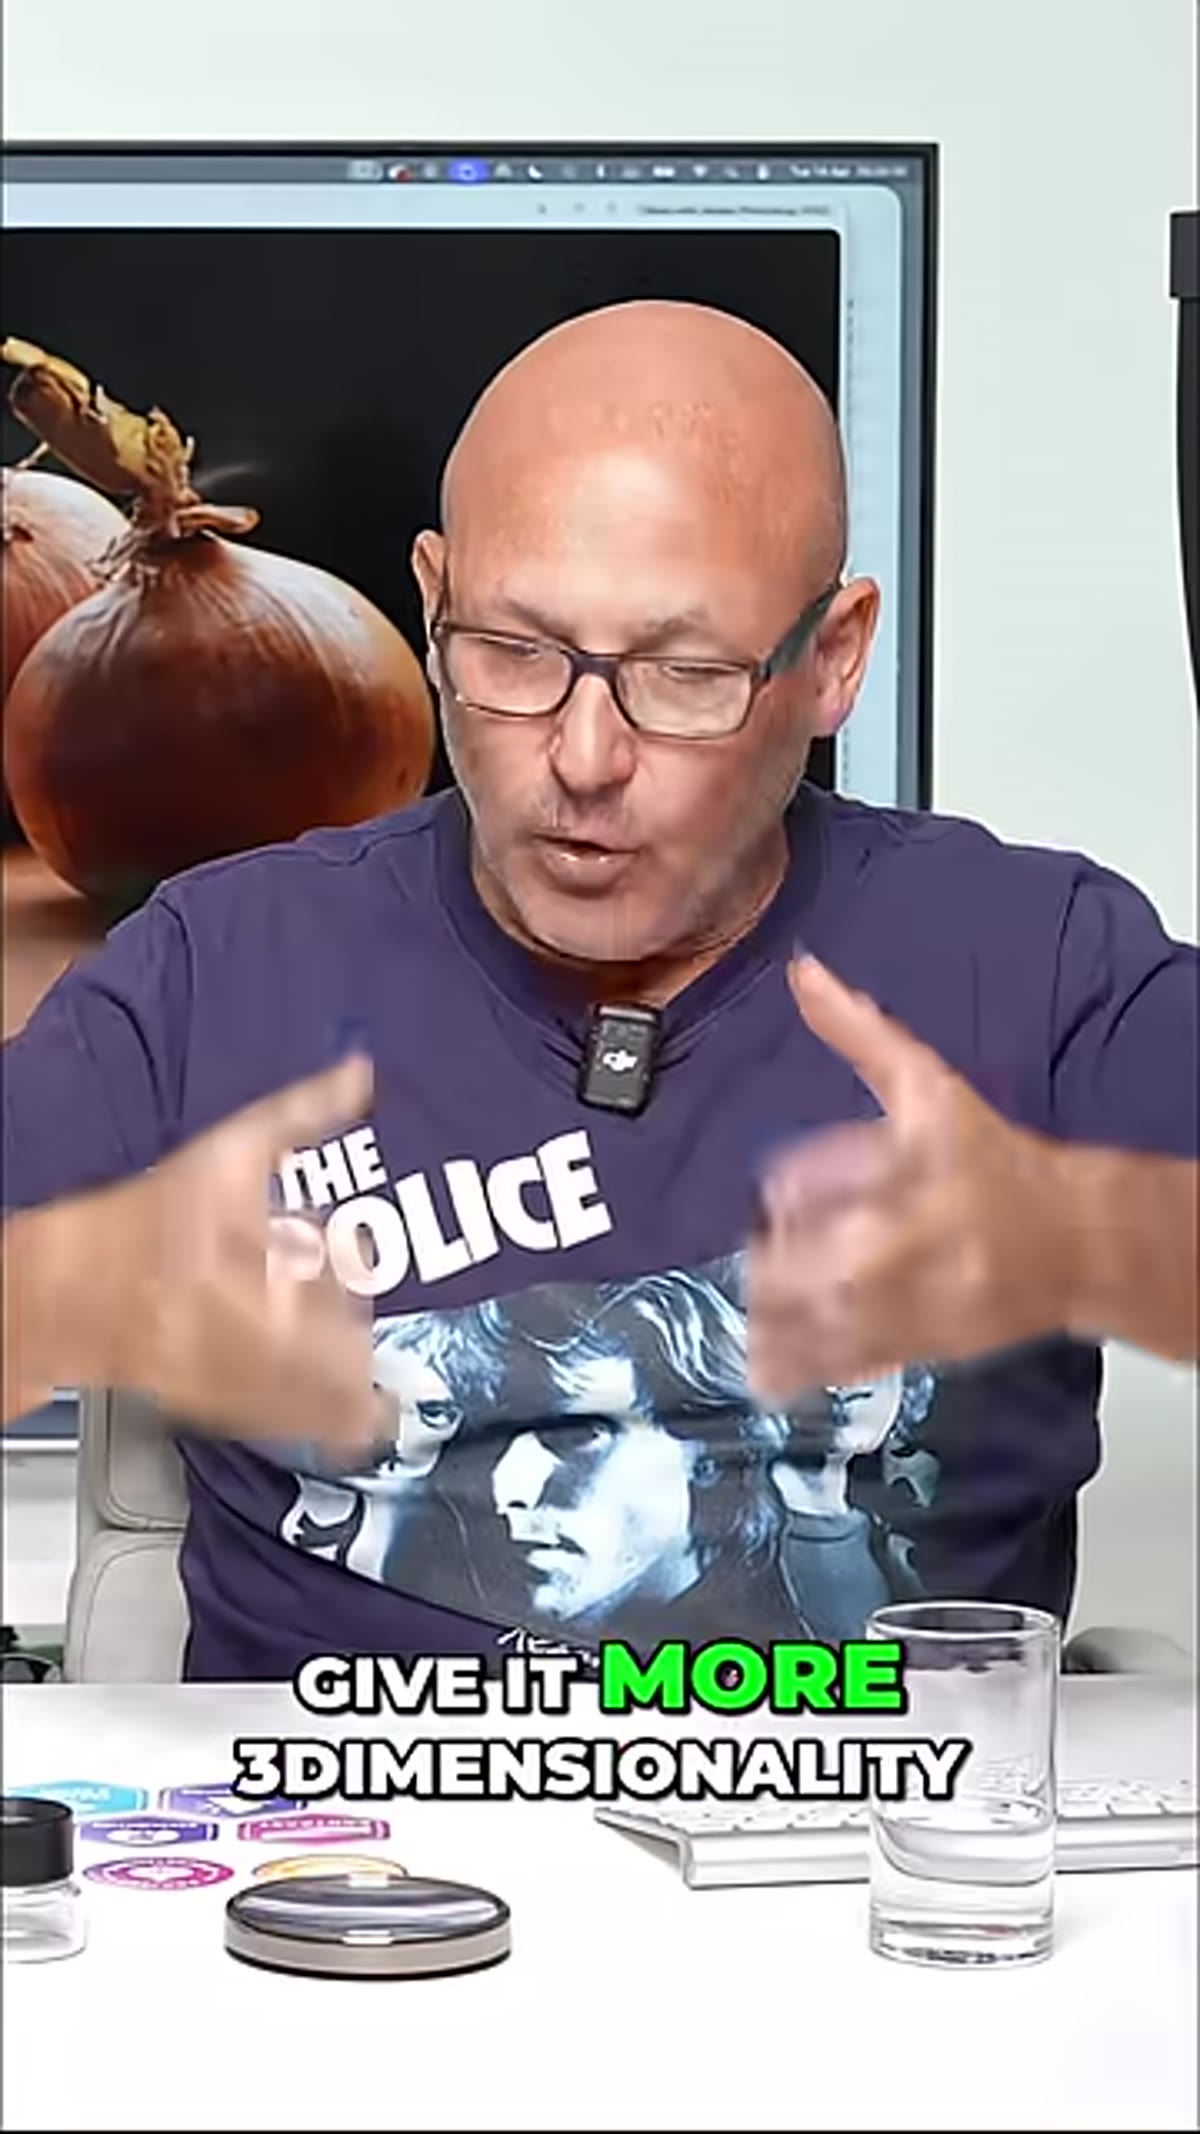 Light behind subject showing shape, structure, and dimension
Once the light is repositioned, look at how the shadows fall across the subject. The side of the subject facing the camera will be in relative shadow, while the edges will catch the light. This is called rim lighting when it’s pronounced, but in the softer version shown in this tutorial, it reads more like natural depth, the kind of shape you’d see in a well-lit still life painting.
Light behind subject showing shape, structure, and dimension
Once the light is repositioned, look at how the shadows fall across the subject. The side of the subject facing the camera will be in relative shadow, while the edges will catch the light. This is called rim lighting when it’s pronounced, but in the softer version shown in this tutorial, it reads more like natural depth, the kind of shape you’d see in a well-lit still life painting.
This is the quality that makes something look expensive or high-end in a photo. Flat front lighting removes shadow and removes the sense of volume. Rear-angled lighting restores it. The subject starts to look like a real, physical object with weight and texture rather than a graphic on a white background.
Step 5: Compare Both Versions and Commit
 Before and after comparison of flat vs. dynamic shot
Pull up both shots side by side on your screen. The front-lit version will look fine, but probably a little clinical. The rear-angled version should look immediately more interesting, even if you can’t articulate why at first. That “why” is the dimension you just added by understanding where your light is coming from.
Before and after comparison of flat vs. dynamic shot
Pull up both shots side by side on your screen. The front-lit version will look fine, but probably a little clinical. The rear-angled version should look immediately more interesting, even if you can’t articulate why at first. That “why” is the dimension you just added by understanding where your light is coming from.
The instructor’s point here is worth repeating in your own practice: nothing else changed. If the rear-lit version looks dramatically better, all of that improvement came from moving the light. That’s the argument for spending time learning lighting before spending money on gear.
What I’d Add From My Own Practice
I’ve used this exact technique with a phone and a $15 clip-on LED panel, sitting at my kitchen table, and gotten shots that look like they belong in a food magazine. The gear isn’t the barrier. The understanding is.
One thing the tutorial doesn’t explicitly cover is how to handle the shadow on the camera side of the subject once you move the light behind it. Depending on your setup, the front of your subject can go quite dark. A small reflector card, even a folded piece of white foam board, placed just out of frame on the camera side bounces a small amount of fill light back onto the subject and keeps the shadows from going completely black. It’s a two-second addition that gives you more control over how much dimension you want versus how much shadow you can live with. I keep a piece of foam board in my bag specifically for this.
The single biggest takeaway here is that light position does more for image quality than almost any other variable in your control. Moving a light behind your subject adds shape, depth, and that hard-to-define quality that makes people stop scrolling. You don’t need a studio, a professional kit, or an interesting subject. An onion will do.
Watch the full tutorial on YouTube to see the before-and-after comparison in motion. Seeing the light shift in real time makes the whole concept land even faster.
Comments (2)
The before and after really sells it. Incredible difference.
Couldn't agree more. I've seen this make a huge difference in retouching work specifically.
Leave a Comment