There’s a specific frustration I know well: you’ve got your studio light positioned, your subject is ready, and the image looks just a little too flat. Not wrong, exactly, but not right either. The contrast isn’t there. The light feels like it’s wrapping too gently around everything and the shot has no edge to it. I spent an embarrassing amount of time early in my career adding contrast in post when the fix was actually in how I was physically positioning the light source. That’s the kind of thing a good live demo can teach you in two minutes that a textbook never quite lands.
In this Visual Education tutorial featuring Karl Taylor at shootLDN, there are two distinct moments worth unpacking: a quick but telling demonstration of how light column position changes the character of your light, and a genuinely fascinating interview with architectural photographer Sean Comboy about mounting a Hasselblad digital back onto a Linhof Techno view camera. Watch the full tutorial on YouTube before or after reading, depending on how you like to learn. Both approaches work.
The two segments might seem unrelated, but they share a core idea: small, deliberate adjustments to your setup have outsized effects on the final image. Whether you’re nudging a studio light or applying a tilt movement to correct perspective on a 60-megapixel sensor, the principle is the same. Control the tool, don’t just operate it.
Step 1: Lock in Your Exposure Before Touching the Light
 Karl Taylor confirming aperture and shutter speed settings on camera
Before Karl makes any adjustment to the light, he confirms his baseline exposure. He’s working at f/5.6 with a shutter speed of 1/250th of a second. That shutter speed is not arbitrary. It’s fast enough to effectively kill any ambient light in the room, so the only light contributing to the exposure is the controlled studio light. This matters because if ambient light is leaking in, you lose the ability to judge your lighting ratio accurately.
Get this locked in first. If you’re shooting with studio strobes, set your shutter speed at or below your sync speed (typically 1/200th or 1/250th on most cameras) and treat your aperture as your exposure control. Your flash power controls the brightness of the subject. This separation of controls is what gives you precision.
Step 2: Confirm Your Background Light Separately
 Background light setup visible behind subject in studio
Karl mentions that the background light is already dialed in correctly for his aperture. This is a step a lot of beginners skip entirely. They set up one light and forget that the background is a separate exposure decision. If your background light is too bright, it’ll blow out or compete with your subject. Too dark and it goes murky.
Treat your background light as its own problem to solve before you start working on your main light. Fire a test shot with only the background light active, check your histogram, and get it where you want it. Then introduce your key light. Working in isolation before combining sources saves a lot of guesswork later.
Step 3: Adjust the Column Position to Change Light Hardness
 Karl Taylor adjusting the column position on the studio light
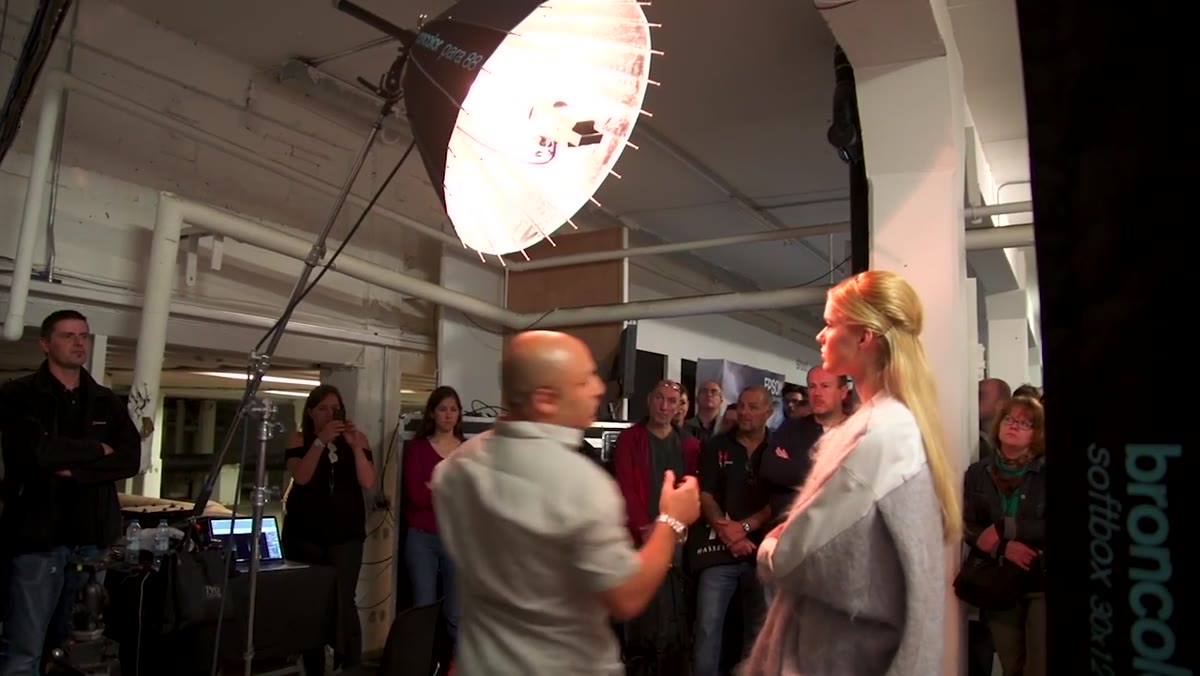
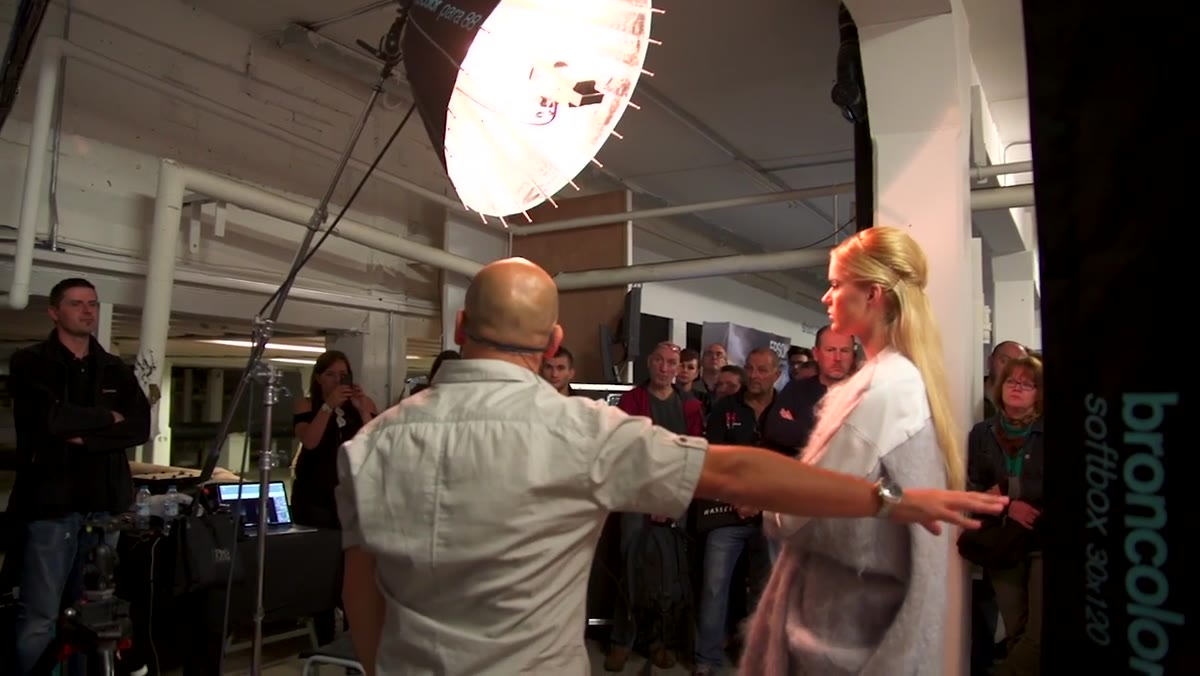
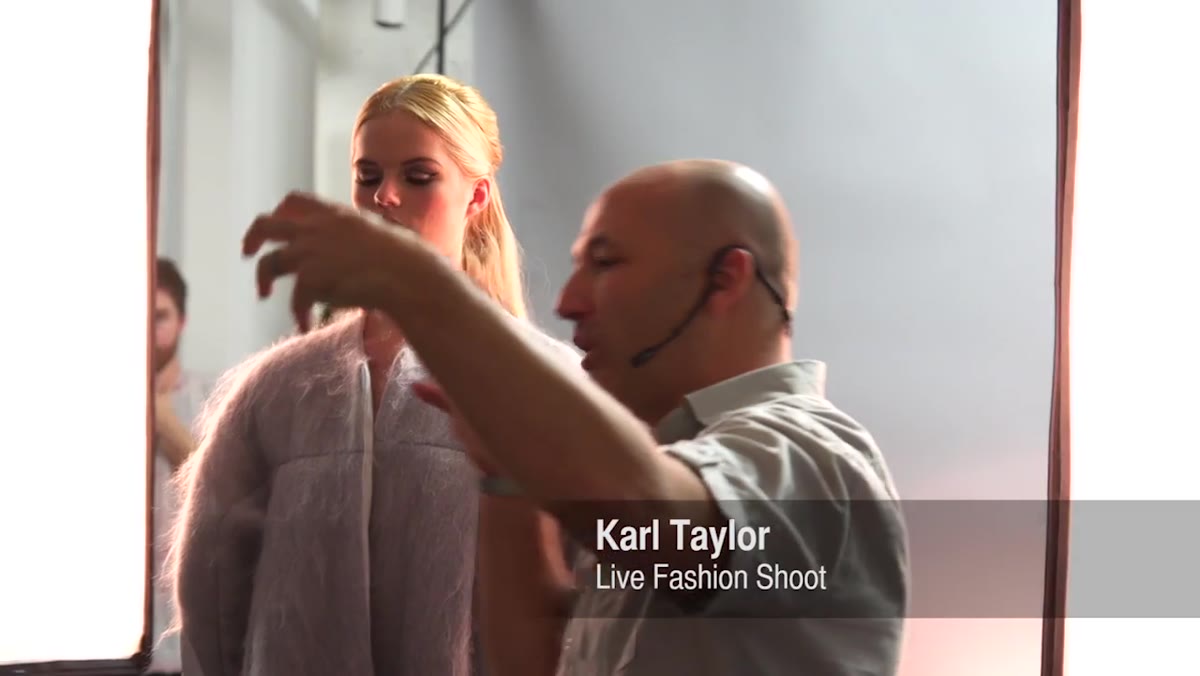
Here’s the specific technique Karl demonstrates: he adjusts the column position on his light, moving it to increase the hardness of the light output. This is a less obvious control point than simply swapping a modifier. The position of the light source relative to the subject, and specifically how it’s oriented on its column, affects whether the light wraps softly or strikes with harder contrast.
Moving the light so it creates a tighter, more direct angle increases the lighting ratio, meaning the difference between your highlights and shadows grows. The result is a more contrasty, defined image. If you want to try this in your own studio, make a single positional change and shoot a test frame before making any other adjustment. Isolate the variable so you can actually see what that one change does.
Step 4: Bump the Power After Repositioning
 Hand adjusting flash power dial upward by two clicks
After repositioning the light, Karl increases the power by a couple of clicks. This is expected because changing the angle or distance of a light changes how much of its output reaches the subject. A harder, more directional angle often requires a slight power increase to maintain the correct exposure.
Don’t assume your settings carry over when you physically move a light. Fire another test shot, check your exposure, and make a small power adjustment if needed. Two clicks on most monolights is a meaningful change, so go incrementally rather than jumping.
Step 5: Mount the Digital Back to the View Camera Using an Adapter Plate
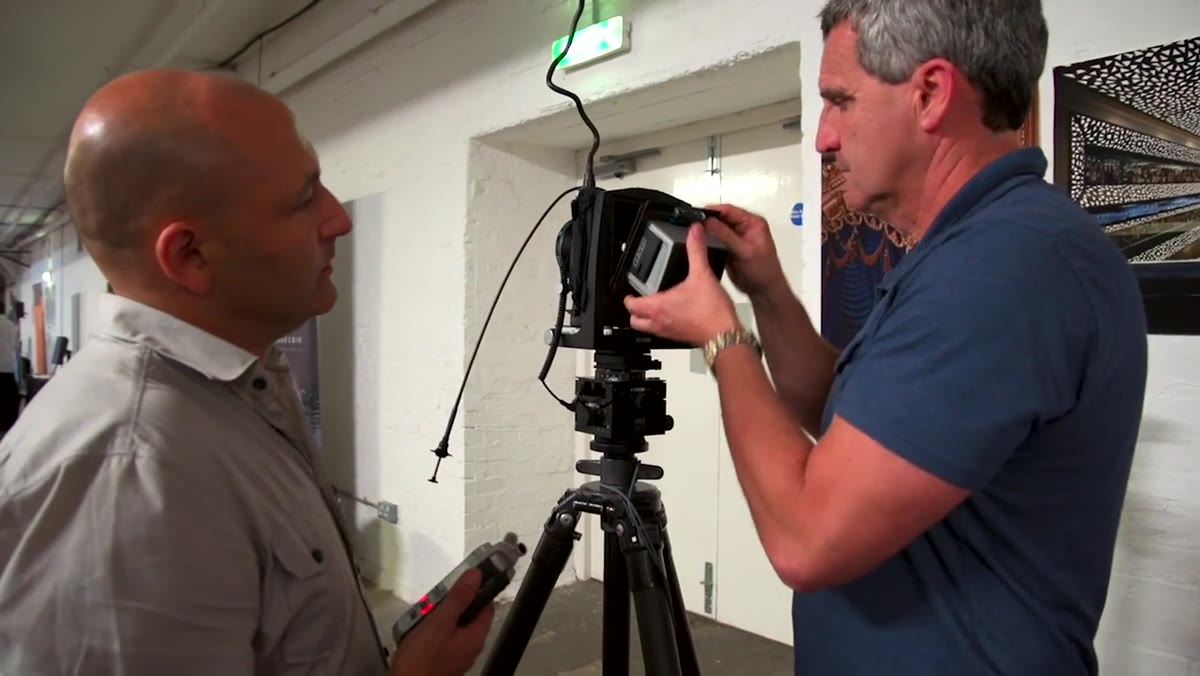 Sean Comboy attaching Hasselblad back to Linhof Techno via adapter plate
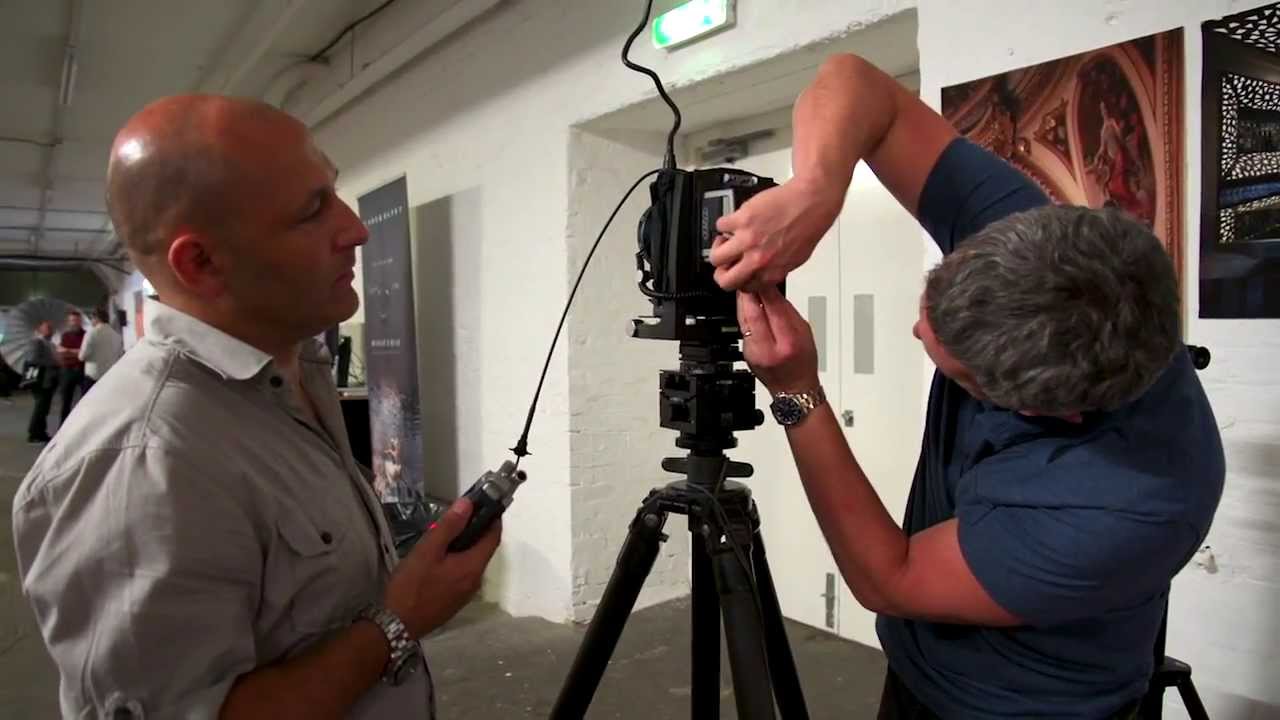
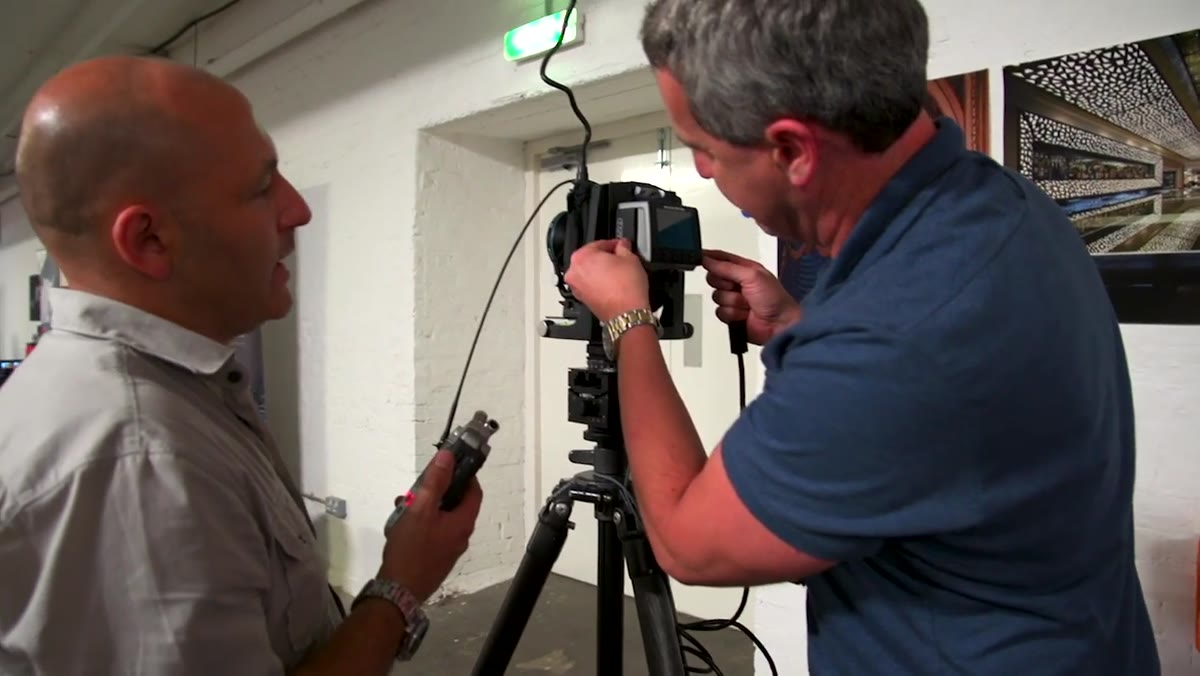
In the second segment, architectural photographer Sean Comboy walks through how he removes the Hasselblad digital back from an H5 body and attaches it directly to a Linhof Techno view camera using a dedicated adapter plate. The Linhof Techno is designed to accommodate digital backs at a scale suited to sensors rather than 4x5 film, so the engineering tolerances are tight enough that image quality doesn’t suffer at the edges.
The practical takeaway here is that digital backs are modular. If you’re shooting architectural work and need perspective control beyond what a tilt-shift lens gives you, this is a legitimate professional workflow. The adapter plate is what makes the connection possible, and Sean connects the flash sync cable at this stage so the view camera can communicate a trigger signal to the back.
Step 6: Shoot Tethered for Live Composition on a View Camera
 Laptop connected via FireWire cable showing live view from camera
Sean shoots tethered via a FireWire cable to a laptop, which gives him a live view feed that he uses for composition. This is especially important when the camera is physically inaccessible, like when it’s sitting flat on the floor of a building looking straight up at a ceiling. You can’t put your eye to a viewfinder in that position. The laptop screen becomes your viewfinder.
He overlays a grid on the live view to use the shift movements on the Linhof to align the composition symmetrically. This is how you get those perfectly converging architectural lines without fixing them in post. If you aren’t shooting tethered for studio or architectural work, you’re doing extra work in Lightroom that the camera could have handled for you during the shot.
What I’d Add: This Workflow Applies Even Without the Fancy Gear
I’ll be honest, most of us are not attaching Hasselblad backs to Linhof cameras on a Tuesday morning. But the underlying discipline here maps directly onto more accessible setups. I’ve started shooting architecture and interiors tethered to my laptop even with a mid-range mirrorless camera, and the grid overlay alone changed how accurately I compose symmetrical shots. The perspective control isn’t there the way it is with a view camera, but the composition discipline absolutely is.
The lighting segment translates even more directly. Column position is something I now adjust before I touch any other control when I’m not happy with the contrast in a shot. It’s faster than swapping modifiers and often exactly what the image needed.
The biggest thing I took from this tutorial is something simple but easy to forget: adjust one variable at a time, test it, then move on. That’s true whether you’re moving a studio light a few inches or attaching a 60-megapixel sensor to a 100-year-old camera design. Precision isn’t about expensive gear, it’s about knowing what each change does before you make the next one.
Watch the full tutorial on YouTube to see both demonstrations in real time. Watching Karl make that power adjustment and seeing the light change is worth more than any description of it.
Comments (2)
Never thought of approaching it this way. Really creative.
I keep coming back to this article. It's that useful.
Leave a Comment