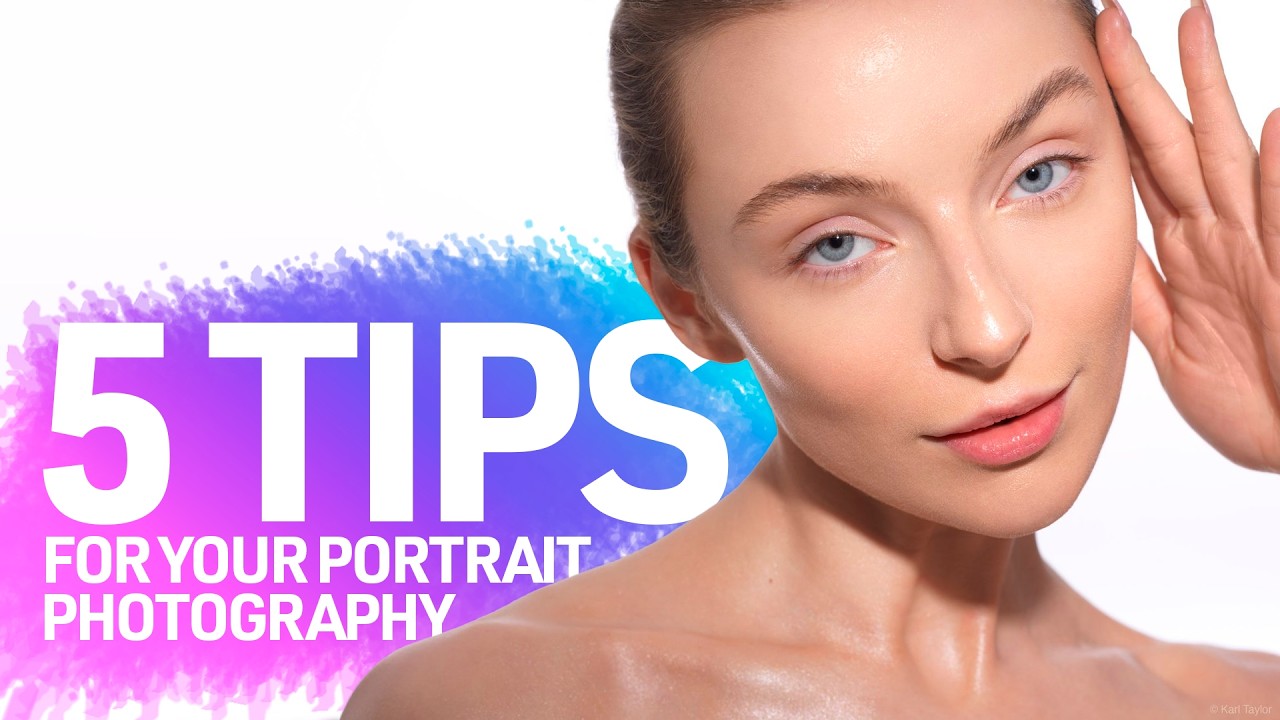
Portrait sessions used to make me genuinely nervous — not because of the camera settings, but because of everything happening on the other side of the lens. I’d spend so much mental energy on my lighting ratios that by the time my subject arrived, I was distracted and they could feel it. The photos showed it too. Stiff expressions, guarded eyes, that unmistakable look of someone who just wants to get it over with.
That changed when I started paying as much attention to the experience I was creating as the exposure I was dialing in. In this Visual Education tutorial by Karl Taylor, he lays out five portrait photography principles that I wish someone had handed me in my first year of shooting people. Watch the full tutorial on YouTube — then come back here for the breakdown.
What I appreciate about Karl’s approach is that it’s less about gear and more about intention. These are the kinds of lessons you usually only absorb after years of trial and error. Let’s walk through each one.
Step 1: Make Your Subject Comfortable Before You Even Lift the Camera
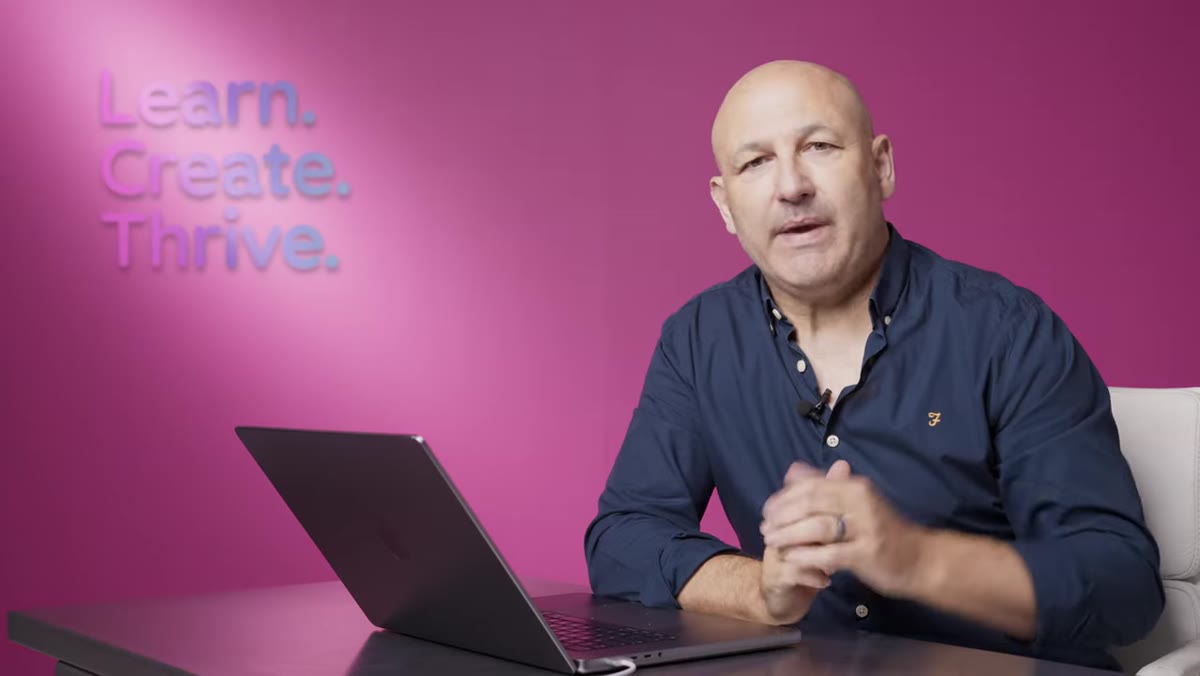
 Karl Taylor speaking to camera about subject comfort
This sounds obvious until you realize how rarely photographers actually do it. When someone walks into your studio or meets you for a shoot, they’re often more anxious than you are. They don’t know where to stand, whether their face looks weird, or if they’re being judged. Your job in the first ten minutes isn’t photography at all — it’s hospitality.
Karl Taylor speaking to camera about subject comfort
This sounds obvious until you realize how rarely photographers actually do it. When someone walks into your studio or meets you for a shoot, they’re often more anxious than you are. They don’t know where to stand, whether their face looks weird, or if they’re being judged. Your job in the first ten minutes isn’t photography at all — it’s hospitality.
Karl’s practical move here is one I’ve stolen entirely: do your lighting tests before your subject arrives, or do them on a mannequin while your subject sits somewhere comfortable. Don’t burn their emotional energy standing under hot lights while you figure out your key-to-fill ratio. Get your technical ducks in a row first, then bring them into a space that feels ready for them. Bring them into the creative process too — share your mood reference, explain what look you’re going for, tell them specifically what you love about their look that you want to capture. That last part especially makes people relax in a way that nothing else does.
Step 2: Choose Your Shooting Angle With Purpose
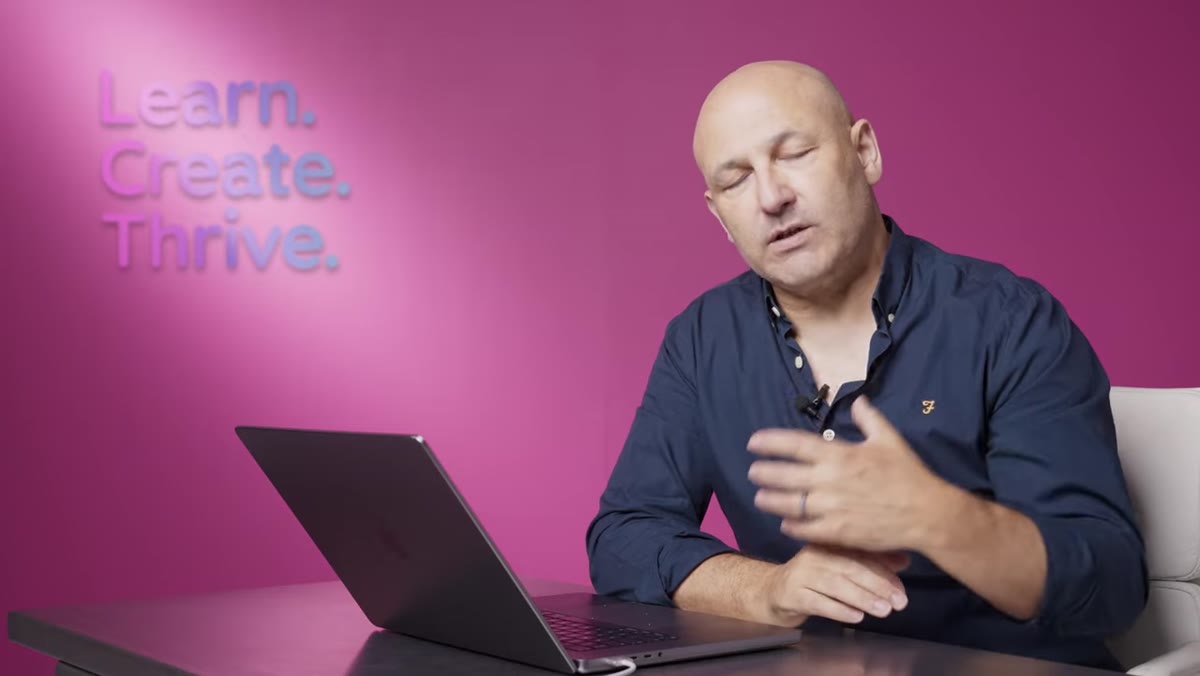
 Karl Taylor demonstrating different camera angles on subject
Camera angle is one of those controls that beginners often treat as an afterthought, adjusting it only for practical reasons like fitting someone in the frame. Karl reframes it as an emotional decision — and once you see it that way, you can’t unsee it.
Karl Taylor demonstrating different camera angles on subject
Camera angle is one of those controls that beginners often treat as an afterthought, adjusting it only for practical reasons like fitting someone in the frame. Karl reframes it as an emotional decision — and once you see it that way, you can’t unsee it.
Shooting slightly above eye level and angling down draws the subject’s gaze upward, which opens the eyes and creates a softer, more inviting expression. It’s a reliable choice for close-up beauty or lifestyle portraits. Shooting from below, on the other hand, creates presence and power — it elongates the body and gives the subject an imposing quality that works well for fashion or editorial work. Dead-on eye level tends to feel confrontational in the best possible way, which is often perfect for strong male portraits or anyone you want to convey direct confidence. Before your next shoot, decide on your angle the same way you decide on your focal length — intentionally, and with a reason.
Step 3: Lock In the Mood Before Anyone Arrives
 Karl Taylor explaining mood and emotion planning for portraits
One of the most common mistakes in portrait photography is leaving the mood vague until you’re already shooting. You end up improvising, the session loses direction, and both you and your subject feel it. Karl’s advice is to decide on the emotional quality of the image first — before the subject even walks in the door.
Karl Taylor explaining mood and emotion planning for portraits
One of the most common mistakes in portrait photography is leaving the mood vague until you’re already shooting. You end up improvising, the session loses direction, and both you and your subject feel it. Karl’s advice is to decide on the emotional quality of the image first — before the subject even walks in the door.
Are you going for vulnerable and intimate? Powerful and editorial? Warm and natural? Each of those requires different lighting, different posing direction, different everything. When you’ve made that decision in advance, every other choice becomes easier. You can brief your subject specifically: “I want you to feel like you’re about to walk into a room you own.” That’s a direction a person can actually work with. “Just look natural” is not.
Step 4: Direct With Specificity, Not Vague Requests
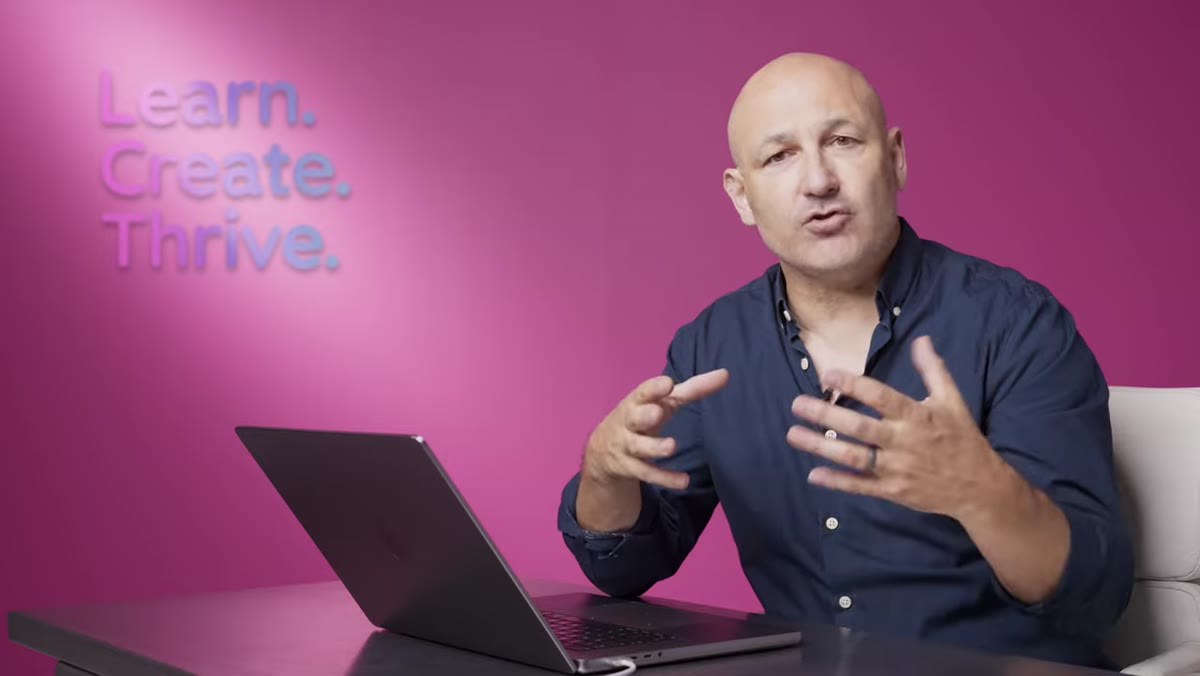 Karl Taylor directing a portrait subject during a live shoot
Connected to mood, but worth its own step: the way you communicate with your subject during the shoot changes the result more than your aperture does. Telling someone to “relax” when they’re tense is about as useful as telling someone to “calm down” when they’re upset. You need to give people something physical and specific to do.
Karl Taylor directing a portrait subject during a live shoot
Connected to mood, but worth its own step: the way you communicate with your subject during the shoot changes the result more than your aperture does. Telling someone to “relax” when they’re tense is about as useful as telling someone to “calm down” when they’re upset. You need to give people something physical and specific to do.
Karl emphasizes giving subjects clear, actionable direction — adjust the chin, shift the weight, give them a micro-movement to focus on. When people have a physical instruction, their body language opens up and the self-consciousness drops. I’ve started doing this on every shoot, even casual ones, and the difference in expression quality is immediate. A slight chin-down, a slow exhale before the frame, a specific thought to hold in mind — these are tools, not just nice ideas.
Step 5: Build the Shot Progressively, Don’t Chase Perfection From Frame One
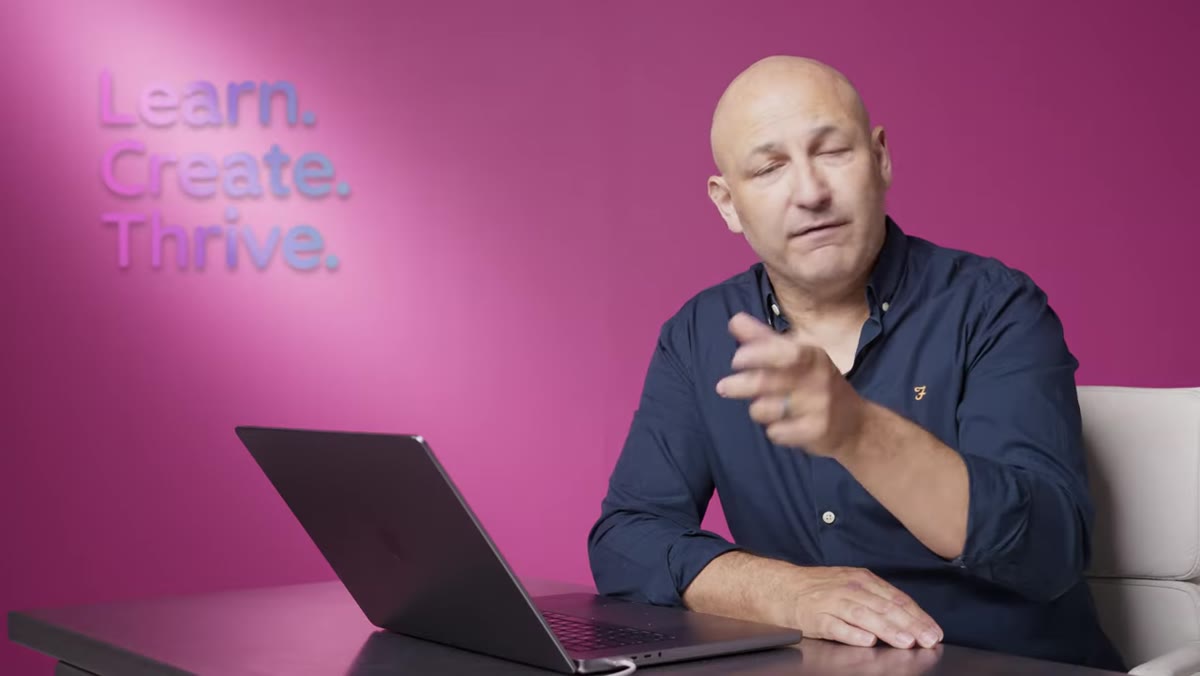 Karl Taylor reviewing images and iterating on lighting and pose
The last principle is about pacing. Karl approaches a shoot as a building process: start simpler, read what’s working, then layer in complexity as you and your subject hit your stride. Don’t walk in expecting your first frame to be your hero shot.
Karl Taylor reviewing images and iterating on lighting and pose
The last principle is about pacing. Karl approaches a shoot as a building process: start simpler, read what’s working, then layer in complexity as you and your subject hit your stride. Don’t walk in expecting your first frame to be your hero shot.
This matters practically because your subject is warming up just like you are. The best expressions and the most natural body language tend to come 15 to 20 minutes in, once they’ve forgotten to be nervous. If you’ve front-loaded all your creative pressure onto the first few frames, you’re shooting at the wrong time. Review your shots mid-session, make adjustments, give feedback to your subject so they feel the collaboration. By the time you’re getting to your more ambitious setups, everyone in the room is on the same page.
What I’d Add: The Playlist Rule
I don’t see music mentioned nearly enough in portrait photography discussions, and it’s one of the most underrated tools I use. I make playlists for different shoot moods before sessions the same way I prep my lighting. A tense, over-lit room with no sound going makes people feel like they’re in a doctor’s office. The right background music sets tone, fills silence during gear adjustments, and gives your subject something to absorb instead of staring at you anxiously. I have a folder labeled “Portrait Vibes” in my Spotify with six different playlists for different emotional targets. It costs nothing and it matters more than people think.
The throughline in everything Karl covers here is this: a great portrait is a collaboration, not a capture. Your technical skills get you in the room, but how you manage the human experience in front of your lens determines what actually ends up in the image. If I could hand one thing to a photographer who’s frustrated that their portrait work feels flat, it would be this tutorial.
Watch the full tutorial on YouTube and pay particular attention to how Karl frames the subject relationship. The lighting tips are great. That part is the real lesson.
Comments (1)
This is exactly what I needed today. Been struggling with this for weeks.
Leave a Comment