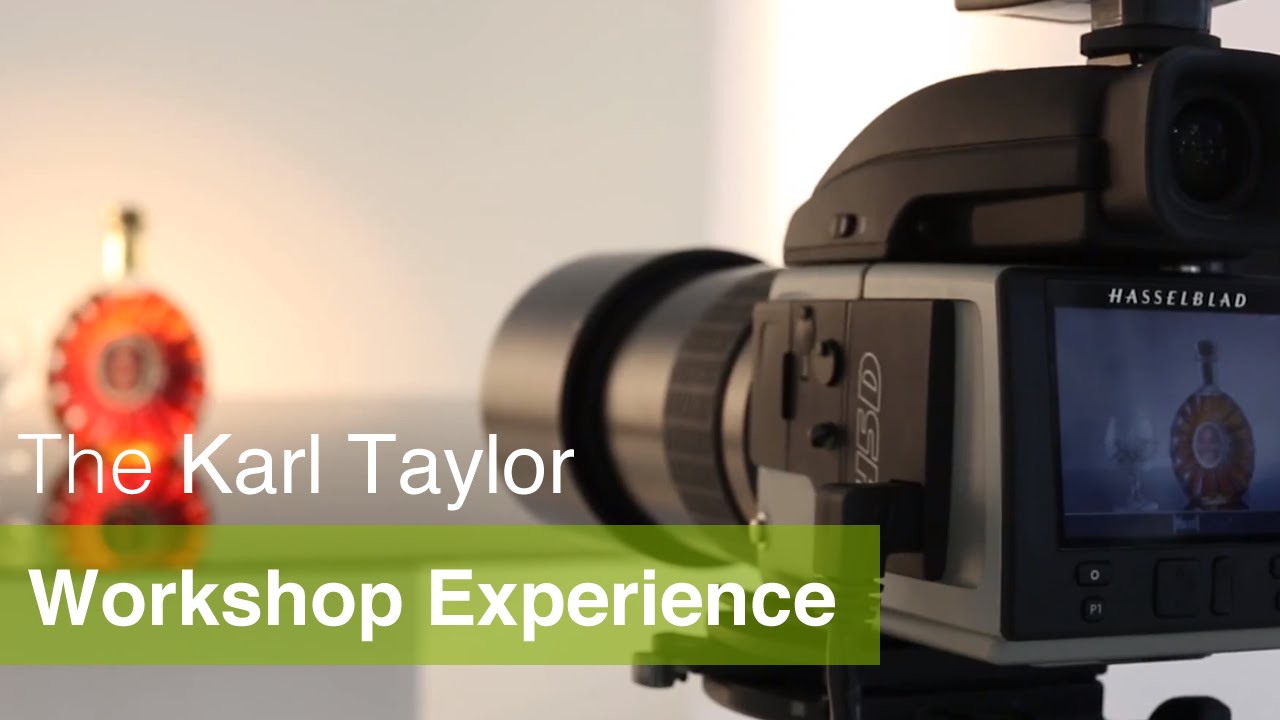
There’s a specific kind of frustration that comes from learning photography in isolation. You watch tutorials, you read forums, you practice in your living room with a lamp and a fruit bowl, and you still feel like something isn’t clicking. For me, the missing piece was almost always environment: the right equipment to experiment with, someone experienced in the room to catch your mistakes, and the ability to see your own images at scale and talk through what’s working and what isn’t. That’s not something a YouTube comment section can give you.
In this Visual Education tutorial, Watch the full tutorial on YouTube, Karl Taylor walks through his professional studio on the island of Guernsey, breaking down the physical setup behind his in-person masterclasses. On the surface it reads like a studio tour. But if you pay attention, there’s a genuine blueprint here for what structured, hands-on photography education can look like, and what to look for if you’re ever choosing a workshop for yourself.
What struck me watching this is that Karl isn’t just showing off gear. He’s making an argument about how photographers learn best. And having started my own teaching after a stranger at a coffee shop once asked me how I got a particular shot, I’ve thought about this a lot. Here’s what the video actually shows, and what each element means for your development as a photographer.
Step 1: Start with a Versatile Primary Shooting Space
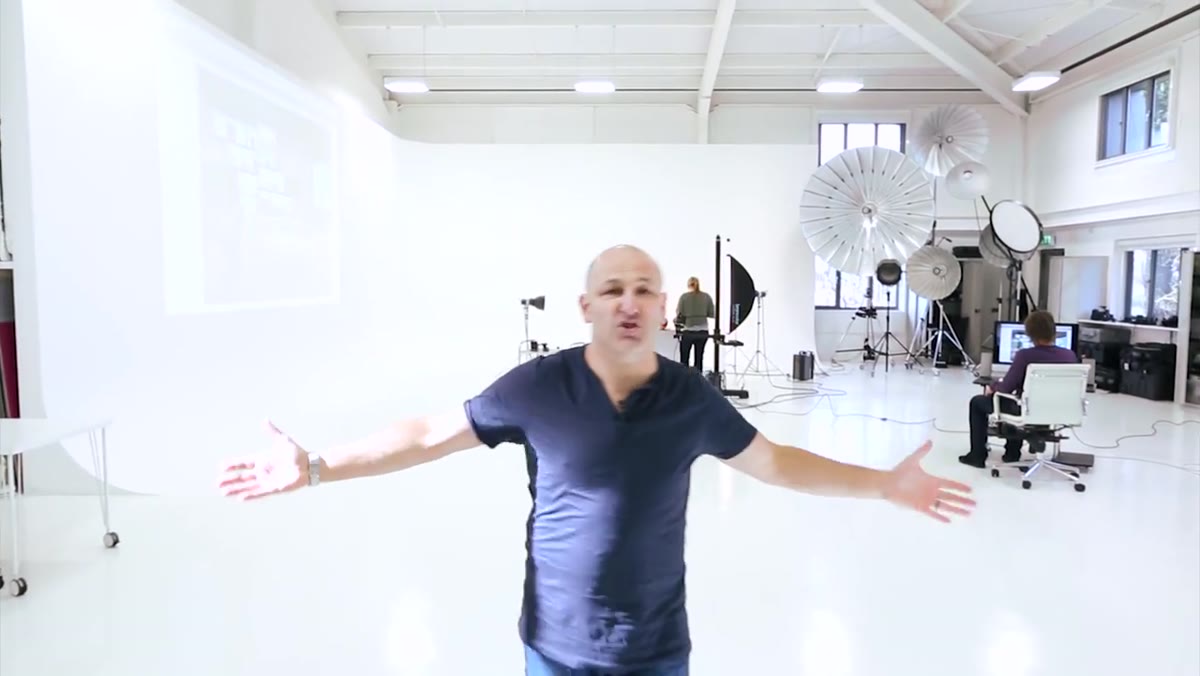 Wide shot of the studio’s main shooting floor
The foundation of Karl’s studio is a large main shooting area roughly 11 by 8 meters, fitted with a purpose-built cyclorama backdrop. A cyclorama, if you haven’t worked with one, is a seamless curved backdrop where the floor meets the wall in a continuous arc rather than a hard corner. That curve eliminates the shadow line you’d otherwise see at the base of a flat backdrop, giving you that clean, infinite-white look you see in high-end fashion and product photography.
If you’re scouting a workshop or even setting up a home studio, the size and type of backdrop matters more than most photographers realize early on. A large cyclorama gives you flexibility: fashion, full-length portraits, larger product arrangements, and even small vehicle shoots. When evaluating a workshop space, ask specifically about backdrop dimensions before you book.
Step 2: Use Secondary Shooting Areas for Focused Practice
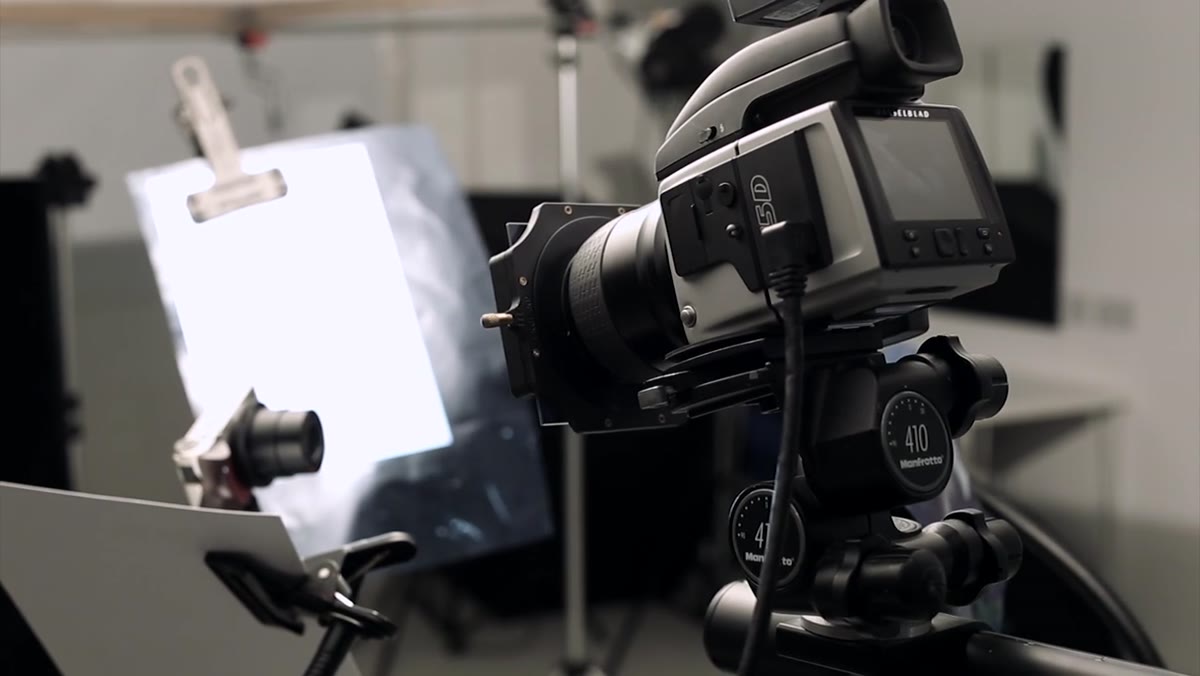 Second shooting bay with additional backdrop setup
Karl’s studio includes a dedicated second shooting area with its own backdrop, kept separate from the main floor. This isn’t a luxury detail. When you’re in a group learning environment, splitting into smaller working groups dramatically improves how much hands-on time each person gets. One group can be shooting a portrait setup while another works on product lighting without anyone waiting around.
If you’re attending a workshop, look for programs that mention breakout shooting areas or small group rotations. A class where twelve people stand behind one camera is a very different experience from one where you’re actively making decisions at the controls yourself. The ratio of students to active shooting stations is one of the most useful questions you can ask an organizer.
Step 3: Work with Professional Lighting Equipment Hands-On
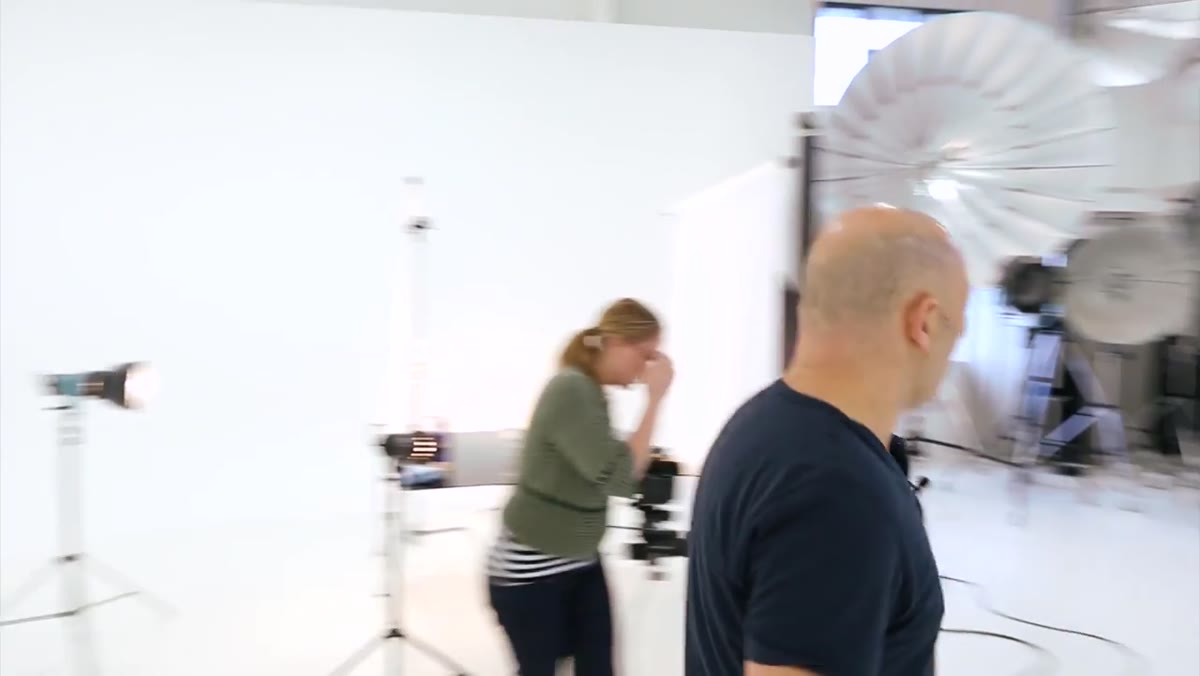 Array of studio strobes, umbrellas, and Fresnel lights
One of the clearest advantages Karl describes is access to a full range of professional lighting tools: large umbrellas for fashion work, Fresnel lights, specialized satellite dish modifiers, and a range of strobe units at different power ratings. The point he makes is an important one. You don’t need to own this equipment to benefit from learning on it. Renting professional gear is increasingly common, and knowing how to use a Fresnel or a large parabolic modifier before you rent one for a paid job is genuinely valuable.
When you’re learning lighting, variety is the teacher. Shooting the same subject with a large umbrella, then a Fresnel, then a satellite dish teaches you how light quality, spread, and directionality change the mood of an image in ways that reading about it simply cannot replicate. If you have access to a workshop with diverse modifiers, resist the urge to stick with what’s familiar. Use the session to try the things you can’t afford to own yet.
Step 4: Build Critical Eye Through Group Image Review
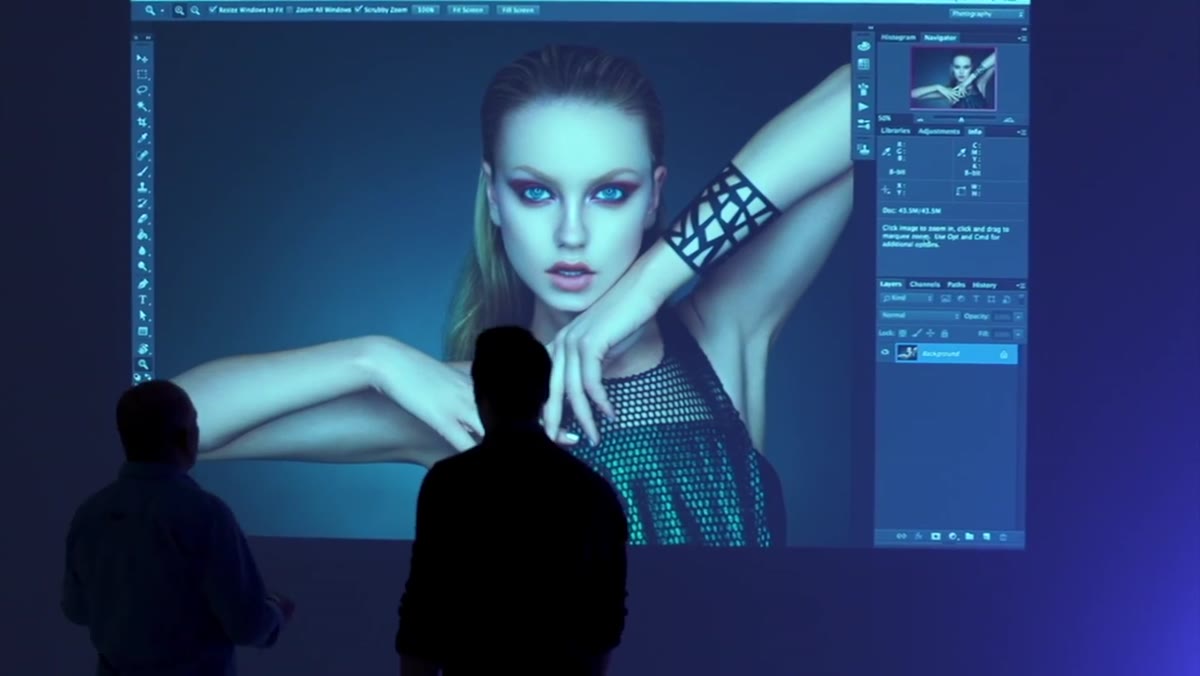 High-resolution projector illuminating a large classroom wall
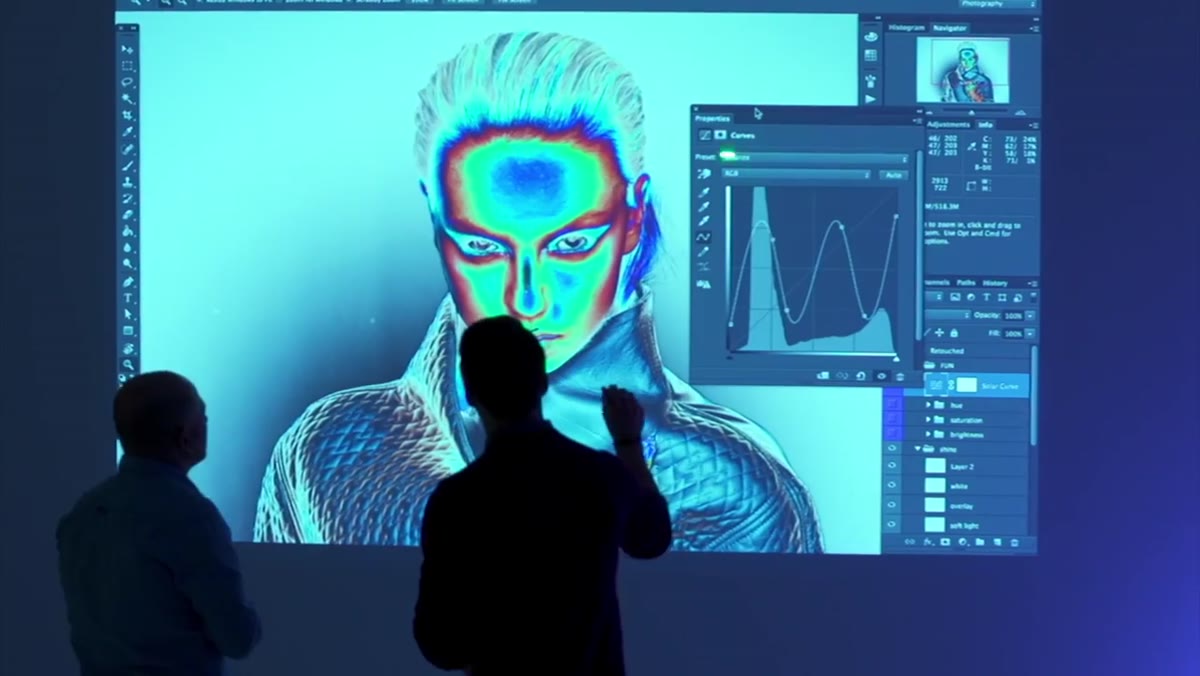
Karl highlights a high-resolution projector as a core teaching tool in the workshop space, used specifically for reviewing images at scale, conducting portfolio critiques, and analyzing the work of other photographers. This is the part of structured learning that’s hardest to replicate on your own at home.
Seeing your images projected large in a room full of other photographers is a different experience from reviewing them on a laptop. Flaws in exposure, issues with subject placement, color problems that looked minor on screen suddenly become obvious. More importantly, hearing other people articulate why an image does or doesn’t work builds your own critical vocabulary. That vocabulary is what you use when you’re shooting alone and need to make decisions in real time.
Step 5: Treat Theory Sessions as Seriously as Shooting Sessions
 Discussion area set up for group learning sessions
Alongside the practical shooting time, Karl’s workshop structure includes dedicated sessions on visualization, color theory, and the principles behind what makes a photograph compelling. Many photographers skip or undervalue the theoretical side of workshops because it feels less exciting than being behind a camera.
This is a mistake. Understanding why certain compositions feel balanced, how color relationships affect emotional tone, and what the eye naturally moves toward in a frame turns you from someone who takes good photos occasionally into someone who constructs them deliberately. Workshops that blend theory with practice close the gap between knowing what you like and knowing how to reproduce it consistently.
What I’d Add: Document the Environment, Not Just the Shots
Every time I’ve attended or taught at a workshop, I’ve noticed that participants focus almost entirely on getting portfolio-worthy images from the sessions. That’s understandable, but I’d encourage you to also photograph the setups themselves. Shoot the lighting diagram before the subject walks in. Photograph where the modifiers are positioned relative to the backdrop. Take notes on the power ratios you’re using.
Those reference images are often worth more than the hero shots. Six months later, when you’re trying to recreate a similar look, you’ll be glad you have them. I keep a folder on my phone specifically for setup documentation, and it’s become one of the most-used resources in my own shooting practice.
The single most important idea in this tutorial is one Karl doesn’t spell out directly but demonstrates clearly: the environment you learn in shapes how fast you improve. Equipment you can actually touch, images you can review at scale, peers who push your thinking, and enough space to try and fail without holding anyone up. Those conditions aren’t accidental. They’re designed.
If you’re thinking about investing in a photography workshop, use this video as a reference for what a well-considered studio space looks like. Watch the full tutorial on YouTube and pay attention not just to what Karl shows, but to the reasoning behind each feature of the space. That reasoning applies whether you’re attending a masterclass in Guernsey or a weekend workshop down the street.
Comments
Leave a Comment