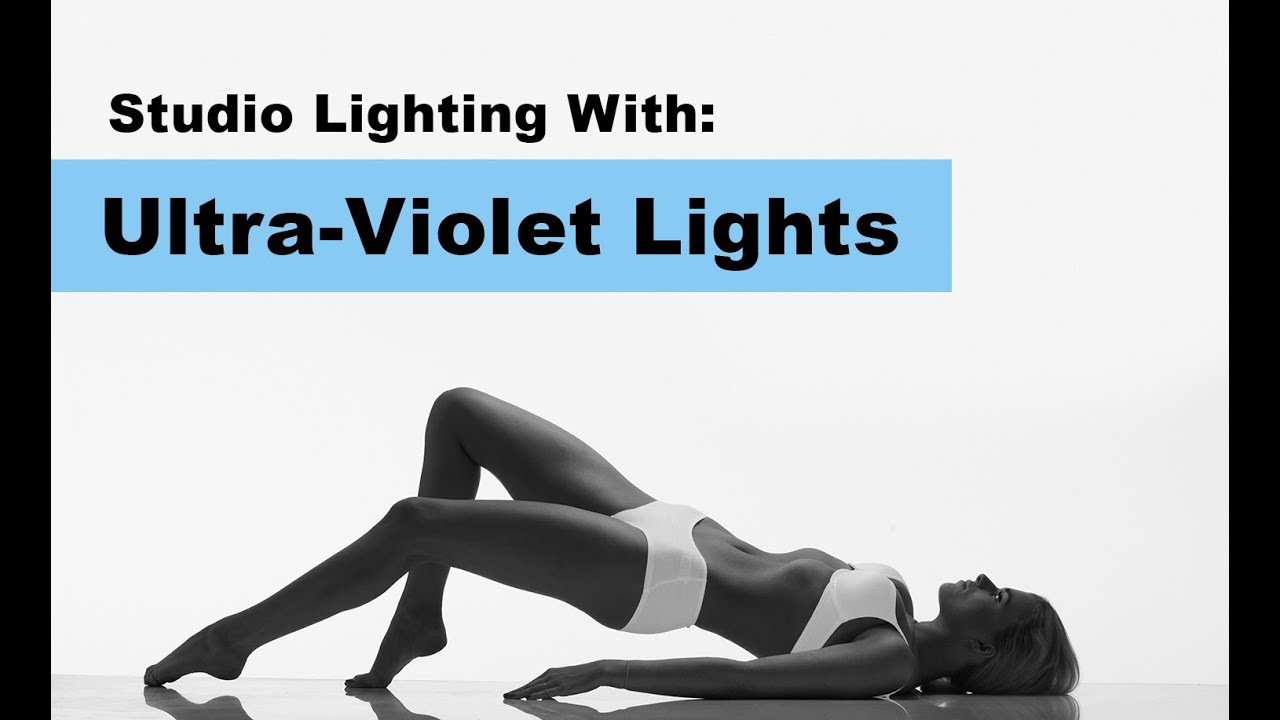
There is a specific kind of frustration that comes from trying to photograph white clothing against a white background. On paper, it sounds elegant and minimal. In practice, you end up with a muddy gray garment that looks like it came out of the wrong laundry cycle. I have run into this problem more times than I care to admit, and for a long time my workaround was to just add more light and hope for the best. It doesn’t work. You just get a brighter version of the same mess.
That’s what made this tutorial stop me mid-scroll. In this Visual Education tutorial, Broncolor consultant Urs Recher walks photographer and instructor Kyle Taylor through a three-light studio setup designed specifically to solve this problem. The subject is a model in white underwear on a white background, and the secret weapon is an ultraviolet light added as the final layer. The technique is clever, methodical, and the kind of thing you can actually apply without a massive gear overhaul.
What I love about how Urs teaches this is that he builds the shot one light at a time, so you see exactly what each element is contributing before the next one goes in. That layered approach is how I try to teach lighting too, and watching it applied at a professional level is genuinely useful.
Step 1: Set Up the Background with Polystyrene Walls Angled Toward the Backdrop
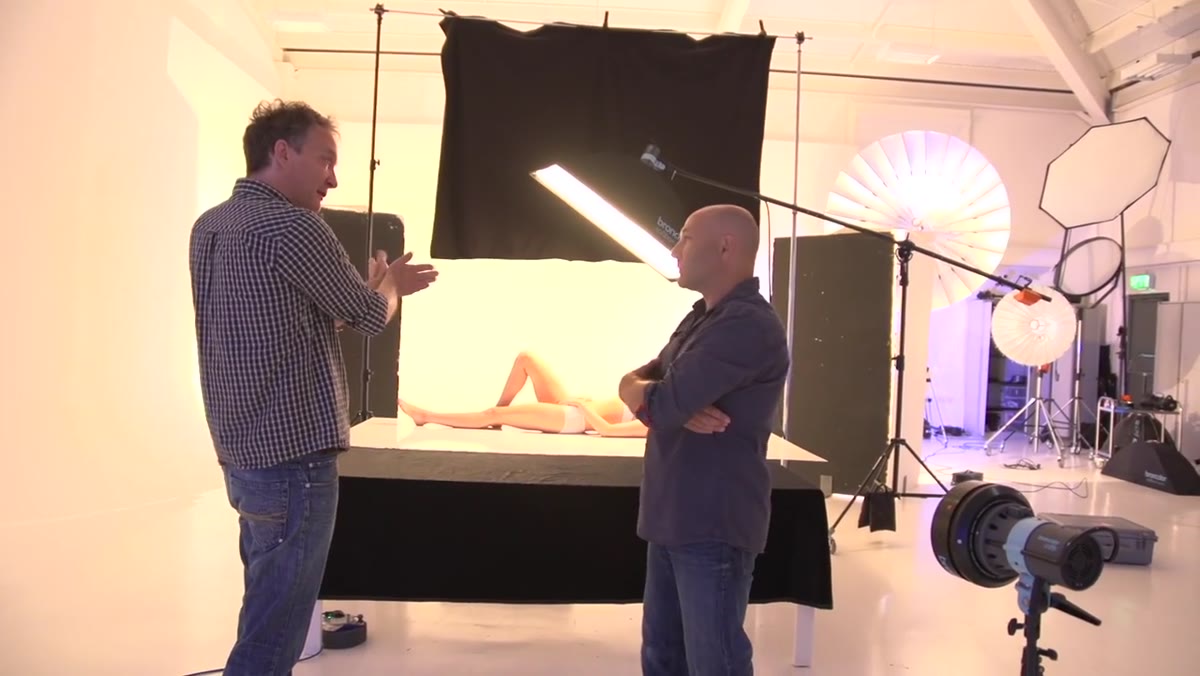 Polystyrene walls positioned at angles illuminating the white background
The background system here is worth understanding before anything else. Urs uses polystyrene walls positioned at angles around the backdrop, with bare bulb lights bouncing off them. Bare bulbs throw light at roughly 270 degrees, which means the polystyrene surfaces get lit from multiple angles and return a completely diffused, even glow. The result is a background that reads as pure white with no hot spots and no texture, even if the surface itself isn’t perfectly smooth.
Polystyrene walls positioned at angles illuminating the white background
The background system here is worth understanding before anything else. Urs uses polystyrene walls positioned at angles around the backdrop, with bare bulb lights bouncing off them. Bare bulbs throw light at roughly 270 degrees, which means the polystyrene surfaces get lit from multiple angles and return a completely diffused, even glow. The result is a background that reads as pure white with no hot spots and no texture, even if the surface itself isn’t perfectly smooth.
One practical bonus Urs points out: this diffused light essentially erases wrinkles or imperfections in the backdrop material. If you’re working with paper that isn’t perfectly flat, this setup does a lot of heavy lifting. The back sides of the polystyrene walls are painted black, and black cloth is used to prevent any of that background light from spilling forward into the studio and acting as accidental fill on the model.
Step 2: Position a Softbox as a Backlight to Keep the Model in Shadow
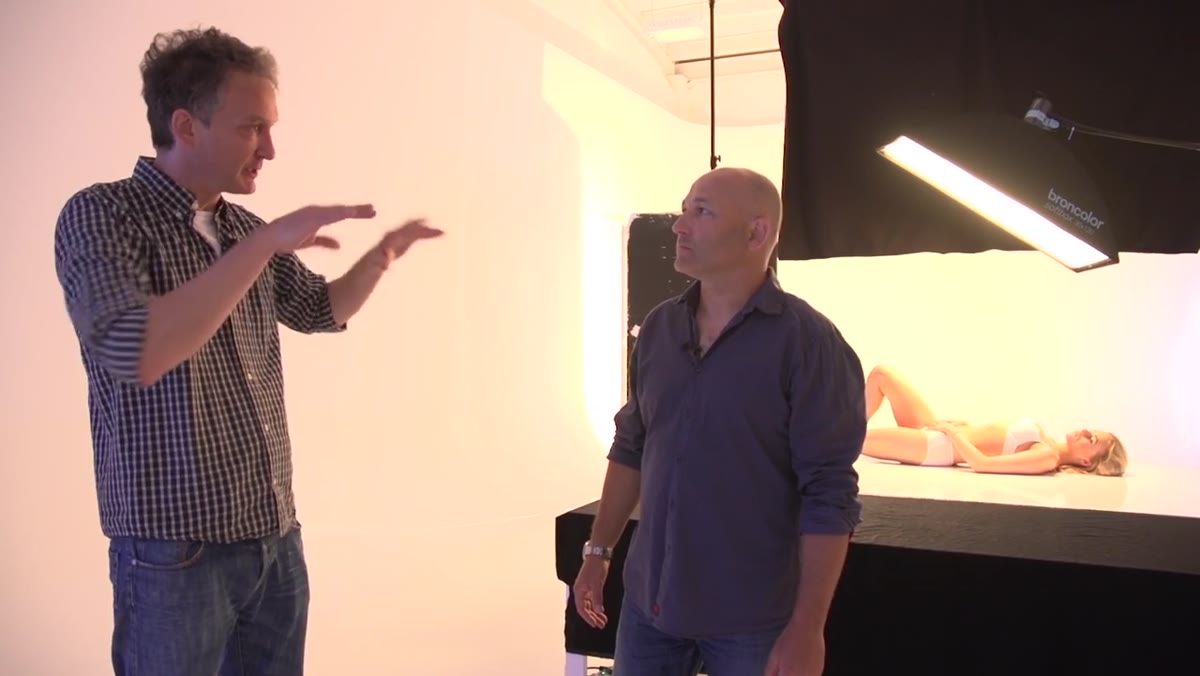 Softbox positioned behind and above the model as a backlight
The softbox in this setup is not a key light in the traditional sense. It’s placed behind and above the model, running roughly parallel to the length of her body so that the distance from the box to her face is about the same as the distance from the box to her legs. This creates a consistent edge of light along the silhouette without flooding the front of the body with exposure.
Softbox positioned behind and above the model as a backlight
The softbox in this setup is not a key light in the traditional sense. It’s placed behind and above the model, running roughly parallel to the length of her body so that the distance from the box to her face is about the same as the distance from the box to her legs. This creates a consistent edge of light along the silhouette without flooding the front of the body with exposure.
The goal here is intentional shadow. Keeping the model’s skin dark is central to the whole technique because it creates the contrast you need to let the UV do its job in the next step. If you light the model from the front, the underwear and the skin start competing for the same tonal range and you lose separation. Embrace the backlit, moody look here because it’s doing real work.
Step 3: Shoot a Test Frame with Only the Background Light
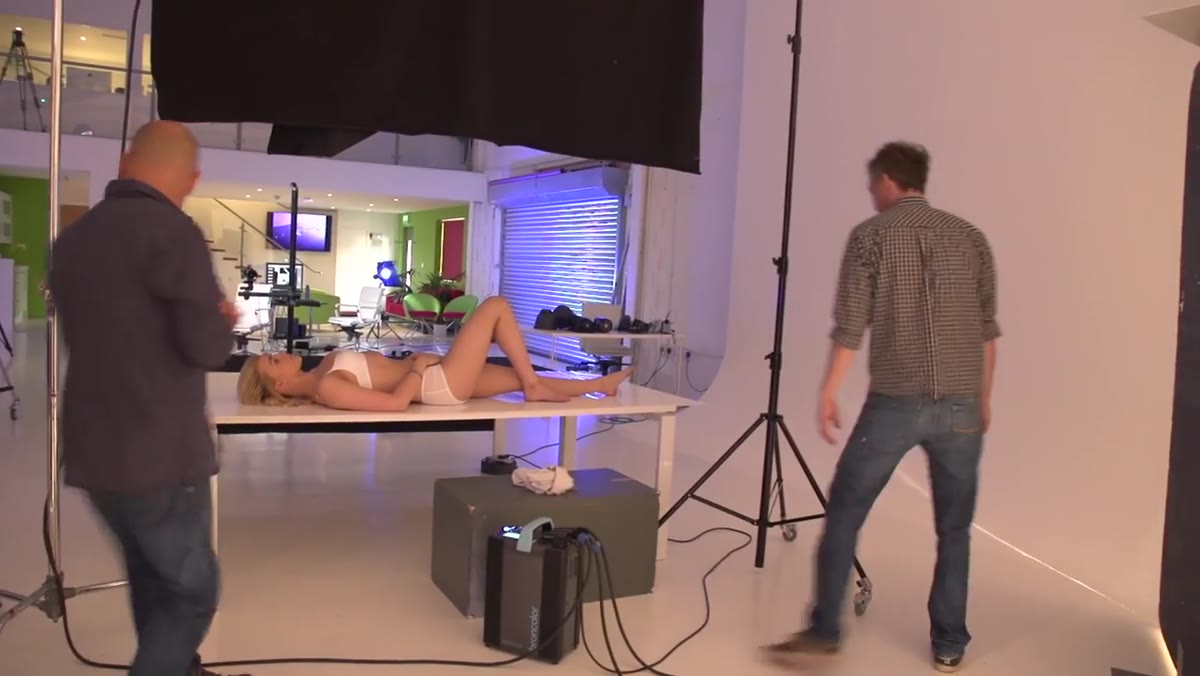 Camera view showing model silhouetted against bright white background
Before adding any more light, take a frame with just the background illuminated and the softbox off. This is a diagnostic step as much as a creative one. You should see the model as a near-complete silhouette against a bright white backdrop, with almost no detail in the skin.
Camera view showing model silhouetted against bright white background
Before adding any more light, take a frame with just the background illuminated and the softbox off. This is a diagnostic step as much as a creative one. You should see the model as a near-complete silhouette against a bright white backdrop, with almost no detail in the skin.
Urs notes that the background was reading at around 240 in this test frame, with the expectation that it would push to a full 250 (blown out, pure white) once the front light was added. The table the model is standing near was already reading as white even without direct light, because it was reflecting the background back toward camera. That tells you the background system is working as intended.
Step 4: Add the Softbox and Confirm the Edge Lighting
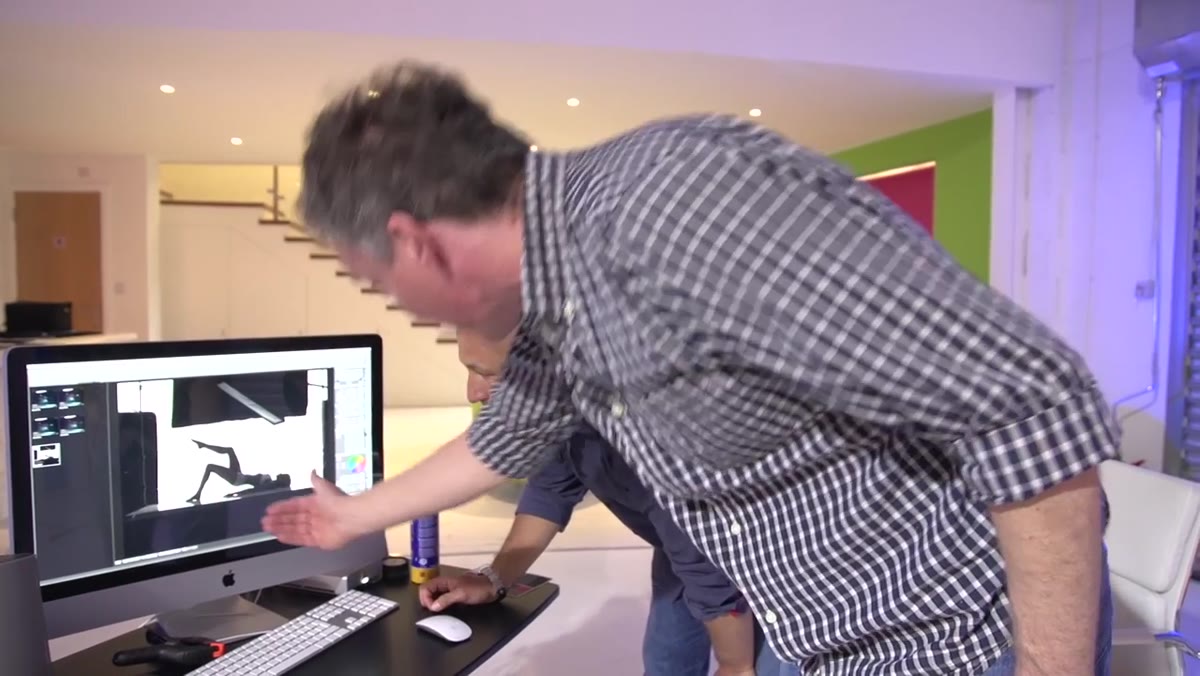 Softbox activated showing fringe lighting along the model’s silhouette
With the softbox switched on, you should now see a rim of light tracing the edge of the model’s body. Hair, shoulders, the line of the legs, all pick up a gentle highlight that separates the figure from the background without flattening the shadow on the front of the body. This is the look you want locked in before the UV goes on.
Softbox activated showing fringe lighting along the model’s silhouette
With the softbox switched on, you should now see a rim of light tracing the edge of the model’s body. Hair, shoulders, the line of the legs, all pick up a gentle highlight that separates the figure from the background without flattening the shadow on the front of the body. This is the look you want locked in before the UV goes on.
At this stage the underwear will still look gray and underwhelming. That’s expected and correct. The softbox is doing its job, which is to give the body form and separation, not to make the garment pop. If the underwear already looks good here, you may have too much front light and you’ll want to pull the softbox back or redirect it.
Step 5: Add the UV Light at Full Power as the Final Layer
 UV light being switched on, no modeling light, attached via standard bayonet mount
The ultraviolet light is the last piece to go in, and Urs runs it at full power, 3200 joules, because UV absorbs a significant portion of the output before it even reaches the subject. He’s shooting at f/16 to manage the overall exposure. The modeling light on this unit is switched off entirely, so visually it appears to be doing nothing until you fire a frame.
UV light being switched on, no modeling light, attached via standard bayonet mount
The ultraviolet light is the last piece to go in, and Urs runs it at full power, 3200 joules, because UV absorbs a significant portion of the output before it even reaches the subject. He’s shooting at f/16 to manage the overall exposure. The modeling light on this unit is switched off entirely, so visually it appears to be doing nothing until you fire a frame.
A detail worth noting: the UV filter is a standard accessory that mounts via a normal bayonet, and the protective glass is removed from the front of the modifier when shooting UV because that glass would block the ultraviolet wavelengths you’re trying to use. This is a safety and technical consideration, so handle the unit carefully and make sure you’re not pointing it directly at anyone’s eyes when it fires.
What I’d Try Differently in a Smaller Studio
The polystyrene wall system Urs uses is purpose-built and works beautifully at studio scale, but most of us aren’t working in that kind of space. If you’re adapting this for a smaller setup, a large piece of white foam board angled behind the model can approximate the same diffuse background bounce. The critical thing to preserve is the black material blocking forward spill. Without it, that background light creeps forward and lifts your shadows, which kills the whole effect.
I’d also experiment with the UV light position. Urs aims it at the background area and the subject together, but if you have a second UV source, pointing one directly at the garment from a low angle might give you even more punch on the fabric without affecting the skin tones.
The single most important thing this tutorial taught me is that the right light for one element of a frame is often the wrong light for another, and the solution isn’t compromise. It’s layering. Adding the UV last, only after every other element is dialed in, means each light has a specific job and nothing is doing double duty poorly.
Watch the full tutorial on YouTube to see the before and after comparison shots side by side. Seeing the underwear transform from dingy gray to clean white in a single frame is the kind of visual that sticks with you.
Comments (2)
Quality content like this is rare. Keep it up.
Simple but effective. Sometimes that's all you need.
Leave a Comment