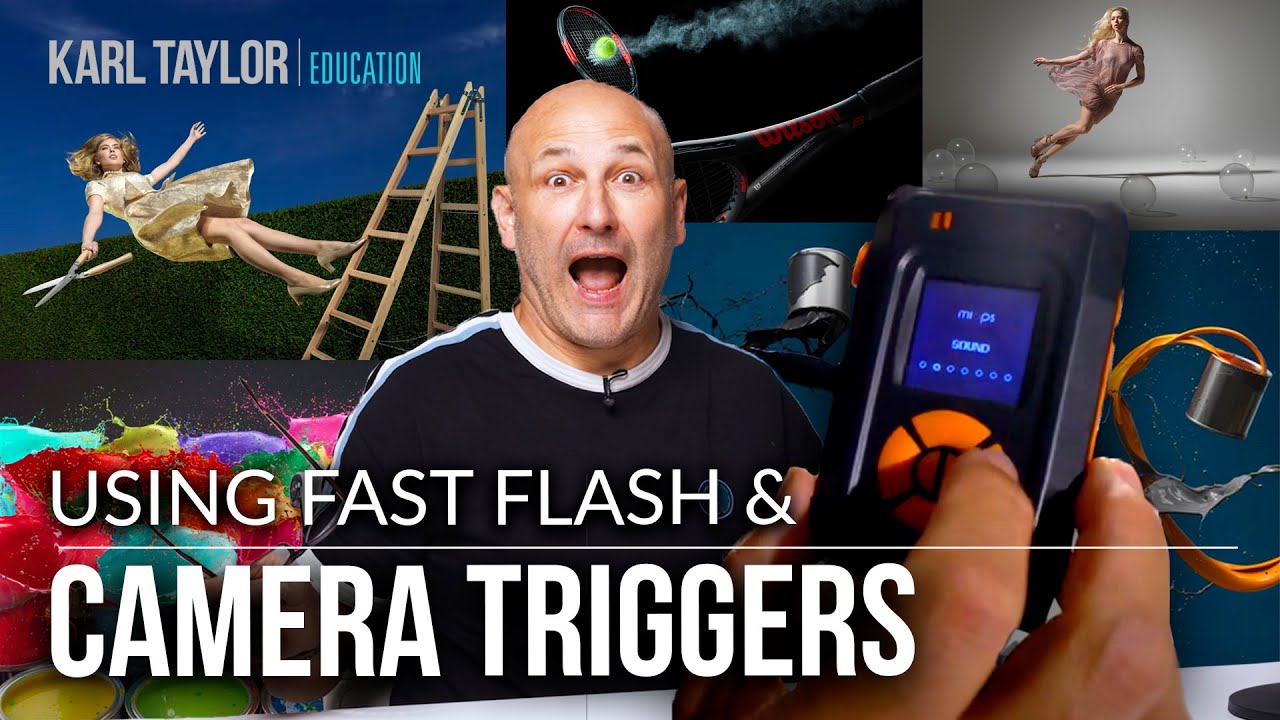
There’s a specific kind of frustration that lives in action photography. You press the shutter at exactly the right moment - or so you thought - and the image either shows nothing happening yet or the moment has already passed. I’ve been there more times than I want to count. The problem isn’t your reflexes, necessarily. It’s that human reaction time has a ceiling, and physics doesn’t care about your creative vision.
This is a problem that hits differently depending on what you shoot. I run into it most when I’m traveling and trying to capture street scenes, market vendors tossing produce, water splashing in fountains. The gap between “the moment” and “a picture of almost the moment” is measurable in milliseconds. That’s not something you can practice your way out of. You need a tool that reacts faster than you can.
In this Visual Education tutorial, photographer and educator Simon (known for his decisive moment work with action and high-speed subjects) breaks down how camera triggers work, which type to use in different situations, and the surprisingly important role of delay timing. Watch the full tutorial on YouTube - it’s well worth the full watch. Here’s the step-by-step breakdown.
Step 1: Understand Why Mechanical Shutter Delay Is the Root Problem
 Camera diagram showing shutter delay in a DSLR mirror system
Every DSLR and mirrorless camera has a small delay between when you press the shutter button and when the exposure actually happens. On DSLRs, it’s compounded because the mirror has to physically lift out of the light path before the sensor can record anything. That’s a tiny mechanical sequence happening every single time you shoot. For general photography, it’s invisible. For high-speed work, it’s the enemy.
Camera diagram showing shutter delay in a DSLR mirror system
Every DSLR and mirrorless camera has a small delay between when you press the shutter button and when the exposure actually happens. On DSLRs, it’s compounded because the mirror has to physically lift out of the light path before the sensor can record anything. That’s a tiny mechanical sequence happening every single time you shoot. For general photography, it’s invisible. For high-speed work, it’s the enemy.
One practical workaround built into most DSLRs is the mirror lock-up feature. This pre-lifts the mirror so that when you actually trigger the shutter, there’s one less moving part to wait on. It won’t solve everything, but it removes one layer of delay. If you’re doing any kind of precise action work, this setting should already be on.
Step 2: Start with Sound Triggers for Noise-Generating Events
 Smartphone running a sound trigger app connected via cable release
Sound triggers are the most accessible entry point. You don’t need specialized hardware to start - many smartphone apps turn your phone’s built-in microphone into a trigger that, combined with a simple cable release, fires your camera when it detects sound above a set threshold. It’s a genuinely low-cost setup that works better than you’d expect.
Smartphone running a sound trigger app connected via cable release
Sound triggers are the most accessible entry point. You don’t need specialized hardware to start - many smartphone apps turn your phone’s built-in microphone into a trigger that, combined with a simple cable release, fires your camera when it detects sound above a set threshold. It’s a genuinely low-cost setup that works better than you’d expect.
The key thing to understand is that these triggers respond to sound in the environment, not to your command. So you set everything up, step back, and let the event trigger the camera automatically. This is particularly effective for things like objects colliding, balloons popping, glass breaking, or anything with a distinct sharp noise.
Step 3: Learn to Use the Delay Setting - It’s Not Optional
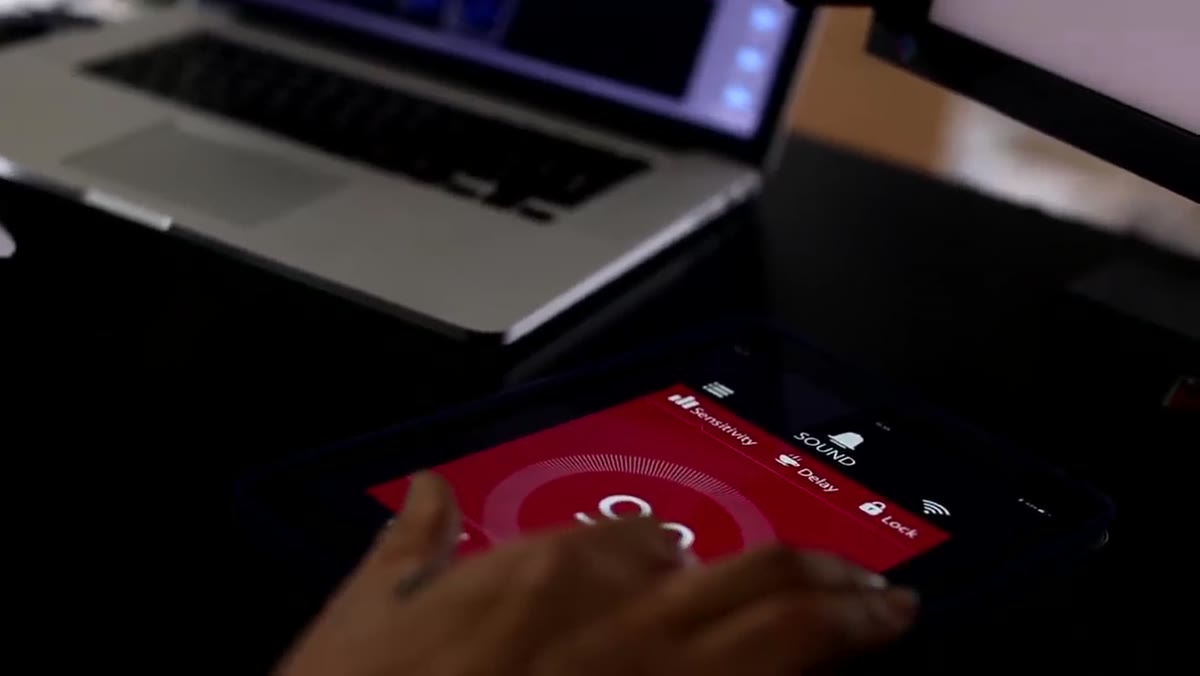 Delay time setting shown in the trigger app interface
This is the step most beginners skip and then wonder why their sound-triggered shots still don’t look right. Sound triggers include a delay setting, measured in milliseconds, that tells the camera to wait a specific amount of time after detecting the sound before firing. At first glance this seems counterproductive. Why add a delay?
Delay time setting shown in the trigger app interface
This is the step most beginners skip and then wonder why their sound-triggered shots still don’t look right. Sound triggers include a delay setting, measured in milliseconds, that tells the camera to wait a specific amount of time after detecting the sound before firing. At first glance this seems counterproductive. Why add a delay?
The reason is that the sound often marks the beginning of the interesting event, not the peak of it. In the tutorial, Simon demonstrates this with a shoot involving cans of liquid being thrown together. The collision created the trigger sound, but the visually interesting moment - the liquid escaping the can in mid-air - happened roughly 30 milliseconds later. Without the delay, you’d photograph the impact. With it, you photograph the chaos. Experiment with small increments, typically 10 to 50 milliseconds, and review each frame.
Step 4: Switch to Laser Mode When Sound Isn’t Reliable
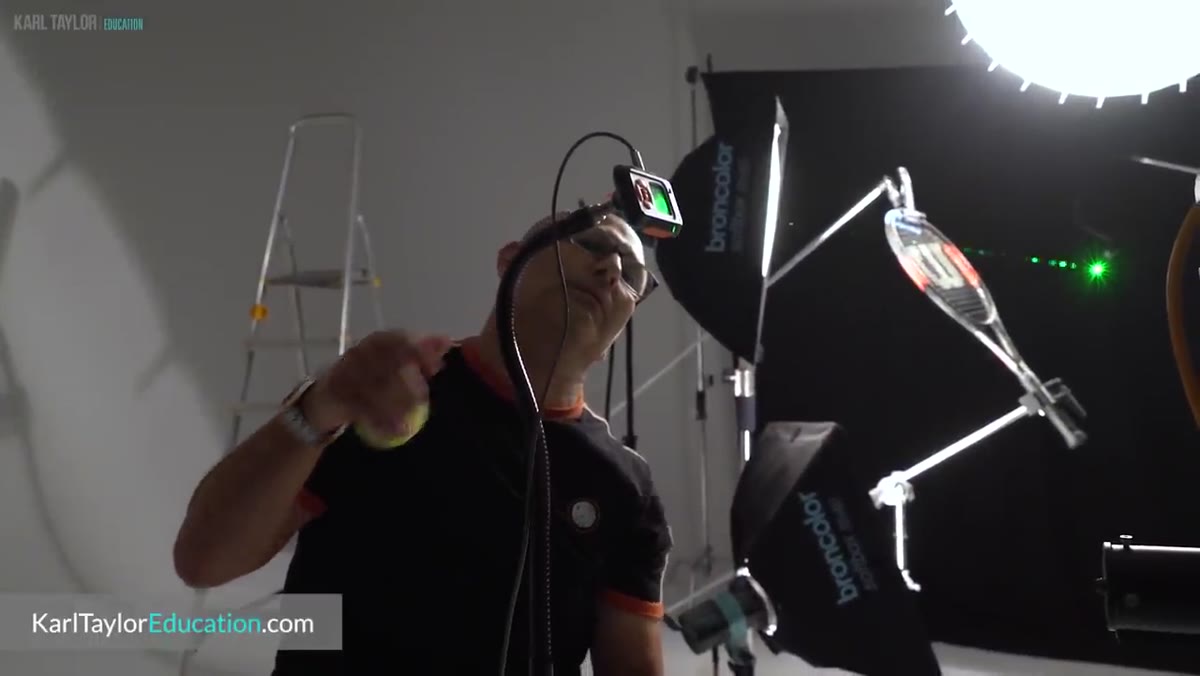 Laser pointer aimed at the trigger sensor on a tennis shoot setup
Sometimes the sound created by your subject isn’t loud enough, isn’t consistent enough, or doesn’t align well with the moment you’re trying to capture. Laser mode solves this by replacing the microphone with a light sensor. You aim any standard laser pointer at the sensor on the trigger device, and the camera fires the moment something breaks that beam.
Laser pointer aimed at the trigger sensor on a tennis shoot setup
Sometimes the sound created by your subject isn’t loud enough, isn’t consistent enough, or doesn’t align well with the moment you’re trying to capture. Laser mode solves this by replacing the microphone with a light sensor. You aim any standard laser pointer at the sensor on the trigger device, and the camera fires the moment something breaks that beam.
This gives you physical control over exactly where in space the trigger activates. Simon’s example here is a tennis ball shot - he directed the ball’s path through the laser beam at a precise location in the frame, paired with a small delay to catch the ball at the ideal position. The result is a degree of repeatability you simply can’t achieve with manual timing or even sound triggers. Once you’ve placed the laser, every shot fires at the same point in the action.
Step 5: Explore Infrared Triggers for Wildlife and Remote Setups
 Infrared beam trigger setup described for wildlife use
Infrared beam triggers work on the same beam-breaking principle as laser triggers, but with two practical advantages for outdoor and wildlife use. First, the battery life tends to be significantly longer. Second, infrared light is invisible to animals, so you’re not spooking your subject with a visible red dot. The animal or subject crosses the beam, the camera fires, and nothing in the environment is disturbed.
Infrared beam trigger setup described for wildlife use
Infrared beam triggers work on the same beam-breaking principle as laser triggers, but with two practical advantages for outdoor and wildlife use. First, the battery life tends to be significantly longer. Second, infrared light is invisible to animals, so you’re not spooking your subject with a visible red dot. The animal or subject crosses the beam, the camera fires, and nothing in the environment is disturbed.
If you photograph birds at feeders, mammals on trails, or any wildlife scenario where you need to set up and walk away, this is the trigger type to research. Remote control triggers also fall into this category - they function more like an extended shutter button and are useful for long distances where you want manual control without physically touching the camera.
Step 6: For Maximum Speed, Go Direct - Cut Every Extra Connection
 Direct cable connection from trigger to flash unit demonstrated
When you need the absolute minimum delay, the advice in the tutorial is straightforward: remove every link in the chain that isn’t essential. That means plugging your trigger directly into the flash or camera rather than relying on wireless communication, and using the flash itself to freeze motion rather than depending on shutter speed alone. A fast flash duration - not the shutter speed - is actually what freezes most high-speed subjects cleanly.
Direct cable connection from trigger to flash unit demonstrated
When you need the absolute minimum delay, the advice in the tutorial is straightforward: remove every link in the chain that isn’t essential. That means plugging your trigger directly into the flash or camera rather than relying on wireless communication, and using the flash itself to freeze motion rather than depending on shutter speed alone. A fast flash duration - not the shutter speed - is actually what freezes most high-speed subjects cleanly.
It’s also worth noting that you can have custom triggers built by an electrical engineer if your requirements are very specific. One photographer Simon references had a long cable made that let him physically move the trigger further from the sound source as an alternative to setting a delay. It’s a creative solution, and a reminder that these tools don’t have to be off-the-shelf.
My Own Addition: Test Your Delay Values Before the Real Shoot
I’ve been experimenting with the sound trigger approach for a few months now, mostly during my Sunday morning photo walks around Seattle. One thing the tutorial doesn’t belabor but that I’d underscore is this: delay values are not universal. The right millisecond setting for a bursting water balloon in a studio is completely different from a coffee cup dropping onto pavement outside in wind. Spend 15 minutes before any important shoot running test fires and pulling up the results on the back of your camera. Adjust in 10ms increments. Once you find the frame that looks right, write down the value. I keep a small notebook in my bag just for this - settings I’ve dialed in that I know work for specific types of shots.
The biggest shift in thinking this tutorial unlocked for me is treating the trigger as part of the creative decision, not just a technical accessory. Where you place a laser beam, what delay you choose, how close or far the microphone sits from the action - those are compositional choices. Milliseconds are creative units once you start working this way.
Watch the full tutorial on YouTube to see Simon’s actual shot results alongside each trigger setup - seeing the before/after between “fired too early” and “fired with the right delay” makes the whole concept click in a way that text alone can’t quite replicate.
Comments
Leave a Comment