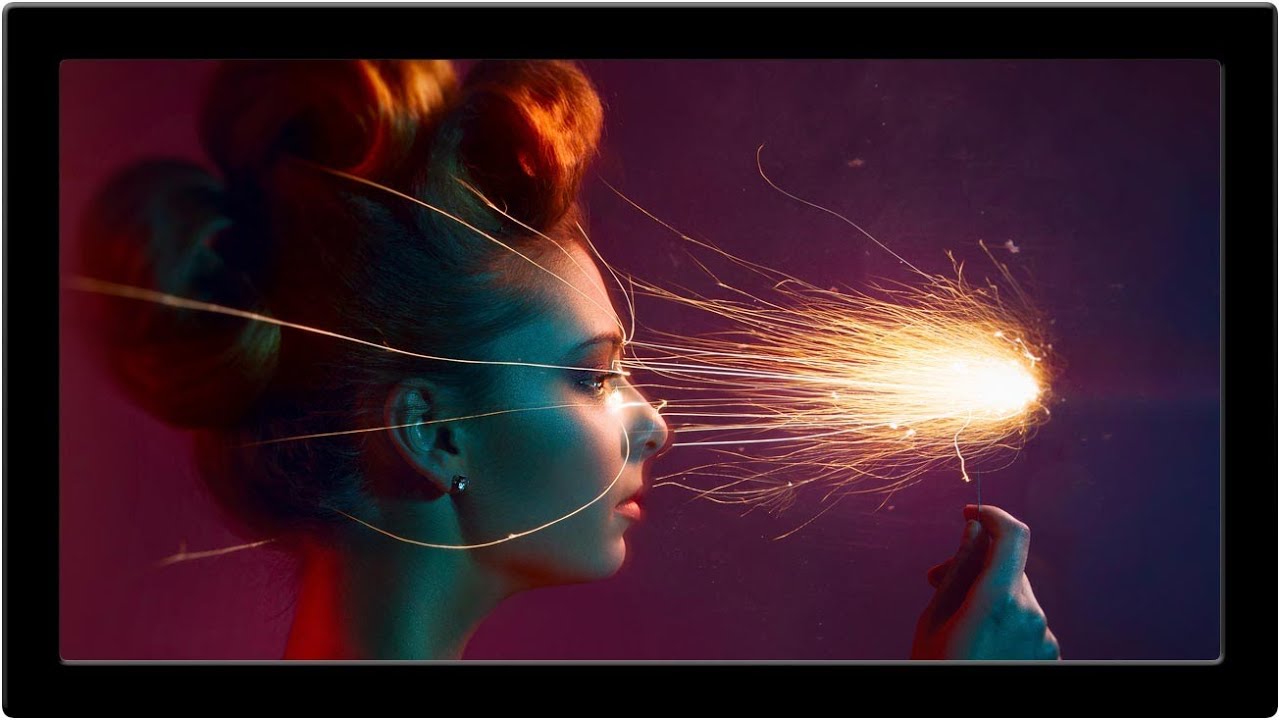
There’s a specific kind of portrait that stops you mid-scroll. Usually it has strong, deliberate color. Something unexpected is happening in the frame. And you can tell the photographer made about fifteen decisions before they ever touched the shutter. That’s exactly the kind of image I found myself staring at when I first came across this Aaron Nace (PHLEARN) tutorial on shooting beauty portraits with sparklers and mixed colored gels. Watch the full tutorial on YouTube before or after reading this, depending on how you learn best.
I’ve been doing styled portrait shoots for a while now, and my biggest stumbling block has always been making colored gels feel intentional rather than chaotic. Throw a red gel on a light and you get red everywhere. Add a second color and suddenly things get muddy fast. What Aaron walks through in this behind-the-scenes breakdown is a four-light system where every single light has a specific job, and the colors interact in a way that feels painterly rather than messy. That structure is what I want to unpack here, because understanding why each light exists changes how you think about your whole setup.
Step 1: Choose a Model Who Can Work the Frame
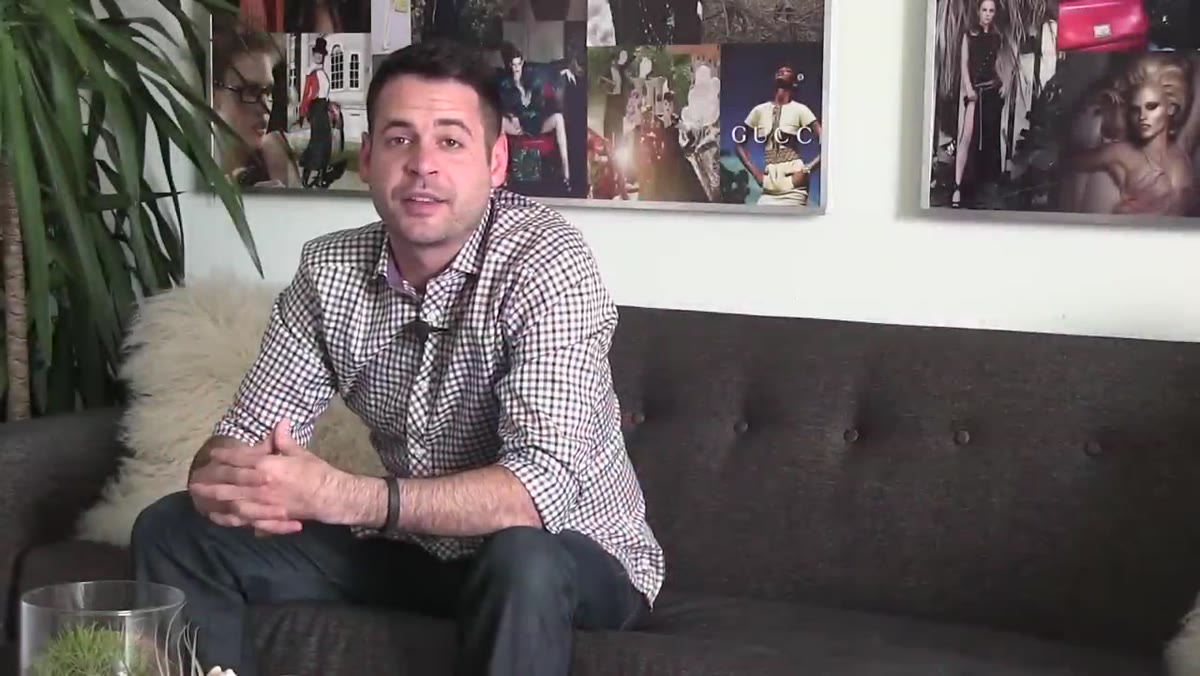
 Narrator explaining what to look for in a model
Before any light gets switched on, Aaron makes a point that often gets glossed over in technical tutorials: your model matters as much as your gear. For a portrait like this one, with strong lighting and a dramatic prop, you need someone who brings genuine expression to the frame. A blank, neutral face will get swallowed by everything else going on in the image. Look for someone comfortable with physicality and emotion, someone whose face changes when they’re given something to react to. When you introduce a prop like a sparkler later in the shoot, that expressiveness becomes the anchor that makes the whole image feel alive rather than staged.
Step 2: Build a Lighting Concept Around Color Interaction
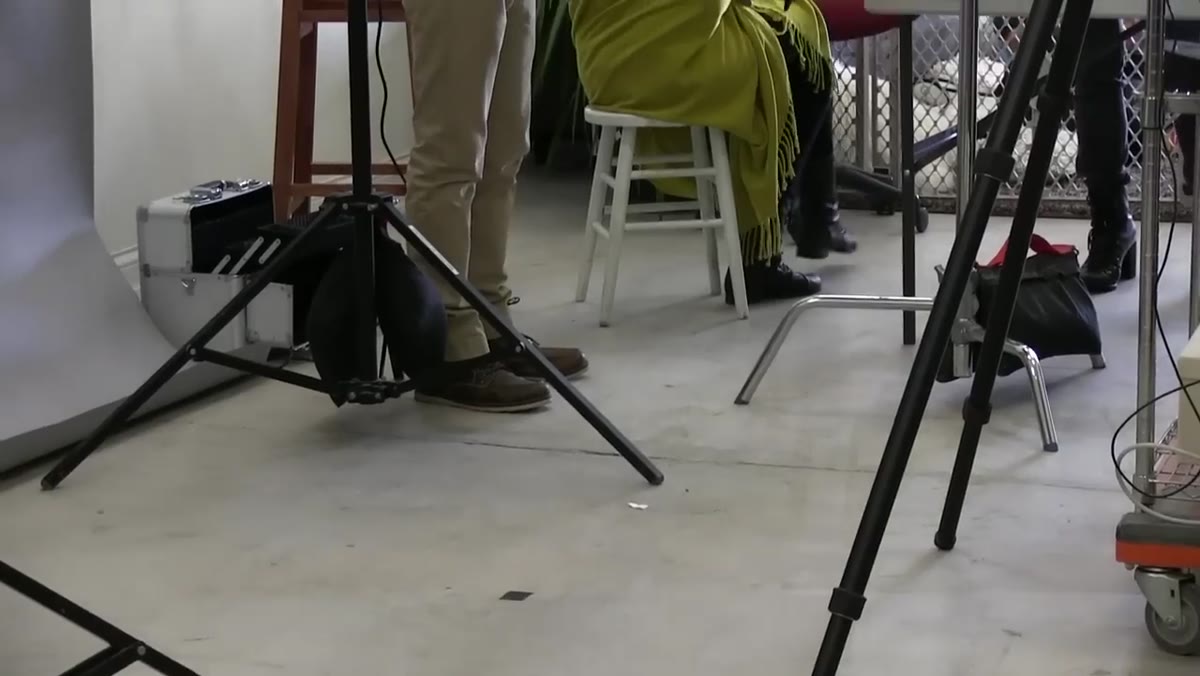 Overview of the studio lighting reference search process
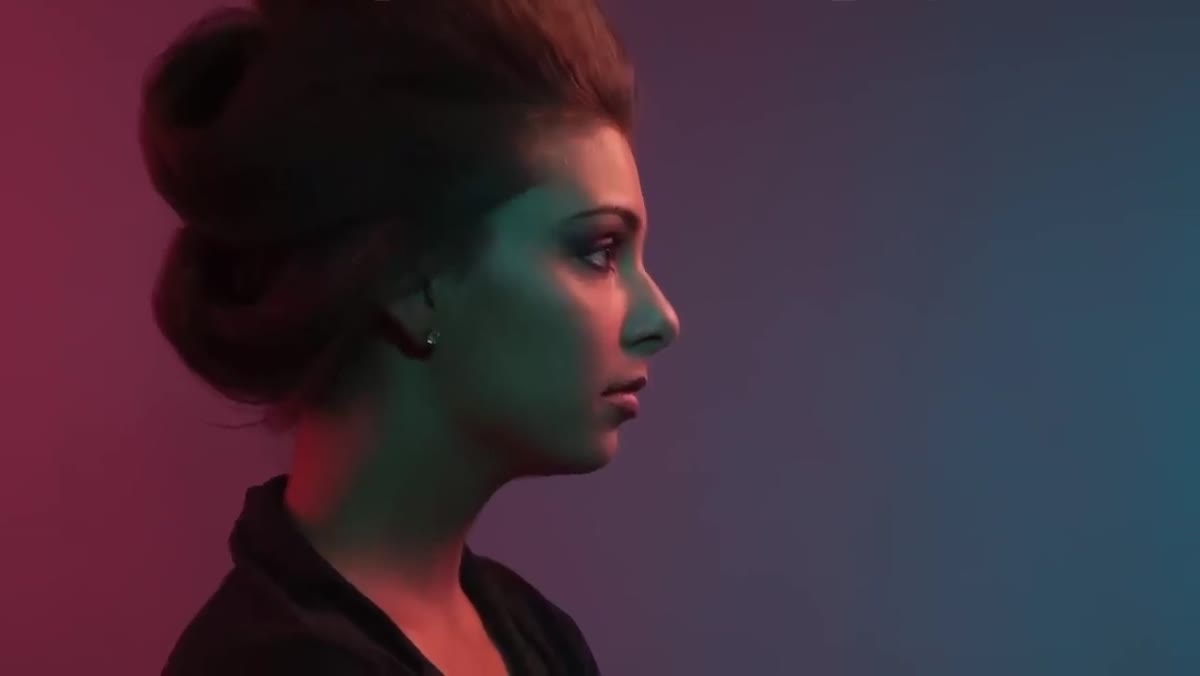
Aaron and his team didn’t walk into the studio and start plugging in lights. They spent real time searching for reference images online to find a look they’d never attempted before. That research step is easy to skip, but it’s where the concept gets locked in. For this shoot, the goal was a split of warm and cool tones that blended naturally in the middle of the frame, creating a purple zone where the two colors met. If you’re planning a similar shoot, build a small mood board first. Even three or four reference images will help you work out which colors should dominate, which should accent, and where you want the viewer’s eye to land.
Step 3: Set Up the Red Stripbox Camera Left
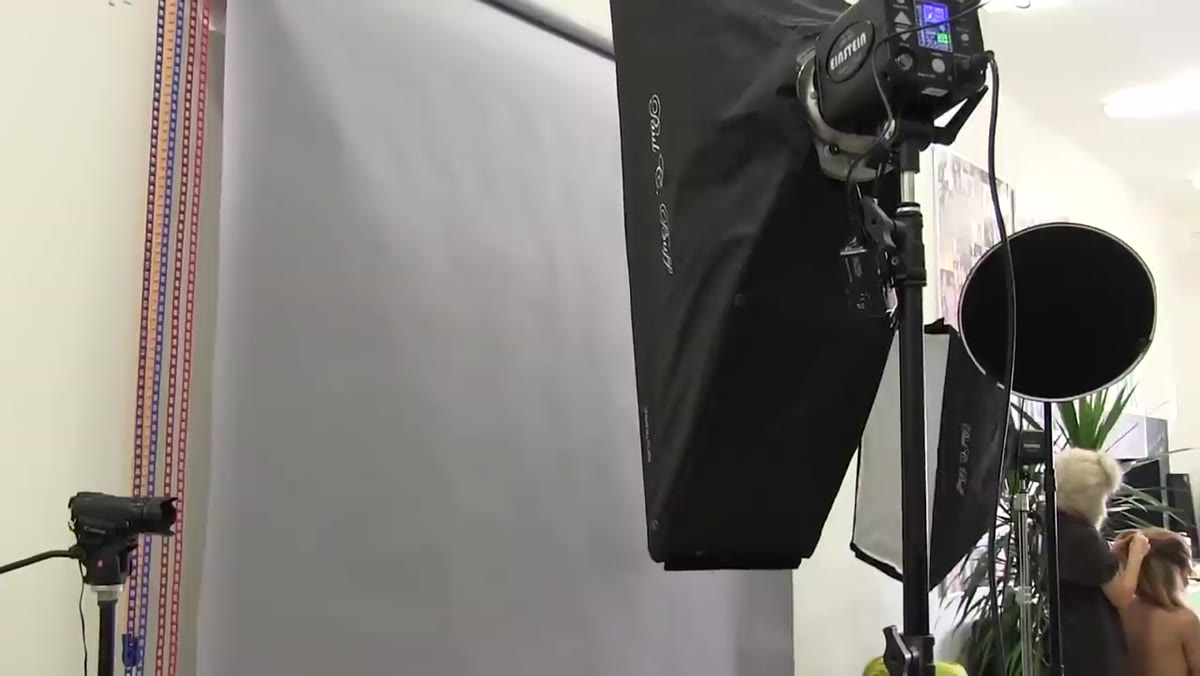 Stripbox positioned camera left with red gel attached
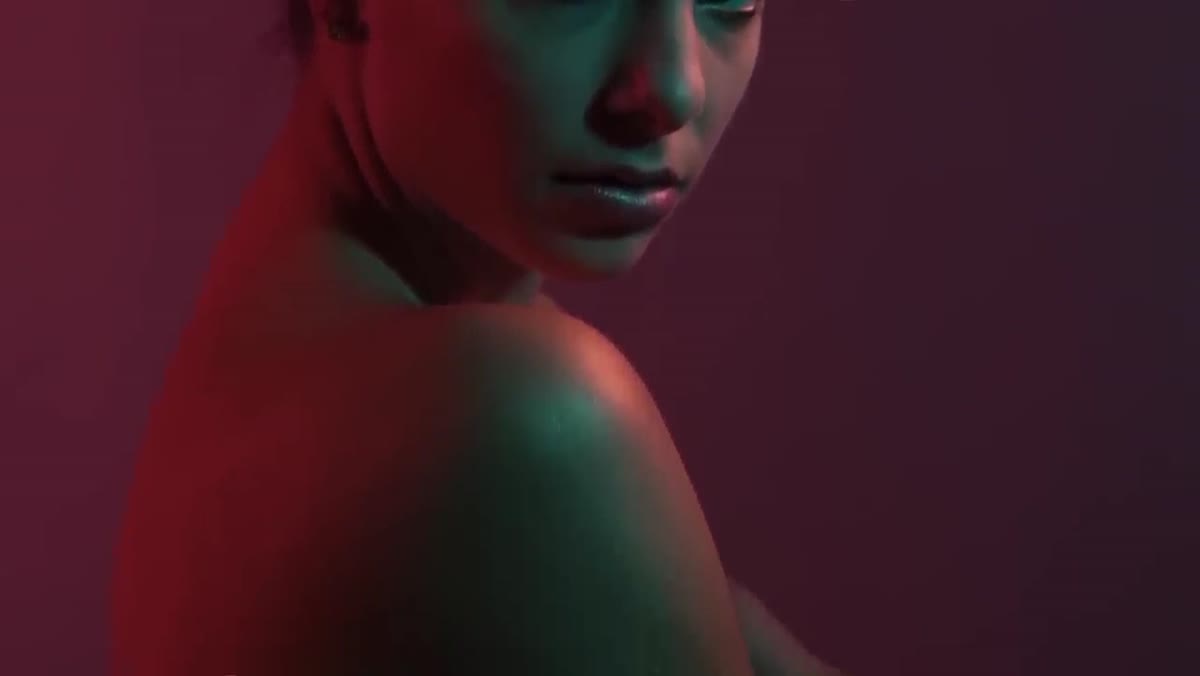
The first light in the setup is a stripbox placed on the left side of the frame. It’s gelled red and fitted with a grid, which is key. The grid keeps the red light from spilling everywhere and bleeding into the other lights. Without it, you’d have red contaminating your cooler tones on the other side. The stripbox shape itself helps contain the spread of light vertically. This light is doing two things at once: it’s casting a red tone across one side of the subject, and it’s washing a portion of the background red. Think of it as your color foundation on the left half of the image.
Step 4: Place the Blue Softbox Camera Right for Background Fill
 Medium softbox positioned camera right with blue gel
On the opposite side, positioned behind the subject and aimed at the background, is a medium softbox gelled blue. This light isn’t meant to light the subject directly. Its job is to create the cool half of the background gradient. When the red from camera left and the blue from camera right overlap in the middle of the backdrop, they blend into a rich purple. That blend is the heart of the image’s color story. When you’re recreating this, pay attention to how far behind your subject each background light sits. Distance and angle will control how wide or narrow that purple blend zone becomes.
Step 5: Add a Beauty Dish with a Warm Gel for the Rim Light
 Beauty dish positioned above and behind the subject
The third light is a beauty dish placed above and slightly behind the subject, acting as a rim light. Aaron gels it with a quarter CTO, which is a mild amber-orange correction gel. It’s subtle, but it separates the subject from the background by wrapping a warm edge around her shoulders and hair. That warm rim plays against the purple background in a way that feels rich and dimensional. A quarter CTO is a gentle touch. If you go too heavy with the orange, it starts to fight with the red stripbox on the left and things get muddy. Start light and build.
Step 6: Bring in the Gridded Cyan Front Light for the Face
 Small 7-inch reflector with 40-degree grid aimed at subject’s face
This is the light that ties everything together and the one I find most instructive. Aaron booms a 7-inch reflector with a 40-degree spot grid directly in front of the subject, gelled cyan. The grid is tight enough that the light essentially only hits her face. By the time it reaches her midsection, it’s already fallen off. The cyan balances the warmth of the rim light behind her, creating that warm-cool push and pull across the whole subject. The result is a natural focal point. Your eye goes straight to her face because that’s the only part of the image with a cool, clean light source. When you’re shooting, check your falloff by looking at where the light edge lands on your subject’s body.
Step 7: Introduce the Sparkler as a Reactive Prop
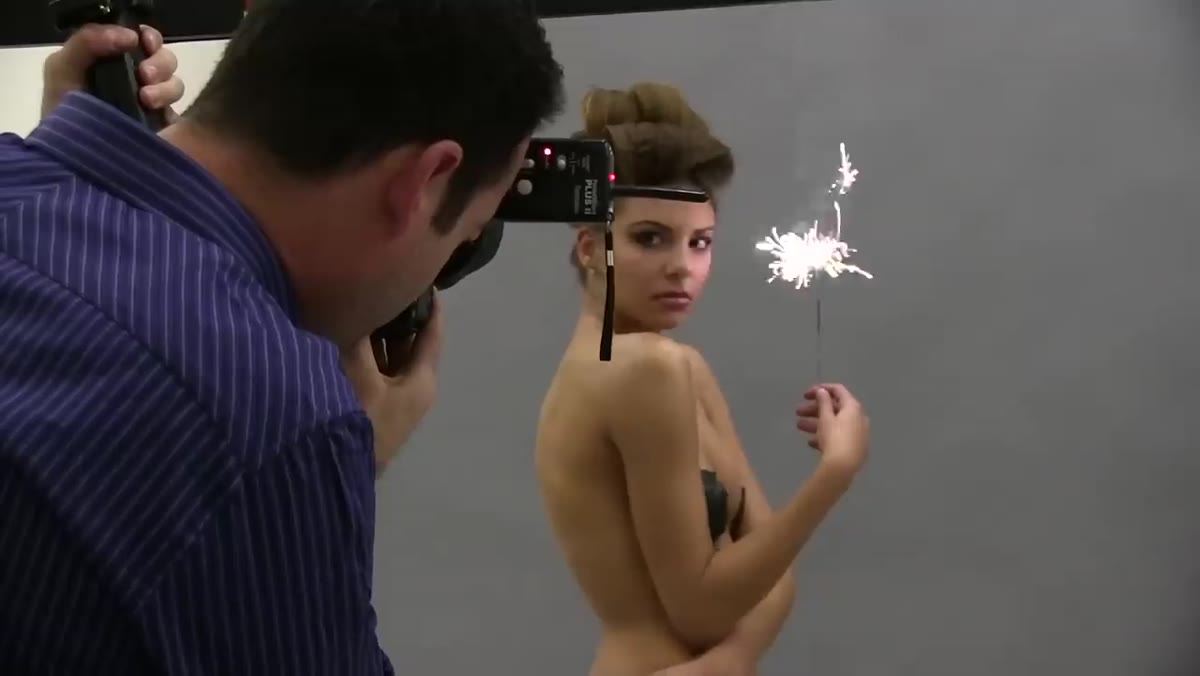 Subject holding a lit sparkler during the shoot
Once the lighting is locked in, Aaron’s team brought in sparklers as the central prop. The concept evolved organically during the shoot. They started with flowers and fabric before landing on the sparklers, which ended up working brilliantly with the warm tones already built into the lighting setup. The practical takeaway here is to stay flexible with props during a shoot. Have a few options ready and be willing to pivot. Sparklers also introduce a timing challenge: they burn fast, they smoke, and they fill a studio quickly. Work in short bursts, ventilate between takes, and brief your model ahead of time so they know what to expect.
What I’d Do Differently in a Smaller Studio
I’ve tried versions of this setup in my own studio, which is not exactly a sprawling space. The biggest adjustment I’ve had to make is pulling the background lights in closer and dropping their power, because even a medium softbox at full strength in a small room creates color spill on the ceiling and walls that undoes all the grid work on the other lights. If you’re working in a tighter space, consider flags or black foam core to control where each light’s output goes. You can still get that beautiful color blend, but you have to be more deliberate about containing each source.
The single most important idea in this whole tutorial is that every light has one job, and when each light does only that job, the image finds its own logic. Build your setup that way and the colors stop competing and start collaborating.
Watch the full tutorial on YouTube to see the final images and hear Aaron walk through the setup in his own words.
Comments
Leave a Comment