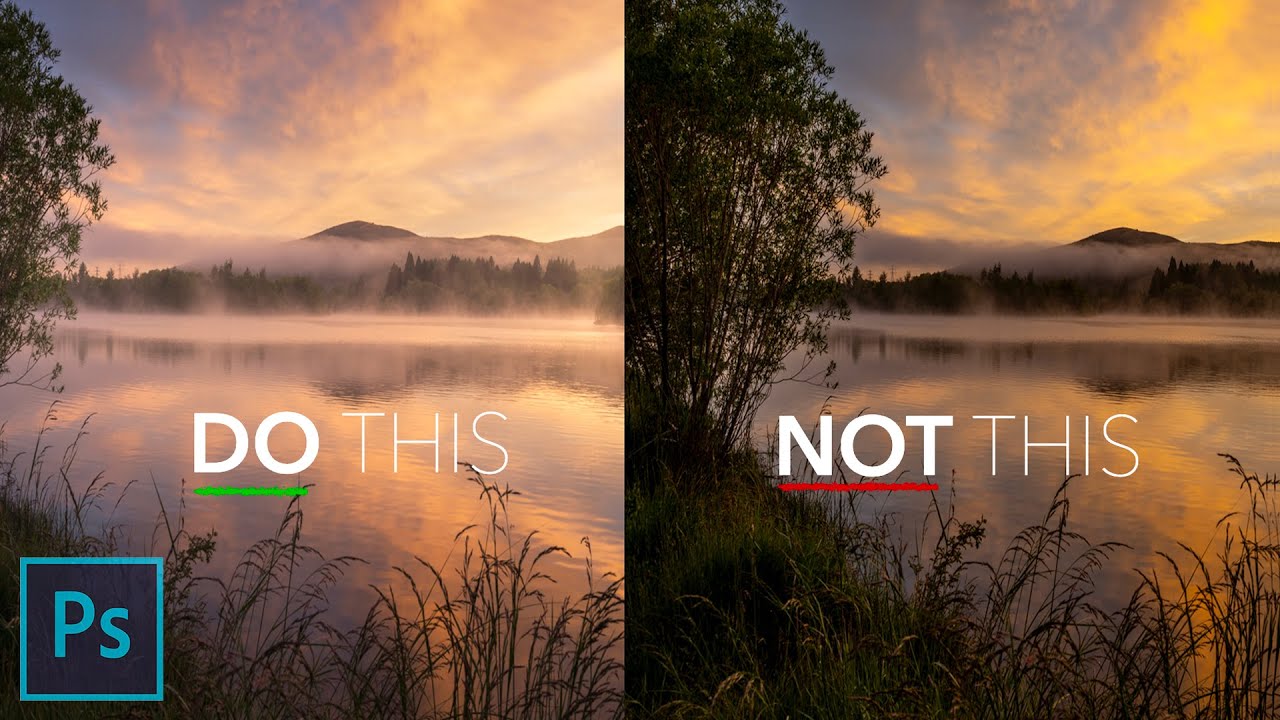
There’s a version of every photographer who resists post-processing for as long as humanly possible. I was that person. For the first year or so of shooting seriously, I told myself that a good photo should speak for itself straight out of camera. Then I started comparing my raw files to the finished work of photographers I admired, and the gap was humbling. The camera captures light. Post-processing is where you tell the viewer how to read that light.
The specific problem I kept running into, especially with forests and layered landscape scenes, was tonal blending. When you’re standing in the trees, your brain automatically reads depth. Your eyes adjust. But flatten that scene into a raw file and suddenly everything merges into a muddy middle ground, background trees reading at the same visual weight as the ones right in front of you. In this William Patino tutorial, Watch the full tutorial on YouTube, he tackles that exact problem with a technique I genuinely hadn’t seen explained this clearly before: using a 50% gray screen layer in Photoshop to simulate atmospheric perspective and push background elements back where they belong.
The technique works because atmospheric perspective is real. Distant objects in nature appear lighter, hazier, and lower in contrast than close ones because of the air between you and them. Your camera doesn’t always capture that relationship faithfully, but you can reconstruct it in post with just a few steps. Here’s how.
Step 1: Start With a Merged, Stacked File
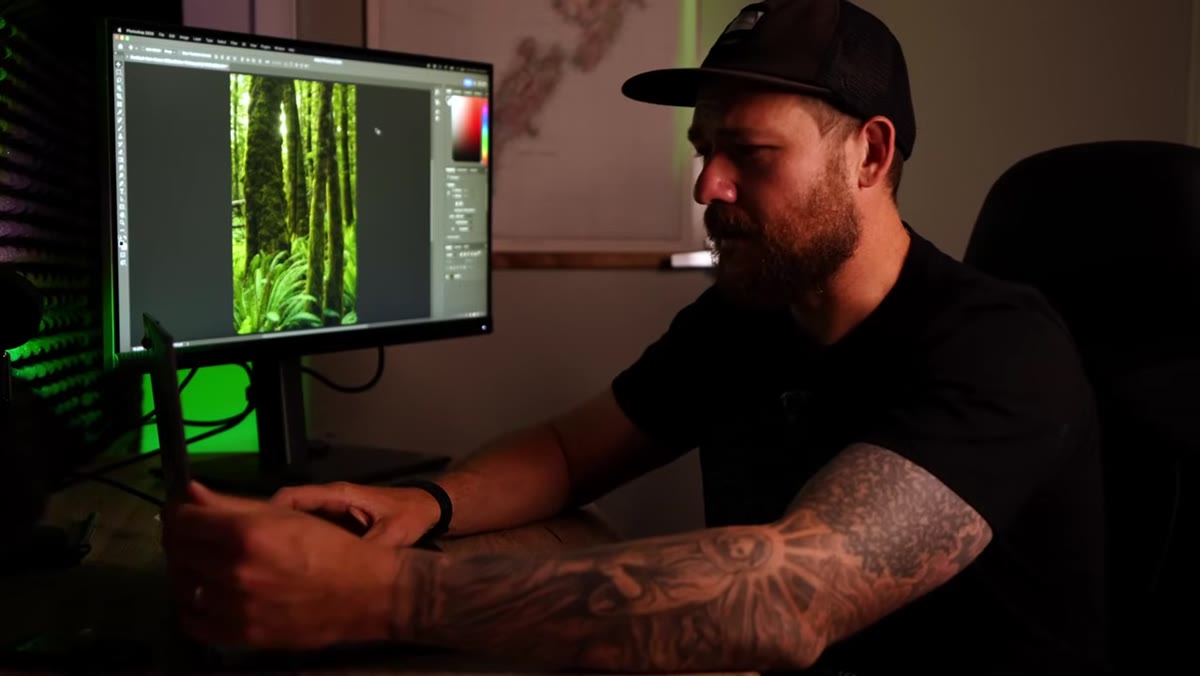 Focus-stacked forest scene open in Photoshop
Patino’s forest example is a focus-stacked image, meaning he’s merged multiple exposures to achieve sharp focus from the nearest foreground element all the way to the trees in the far distance. If you’re working with a single raw file you’ve already processed, that’s fine too. The important thing is that you’re working on a flattened or merged layer before you begin adding the atmospheric effect. The technique applies equally to single files.
Focus-stacked forest scene open in Photoshop
Patino’s forest example is a focus-stacked image, meaning he’s merged multiple exposures to achieve sharp focus from the nearest foreground element all the way to the trees in the far distance. If you’re working with a single raw file you’ve already processed, that’s fine too. The important thing is that you’re working on a flattened or merged layer before you begin adding the atmospheric effect. The technique applies equally to single files.
What you’re looking for before you start is exactly what Patino identifies: elements at different depths that are blending together visually. In his image, a tree on the far right reads as roughly the same tone as trees much closer to the lens. That’s the problem you’re solving.
Step 2: Create a New Blank Layer
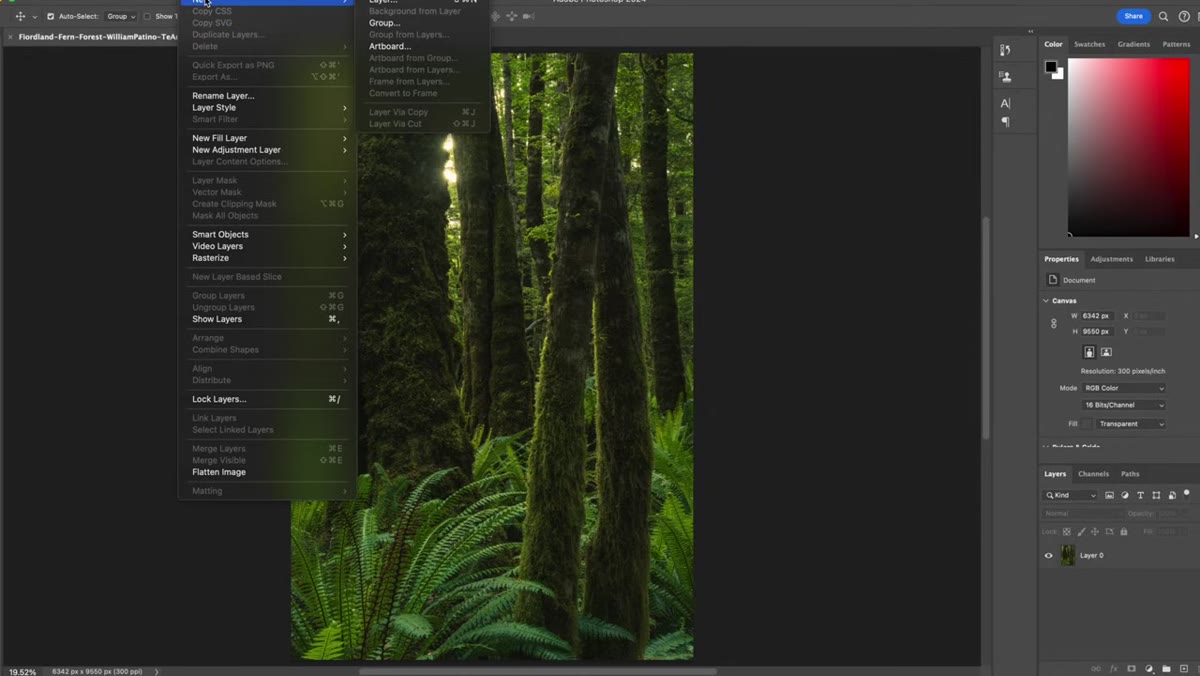 Layer menu open, “New Layer” option highlighted
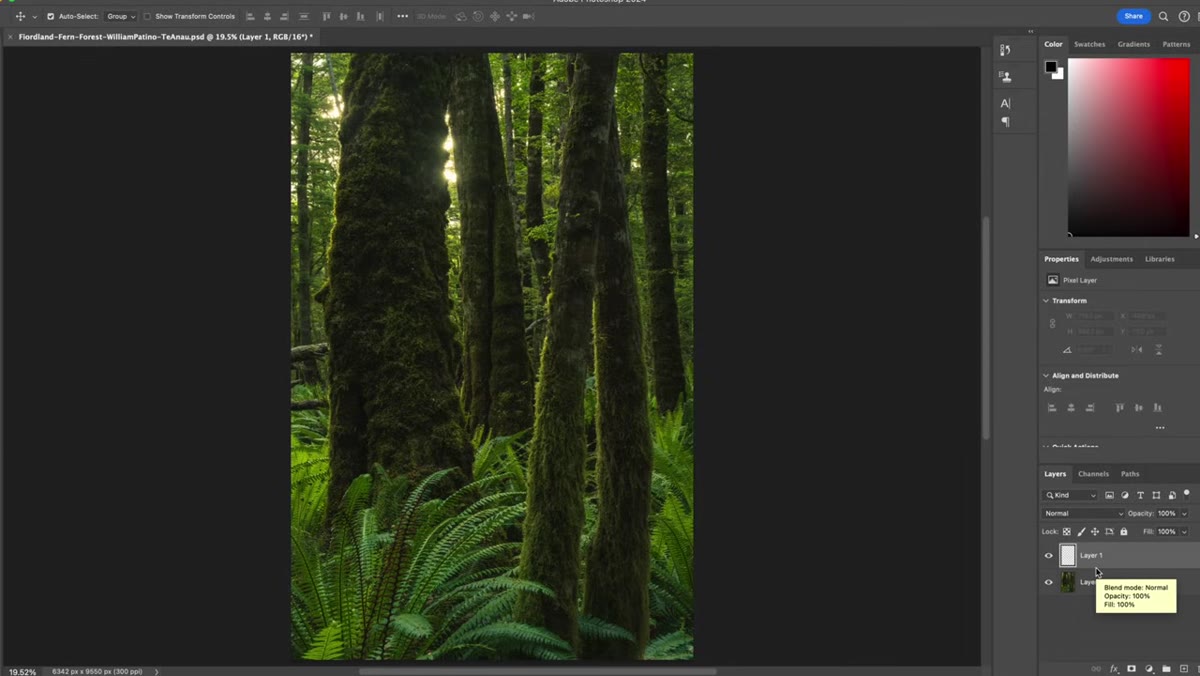
Go to the Layer menu at the top of Photoshop and select New Layer. When the dialog box appears, you don’t need to name it or change any settings yet. Just click OK. You’ll see a new blank transparent layer appear above your image in the layers panel. Nothing will look different on your canvas yet, and that’s expected.
Layer menu open, “New Layer” option highlighted
Go to the Layer menu at the top of Photoshop and select New Layer. When the dialog box appears, you don’t need to name it or change any settings yet. Just click OK. You’ll see a new blank transparent layer appear above your image in the layers panel. Nothing will look different on your canvas yet, and that’s expected.
Step 3: Fill the Layer With 50% Gray
 Fill dialog box with 50% Gray and Screen blend mode selected
With your new layer selected, hold Shift and press Delete (or Backspace on Windows) to open the Fill dialog. This is the key step. In the Contents dropdown, choose 50% Gray. Then, in the Blending section within that same dialog, set the Mode to Screen. Click OK.
Fill dialog box with 50% Gray and Screen blend mode selected
With your new layer selected, hold Shift and press Delete (or Backspace on Windows) to open the Fill dialog. This is the key step. In the Contents dropdown, choose 50% Gray. Then, in the Blending section within that same dialog, set the Mode to Screen. Click OK.
At first the layer will look solid gray and block your image. Don’t panic. Screen blend mode causes gray tones to interact with the layer beneath in a way that will make the gray appear to lighten the image rather than obscure it. Once you apply it, you’ll notice the layer becomes semi-transparent. That confirms you’re on the right track.
Step 4: Set the Layer Blend Mode to Screen and Lower Opacity
 Layers panel showing Screen blend mode and opacity slider at 50%
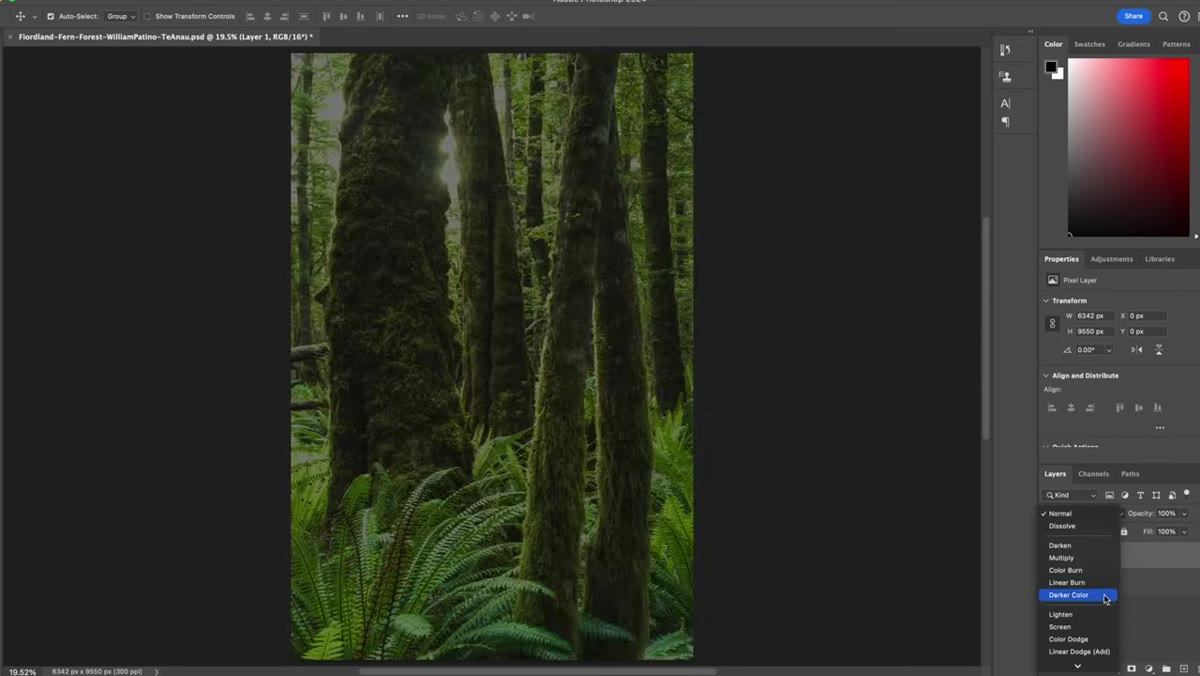
If the blend mode didn’t carry over from the fill dialog, set it manually in the Layers panel dropdown (where it says “Normal” by default) to Screen. Then bring the opacity of this layer down to around 50%. Patino points out that the exact opacity value matters less than you’d think at this stage, because you’re about to mask the effect and paint it in selectively. Think of this as setting a ceiling for how strong the atmospheric haze will be. You can always adjust it later.
Layers panel showing Screen blend mode and opacity slider at 50%
If the blend mode didn’t carry over from the fill dialog, set it manually in the Layers panel dropdown (where it says “Normal” by default) to Screen. Then bring the opacity of this layer down to around 50%. Patino points out that the exact opacity value matters less than you’d think at this stage, because you’re about to mask the effect and paint it in selectively. Think of this as setting a ceiling for how strong the atmospheric haze will be. You can always adjust it later.
Step 5: Add a Layer Mask and Invert It to Black
 Layer mask added and filled with black, hiding the gray layer
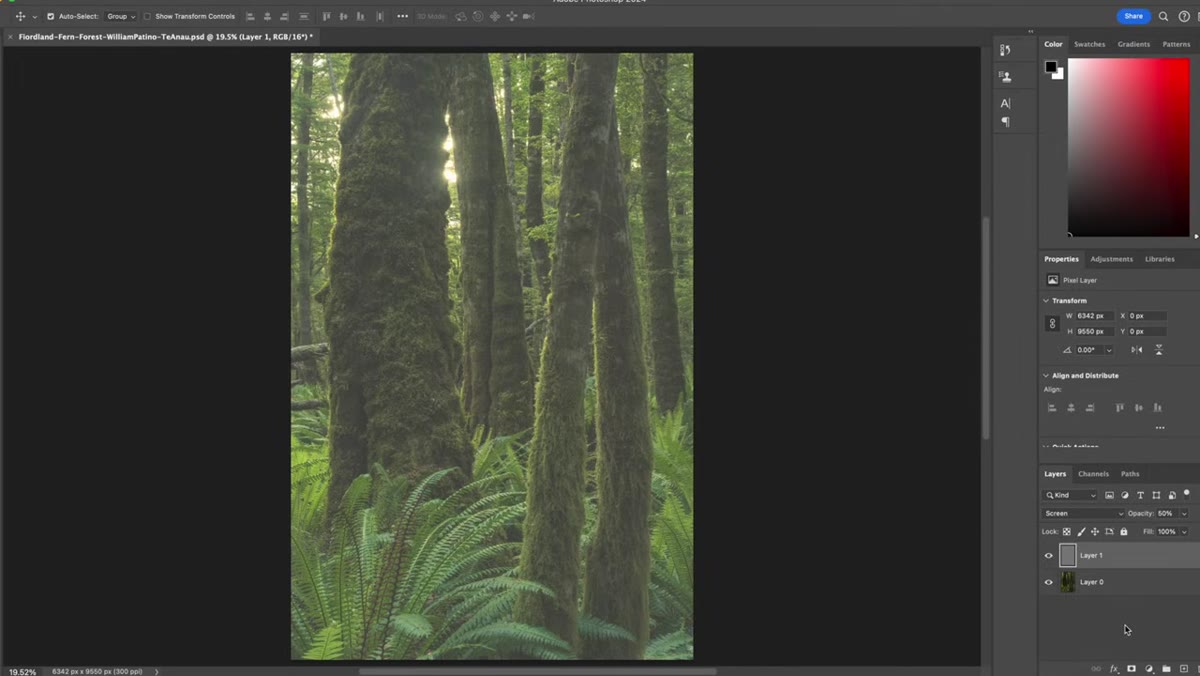
Click the Add Layer Mask button at the bottom of the Layers panel. It looks like a rectangle with a circle inside. A white mask thumbnail will appear next to your layer. While the mask is selected (click on it to make sure), fill it with black using Edit > Fill > Black, or press Ctrl+I (Cmd+I on Mac) to invert it from white to black. This hides the gray layer entirely. Your image should now look like it did before you started. That’s intentional. You’ve hidden the effect and you’re going to reveal it only where you want it.
Layer mask added and filled with black, hiding the gray layer
Click the Add Layer Mask button at the bottom of the Layers panel. It looks like a rectangle with a circle inside. A white mask thumbnail will appear next to your layer. While the mask is selected (click on it to make sure), fill it with black using Edit > Fill > Black, or press Ctrl+I (Cmd+I on Mac) to invert it from white to black. This hides the gray layer entirely. Your image should now look like it did before you started. That’s intentional. You’ve hidden the effect and you’re going to reveal it only where you want it.
Step 6: Paint in the Atmospheric Haze With a Soft Brush
 White brush strokes being painted onto black mask over background trees
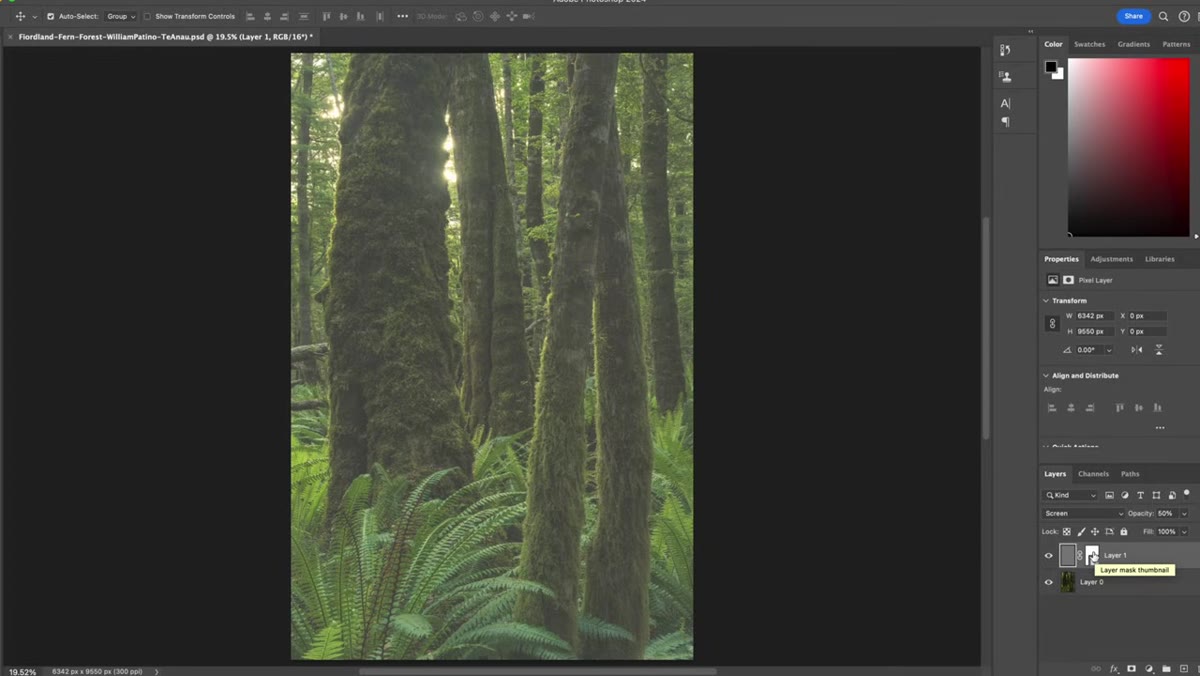
Select a soft, round brush and set your foreground color to white. Make sure the mask (not the layer itself) is still selected in the Layers panel. Now paint over the areas in the background that you want to push back, the trees in the far distance, the upper corners, any elements that should feel further away than they currently appear. As you paint with white on the black mask, you’re revealing the gray screen layer only in those areas, creating the appearance of haze or atmospheric mist.
White brush strokes being painted onto black mask over background trees
Select a soft, round brush and set your foreground color to white. Make sure the mask (not the layer itself) is still selected in the Layers panel. Now paint over the areas in the background that you want to push back, the trees in the far distance, the upper corners, any elements that should feel further away than they currently appear. As you paint with white on the black mask, you’re revealing the gray screen layer only in those areas, creating the appearance of haze or atmospheric mist.
Work gradually. Build up the effect with multiple light strokes rather than one heavy pass. Patino’s goal is subtlety. The viewer shouldn’t notice the technique; they should just feel like the image has more air in it.
A Note on Knowing When to Stop
I’ve used this technique on travel shots from coastal Washington, where the light off the water can flatten out mid-distance hills in exactly the same way. The temptation is to overdo it, to push the atmospheric effect so hard that it reads as fog or haze rather than distance. My rule is to make the adjustment, step away from the screen for five minutes, then come back and cut the effect by 20%. Whatever feels right in the moment usually benefits from restraint on review.
This also works beautifully in black and white conversions where tonal separation is everything. If your scene has multiple depth planes and they’re fighting for the same tonal real estate, this gray layer method can sort them out faster than trying to use curves or luminosity masks on the background alone.
The single most important idea in this tutorial is one Patino states plainly at the start: capturing a great scene is only part of the job. Post-processing isn’t a correction for a weak photo; it’s where you finish communicating what you saw. The atmospheric perspective technique is a specific tool for a specific problem, but the underlying skill is learning to see what your raw file is failing to convey and knowing how to close that gap. Watch the full tutorial on YouTube to see Patino walk through both the forest scene and a sunrise image using the same principles from start to finish.
Comments
Leave a Comment