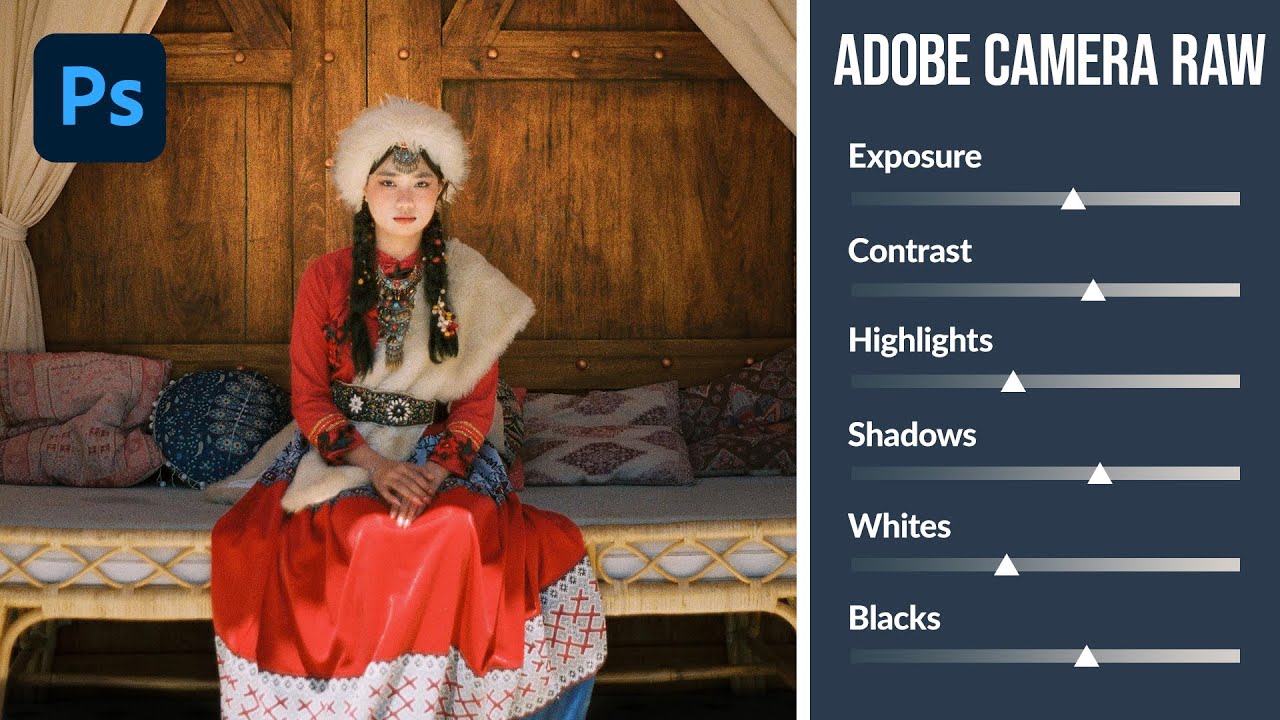
If you’ve ever felt like Lightroom and Photoshop exist in two separate universes that you have to keep shuttling between, this workflow is going to feel like a relief. For years I edited portraits in Lightroom, exported a TIFF, dragged it into Photoshop for any compositing or retouching work, then realized I needed to tweak the exposure again and had to start the whole round-trip over. It was tedious, and honestly it made me avoid certain edits just because the back-and-forth wasn’t worth it.
What I didn’t fully appreciate until recently is that Photoshop has had a nearly complete version of the Lightroom editor built right into it, called Adobe Camera Raw, and you can call it up as a filter on any layer. In this Aaron Nace (PHLEARN) tutorial, Watch the full tutorial on YouTube, Aaron walks through the whole Camera Raw filter workflow inside Photoshop, including the masking tools that most people don’t even know exist in there. The technique is non-destructive, reversible, and surprisingly fast once you know the setup.
The example image in the tutorial is a lifestyle portrait, but every step here translates directly to travel photos, product shots, or really anything you’d normally reach for Lightroom to finish. Here’s how to do it.
Step 1: Unlock Your Background Layer and Convert to Smart Object
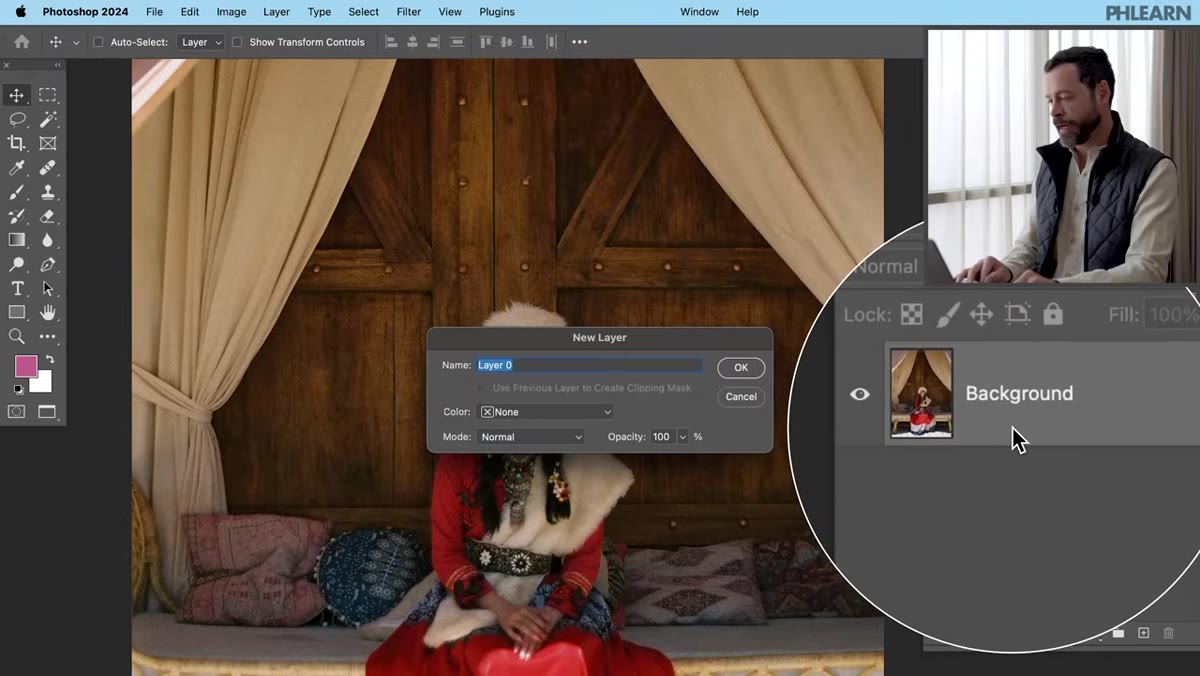 Background layer being double-clicked to unlock it in Photoshop
Before you can apply Camera Raw non-destructively, you need to do two quick layer prep steps. First, double-click directly on the background layer thumbnail in your Layers panel. This converts the locked background into a regular editable layer. Click OK when the dialog appears.
Background layer being double-clicked to unlock it in Photoshop
Before you can apply Camera Raw non-destructively, you need to do two quick layer prep steps. First, double-click directly on the background layer thumbnail in your Layers panel. This converts the locked background into a regular editable layer. Click OK when the dialog appears.
Next, go to Layer, then Smart Objects, then Convert to Smart Object. You’ll see a small icon appear in the corner of the layer thumbnail confirming it worked. This step is the key to the whole workflow: because Camera Raw is being applied as a Smart Filter to a Smart Object, you can double-click the filter at any time to reopen it and change your settings. Nothing is baked in. Nothing is permanent.
Step 2: Open the Camera Raw Filter
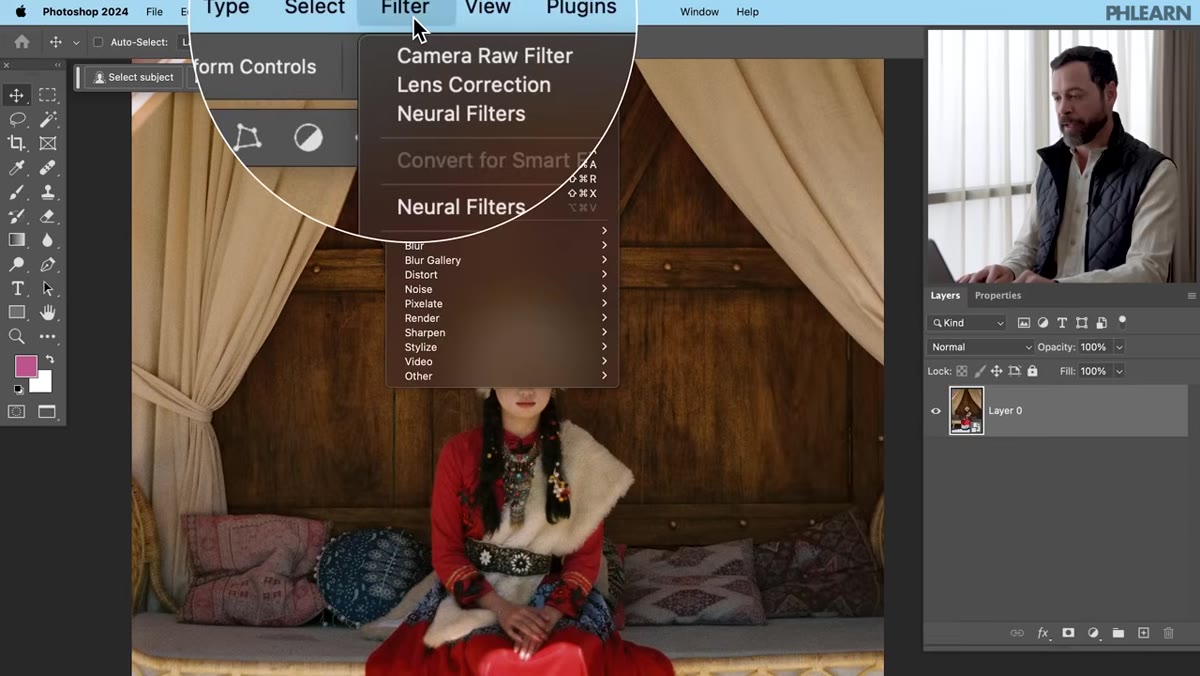 Filter menu open with Camera Raw Filter highlighted
With your Smart Object layer selected, go to Filter at the top of the screen and click Camera Raw Filter. The Camera Raw interface will open, and if you’ve spent any time in Lightroom you’ll immediately recognize the panel on the right side: Exposure, Contrast, Highlights, Shadows, Whites, Blacks, and so on. This is the same engine. Same sliders, same logic.
Filter menu open with Camera Raw Filter highlighted
With your Smart Object layer selected, go to Filter at the top of the screen and click Camera Raw Filter. The Camera Raw interface will open, and if you’ve spent any time in Lightroom you’ll immediately recognize the panel on the right side: Exposure, Contrast, Highlights, Shadows, Whites, Blacks, and so on. This is the same engine. Same sliders, same logic.
The important thing to understand here is that you’re not just adjusting the whole image with those sliders. You can create masks that target specific areas or subjects, and then adjust only those masked regions independently. That’s where this tool goes from “nice to have” to genuinely powerful.
Step 3: Use Select Subject to Mask Your Portrait
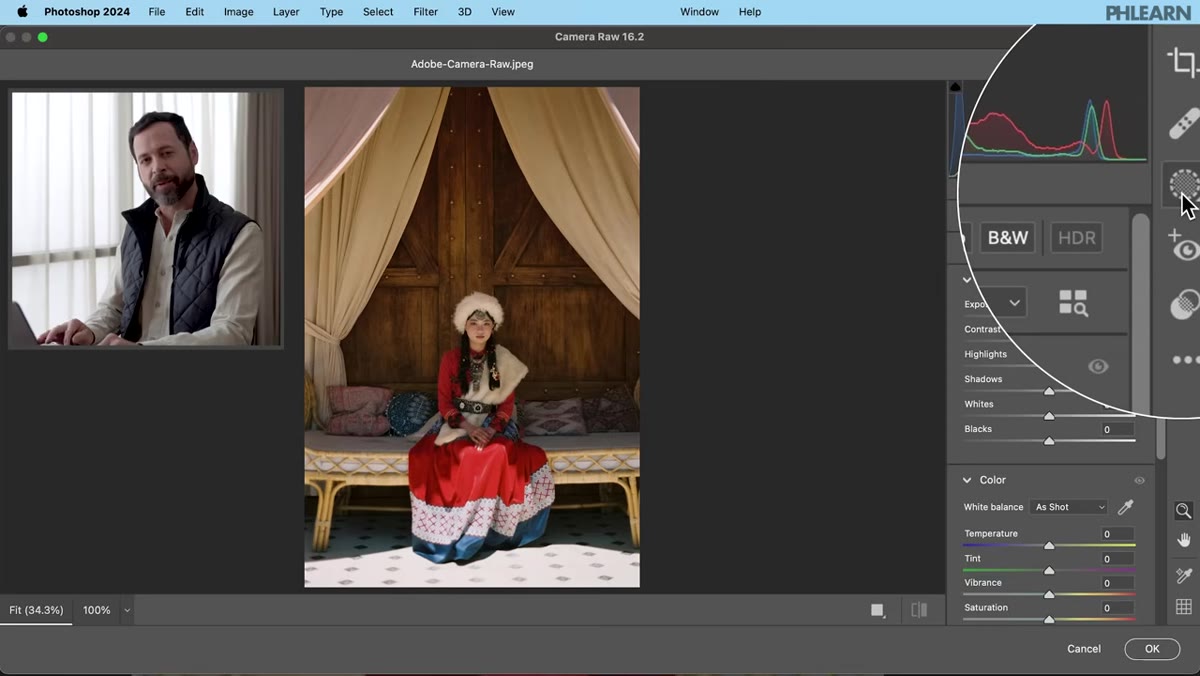 Subject selected with mask overlay visible in Camera Raw
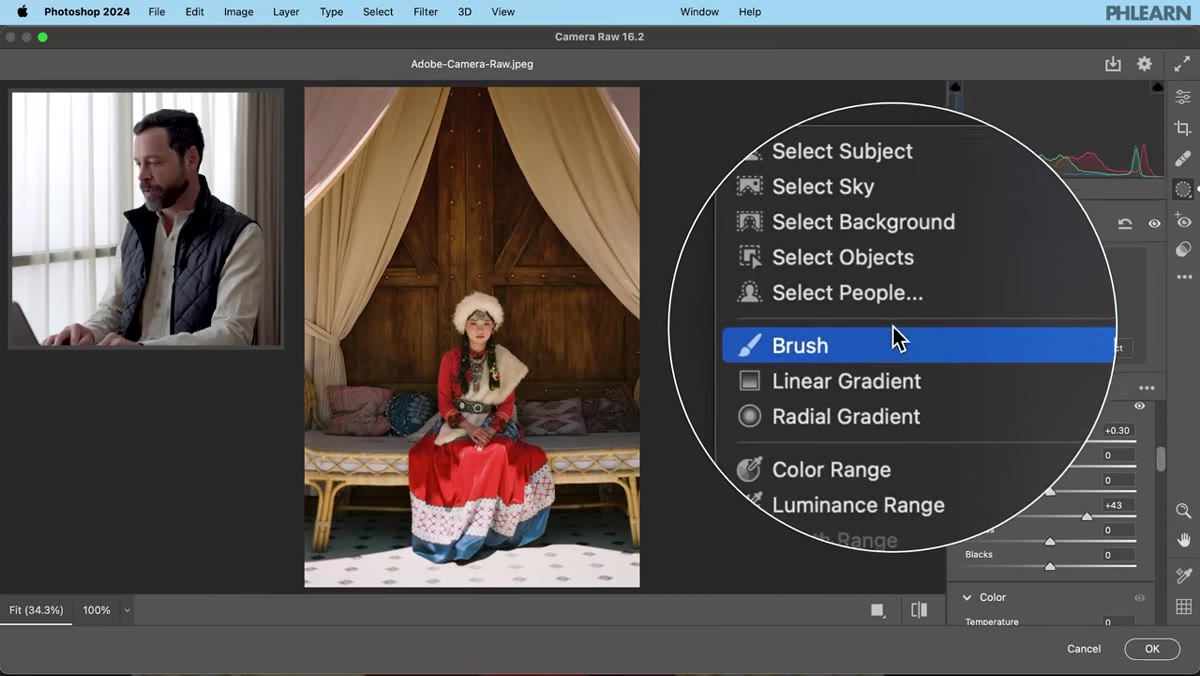
Click on the Masking icon in the right-hand panel (it looks like a circle with a dotted edge). You’ll see several options for creating masks. Click Select Subject and Camera Raw will analyze the image and automatically generate a selection around your main subject.
Subject selected with mask overlay visible in Camera Raw
Click on the Masking icon in the right-hand panel (it looks like a circle with a dotted edge). You’ll see several options for creating masks. Click Select Subject and Camera Raw will analyze the image and automatically generate a selection around your main subject.
The automatic selection is usually very good but rarely perfect. In the tutorial, the selection picks up part of a nearby pillow. To fix that, click Subtract in the masking controls, choose Subtract with Brush, and paint over any areas that got included by mistake. A few quick strokes is usually all it takes. Once the mask looks clean, you can go into the Exposure and Shadows sliders and brighten just the subject, without touching anything else in the frame.
Step 4: Add a Second Mask to Tone Down a Distracting Area
 New mask created with brush tool painting over the floor area
Here’s where the multi-mask capability really starts to show its value. Create a new mask by clicking the plus button in the masking panel, then choose Brush. Paint roughly over any area of the image that’s pulling focus away from your subject. In the tutorial it’s a bright floor, but this same idea applies to a blown-out sky, a distracting wall, or an overlit background in a travel shot.
New mask created with brush tool painting over the floor area
Here’s where the multi-mask capability really starts to show its value. Create a new mask by clicking the plus button in the masking panel, then choose Brush. Paint roughly over any area of the image that’s pulling focus away from your subject. In the tutorial it’s a bright floor, but this same idea applies to a blown-out sky, a distracting wall, or an overlit background in a travel shot.
You don’t need to be precise with the brush here. Just cover the general region. Then pull the Highlights slider down and drop the Exposure slightly. The goal isn’t a dramatic change: it’s just nudging the viewer’s eye away from that spot and back toward your subject. Before and after, the difference is subtle but it reads immediately.
Step 5: Create a Radial Gradient Mask for a Background Glow
 Radial gradient being drawn from center of image outward
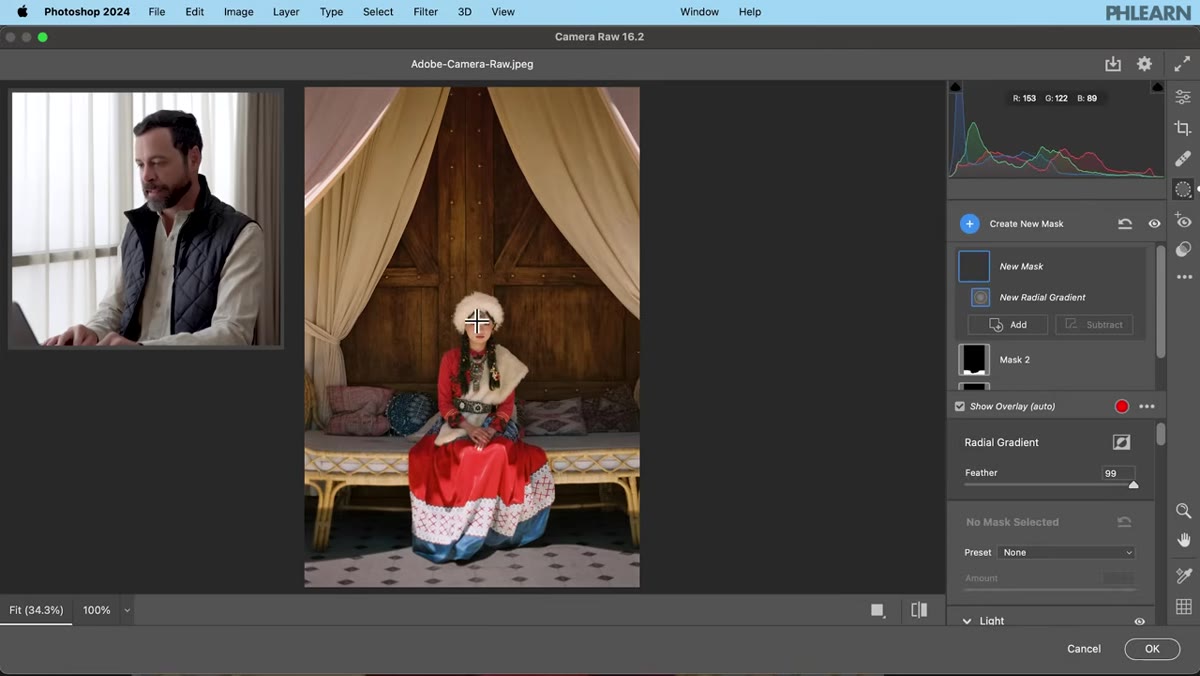
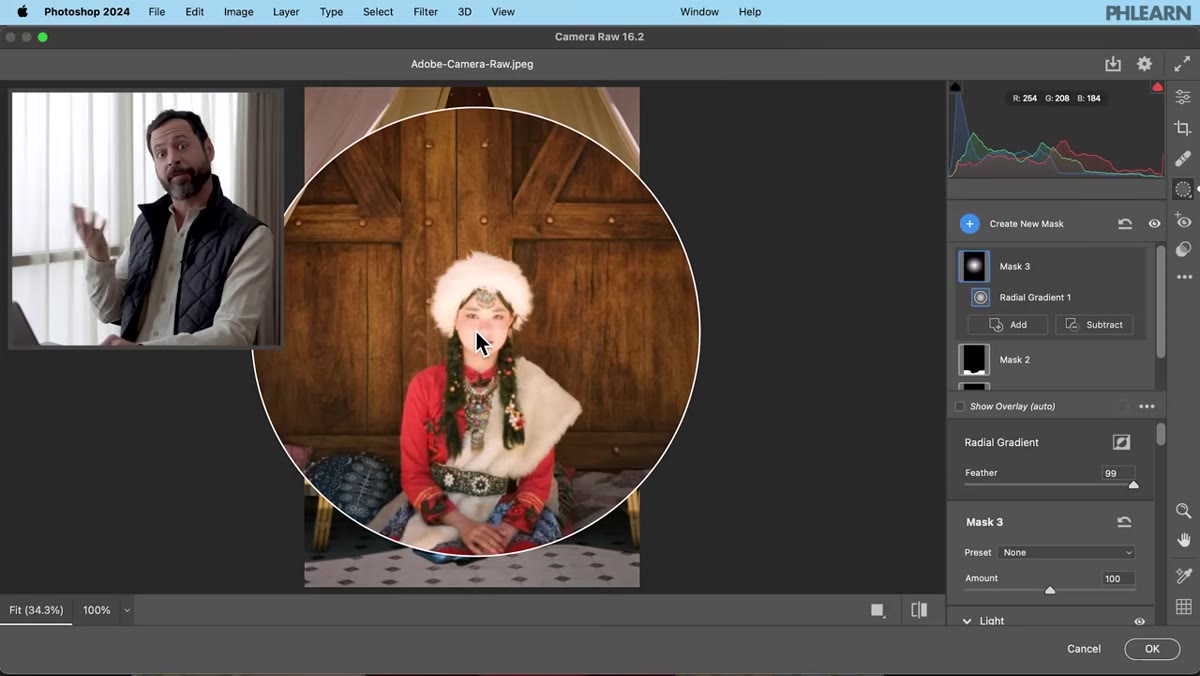
Create another new mask and this time choose Radial Gradient. Click and drag from a center point outward to create an oval-shaped region of influence. Position this behind your subject. Then raise the Exposure within that mask to create a soft warm glow, as if there’s a light source just behind the person.
Radial gradient being drawn from center of image outward
Create another new mask and this time choose Radial Gradient. Click and drag from a center point outward to create an oval-shaped region of influence. Position this behind your subject. Then raise the Exposure within that mask to create a soft warm glow, as if there’s a light source just behind the person.
Add a touch of warmth and maybe a hint of magenta to give it some atmosphere. The effect should feel subtle and natural rather than like a preset was applied. The problem you’ll immediately notice is that the glow bleeds onto your subject and overbightens them. That’s what the next step fixes.
Step 6: Subtract the Subject from Your Glow Mask
 Subtract option being used to remove subject from radial gradient mask
While still on your radial gradient mask, click Subtract and choose Select Subject again. Camera Raw will remove the subject’s shape from the glow mask, which means the brightening effect now wraps around the person rather than washing them out. Toggle the mask visibility with the eyeball icon and you’ll see exactly how clean the separation is.
Subtract option being used to remove subject from radial gradient mask
While still on your radial gradient mask, click Subtract and choose Select Subject again. Camera Raw will remove the subject’s shape from the glow mask, which means the brightening effect now wraps around the person rather than washing them out. Toggle the mask visibility with the eyeball icon and you’ll see exactly how clean the separation is.
This combination of additive and subtractive masking inside a single filter is something I didn’t expect Camera Raw to handle so gracefully. It keeps all those adjustments in one place, all editable, all non-destructive.
A Note from My Own Practice
I’ve started using this workflow as a first pass on almost every portrait or travel image before I do any retouching. The reason is that fixing the light and color globally first, with proper targeted masks, means the retouching layer above it has less work to do. When the subject is already well-exposed and the background isn’t fighting for attention, everything else downstream gets easier.
One caveat: if you’re working with JPEG files rather than RAW files, Camera Raw still works, but you’ll have less latitude in the shadows and highlights. The technique is the same, but be more conservative with your slider values or you’ll start seeing banding and artifacts pretty quickly. RAW files have a lot more room to breathe.
The single most important thing to take away from this tutorial is the Smart Object setup at the beginning. That one step is what separates a flexible, revisable edit from one you’re stuck with. Everything else, the masking, the adjustments, the gradients, only stays useful if you can go back and tweak it a week later when your eye has rested.
Watch the full tutorial on YouTube to see Aaron walk through all of this in real time, including a few additional touches he adds at the end that are worth seeing in motion.
Comments (2)
This is going in my reference folder. Incredibly useful.
Been doing this wrong for years apparently. Thanks for the wake-up call.
Leave a Comment