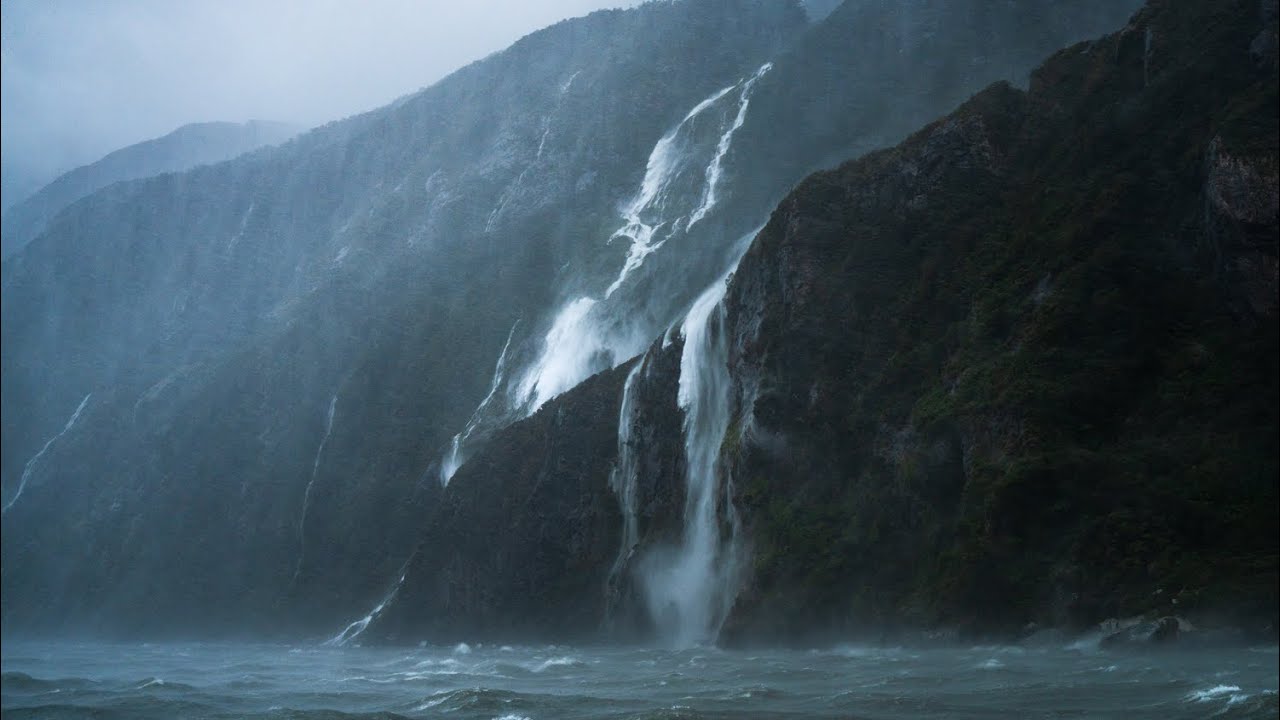
There’s a particular kind of paralysis that hits me every time I step into a dense forest with my camera. Too many trees. Too much texture. No obvious subject. I stand there rotating slowly like a confused sprinkler, and somehow leave with 300 mediocre frames of nothing. If you’ve felt that, this one’s for you.
I recently watched William Patino’s behind-the-scenes tutorial from a nine-day photography workshop he ran in Fiordland, New Zealand, one of the most visually overwhelming landscapes on the planet, and something clicked. Watch the full tutorial on YouTube before or after reading this, because seeing him coach students in real time is genuinely useful. But if you want the breakdown you can take into the field right now, here’s how he approaches it.
What Patino is really teaching isn’t a set of camera settings. It’s a shooting philosophy for environments that feel like they’re actively working against you. Rainforests, waterfalls, dramatic fjords – these places punish photographers who overthink and reward the ones who stay moving and stay present.
Step 1: Let Go of the Perfect Shot and Enter Flow State
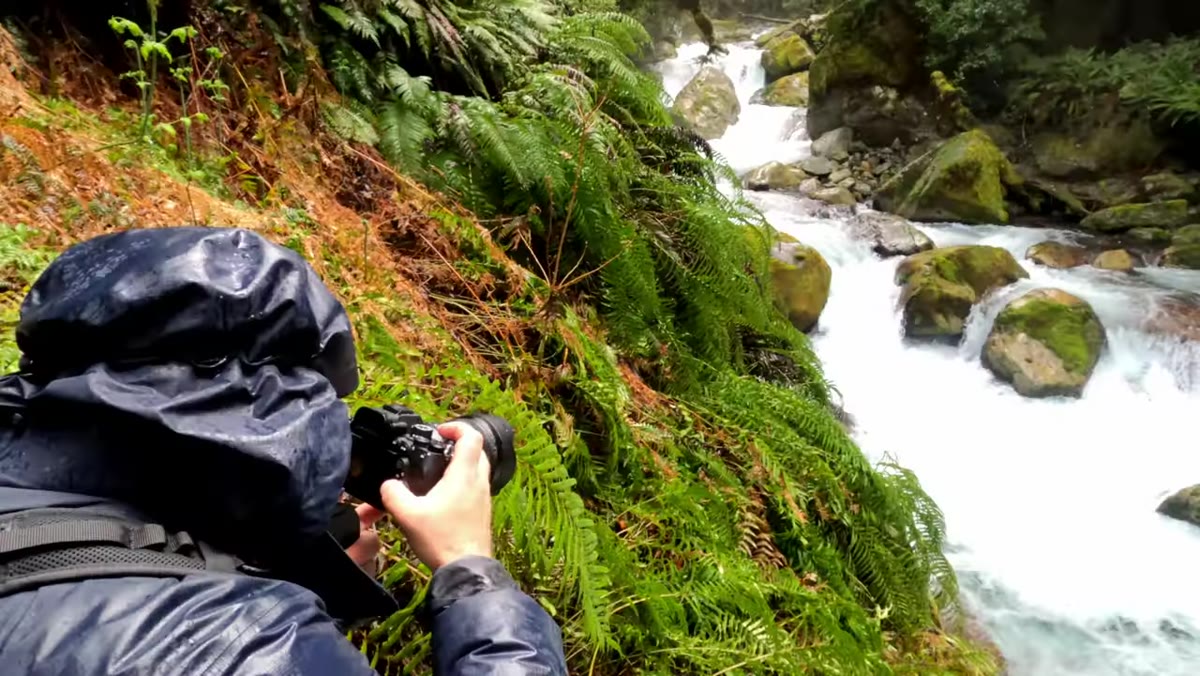 Photographer shooting handheld through dense rainforest undergrowth
The first thing Patino tells his workshop group is to stop chasing perfection in the field. His position is direct: if you’re mentally cataloguing every compositional variable while you’re shooting, you’re probably missing the actual shot. The better approach is to keep moving, keep adjusting slightly, and keep firing. Treat it as an iterative process rather than a single decisive moment.
Photographer shooting handheld through dense rainforest undergrowth
The first thing Patino tells his workshop group is to stop chasing perfection in the field. His position is direct: if you’re mentally cataloguing every compositional variable while you’re shooting, you’re probably missing the actual shot. The better approach is to keep moving, keep adjusting slightly, and keep firing. Treat it as an iterative process rather than a single decisive moment.
In practice this means working handheld through a scene, shifting your weight left or right, raising or lowering your angle incrementally, and shooting through the adjustment rather than stopping to evaluate. You audit the results at home. In the field, you just shoot.
Step 2: Find One Dominant Focal Point Before You Compose Anything
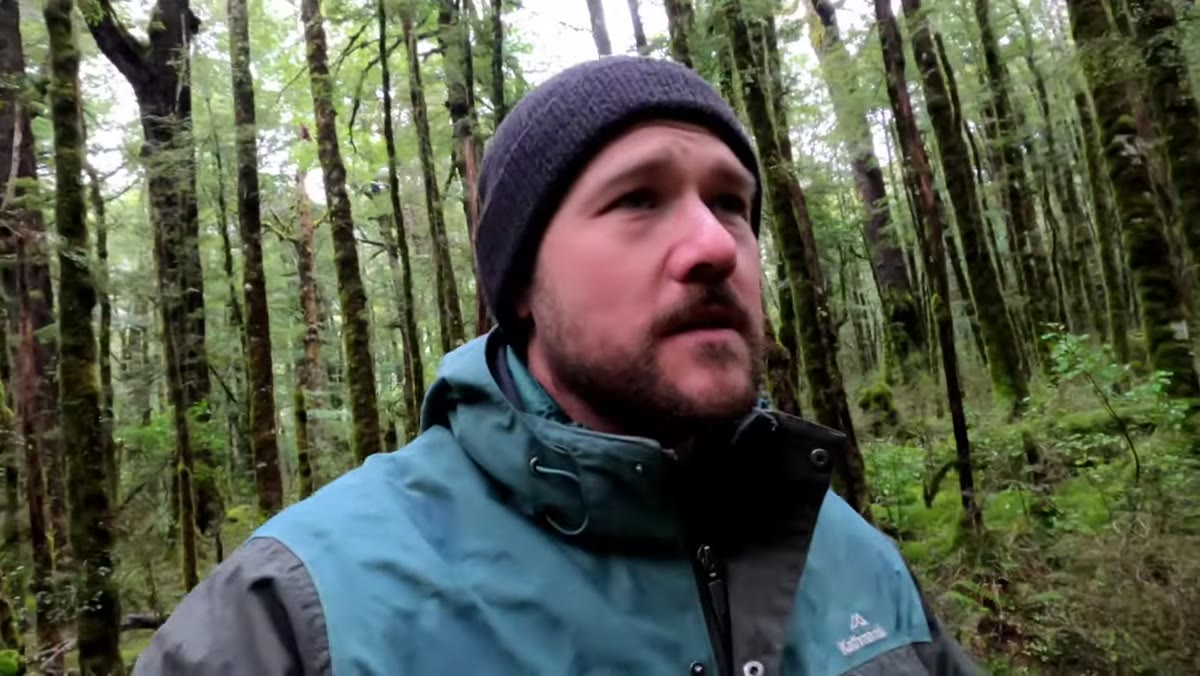 Dense forest scene with tangled branches and competing elements
Patino’s core advice for forest photography is to identify a single strong anchor before you touch focal length or framing. The forest is chaotic by nature, and if you don’t lead with a clear subject, every compositional decision you make after that is built on sand. He looks for something with visual weight – a large, dominant tree, a beam of light hitting a fern, anything that gives the eye somewhere to land.
Dense forest scene with tangled branches and competing elements
Patino’s core advice for forest photography is to identify a single strong anchor before you touch focal length or framing. The forest is chaotic by nature, and if you don’t lead with a clear subject, every compositional decision you make after that is built on sand. He looks for something with visual weight – a large, dominant tree, a beam of light hitting a fern, anything that gives the eye somewhere to land.
Only once that anchor exists does he start thinking about how to frame around it. This sequence matters. A lot of photographers do it backwards, picking a wide frame first and hoping a subject appears inside it.
Step 3: Use a Mid-Range Focal Length to Control Visual Clutter
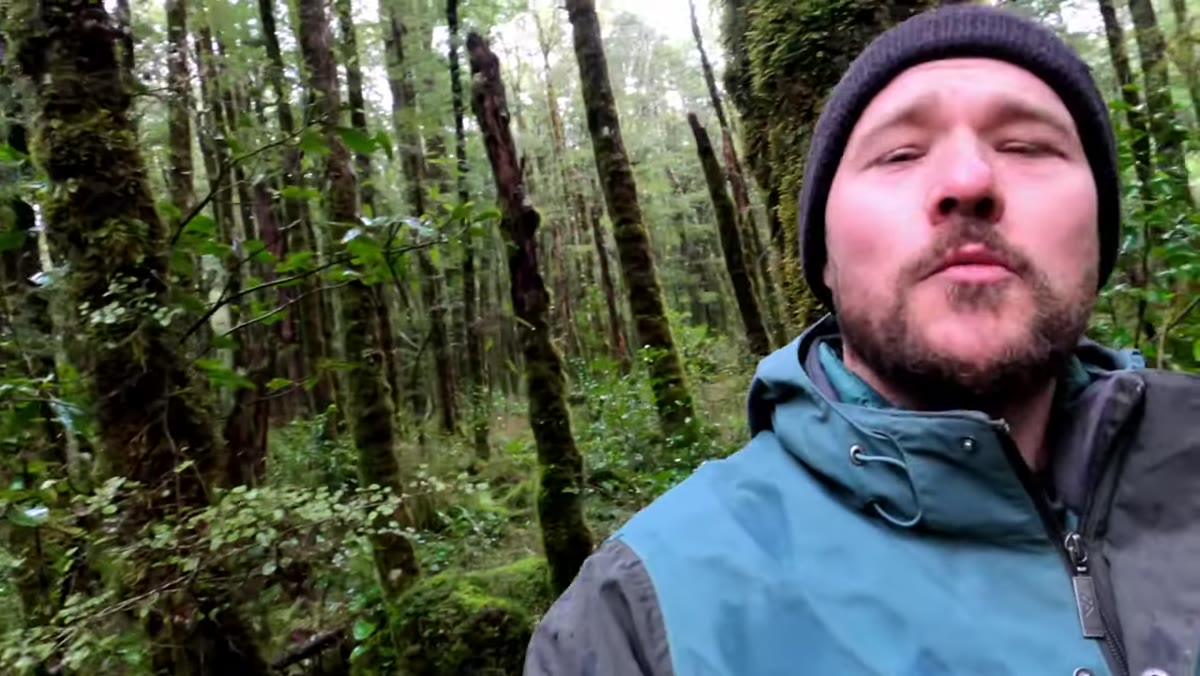 Photographer adjusting zoom on mid-range lens in forest setting
Wide-angle lenses are seductive in big landscapes, but Patino avoids going wide in forested environments. His reasoning is straightforward: the wider you go, the more chaotic background material you pull into the frame. Stray branches, distracting stumps, blown-out gaps in the canopy – they all get worse at wider focal lengths.
Photographer adjusting zoom on mid-range lens in forest setting
Wide-angle lenses are seductive in big landscapes, but Patino avoids going wide in forested environments. His reasoning is straightforward: the wider you go, the more chaotic background material you pull into the frame. Stray branches, distracting stumps, blown-out gaps in the canopy – they all get worse at wider focal lengths.
His default in the forest is a mid-range zoom, pulled in slightly to compress the scene and isolate his subject from the surrounding mess. If you’re shooting something like a 24-70mm, you’re probably living around 50-70mm in a dense forest rather than pulling back to 24mm. Try it on your next forest outing and notice how much cleaner your backgrounds get immediately.
Step 4: Use Camera Position to Manage Gaps and Vanishing Points
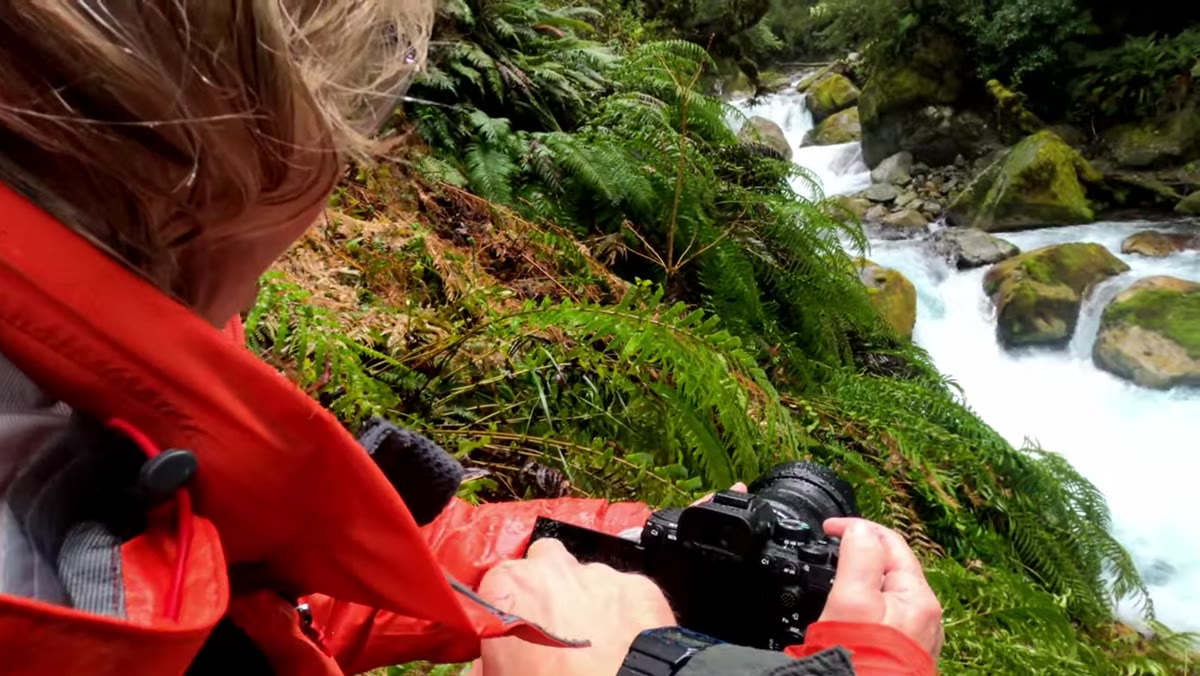 Camera framing adjusted to control vanishing point between trees
One of the most practical moments in the tutorial is when Patino coaches a student on fixing a gap between two trees that’s pulling the viewer’s eye out of the frame. His fix isn’t a focal length change – it’s a lateral step. Moving the camera body left or right, even a single large step, can close or open compositional gaps that would otherwise require cropping later.
Camera framing adjusted to control vanishing point between trees
One of the most practical moments in the tutorial is when Patino coaches a student on fixing a gap between two trees that’s pulling the viewer’s eye out of the frame. His fix isn’t a focal length change – it’s a lateral step. Moving the camera body left or right, even a single large step, can close or open compositional gaps that would otherwise require cropping later.
He also flags the vanishing point as a compositional anchor to keep track of. In a forest with receding tree lines or a winding path, the vanishing point is where the viewer’s eye will eventually land. You want to know where yours is before you lock in a composition, and you want it to sit somewhere intentional rather than drifting into a corner.
Step 5: Mix Shutter Speeds at Water Features Instead of Defaulting to One Setting
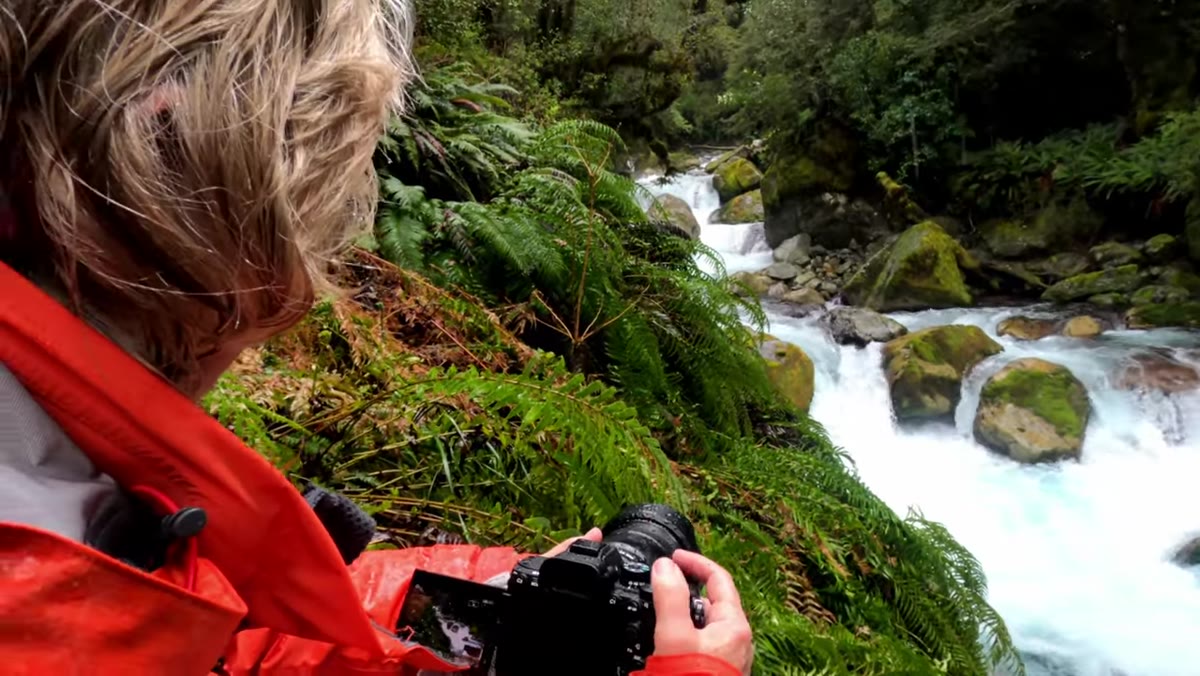 Waterfall scene with adjustment to shutter speed settings on camera
At the waterfall section of the workshop, Patino pushes his clients to stop defaulting to a single shutter speed for water. The silky long-exposure look is classic but it’s also just one option. A faster shutter freezes individual water droplets and gives the image texture and energy. A slower one smooths and softens. Neither is objectively correct.
Waterfall scene with adjustment to shutter speed settings on camera
At the waterfall section of the workshop, Patino pushes his clients to stop defaulting to a single shutter speed for water. The silky long-exposure look is classic but it’s also just one option. A faster shutter freezes individual water droplets and gives the image texture and energy. A slower one smooths and softens. Neither is objectively correct.
His instruction is to bracket your shutter speed the same way you might bracket exposure: shoot one version fast, one version slow, one somewhere in between. When you review at home you’ll often find the version you didn’t expect to prefer is the strongest one. This is a low-cost experiment that costs you maybe two extra minutes on location.
Step 6: Let Changing Light Be Part of Your Shooting Strategy, Not a Problem
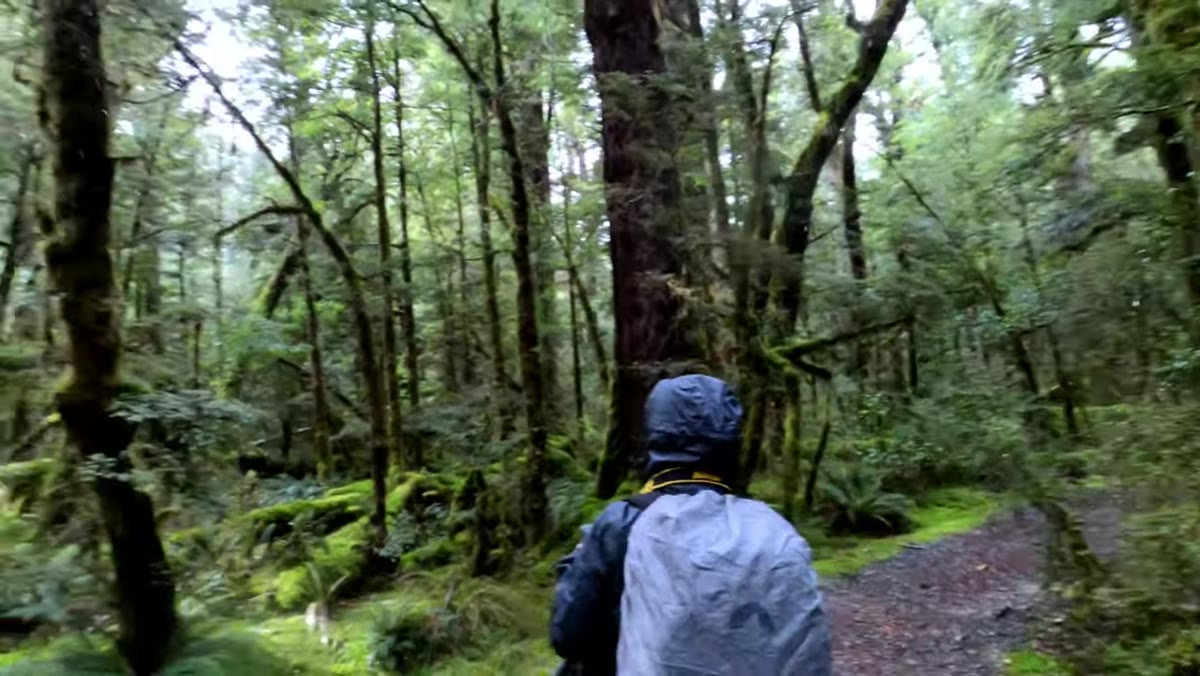 Dappled light breaking through forest canopy onto ferns and undergrowth
Fiordland is known for rapid weather shifts, and Patino treats this as an asset rather than an obstacle. Light breaks through the canopy between rain showers, stays for thirty seconds, and disappears. His students learn to read these windows and move toward interesting light rather than waiting for ideal conditions to stabilize.
Dappled light breaking through forest canopy onto ferns and undergrowth
Fiordland is known for rapid weather shifts, and Patino treats this as an asset rather than an obstacle. Light breaks through the canopy between rain showers, stays for thirty seconds, and disappears. His students learn to read these windows and move toward interesting light rather than waiting for ideal conditions to stabilize.
This is a shift in mindset that applies anywhere, not just New Zealand. Instead of waiting for the perfect light to land on your pre-selected composition, scan for where the good light is happening right now and find your composition around that. The light is telling you where to look.
Step 7: Plan Boat or Elevated Access to Time Your Light Window
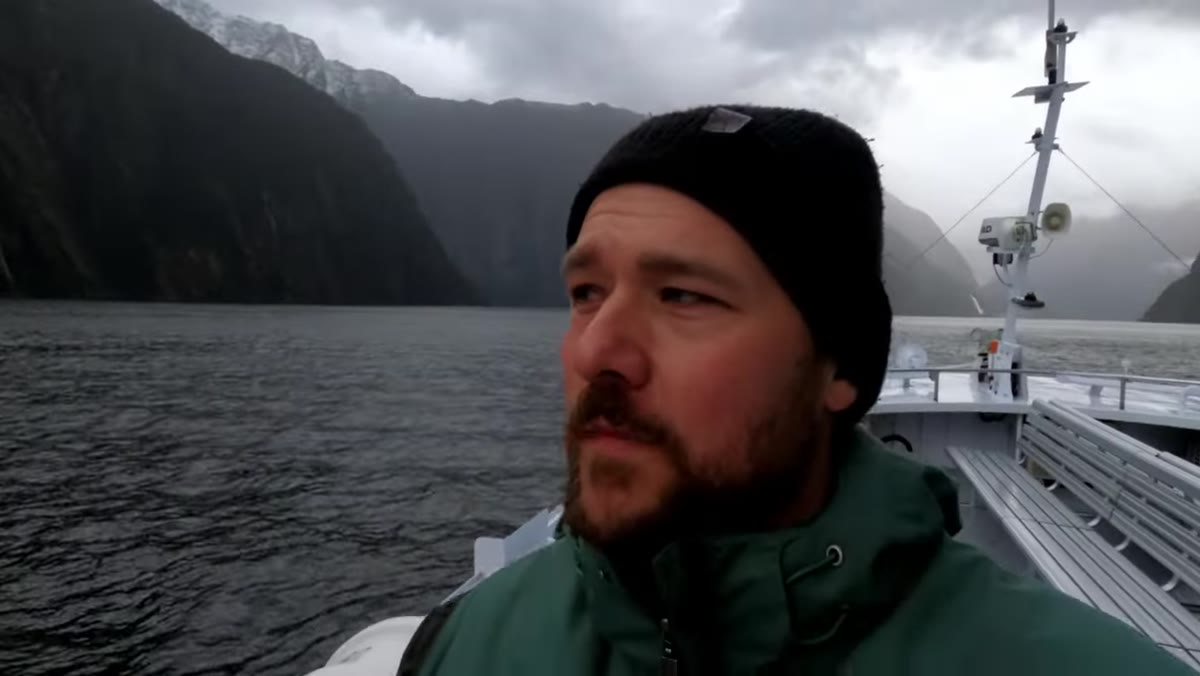 Private charter boat approaching dramatic cliff faces in Milford Sound
For the Milford Sound section of the workshop, Patino arranges a private charter rather than joining a tourist boat. The reason is control: he can direct where the boat goes and time the approach to specific formations around the soft light window. This is a logistical decision that’s actually a photographic one.
Private charter boat approaching dramatic cliff faces in Milford Sound
For the Milford Sound section of the workshop, Patino arranges a private charter rather than joining a tourist boat. The reason is control: he can direct where the boat goes and time the approach to specific formations around the soft light window. This is a logistical decision that’s actually a photographic one.
If you’re planning a trip to a location with water access, a private charter, kayak rental, or early-morning paddle gives you compositional options that a crowded ferry never will. The extra cost often produces the strongest images of a whole trip.
What I’d Add From My Own Experience
I once spent four consecutive evenings at a waterfall in Oregon trying to get one specific shot. Different shutter speeds, different positions, different light. I never got exactly what I pictured. What I got instead was something better, something I wouldn’t have found if I’d locked in on the original idea and stopped experimenting.
That’s the thing Patino is really pointing at with the flow state idea. The goal isn’t to execute a pre-visualized image. The goal is to stay responsive long enough for the location to show you what it actually is. I try to remind myself of this every Sunday morning when I’m out on my photo walk, especially when I grab my phone instead of my full kit just to stay loose.
The single most transferable thing from this tutorial is also the simplest: stop evaluating while you’re shooting. Move, adjust, shoot, repeat. Save the editing-eye for when you’re back home with the files. In the field, your only job is to stay present and keep working.
Watch the full tutorial on YouTube to see Patino coach his students through all of this in real time – watching him make live adjustments with a client is worth more than any written breakdown, including this one.
Comments (4)
Love how you break down complex stuff into manageable steps.
Well explained. I think my audience would really benefit from this — mind if I link to it?
Finally someone explains this in a way that actually makes sense.
Really solid breakdown. This pairs perfectly with the retouching work I've been writing about.
Leave a Comment