
There’s a particular kind of frustration that comes with standing in front of a gorgeous coastline and walking away with nothing but flat, underwhelming frames. I’ve done it. You drag yourself out of bed before sunrise, haul your gear to the water’s edge, and somehow the photos just don’t match what your eyes were seeing. For a long time I chalked it up to “needing better light.” Turns out, I was just missing a few fundamentals.
In this William Patino tutorial filmed on the east coast of New Zealand’s South Island, Patino walks through a real-world seascape shoot from location scouting all the way through post-processing. Watch the full tutorial on YouTube before or after reading this breakdown. What struck me most watching it wasn’t any single tip but how every decision he makes in the field connects to the ones before it. This is layered thinking, not a checklist.
What follows is my step-by-step breakdown of his approach, translated into something you can take directly to your next coastal shoot.
Step 1: Arrive Early and Scout Like You’re Not a Photographer
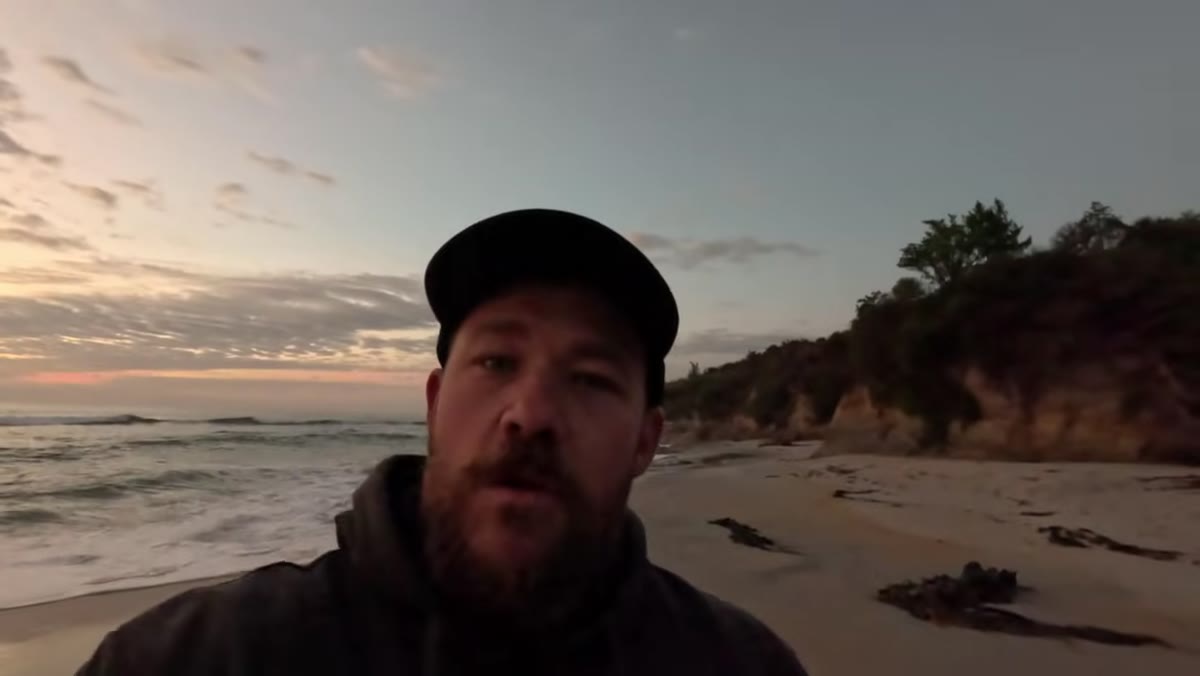 William walking the beach observing rocks and sand patterns
Before you even think about camera settings, put the camera down and walk. Patino makes this a deliberate practice, not an afterthought. He’d actually scouted this beach the day before on a family walk, which is how he knew exactly where the best rock formations and sand textures were before the light appeared.
William walking the beach observing rocks and sand patterns
Before you even think about camera settings, put the camera down and walk. Patino makes this a deliberate practice, not an afterthought. He’d actually scouted this beach the day before on a family walk, which is how he knew exactly where the best rock formations and sand textures were before the light appeared.
This matters more on a coastline than almost anywhere else because the foreground is constantly changing. Sand patterns shift with each tide. Rocks that look flat at midday become dramatic at low angle golden light. Give yourself time to observe the whole scene first, and you’ll set up with intention instead of scrambling when the light peaks.
Step 2: Understand What Kind of Light You’re Actually Working With
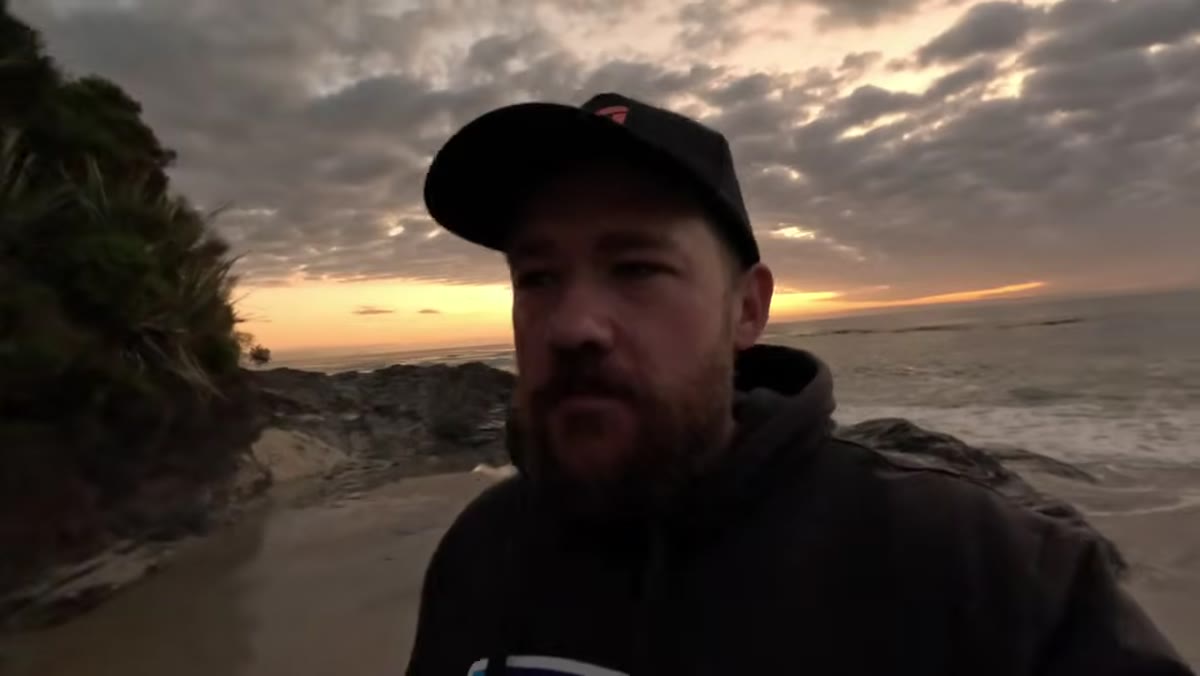 Horizon at sunrise showing cloud gap and color breaking through
Patino is direct about this: when you’re shooting toward the sun at sunrise or sunset, clouds are your friend, but only if there’s a gap near the horizon. That low strip of clear sky is what lets the sun’s light rake underneath the cloud layer and ignite it with color. A fully overcast sky near the horizon blocks that entirely, and you lose the spectacle.
Horizon at sunrise showing cloud gap and color breaking through
Patino is direct about this: when you’re shooting toward the sun at sunrise or sunset, clouds are your friend, but only if there’s a gap near the horizon. That low strip of clear sky is what lets the sun’s light rake underneath the cloud layer and ignite it with color. A fully overcast sky near the horizon blocks that entirely, and you lose the spectacle.
On this particular morning, that gap was partially closing because clouds were drifting north, so he adjusted his expectations early and focused on what the scene did offer: beautiful rock textures and sand detail. Knowing what you’re working with before the light peaks means you’re not wasting those critical minutes hoping for something that isn’t coming.
Step 3: Read the Tide and Position Yourself Safely
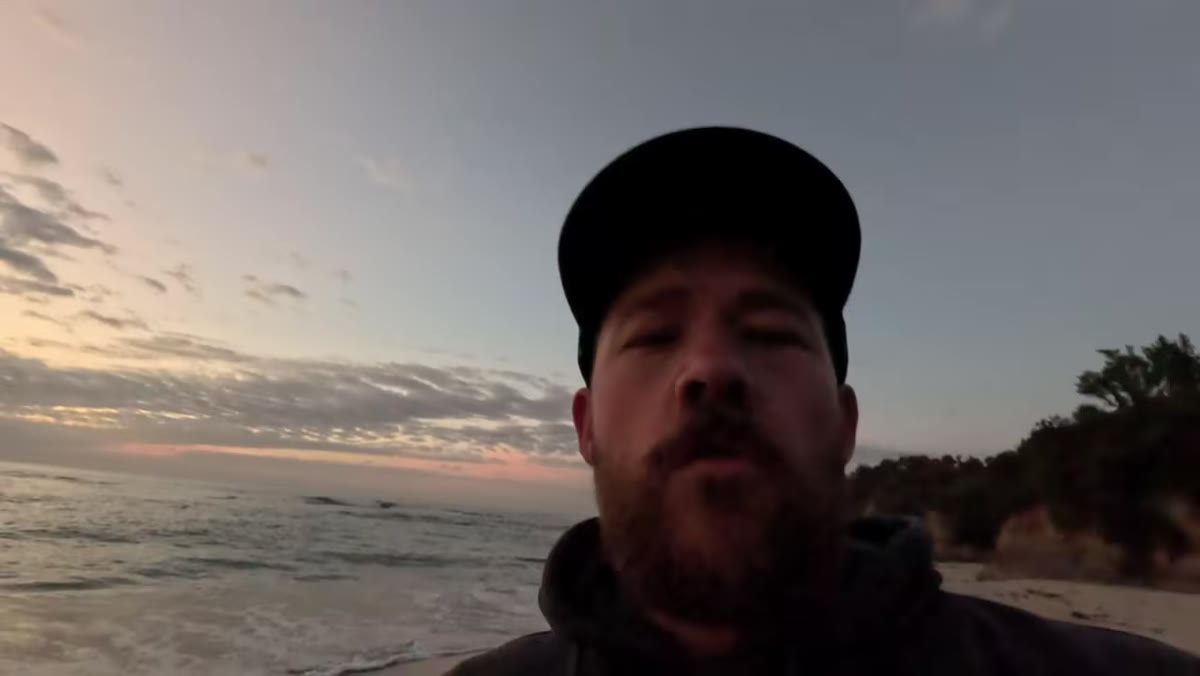
 William standing close to cliffs near high tide waterline
Tidal awareness isn’t just a safety note, it’s a compositional tool. Patino notes he was shooting near high tide, which told him the water wasn’t going to push much further up the beach. That confidence let him get close to the cliff faces and rock formations without worrying about suddenly being cut off.
William standing close to cliffs near high tide waterline
Tidal awareness isn’t just a safety note, it’s a compositional tool. Patino notes he was shooting near high tide, which told him the water wasn’t going to push much further up the beach. That confidence let him get close to the cliff faces and rock formations without worrying about suddenly being cut off.
Before any coastal shoot, check a tide chart for your location. Low tide reveals more foreground rocks and pools for compositions. High tide brings the water closer and creates more dramatic wash and flow over rocks. Neither is better across the board, but knowing which one you’re dealing with shapes every compositional decision you make.
Step 4: Build a Balanced Foreground Composition with Rocks and Channels
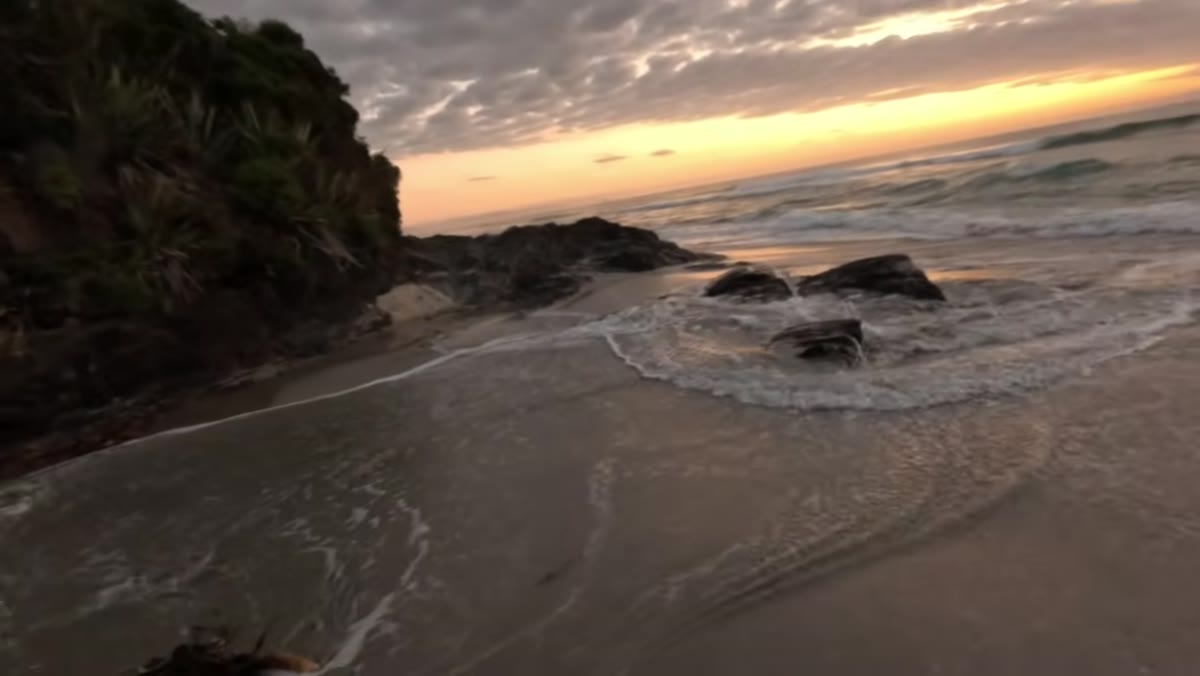
 Wide angle view showing rocks flanking a central channel in foreground
When you don’t have a dramatic background element like a sea stack or a lighthouse, your foreground has to do more work. Patino’s approach here is about balance: anchor the left and right sides of the frame with rock formations, and create a visual channel through the center that draws the eye toward the horizon or the sky.
Wide angle view showing rocks flanking a central channel in foreground
When you don’t have a dramatic background element like a sea stack or a lighthouse, your foreground has to do more work. Patino’s approach here is about balance: anchor the left and right sides of the frame with rock formations, and create a visual channel through the center that draws the eye toward the horizon or the sky.
With a wide angle lens, get low and close to emphasize that channel. Even a small gap between two modest rocks can look like a sweeping corridor when you’re shooting at ground level from 12 inches away. The wide angle exaggerates depth and makes tight foreground details feel expansive. If you’re shooting on a beach with relatively flat sand, look for lines in the sand itself, ripple patterns, shallow channels left by receding water, anything that gives the eye a path to follow.
Step 5: Time Your Shot to the Receding Water, Not the Incoming Wave
 Water pulling back from rocks creating smooth trailing motion
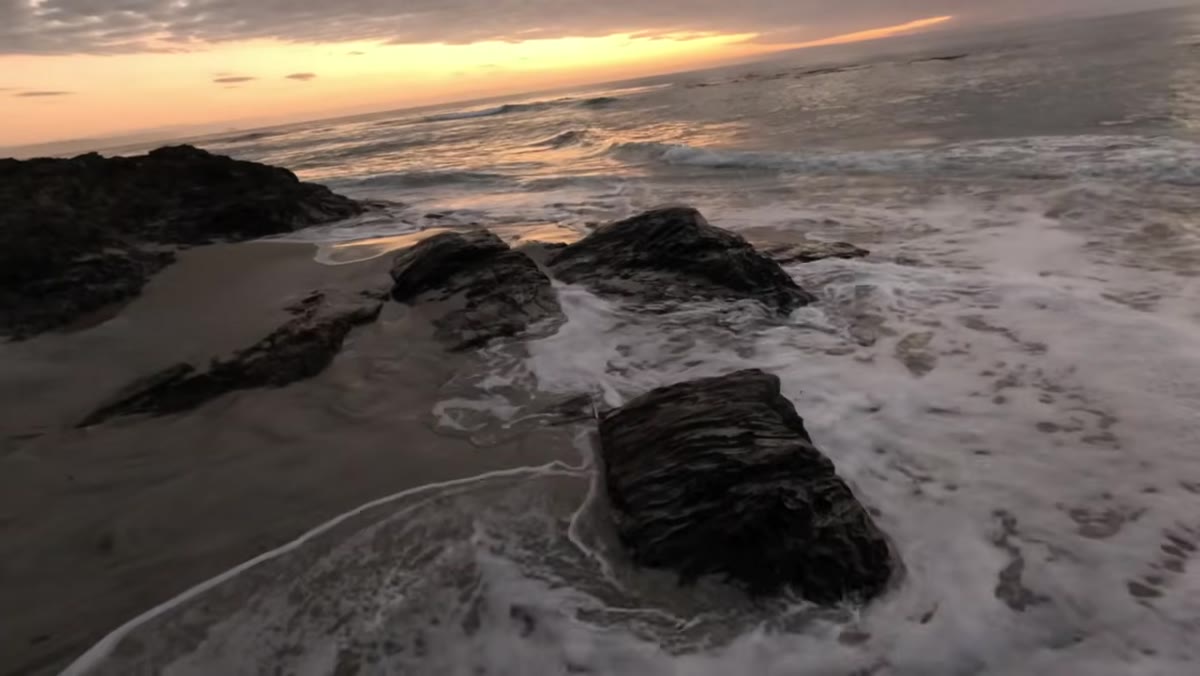
This is the tip I wish someone had told me years ago. Most beginners trigger the shutter when the wave comes in because that’s the dramatic moment. Patino shows why shooting as the water recedes gives you something far more compelling: a smooth, directional pull that creates flow and leads the eye through the frame.
Water pulling back from rocks creating smooth trailing motion
This is the tip I wish someone had told me years ago. Most beginners trigger the shutter when the wave comes in because that’s the dramatic moment. Patino shows why shooting as the water recedes gives you something far more compelling: a smooth, directional pull that creates flow and leads the eye through the frame.
Incoming water is visually chaotic. Receding water has direction. Pair that with the right shutter speed and you get those silky, trailing effects that define the genre. Which brings us directly to the next step.
Step 6: Dial In Your Shutter Speed for Water Movement
 Camera settings with slow shutter capturing water motion over rocks
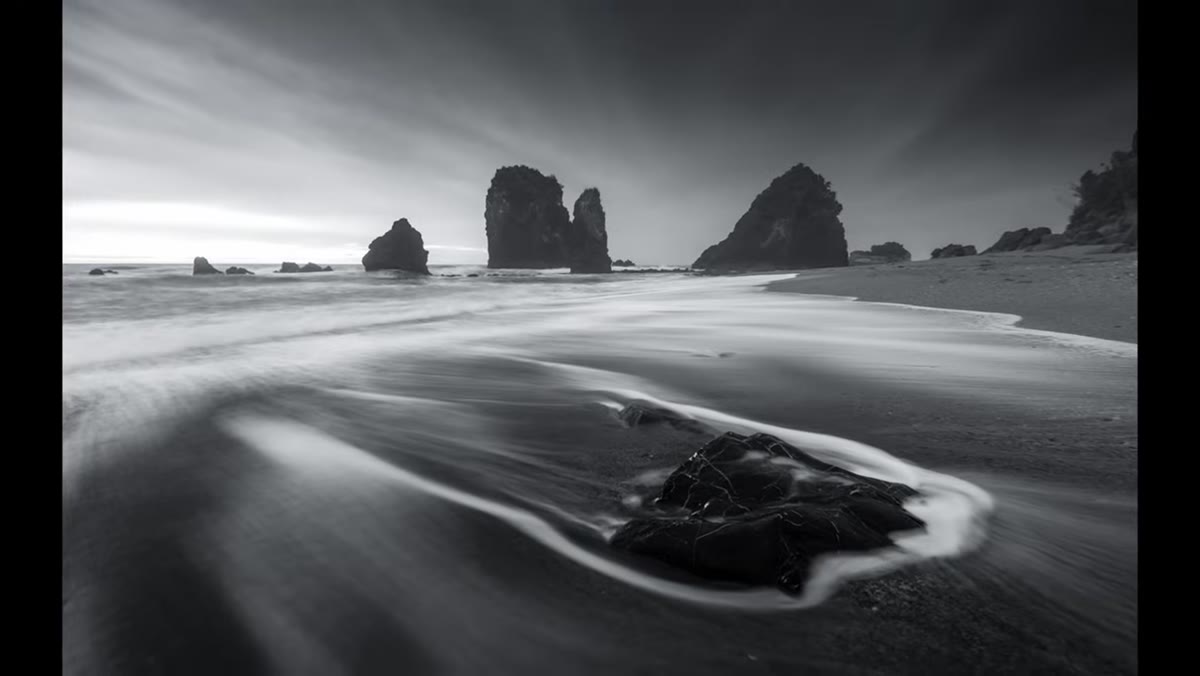
Seascape photography lives and dies on shutter speed. Too fast and you freeze the water into a sharp, textured mess that fights your composition. Too slow and the water turns into a featureless white blur that loses all sense of movement. The sweet spot depends on how fast the water is moving, but a general range to experiment with is 1/4 second to 2 seconds for that smooth, intentional flow effect.
Camera settings with slow shutter capturing water motion over rocks
Seascape photography lives and dies on shutter speed. Too fast and you freeze the water into a sharp, textured mess that fights your composition. Too slow and the water turns into a featureless white blur that loses all sense of movement. The sweet spot depends on how fast the water is moving, but a general range to experiment with is 1/4 second to 2 seconds for that smooth, intentional flow effect.
Patino also addresses the question of remote triggers versus manual shutter release. For slow exposures, people often default to a 2-second timer to avoid camera shake. His advice: develop a light, deliberate touch on the shutter button and you’ll be able to shoot in the moment without the delay, which matters a lot when you’re trying to catch that precise second when the water is pulling back just right. Shoot multiple frames. The timing is that critical.
What I’d Add From My Own Experience
Pacific Northwest beaches taught me something Patino gestures at but doesn’t spell out fully: revisit the same location multiple times before you commit to a “hero” composition. I’ve gone to the same stretch of coast on five different Sunday morning walks and gotten five completely different shots because the tide, the cloud structure, and the light angle were never quite the same twice. Familiarity with a location is genuinely a technical advantage. You stop making exploratory decisions when the light is good, because you’ve already made them.
Also: if you’re just getting started with seascape work and feel intimidated by the gear side of it, don’t be. I’ve shot coastal scenes on my phone that held up just fine. The principles Patino teaches, timing, foreground balance, water movement, those apply regardless of what’s in your hand.
The single most important thing to take away from this tutorial is that seascape photography is about timing above everything else. Your location, your lens, your settings, they all serve one goal: being ready to capture the exact moment the water does something beautiful. Scout before the shoot, know your tide, build your composition deliberately, and then wait for the water to cooperate.
Watch the full tutorial on YouTube to see Patino’s post-processing walk-through, which takes this same raw file through a complete sunrise edit worth studying on its own.
Comments
Leave a Comment