I have a confession: one of my most-shared photos ever is a close-up of a half-eaten granola bar sitting on my kitchen counter. Shot on my phone, terrible lighting, zero planning. People went wild for it. That experience taught me something I’ve been chewing on ever since – the subject almost never matters as much as the perspective you bring to it.
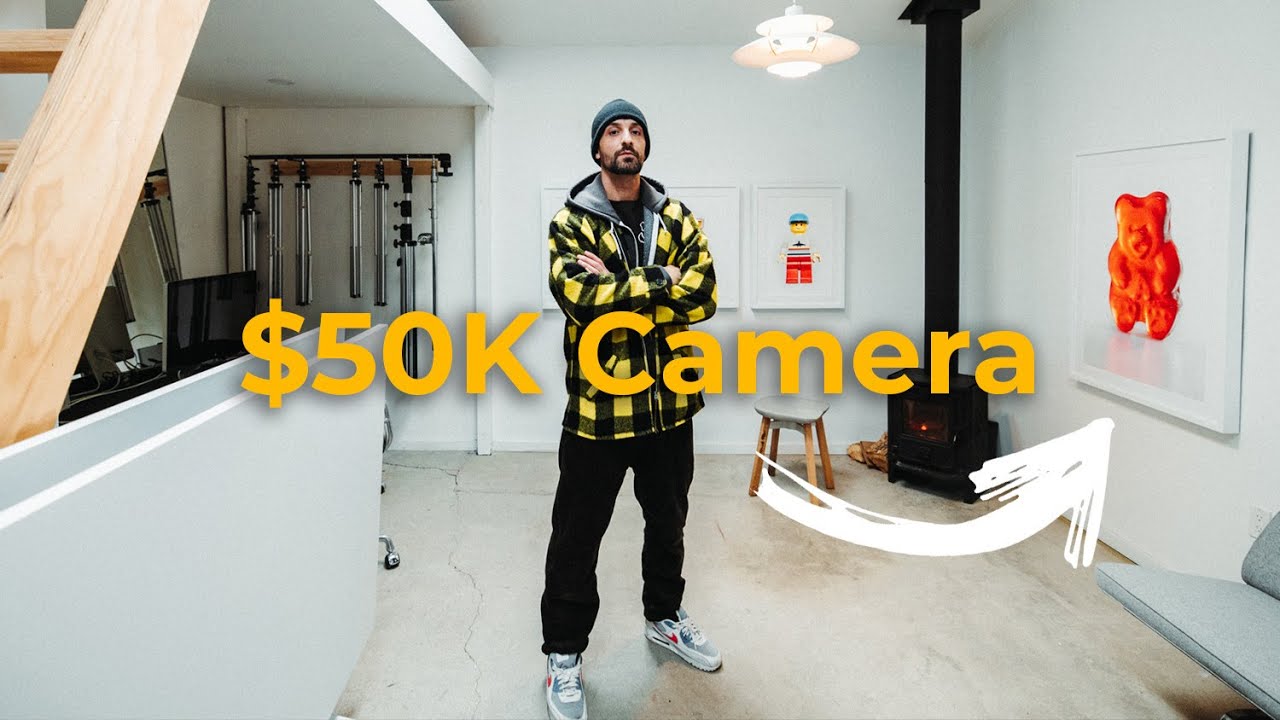
That’s the core idea behind this Peter McKinnon tutorial, where he photographs a five-cent gummy bear alongside a $50,000 Phase One IQ4 camera system and makes the case that fine art isn’t about the subject. It’s about how you choose to see it. Watch the full tutorial on YouTube – it’s worth seeing the actual prints he shows. But if you want the technique broken down step by step so you can try it yourself, here’s how he does it.
The method he walks through – shooting tiny, everyday objects using focus stacking – solves a real problem I’ve run into constantly when shooting small subjects up close. The moment you get close enough to reveal interesting detail, your depth of field collapses to almost nothing. One tiny slice of your subject is sharp, everything else falls apart. Focus stacking is the fix, and it’s more accessible than most people realize.
Step 1: Choose a Subject That Rewards Close Inspection
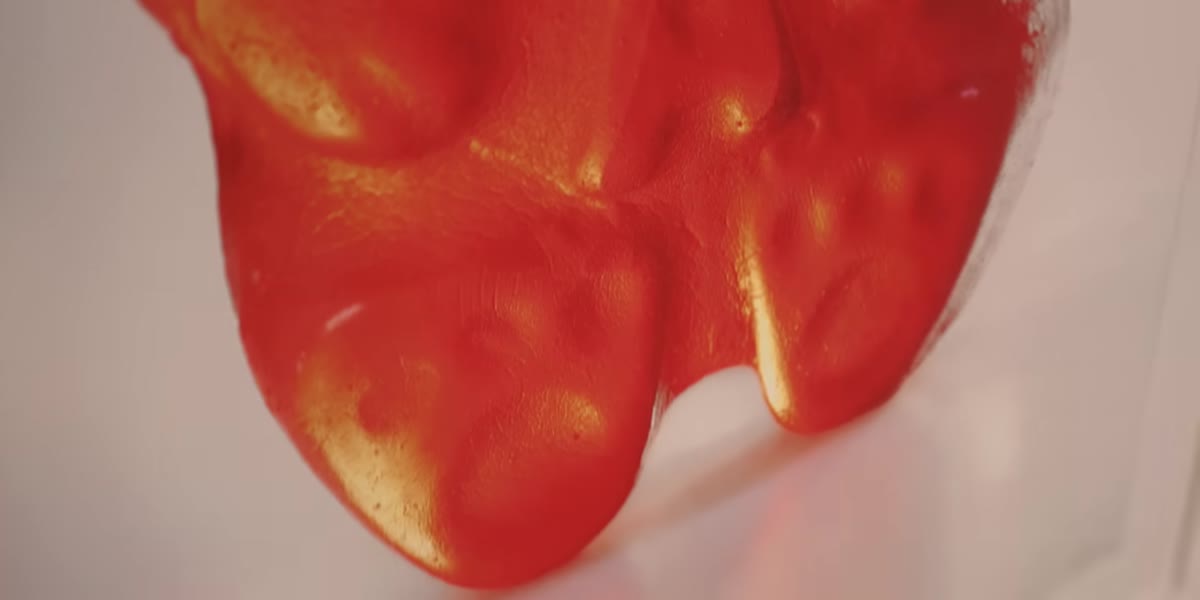
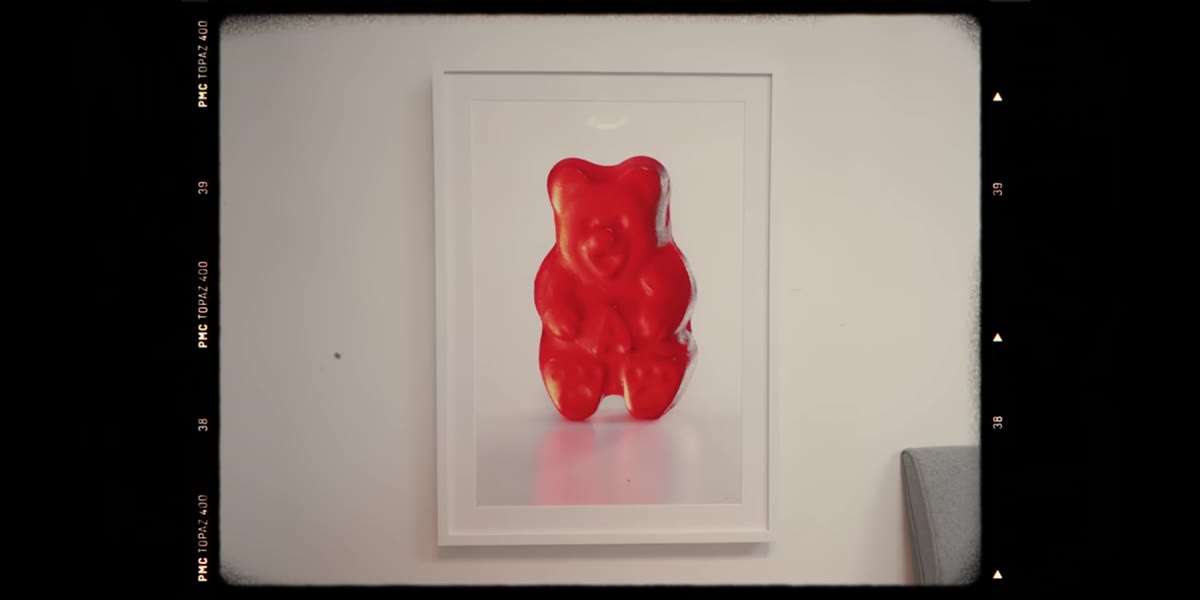 Gummy bear on clean background under studio light
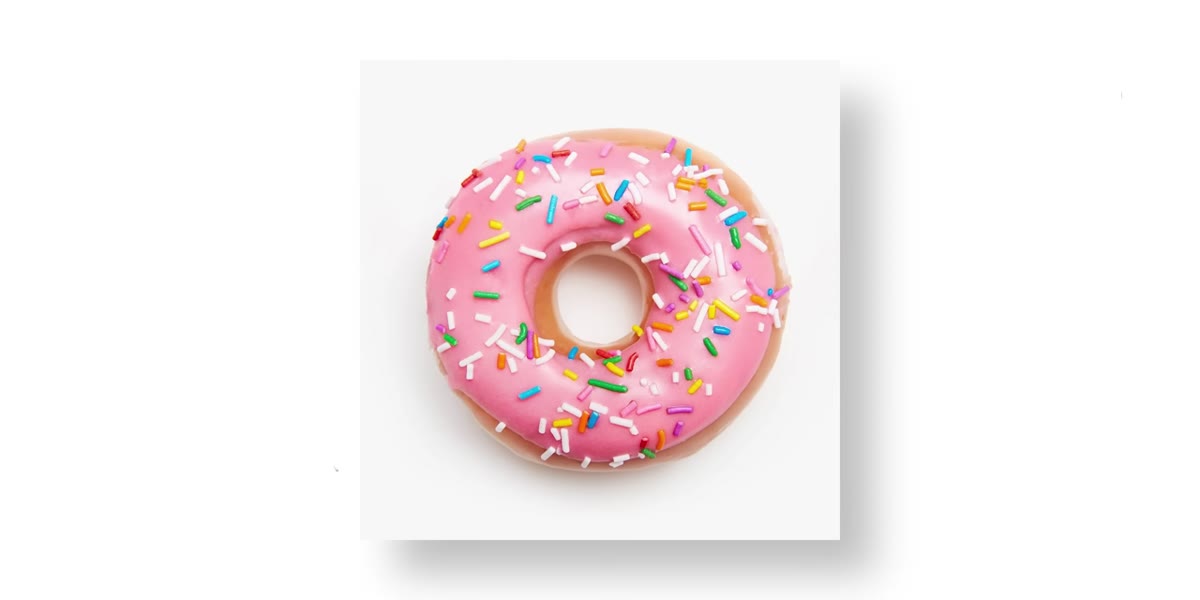
The whole premise here depends on selecting something ordinary that actually has interesting surface detail. McKinnon uses a gummy bear and also references a glazed Krispy Kreme donut and a golf ball he first shot back in 2005. The logic is simple: mass-produced objects often have small blemishes, texture variations, and surface imperfections that most people never notice. When you photograph them at high magnification, those “flaws” become the entire story.
Gummy bear on clean background under studio light
The whole premise here depends on selecting something ordinary that actually has interesting surface detail. McKinnon uses a gummy bear and also references a glazed Krispy Kreme donut and a golf ball he first shot back in 2005. The logic is simple: mass-produced objects often have small blemishes, texture variations, and surface imperfections that most people never notice. When you photograph them at high magnification, those “flaws” become the entire story.
Pick something small, ideally with a matte or semi-glossy surface that won’t blow out under studio light. Avoid anything highly reflective until you’re comfortable managing highlights at close range. Think candy, fruit, coins, hardware, food. The weirder the better, honestly. The point is to show someone something they’ve looked at a hundred times but never actually seen.
Step 2: Set Up a Clean, Controlled Background
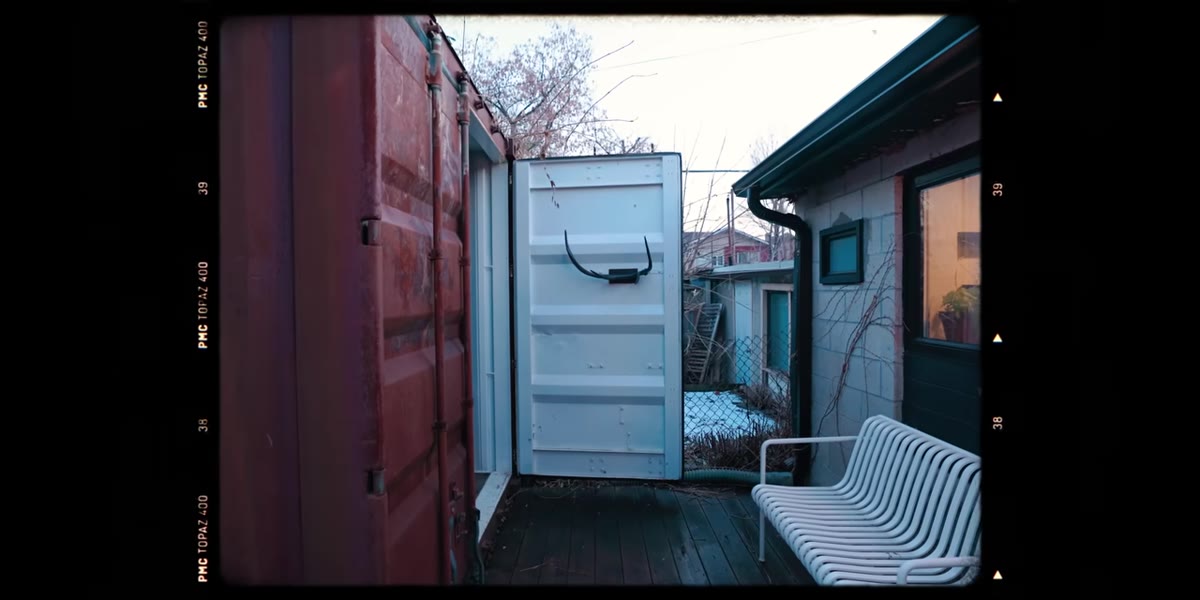 Studio shooting area with controlled natural light from skylights
McKinnon shoots in a converted garage studio with two large skylights overhead, giving him consistent, diffused natural light. You don’t need a dedicated studio to replicate this. A white foam board propped against a wall near a north-facing window gives you the same quality of flat, shadowless light.
Studio shooting area with controlled natural light from skylights
McKinnon shoots in a converted garage studio with two large skylights overhead, giving him consistent, diffused natural light. You don’t need a dedicated studio to replicate this. A white foam board propped against a wall near a north-facing window gives you the same quality of flat, shadowless light.
The background should be simple and neutral – white, black, or a single muted tone. The goal is to isolate your subject so completely that it starts to look like it exists in its own surreal space. McKinnon specifically mentions that floating-in-space quality as something that forces the viewer to focus entirely on surface detail. Remove every visual distraction you can.
Step 3: Mount Your Camera Completely Still
 Camera mounted and positioned close to small subject
Focus stacking requires you to shoot a series of images at slightly different focus distances and then combine them in software. Any movement between frames – even a tiny vibration – will cause misalignment that’s hard to fix in post. A tripod is non-negotiable here. Use your camera’s two-second self-timer or a remote shutter release to avoid introducing shake when you press the button.
Camera mounted and positioned close to small subject
Focus stacking requires you to shoot a series of images at slightly different focus distances and then combine them in software. Any movement between frames – even a tiny vibration – will cause misalignment that’s hard to fix in post. A tripod is non-negotiable here. Use your camera’s two-second self-timer or a remote shutter release to avoid introducing shake when you press the button.
Get your camera positioned so the subject fills a large portion of the frame. You want to be close enough that the fine texture is visible, but not so close that your lens can’t resolve the detail properly. If you have a macro lens, this is where it earns its keep. If you don’t, extension tubes are a cheaper entry point worth experimenting with.
Step 4: Configure Autofocus Stacking in Camera
 Camera menu showing focus stacking or focus bracketing settings
This is where the technique gets interesting. McKinnon uses the Phase One IQ4, but focus stacking bracketing is available on many modern mirrorless cameras including Olympus, Panasonic, Nikon Z-series, and others. The camera automatically fires a sequence of shots, shifting focus by a small increment between each frame, moving from the nearest point of the subject to the farthest.
Camera menu showing focus stacking or focus bracketing settings
This is where the technique gets interesting. McKinnon uses the Phase One IQ4, but focus stacking bracketing is available on many modern mirrorless cameras including Olympus, Panasonic, Nikon Z-series, and others. The camera automatically fires a sequence of shots, shifting focus by a small increment between each frame, moving from the nearest point of the subject to the farthest.
In your camera menu, look for “focus bracketing” or “focus stacking.” You’ll typically set two parameters: the number of shots in the sequence and the step size (how much the focus shifts between frames). For a small object like a gummy bear, start with a step size of 1 or 2 and shoot 15-25 frames. You’d rather have too many shots to work with than not enough coverage on the far end of the subject.
Step 5: Combine the Frames in Stacking Software
 Software interface showing multiple focus frames being merged
Once you have your sequence of images, you need software to analyze every frame and pull the sharpest pixels from each one into a single composite. McKinnon references using dedicated software for this step. The most accessible options are Adobe Photoshop (File > Automate > Photomerge, then Edit > Auto-Blend Layers > Stack Images) and Helicon Focus, which is purpose-built for this workflow and tends to handle complex subjects more cleanly.
Software interface showing multiple focus frames being merged
Once you have your sequence of images, you need software to analyze every frame and pull the sharpest pixels from each one into a single composite. McKinnon references using dedicated software for this step. The most accessible options are Adobe Photoshop (File > Automate > Photomerge, then Edit > Auto-Blend Layers > Stack Images) and Helicon Focus, which is purpose-built for this workflow and tends to handle complex subjects more cleanly.
Load all your frames as layers, align them, then run the auto-blend. The result is an image where everything from the front edge of your subject to the back is in sharp focus simultaneously – something physically impossible with a single exposure at close range. The first time you see it rendered, it looks almost CGI. That uncanny sharpness is exactly what makes these images work as large prints.
Step 6: Edit for the “Floating Object” Aesthetic
 Finished golf ball image displayed against clean background
McKinnon mentions making objects look like they’re floating in a surreal, undefined space. In post-processing, this usually means subtle vignetting around the edges to draw the eye inward, careful dodge and burn to emphasize surface texture, and keeping the background completely clean. Resist the urge to over-process. The texture your stacking revealed is the whole point – heavy-handed editing buries it.
Finished golf ball image displayed against clean background
McKinnon mentions making objects look like they’re floating in a surreal, undefined space. In post-processing, this usually means subtle vignetting around the edges to draw the eye inward, careful dodge and burn to emphasize surface texture, and keeping the background completely clean. Resist the urge to over-process. The texture your stacking revealed is the whole point – heavy-handed editing buries it.
Export at the highest resolution your file allows. One of the core arguments in the tutorial is that shooting mundane objects with ultra-high-resolution cameras creates prints with jaw-dropping detail at large sizes. Even if you’re not working with a $50,000 medium format system, shooting at your camera’s native resolution and keeping your ISO low gives you the best foundation for a clean, detailed final image.
A Note on Subject Choice From My Own Shooting
I’ve tested this technique with things from my desk, my kitchen, and – true to form – my Sunday morning photo walks through Seattle. A few things I’d add from experience: translucent subjects like gummy bears are particularly interesting because light passes through them slightly, giving you a subtle internal glow. Wet surfaces (a berry right after you run it under the tap, a leaf after rain) add a layer of micro-detail that stacks beautifully. And don’t underestimate the value of shooting the same object multiple times – a golf ball McKinnon first shot in 2005 on an 8-megapixel Canon Rebel became one of his signature prints when he re-shot it on the IQ4. Returning to a subject with fresh eyes and better tools is its own kind of creative practice.
The single most important thing this tutorial reinforced for me is that subject selection is a creative choice, not a quality signal. Shooting something common and ordinary is not a limitation. It’s a creative constraint that forces you to find the angle, the detail, and the perspective that makes an everyday object feel worth a long look. That’s the whole game.
Watch the full tutorial on YouTube to see McKinnon’s actual prints and hear him talk through the philosophy behind his fine art practice – it’s worth it.
Comments (5)
Been doing this wrong for years apparently. Thanks for the wake-up call.
Quality content like this is rare. Keep it up.
Love how you break down complex stuff into manageable steps.
This is exactly what I needed today. Been struggling with this for weeks.
This is fantastic. I've been recommending this approach to my readers too.
Leave a Comment