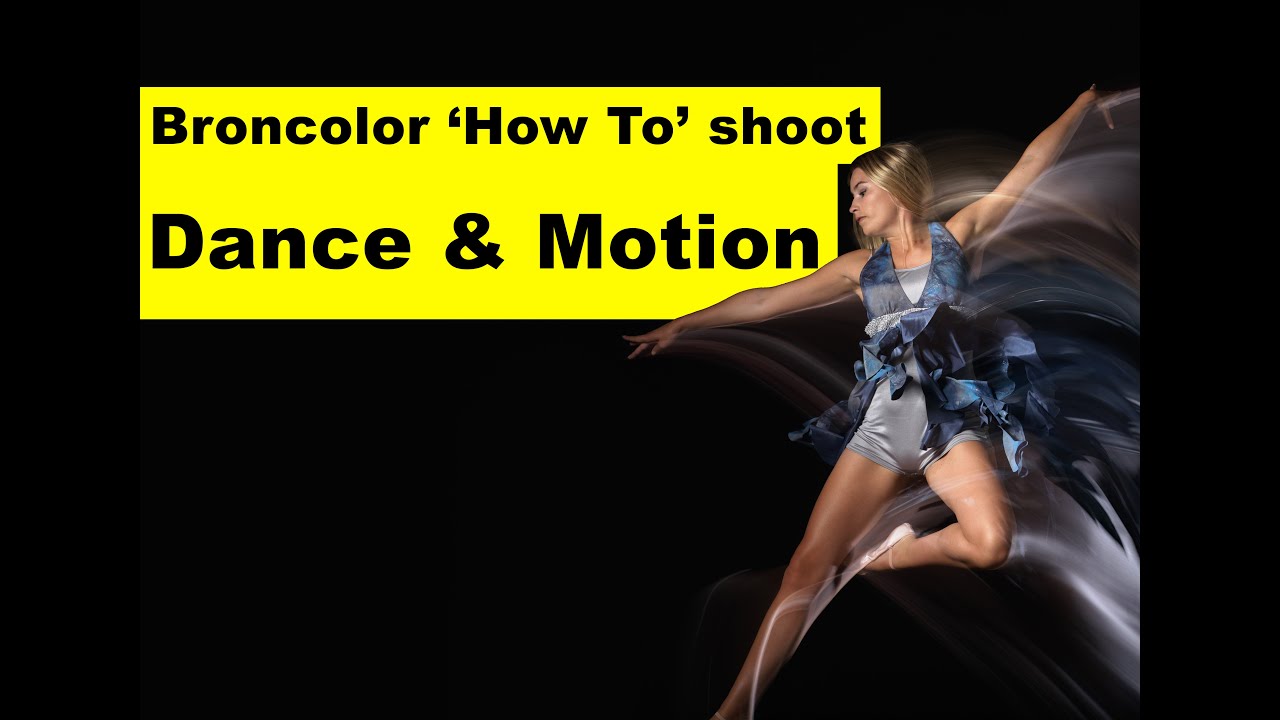
There’s a particular kind of dance photo that stops you mid-scroll. The subject is pin-sharp, every strand of hair frozen in place, but the frame still feels like movement. You can almost hear the music. I’ve tried faking that quality in post, and it never looks quite right. The magic is in how the shot is captured, not how it’s edited. When I came across this Visual Education tutorial featuring Broncolor consultant Otto Dobler and photographer KL Taylor, I finally understood the two-light approach that makes it possible. Watch the full tutorial on YouTube
The core idea is deceptively simple: one continuous light records the blur of movement over a long exposure, and one very fast flash freezes the final position of the dancer at the end of that exposure. These two qualities, flow and sharpness, are typically enemies in photography. This technique turns them into collaborators. Even if you’re not shooting dance, the principle applies to any motion-based work where you want both energy and clarity in the same frame.
What I love about this tutorial is that it doesn’t gloss over the tricky parts. Otto walks through the setup logic in a way that makes the decisions feel like creative choices rather than technical puzzles. Here’s how to replicate it yourself.
Step 1: Choose and Balance Your Two Light Sources
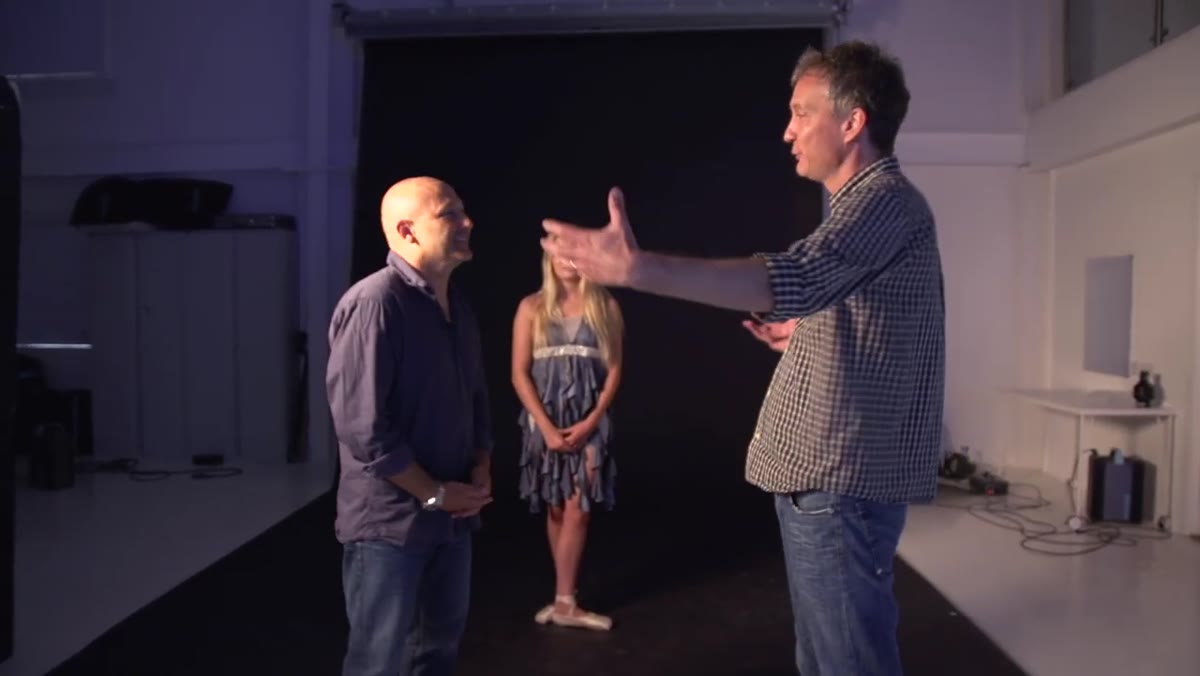 Presenter explaining the two-light concept in studio
The two lights in this setup are a Broncolor Para with a flash head (using an extremely short flash duration) and a 400-watt HMI continuous light. The single most important thing before you touch your camera settings is making sure both lights share the same color temperature. The HMI used here is daylight-balanced, which matches the color temperature of the flash. If your two sources are mismatched in color, you will get color casts in the frozen parts of the image that look nothing like the blurred parts, and no amount of white balance correction will fully fix it.
Presenter explaining the two-light concept in studio
The two lights in this setup are a Broncolor Para with a flash head (using an extremely short flash duration) and a 400-watt HMI continuous light. The single most important thing before you touch your camera settings is making sure both lights share the same color temperature. The HMI used here is daylight-balanced, which matches the color temperature of the flash. If your two sources are mismatched in color, you will get color casts in the frozen parts of the image that look nothing like the blurred parts, and no amount of white balance correction will fully fix it.
If you’re working with what you have, a daylight-balanced LED panel is a reasonable substitute for an HMI. The key is matching it to your flash output’s color temperature before you start.
Step 2: Start Your Exposure Settings with the Harder Light
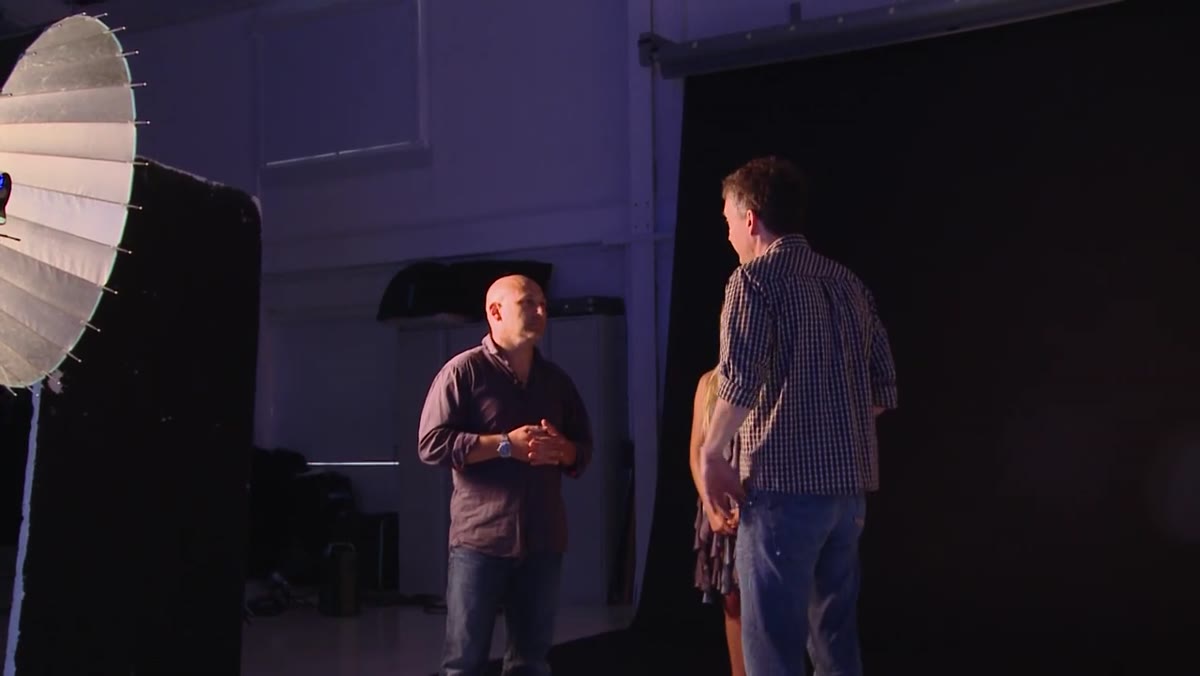 Otto adjusting the HMI position low to the ground with flags
Always dial in the continuous light first. Otto’s reasoning here is practical: the HMI has very limited power range, essentially full power or half power, so it’s the less flexible of the two sources. Your flash can be adjusted in fine increments. Your continuous light probably cannot. Let the restrictive tool set the baseline, then fit everything else around it.
Otto adjusting the HMI position low to the ground with flags
Always dial in the continuous light first. Otto’s reasoning here is practical: the HMI has very limited power range, essentially full power or half power, so it’s the less flexible of the two sources. Your flash can be adjusted in fine increments. Your continuous light probably cannot. Let the restrictive tool set the baseline, then fit everything else around it.
For shutter speed, the goal is a long exposure in the range of a quarter of a second to half a second. This is what allows the continuous light to paint the dancer’s movement across the sensor over time. Your aperture and ISO then need to be tuned so that the continuous light creates visible blur without overexposing the frame.
Step 3: Control Where the Continuous Light Falls
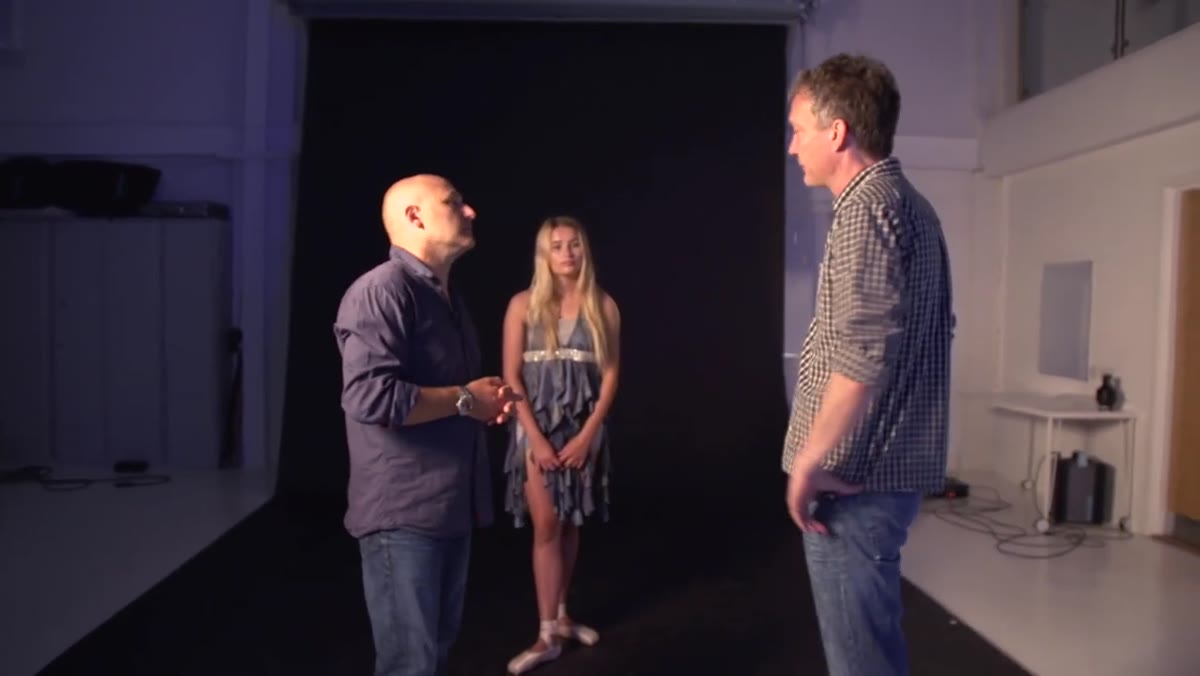 HMI positioned low with flags blocking light spill on backdrop
This step is where most people would skip ahead, and it’s where most attempts at this technique fall apart. Otto positions the HMI very low to the ground with flags on either side to prevent light spill. The reason is critical: because the shutter is open for a long time, the continuous light hits everything. The floor, the ceiling, the backdrop, all of it gets exposed during that quarter-to-half-second window.
HMI positioned low with flags blocking light spill on backdrop
This step is where most people would skip ahead, and it’s where most attempts at this technique fall apart. Otto positions the HMI very low to the ground with flags on either side to prevent light spill. The reason is critical: because the shutter is open for a long time, the continuous light hits everything. The floor, the ceiling, the backdrop, all of it gets exposed during that quarter-to-half-second window.
If the continuous light bounces around the set freely, you end up with a foggy, low-contrast image where the motion blur is muddy instead of clean. Keep the HMI tight and pointed specifically at the space where the dancer will move. Think of it as painting with a narrow brush rather than a roller.
Step 4: Position the Flash and Continuous Light on Opposite Sides
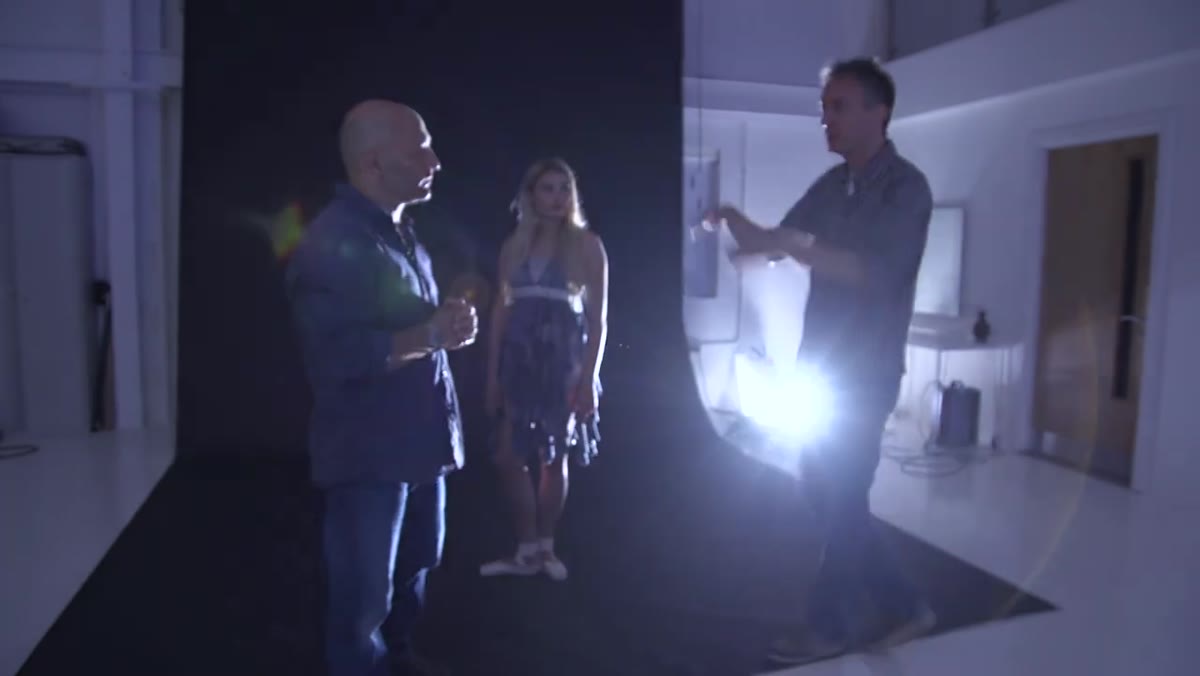 Diagram-style explanation of 180-degree light placement
Here is the insight that changed how I thought about this setup entirely. Otto places the HMI and the flash Para roughly 180 degrees apart, with the dancer in the middle. The continuous light illuminates the dancer from one side during the full exposure. The flash fires from the opposite side at the very end of the exposure, freezing the dancer from that direction.
Diagram-style explanation of 180-degree light placement
Here is the insight that changed how I thought about this setup entirely. Otto places the HMI and the flash Para roughly 180 degrees apart, with the dancer in the middle. The continuous light illuminates the dancer from one side during the full exposure. The flash fires from the opposite side at the very end of the exposure, freezing the dancer from that direction.
Because the two lights hit different sides of the body, the sharp frozen image and the motion blur image don’t compete with each other. If both lights hit the same side of the dancer, you get a smeared mess where the sharp edges are buried in blur. Separating them gives the flash a clean surface to freeze without interference from the ambient continuous light.
Step 5: Set Your Flash to Rear Curtain Sync
 Otto explaining the rear sync timing concept
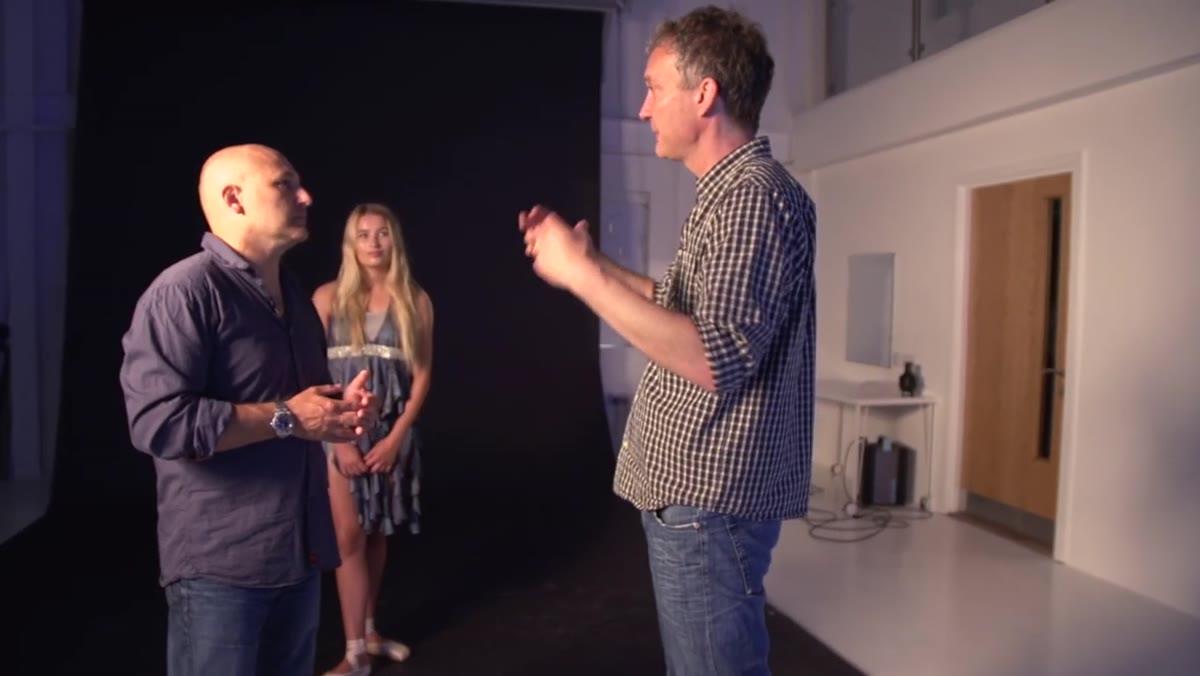
Rear curtain sync means the flash fires at the very end of the exposure, just before the shutter closes, rather than at the beginning. This matters enormously for motion photography. When the flash fires first (front curtain), the sharp frozen image appears at the start of the blur trail, which looks unnatural. When it fires last (rear curtain), the sharp frozen image is the final position of the dancer, with the blur trailing behind it. That reads as natural movement to our eyes, because we’re wired to see motion as leading to a final position, not starting from one.
Otto explaining the rear sync timing concept
Rear curtain sync means the flash fires at the very end of the exposure, just before the shutter closes, rather than at the beginning. This matters enormously for motion photography. When the flash fires first (front curtain), the sharp frozen image appears at the start of the blur trail, which looks unnatural. When it fires last (rear curtain), the sharp frozen image is the final position of the dancer, with the blur trailing behind it. That reads as natural movement to our eyes, because we’re wired to see motion as leading to a final position, not starting from one.
Set rear curtain sync in your camera’s menu before you shoot. On most cameras it lives inside the flash control or shooting menu options.
Step 6: Lock Focus Manually and Use Mirror Lockup
 Camera mirror lockup being engaged before the shoot
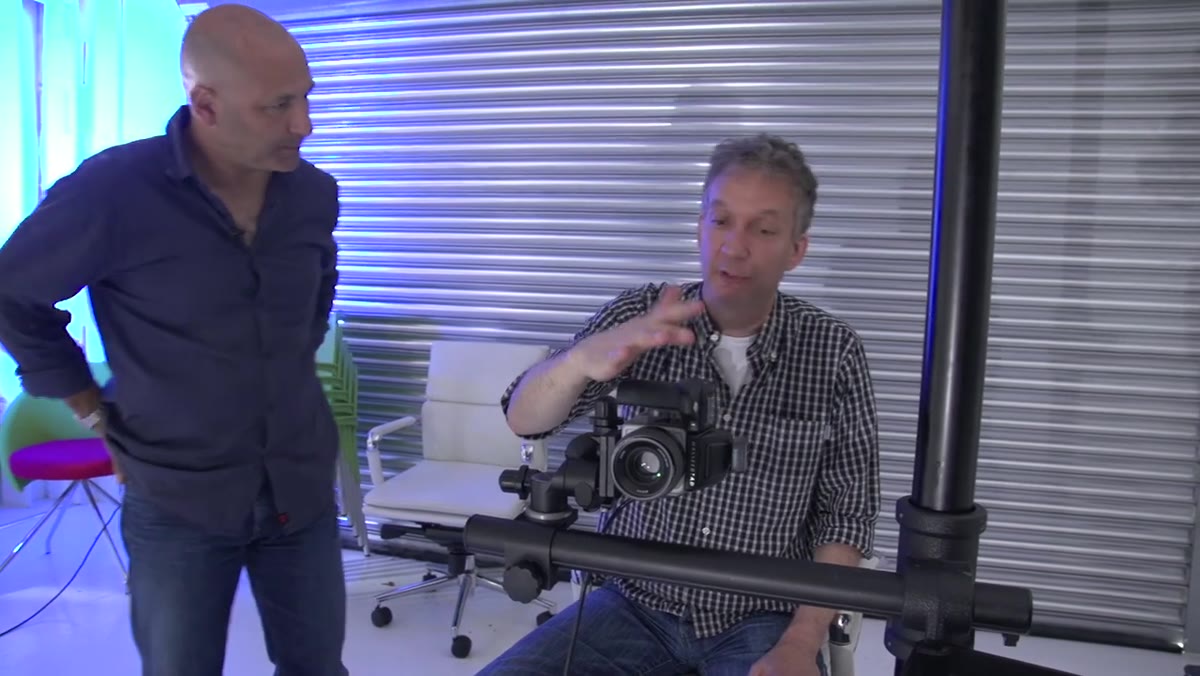
Auto-focus is not your friend here. The dancer starts outside the frame and moves through it during the exposure. If you let your camera hunt for focus during a half-second exposure, you will get nothing usable. Otto pre-focuses on the position in the frame where the dancer will be when the flash fires, then switches to manual focus and locks it there.
Camera mirror lockup being engaged before the shoot
Auto-focus is not your friend here. The dancer starts outside the frame and moves through it during the exposure. If you let your camera hunt for focus during a half-second exposure, you will get nothing usable. Otto pre-focuses on the position in the frame where the dancer will be when the flash fires, then switches to manual focus and locks it there.
He also engages mirror lockup, which eliminates the small vibration caused by the mirror flipping up inside the camera body at the moment of exposure. On a half-second shot with precise detail requirements, that tiny vibration is enough to soften the sharpest part of your image. It takes one extra shutter press to lock the mirror up before the exposure begins, and it’s worth every second.
What I’d Try Differently in My Own Studio Work
I shoot a lot of movement in smaller spaces, outdoor locations, and mixed lighting situations where an HMI isn’t in the bag. What this tutorial convinced me to experiment with is using a strong portable LED with barn doors as the continuous light, paired with a speedlight set to high-speed sync for the freeze. The color-matching challenge gets trickier outdoors, but shooting in open shade simplifies it. The rear curtain sync principle and the 180-degree placement logic translate directly regardless of what gear you’re using. Start with the less adjustable light. Separate your sources. Let the blur be blur and the sharp be sharp.
The single most transferable lesson from this tutorial is the placement logic: put your continuous light and your flash on opposite sides of your subject so they illuminate different surfaces. Everything else, the shutter speed, the power settings, the sync mode, is adjustable. But if both lights fight over the same part of your subject, no setting in the world will clean up that image. Get the geometry right first.
Watch the full tutorial on YouTube to see Otto and KL work through the live shoot with dancer Rosalie, including the actual results straight out of camera. The final frames are genuinely stunning.
Comments
Leave a Comment