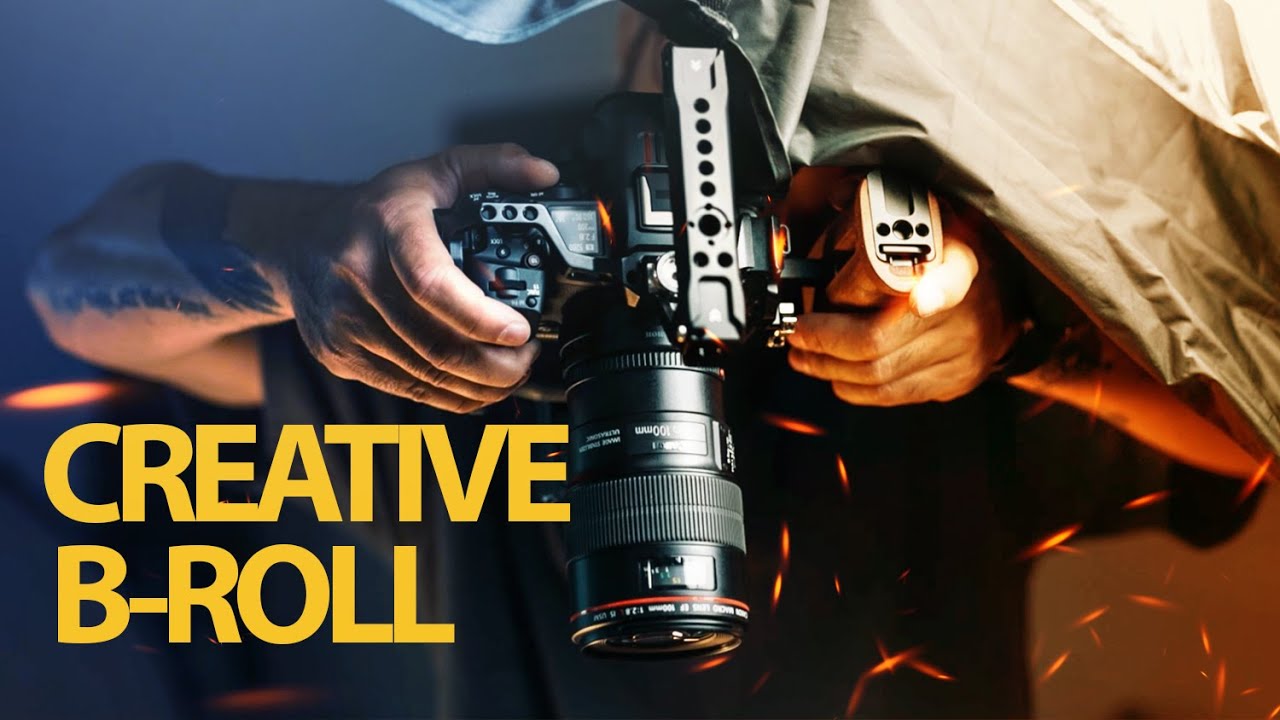
I used to think compelling b-roll required a real location. A coffee shop with perfect window light, a forest trail, a market with interesting textures. For a long time I dragged myself out every Sunday morning on photo walks partly because I genuinely believed I couldn’t create anything worth looking at from my apartment. Then I watched Peter McKinnon set up what looked like an Indiana Jones scene on a desk using fake plants, dollar-store coins, and a lazy Susan, and I had to rethink everything.
In this Peter McKinnon tutorial, Watch the full tutorial on YouTube, he walks through how he builds cinematic b-roll setups from scratch at home, using cheap props, clever lighting tricks, and simple camera movement hacks. What makes it worth studying isn’t just the gear list. It’s the thinking behind it: every object on screen is doing a job, and if it isn’t, it gets pulled.
This approach directly solves a problem I run into constantly with product and lifestyle photography. Clients want atmospheric, editorial-feeling images, and they don’t always have a budget for a location shoot. After watching this video, I rebuilt my approach to tabletop shooting from the ground up. Here is the full walkthrough.
Step 1: Start With a Story, Not a Shot List
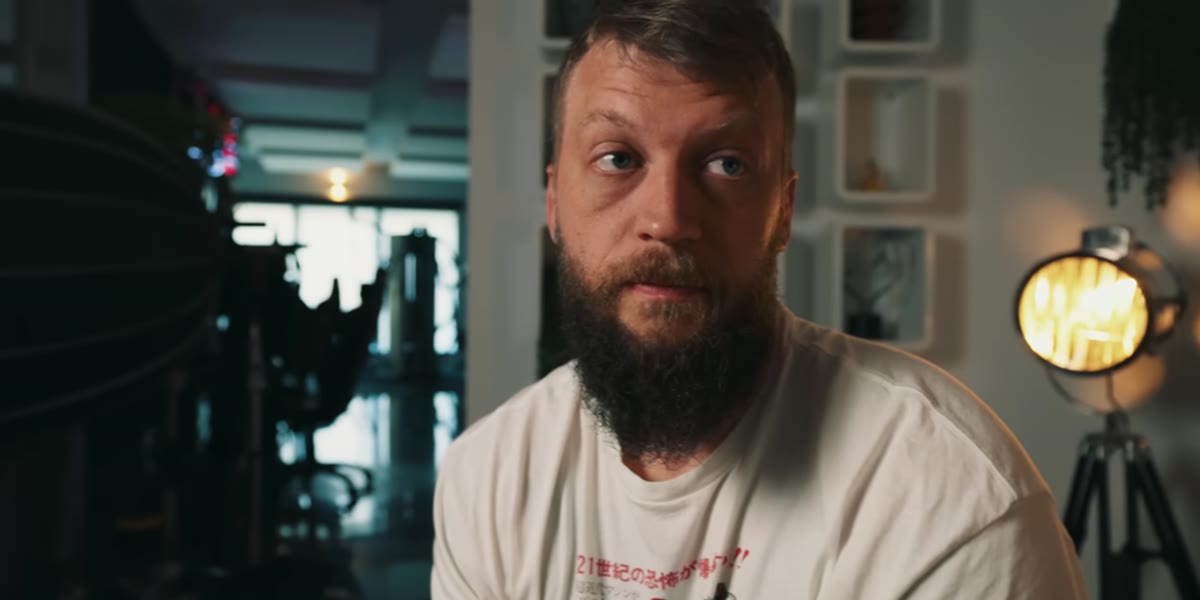 Peter explaining why storytelling drives his creative intros
Before you touch your camera, decide what story the scene is telling. McKinnon talks about how he approaches even a simple product setup by inventing a narrative around it. In this case, he’s building an explorer or adventurer aesthetic around a puzzle. That single creative decision determines every prop, every texture, every lighting choice that follows.
When I shoot tabletop setups for clients, I now write one sentence before I pull out any gear: “This scene feels like ___.” It sounds a little precious, but it prevents the scattered, busy-looking setups that come from just piling things together and hoping for mood.
Step 2: Build Your Prop Kit Around a Theme
 Gold coins, cards, and foliage arranged on a wooden surface
McKinnon’s prop selection for this shoot is tight and deliberate: a themed deck of cards, a handful of cheap gold coins (he mentions finding them on Amazon for around six dollars), and artificial foliage. Every item earns its place by reinforcing the explorer theme. Nothing is there just because it looked cool in the store.
The key insight is that props don’t need to be expensive or real. Fake plants, thrifted objects, and yard sale finds work perfectly on camera because the lens doesn’t care about authenticity, only about visual interest. Build a small collection of texturally rich props you can reuse across shoots: something metallic, something organic, something with a strong color. That’s honestly all you need to get started.
Step 3: Use Foliage for Contrast and Atmosphere
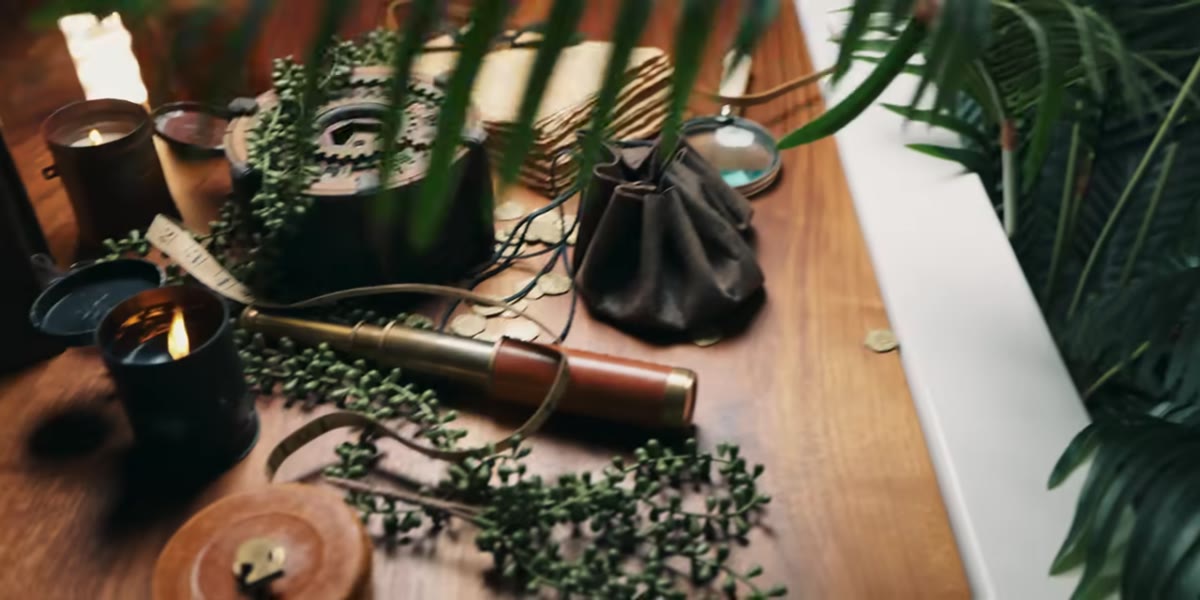 Fake plant stems draped over wooden props on a desk
One of the smartest moves in this tutorial is the way McKinnon uses artificial foliage. He breaks individual stems off a fake plant and drapes or leans them across the scene, not to fill space, but because the green creates contrast against warm brown wood tones and immediately signals “somewhere interesting” to the viewer’s eye.
The practical tip here is to buy a few inexpensive faux plant stems and keep them in your kit. Drape them over a corner of the frame, tuck one behind your hero prop, or lay a single stem in the foreground for depth. On camera, the difference between a bare wooden surface and one with a little foliage is the difference between a product photo and an editorial image.
Step 4: Add Candle Light for Flicker and Depth
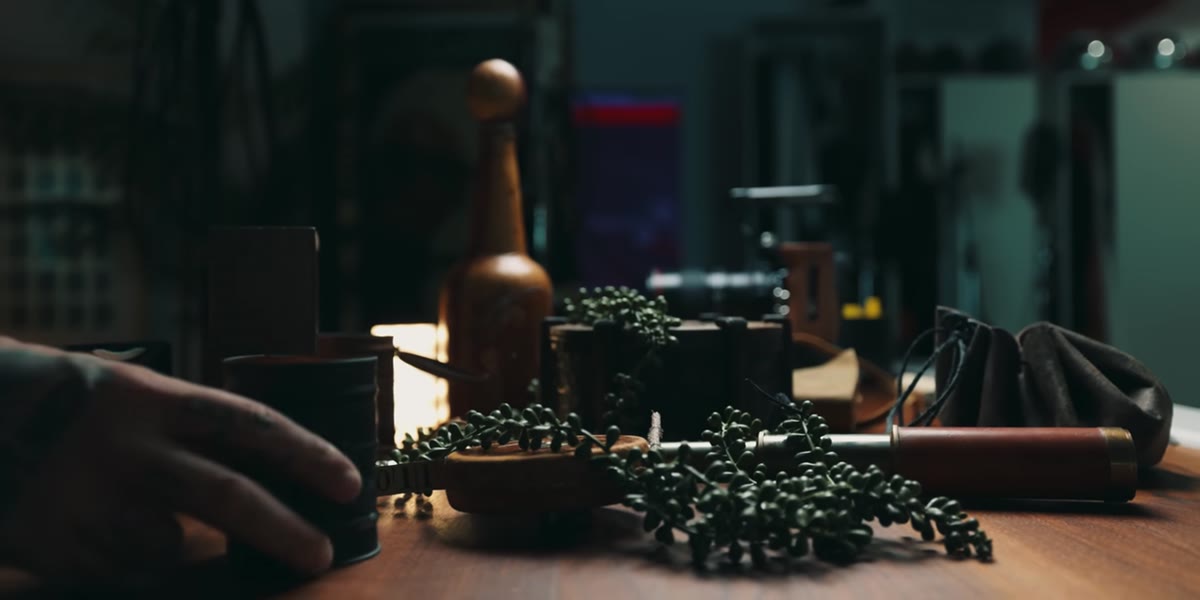 Candle positioned near props for background flickering light
McKinnon uses a candle, specifically one placed either in the foreground or background, to add movement and warmth to the scene through natural flickering light. This is a technique I’ve used on travel shoots, but I hadn’t thought to apply it to tabletop work until I saw this video.
You don’t need cinema lights to create a moody atmosphere. A single candle placed just outside the frame, or softly in the background, adds an organic light source that pulses slightly and gives your footage a lived-in quality. For stills, it adds a warm rim or fill. Position it low to mimic golden hour or firelight, and keep it far enough from your props that it reads as ambient rather than direct.
Step 5: Rotate the Subject Instead of Moving the Camera
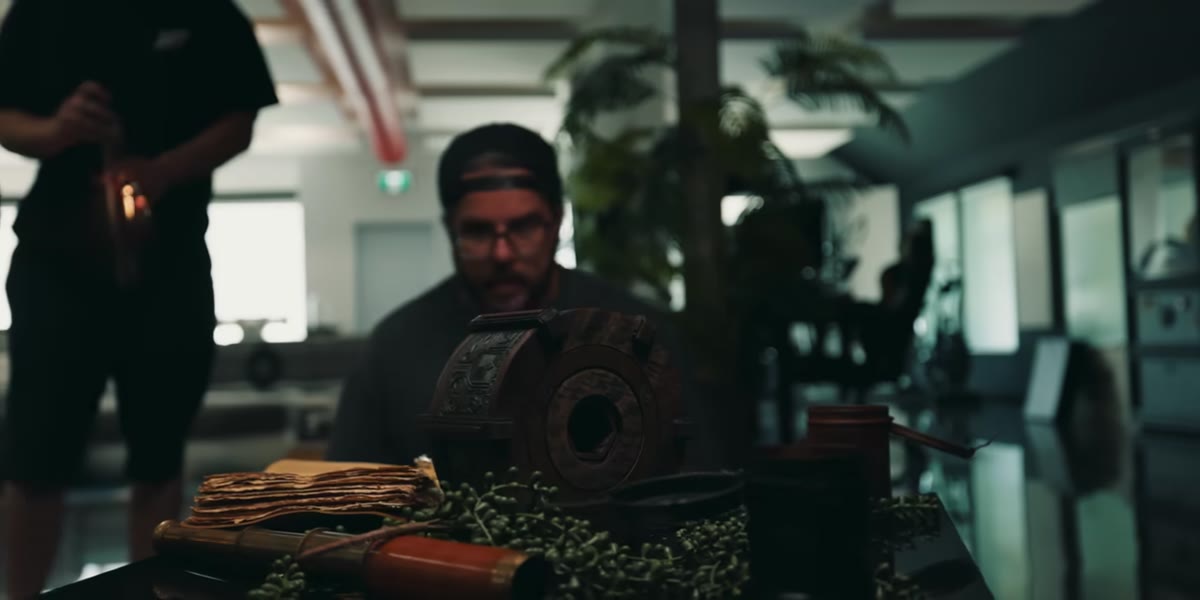 Product placed on a lazy Susan for smooth rotation shots
This is the technique that immediately went into my regular workflow. McKinnon places his subject on a lazy Susan, which he jokingly calls a “passive Peter,” and lets it rotate slowly in front of a locked-off camera. The result looks like a smooth, professional camera move, but you’re not moving anything except the platform.
For video this creates a clean orbit shot around your subject. For still photography, it lets you quickly capture the same subject from multiple angles without repositioning your camera or adjusting your focus plane. A lazy Susan costs almost nothing, fits in a drawer, and is now one of my most-used tabletop tools. Set your camera on a tripod, frame your shot, and let the rotation do the work.
Step 6: Animate the Background With Manual Movement
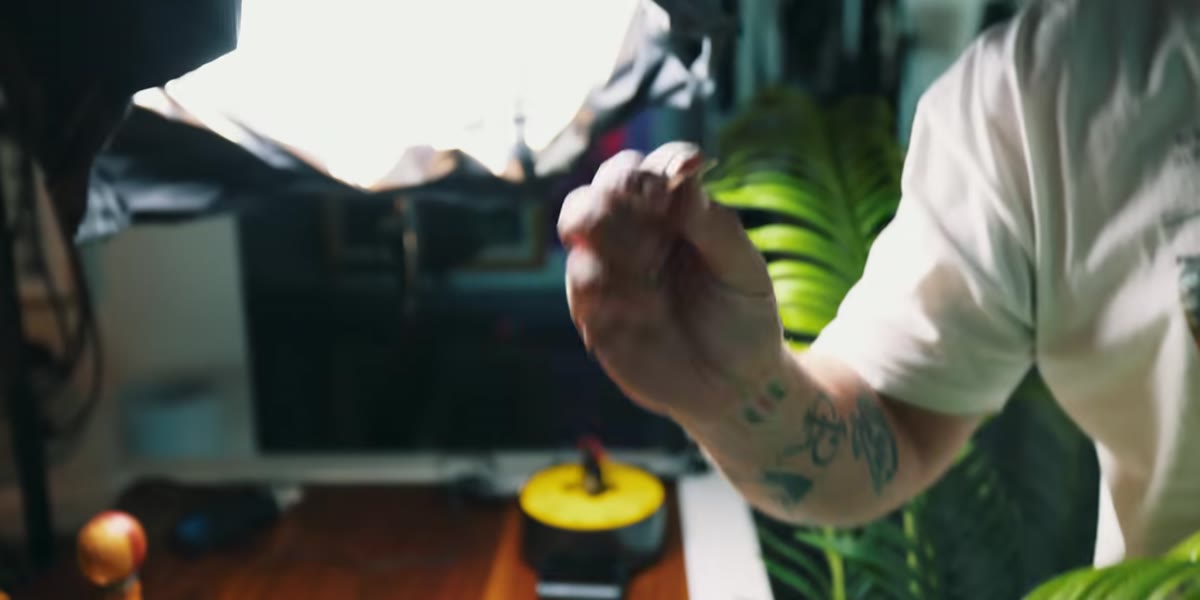
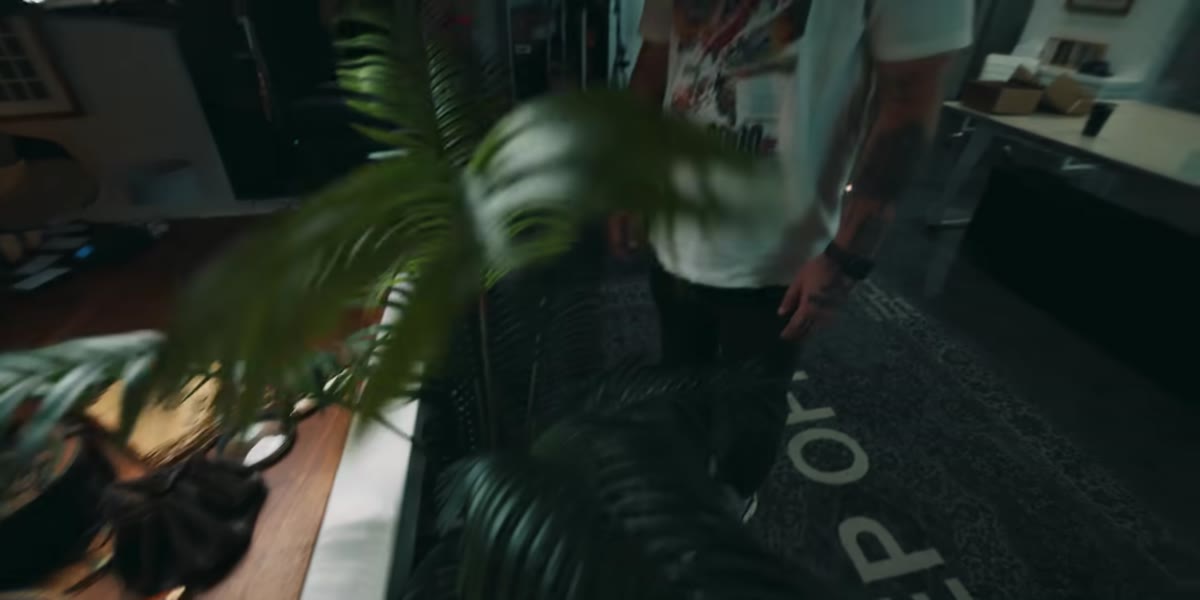 Hand gently moving foliage branches behind the main subject
To suggest wind or an outdoor environment, McKinnon physically moves the foliage in the background by hand while recording. The trick, he notes, is to make the movement feel natural rather than jerky. Leaves in a breeze sway in slow, gentle arcs, they don’t shake back and forth.
For video shooters, this is a low-budget way to make a static studio setup feel alive. Have someone stand off to the side of the frame and gently sway a branch or stem during your take. For photographers shooting with a slow shutter, you can create intentional blur in background foliage to simulate depth and movement. It’s a small detail, but it closes the gap between “desk setup” and “actual location.”
Step 7: Collect Surface Tiles for Flexible Shooting Backgrounds
 Variety of decorative tiles used as textured shooting surfaces
McKinnon mentions that his partner sourced a variety of decorative tiles from a local tile shop to use as shooting surfaces. Stone, wood, reflective, matte: each tile creates a completely different mood for the same subject. Combined with the lazy Susan, a single tile becomes an endlessly variable shooting platform.
Visit a tile or home improvement store and pick up four or five sample tiles in different finishes. They’re inexpensive, easy to store, and dramatically change the look of a tabletop scene without any additional lighting or props. I keep mine stacked on a shelf in my office and reach for them constantly for product and still life work.
What I’d Add From My Own Experience
The one thing I’d layer on top of McKinnon’s approach is sound design thinking during the shoot itself. If you’re capturing video b-roll at home, record a few seconds of ambient “room tone” with your setup fully lit and moving. That candle flicker, the faint hum of a fan for the foliage, the soft clink of props being placed: these details make the edit feel cohesive in a way that visuals alone can’t achieve. I started doing this after realizing my home studio footage always sounded sterile compared to the atmospheric visuals I was building, and it made a significant difference.
The single biggest takeaway from this tutorial is that creative b-roll is mostly a prop and intention problem, not a location or gear problem. McKinnon builds an entire atmospheric scene on a desk with items that cost less than twenty dollars combined. The camera is almost beside the point.
If you’re stuck waiting for the right location or the right light, this is your permission to just start with what’s in the room.
Watch the full tutorial on YouTube to see the full setup come together, including the color and editing notes McKinnon drops at the end.
Comments
Leave a Comment