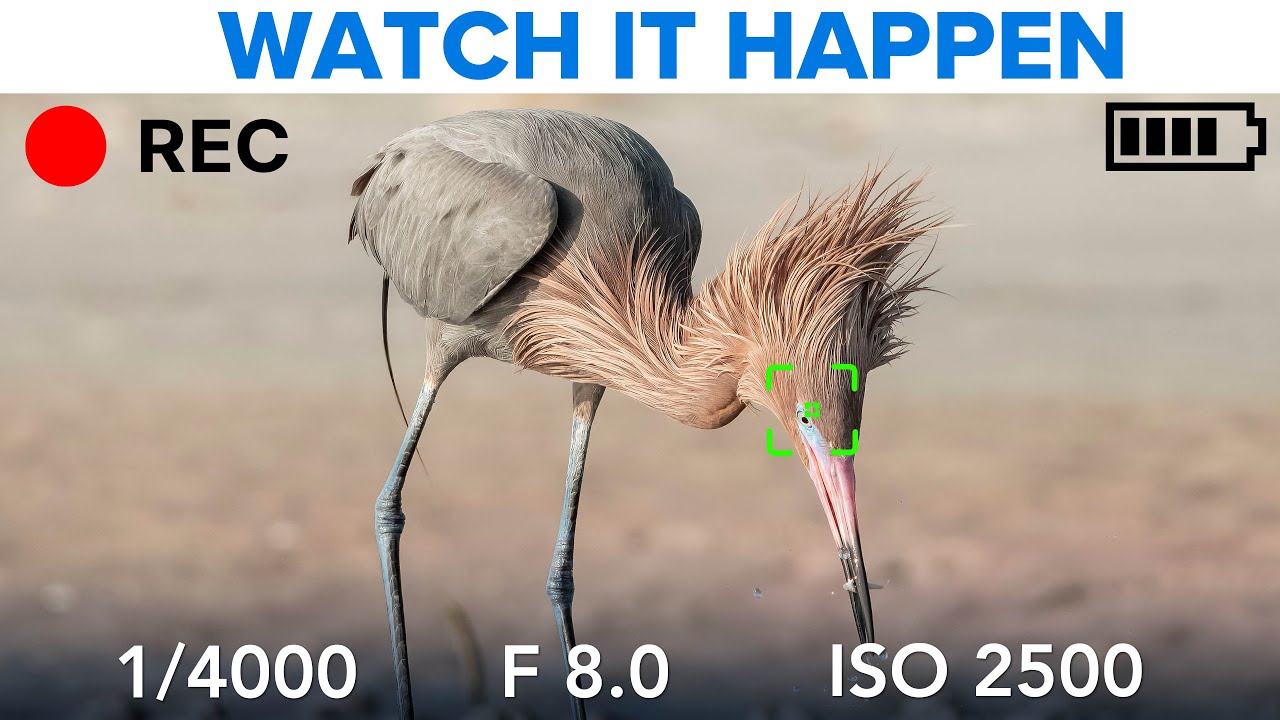
Bird photography has a way of humbling you fast. You set up, you wait, the bird does something incredible, and you come home with a card full of motion blur and missed focus. For a long time I thought I was just unlucky. Turns out, I was underprepared.
What helped me most wasn’t another article about focal lengths. It was watching a working photographer actually shoot in real time, with their screen visible and their decision-making narrated out loud. In this Matt Kloskowski tutorial, he does exactly that. He attaches an external recorder to his Sony A1 Mark II so you can watch through his viewfinder, see his live settings, and observe how he moves, waits, and reacts. Then he walks through photo selection and a quick Lightroom edit. Watch the full tutorial on YouTube if you want the uncut version. Below I’ve broken it down into steps you can actually take to the field.
Step 1: Set Up a Way to Record What Your Camera Sees
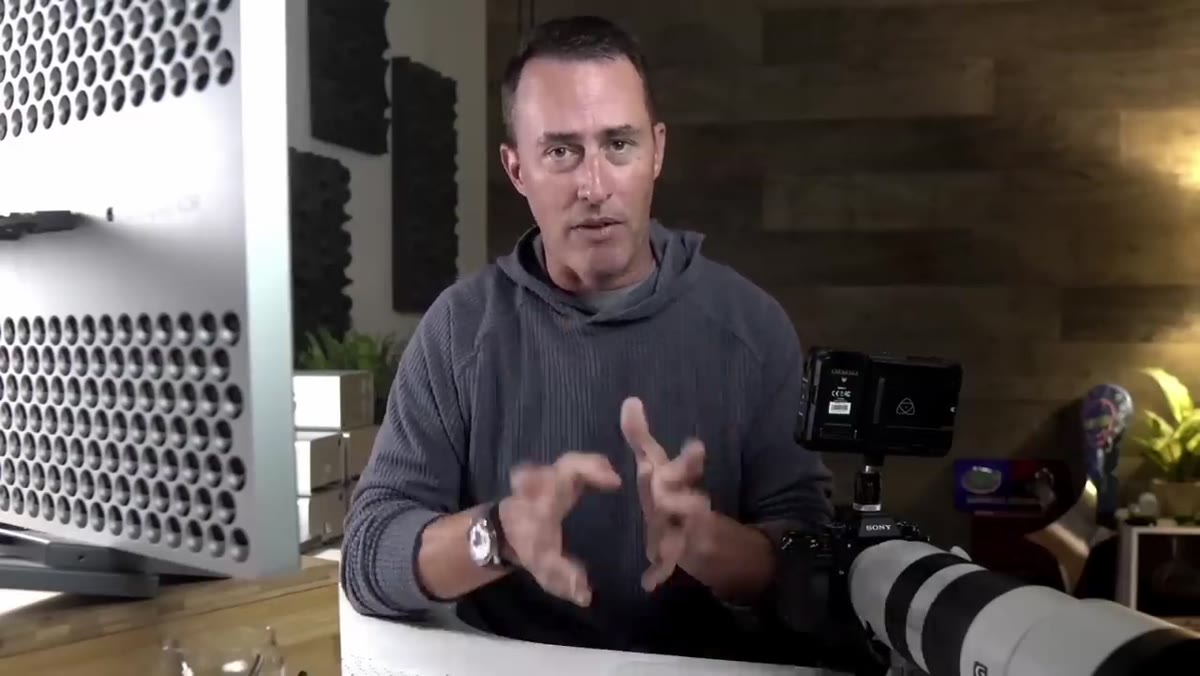
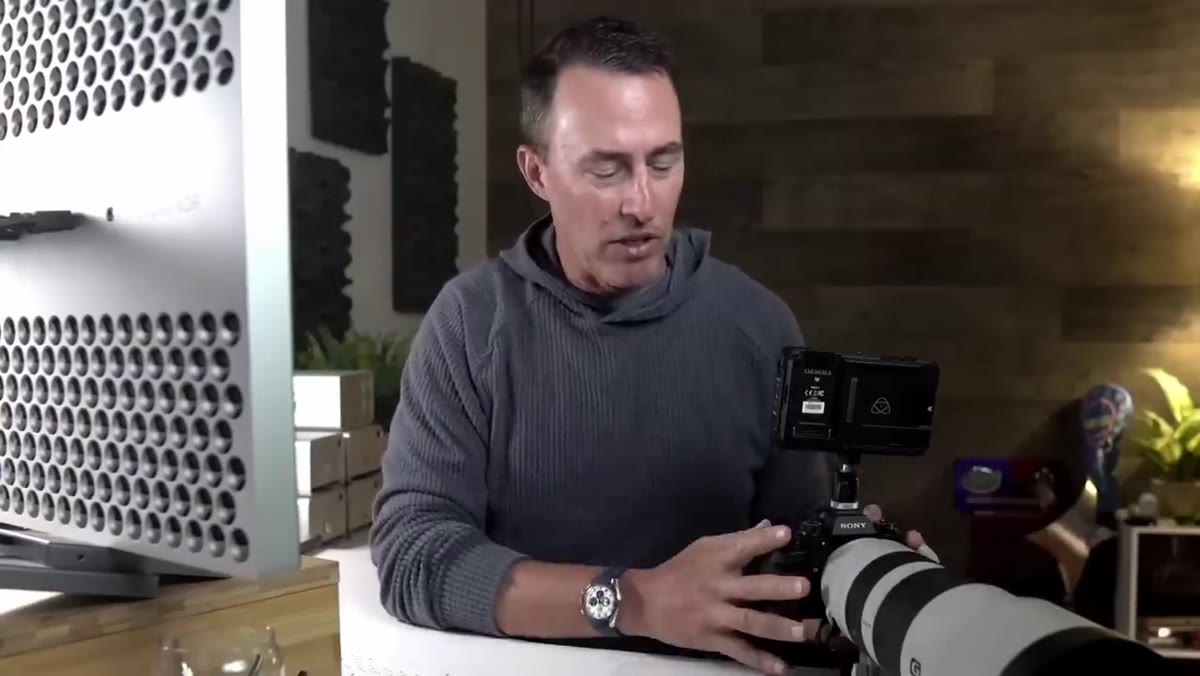 Ninja Atmos recorder attached to Sony A1 via HDMI
Matt uses a Ninja Atmos field recorder connected to his camera via HDMI. The recorder captures exactly what the viewfinder displays, including overlaid settings data, which is what makes this kind of real-time tutorial possible in the first place. The trade-off is that connecting via HDMI disables the camera’s built-in viewfinder and screen on Sony bodies, so he has to hold the whole rig out in front of him rather than bracing it against his face. That makes it heavier and shakier, but he considers it worth it for the transparency it creates.
Ninja Atmos recorder attached to Sony A1 via HDMI
Matt uses a Ninja Atmos field recorder connected to his camera via HDMI. The recorder captures exactly what the viewfinder displays, including overlaid settings data, which is what makes this kind of real-time tutorial possible in the first place. The trade-off is that connecting via HDMI disables the camera’s built-in viewfinder and screen on Sony bodies, so he has to hold the whole rig out in front of him rather than bracing it against his face. That makes it heavier and shakier, but he considers it worth it for the transparency it creates.
You probably aren’t filming your shoots for tutorials, but the underlying idea applies: know your gear’s quirks before you’re in the field chasing a moving subject. If you’ve never tested how your autofocus behaves with tracking enabled, or how your screen behaves when something is plugged into the HDMI port, do that at home first.
Step 2: Choose a Lens That Gives You Reach and Flexibility
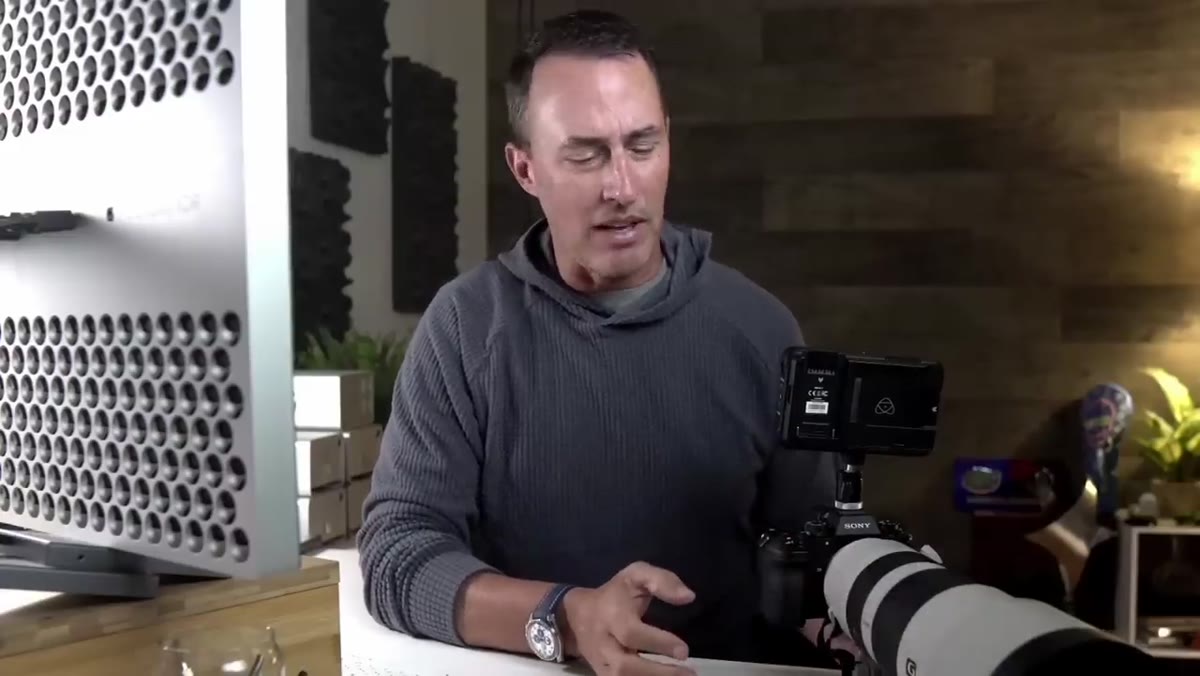 Sony 400-800mm lens visible on camera body
Matt was testing the Sony 400-800mm zoom for this shoot. For shorebird photography on a beach, that kind of reach matters because you often can’t get physically close without spooking the bird. A long zoom also gives you compositional flexibility. You can tighten or loosen your framing without moving your feet, which is a real advantage when you’re trying to stay low and still.
Sony 400-800mm lens visible on camera body
Matt was testing the Sony 400-800mm zoom for this shoot. For shorebird photography on a beach, that kind of reach matters because you often can’t get physically close without spooking the bird. A long zoom also gives you compositional flexibility. You can tighten or loosen your framing without moving your feet, which is a real advantage when you’re trying to stay low and still.
If you don’t have access to a super-telephoto zoom, work with what you have and close the physical distance instead. The lens is a tool, not a requirement. I’ve shot herons from a kayak with a 200mm and gotten decent frames because I was patient about positioning.
Step 3: Lock In Your Exposure Settings Before the Action Starts
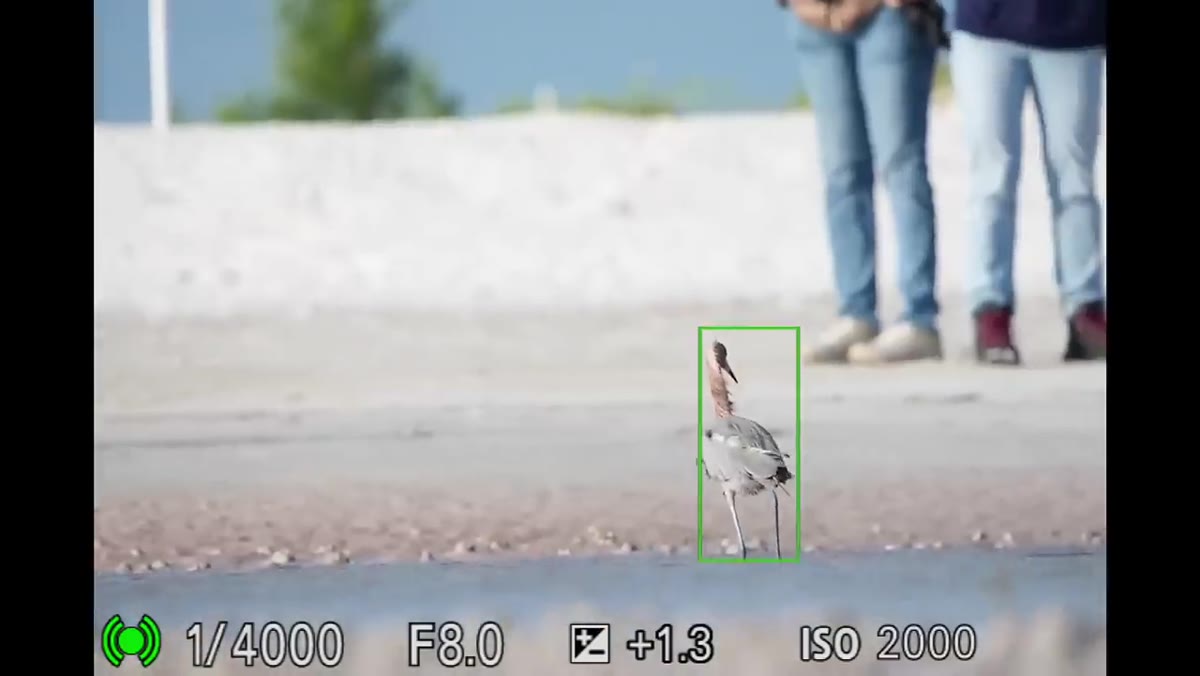 Camera display showing F8, 1/4000s, ISO 2500
Matt shoots at f/8 (the widest aperture on the lens he was using), with his shutter speed set to 1/4000s and Auto ISO engaged. For fast-moving birds, shutter speed is the setting you protect above everything else. Dropping to 1/3000s or slower when a bird is mid-wingbeat will cost you sharpness no amount of post-processing can recover.
Camera display showing F8, 1/4000s, ISO 2500
Matt shoots at f/8 (the widest aperture on the lens he was using), with his shutter speed set to 1/4000s and Auto ISO engaged. For fast-moving birds, shutter speed is the setting you protect above everything else. Dropping to 1/3000s or slower when a bird is mid-wingbeat will cost you sharpness no amount of post-processing can recover.
With Auto ISO and a modern sensor like the A1 Mark II, he’s comfortable letting the camera push into the 2000-2500 ISO range without worrying about noise. If you’re shooting an older or smaller-sensor camera, test your ISO ceiling at home so you know where your images start to fall apart. Set a maximum ISO limit in your Auto ISO menu to keep yourself inside that range.
Step 4: Configure Autofocus for Tracking, Not Just Spot Focus
 Small center AF point visible in viewfinder overlay
Matt uses a fixed center AF point to make initial contact with the subject, then relies on subject tracking to follow the bird around the frame once that lock is established. Eye detection is also enabled, though he’s honest that it’s a bonus rather than a dependency. The workflow is: center point to lock on, tracking to maintain focus as the bird moves.
Small center AF point visible in viewfinder overlay
Matt uses a fixed center AF point to make initial contact with the subject, then relies on subject tracking to follow the bird around the frame once that lock is established. Eye detection is also enabled, though he’s honest that it’s a bonus rather than a dependency. The workflow is: center point to lock on, tracking to maintain focus as the bird moves.
This is a smarter approach than trying to manually drag your AF zone across the frame while also pressing the shutter. Set your camera to lock focus with a back-button press, let tracking take over, and then just concentrate on composing and waiting for the right moment.
Step 5: Get Low, and Stay Low
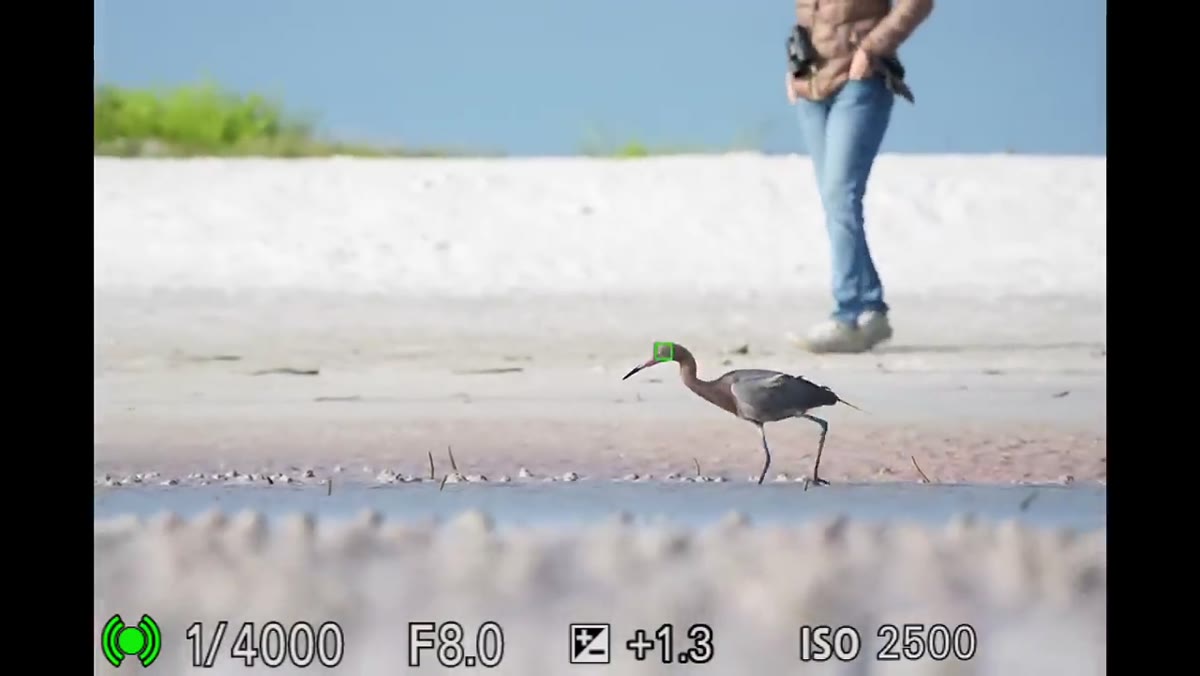 Photographer visible in background kneeling on ground
This one isn’t optional. Matt is firm about it: shooting down onto shorebirds from standing height kills the photo. You lose the eye-level connection that makes bird images feel intimate, and your background becomes the sand or ground instead of a clean, blurred horizon. He recommends a small camping chair or a low ground tripod if kneeling or lying flat isn’t comfortable for you physically.
Photographer visible in background kneeling on ground
This one isn’t optional. Matt is firm about it: shooting down onto shorebirds from standing height kills the photo. You lose the eye-level connection that makes bird images feel intimate, and your background becomes the sand or ground instead of a clean, blurred horizon. He recommends a small camping chair or a low ground tripod if kneeling or lying flat isn’t comfortable for you physically.
On my Sunday morning photo walks I’ve started carrying a cheap foam kneeling pad. It takes up almost no space and has saved my knees more times than I can count. Getting low is a commitment, but it’s one of the single biggest improvements you can make to shorebird images without touching any camera setting.
Step 6: Wait for One Defining Moment, Then Fire
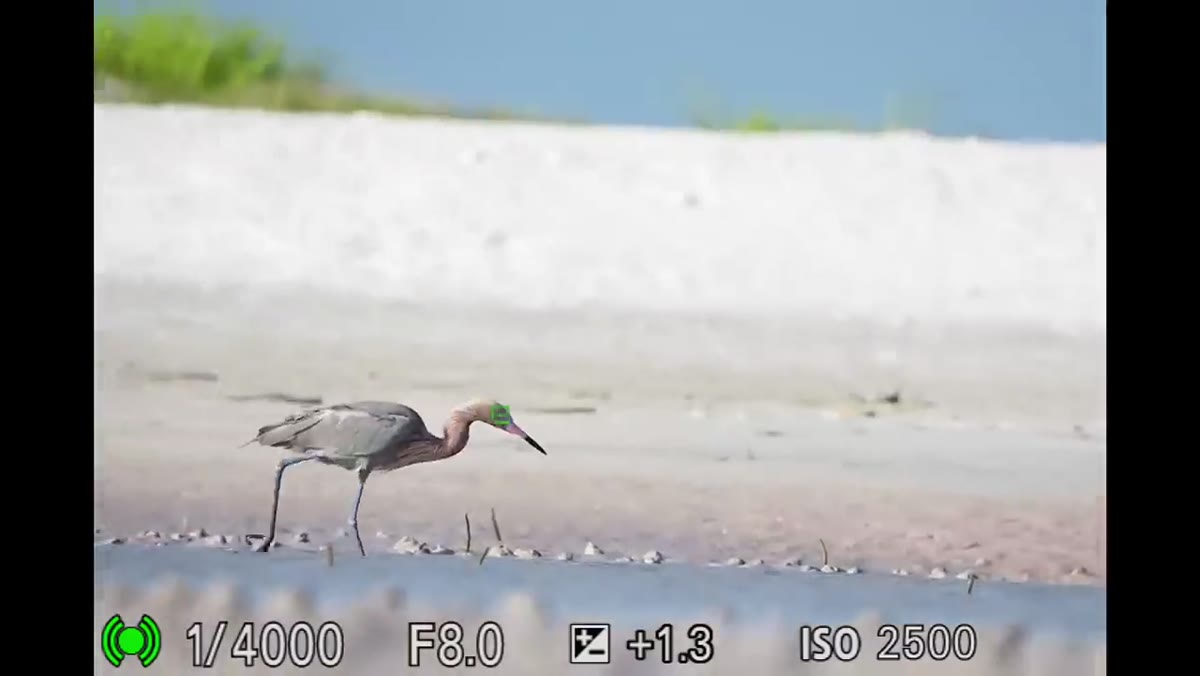 Reddish egret mid-movement on beach
Matt watches a reddish egret for a while without shooting. The bird isn’t doing much. Then it moves, he fires a burst, and within that burst there’s one frame that has everything: the pose, the light, the energy. He isn’t spraying continuously hoping something sticks. He’s reading the bird’s body language and anticipating when something is about to happen.
Reddish egret mid-movement on beach
Matt watches a reddish egret for a while without shooting. The bird isn’t doing much. Then it moves, he fires a burst, and within that burst there’s one frame that has everything: the pose, the light, the energy. He isn’t spraying continuously hoping something sticks. He’s reading the bird’s body language and anticipating when something is about to happen.
Burst mode is a tool, not a strategy. Using it well means being selective about when you activate it, not just holding the button down for minutes at a time and hoping. Watch for weight shifts, head turns, or wing twitches. Those usually signal movement is coming.
Step 7: Select and Edit With Intention, Not Exhaustion
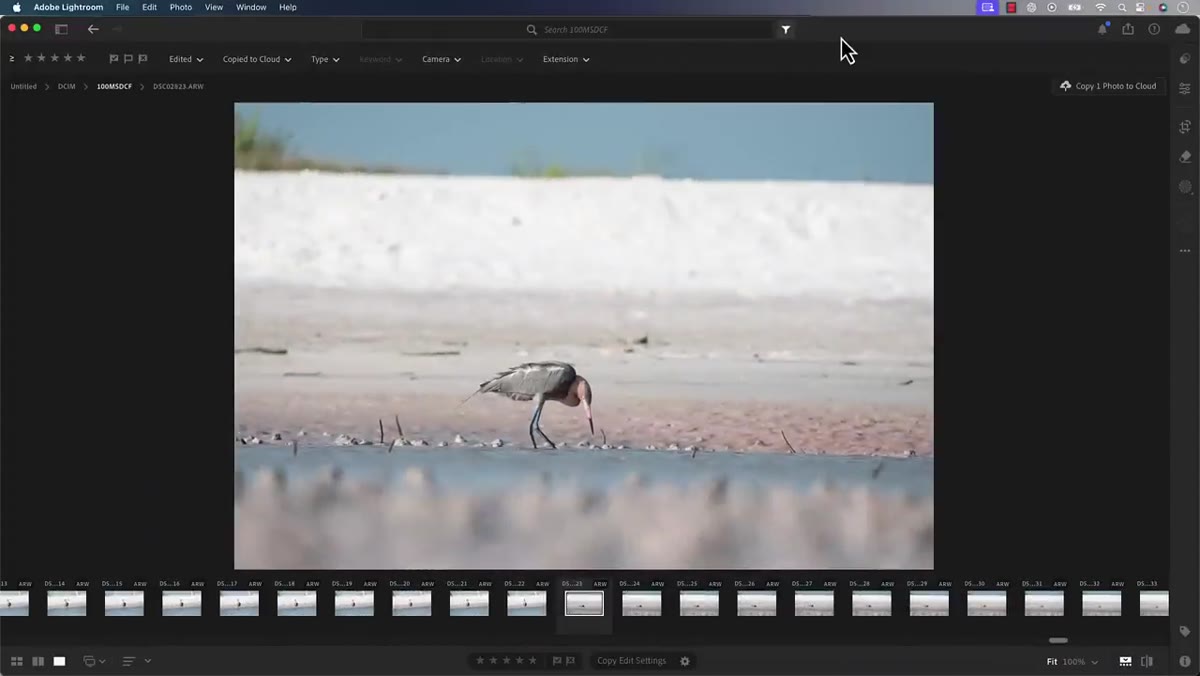 Photo grid visible in Lightroom with keeper image highlighted
In Lightroom (the cloud version, not Classic), Matt browses his frames and picks the one shot that stood out during the burst. Then he applies a targeted edit focused on bringing out the subject rather than overhauling the whole image. He doesn’t treat this as a full editing tutorial, and that restraint is useful in itself: good field work means your edit is refinement, not rescue.
Photo grid visible in Lightroom with keeper image highlighted
In Lightroom (the cloud version, not Classic), Matt browses his frames and picks the one shot that stood out during the burst. Then he applies a targeted edit focused on bringing out the subject rather than overhauling the whole image. He doesn’t treat this as a full editing tutorial, and that restraint is useful in itself: good field work means your edit is refinement, not rescue.
When you import your own birds, cull before you edit. Pick your strongest frame first, then build the edit around what’s already working in that image.
One Thing I’d Add From My Own Experience
Matt shoots handheld throughout, and I respect that. But if you’re newer to long-glass work, consider a gimbal head even on a monopod. It doesn’t lock you into one angle the way a traditional tripod head does, but it absorbs enough weight that your keeper rate on moving subjects climbs noticeably. I made this switch after a beach session in Manzanita where my arms gave out about twenty minutes in and I missed the best light of the morning.
The technique Matt demonstrates is sound for any skill level. The only variable is how long your body can sustain it.
The single most important thing this tutorial reinforced for me: one great frame is the goal. Not a full card of decent ones. Set yourself up with the right positioning, the right settings, and the patience to wait for that one moment. Everything else is secondary.
Watch the full tutorial on YouTube to see Matt’s real-time viewfinder footage and the final edited image. It’s worth watching just to internalize the pace and patience involved.
Comments (3)
The tip about how to shoot and edit a bird p was the missing piece for me. Thank you.
Simple but effective. Sometimes that's all you need.
Just used this on a wedding shoot edit. Client was thrilled.
Leave a Comment