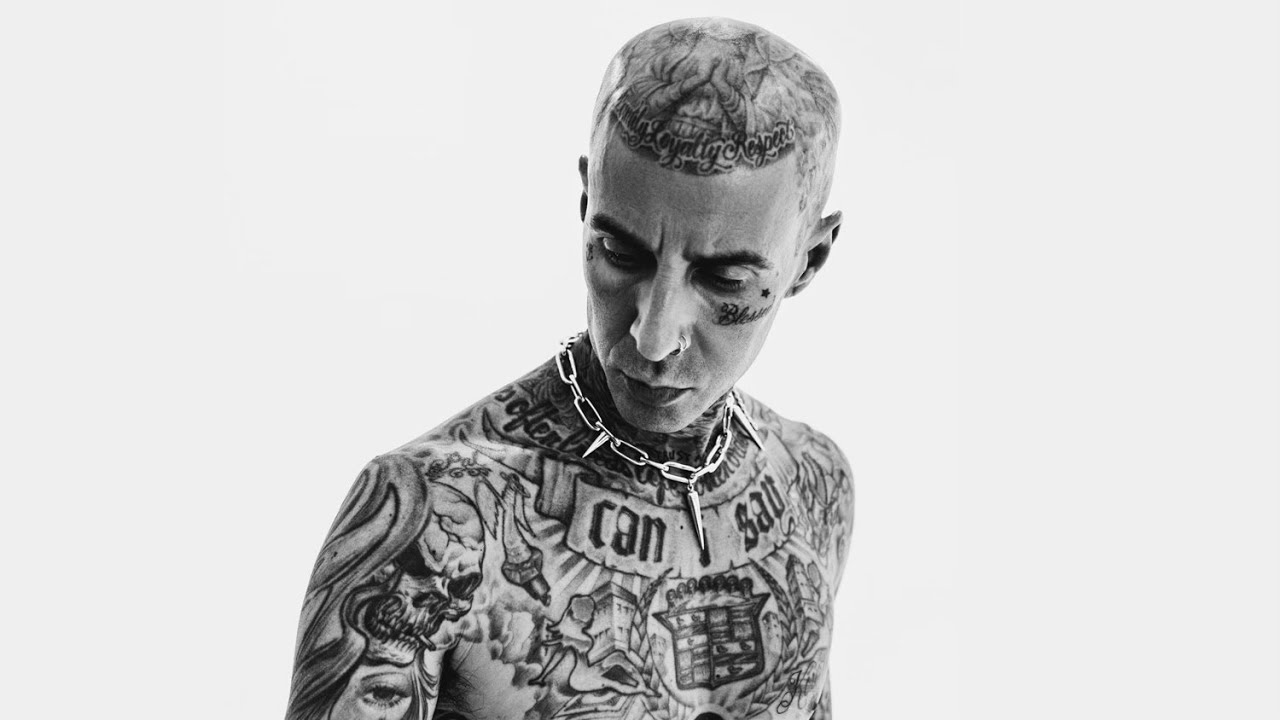
There’s a specific kind of pressure that comes with photographing someone who actually matters to you personally. Not a client you found through a job board, but someone whose work shaped who you are. I felt that pressure the first time I photographed a musician I’d listened to all through college. My hands were steadier on my camera than my nerves deserved. That is exactly the situation Peter McKinnon walked into when he flew to Los Angeles to document a collaboration between jewelry brand Clocks and Colors and drummer Travis Barker. In this Peter McKinnon tutorial, the shoot is the content, and watching how he handles the real-world chaos of it is more instructive than any controlled studio walkthrough.
What makes this video worth studying isn’t just the access. It’s that McKinnon treats the whole thing as a working professional problem, not a flex. He’s dealing with tricky mixed lighting, an unfamiliar location, a meaningful personal connection to his subject, and the expectation that he’ll deliver something worthy of a brand collab. Those are exactly the conditions most of us face when a shoot actually counts. Here’s what his approach teaches, broken down into the practical steps you can take into your next high-stakes portrait session.
Step 1: Fuel Yourself Before You Touch the Camera
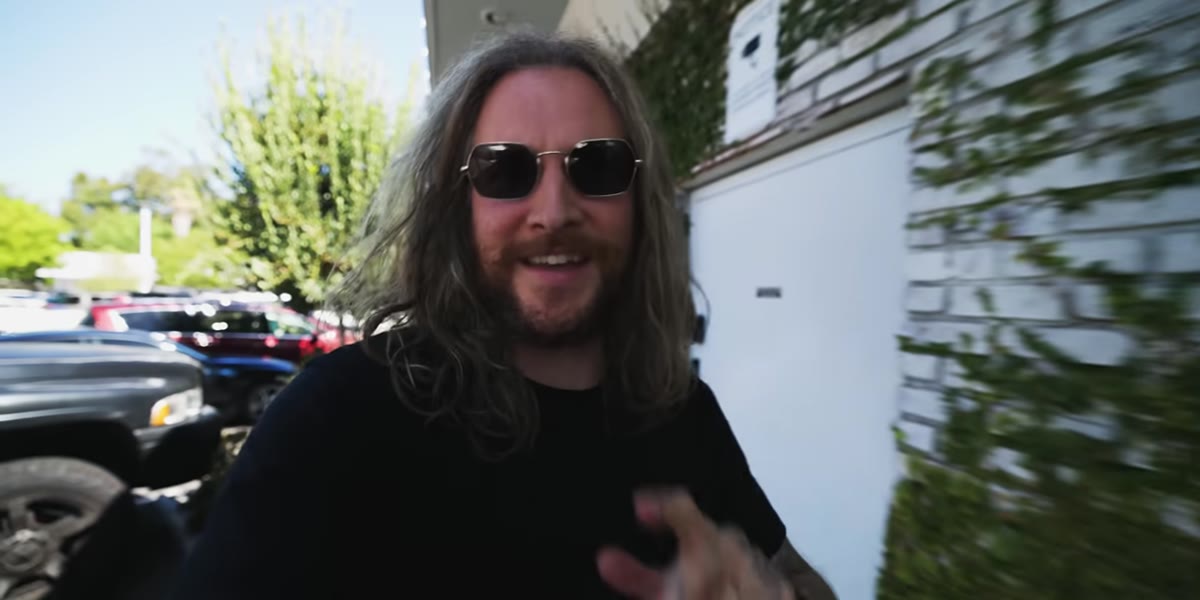 Peter getting coffee before the shoot begins
This sounds like a joke step. It isn’t. McKinnon makes a point of stopping for coffee before anything else happens, and while it gets a laugh in the video, the principle underneath it is real: you cannot problem-solve creatively when you’re running on empty. Before a major shoot, treat your pre-session routine as seriously as your gear check. Eat something. Hydrate. Give yourself a buffer between waking up and shooting so your brain is actually online when the light or the moment demands a fast decision.
I have a Sunday morning photo walk tradition that started because I noticed my best work happened after I’d had a slow morning, not when I rushed out the door with a coffee still in my hand. Your nervous system affects your eye. Protect it.
Step 2: Scout the Location and Diagnose the Light Before Your Subject Arrives
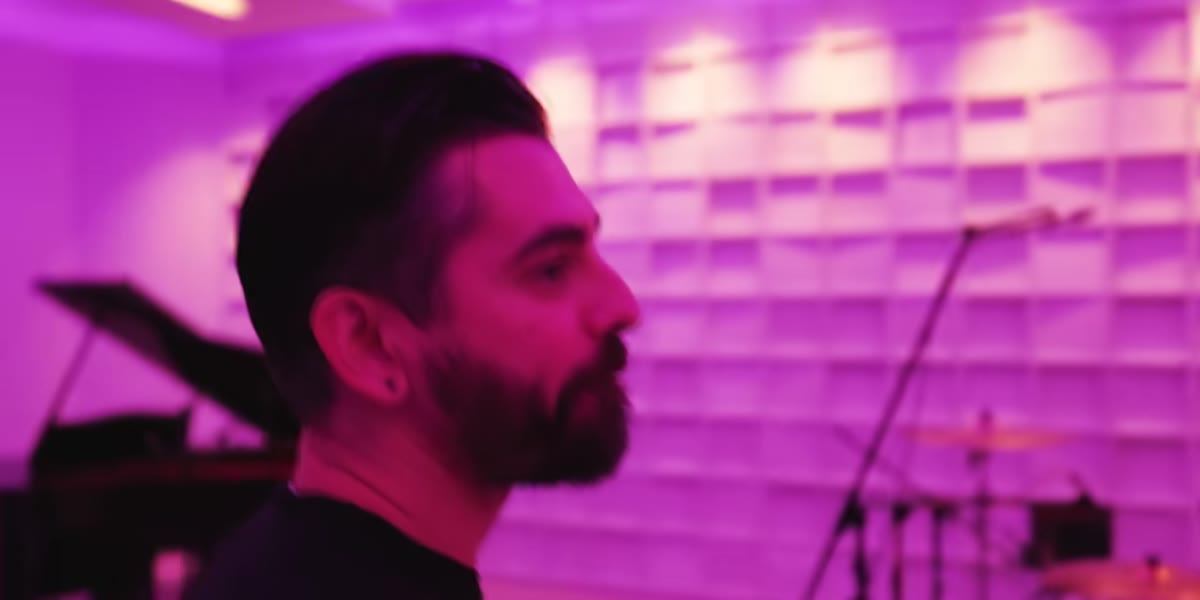 Peter assessing the lighting inside the shooting location
McKinnon mentions early that the white balance in the space is “tricky” and that the lighting is a genuine challenge. He says this out loud, which is actually an important professional habit: name the problem so you can start solving it rather than pretending it isn’t there. When you arrive at an unfamiliar location, walk the space without your subject. Look at where the natural light is coming from, identify any mixed light sources (tungsten overhead mixed with daylight from a window, for example), and decide whether you’re going to correct for that in-camera or lean into it.
For mixed lighting situations, shooting in RAW gives you the most recovery latitude, but you still want a starting white balance that isn’t fighting you the whole session. Set a custom white balance using a gray card, or at minimum take a test shot at a fixed Kelvin value and adjust from there. Don’t leave it on Auto and hope for the best when the stakes are high.
Step 3: Understand Who You’re Photographing Before You Pick Up the Camera
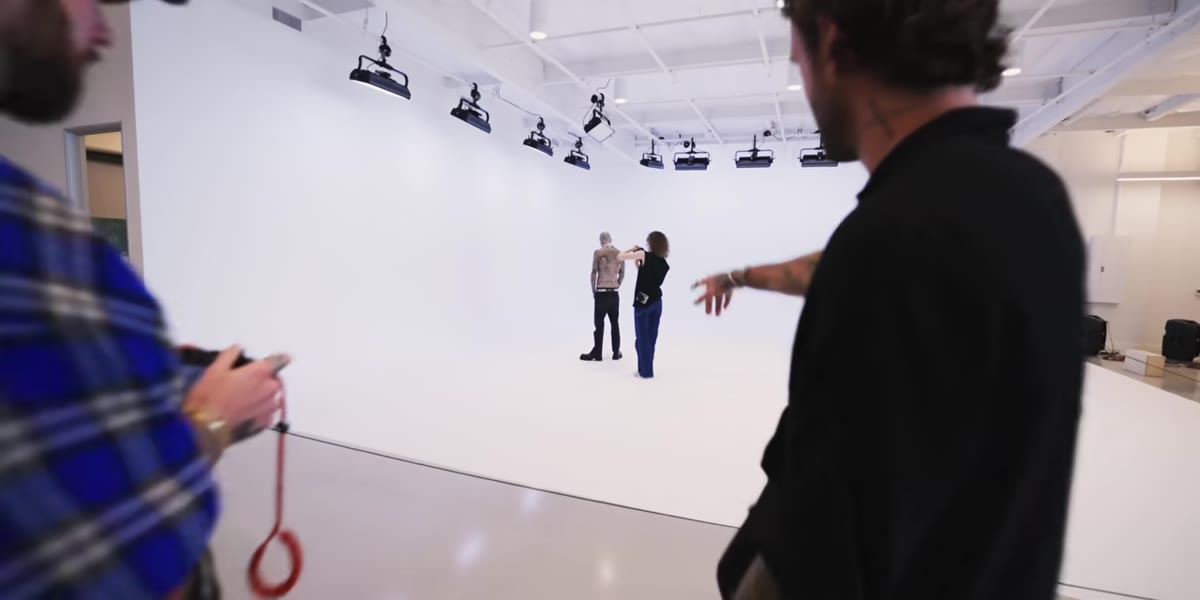 Discussion about Travis Barker’s significance and influence
McKinnon takes a moment in the video to talk about who Travis Barker is and what he means to him personally. This isn’t just YouTube storytelling. Knowing your subject, their energy, their public presence, and what makes them visually compelling changes how you direct and compose. A drummer carries decades of physical expression in how they hold their hands and how they sit. A chef does the same with their posture and their workspace. Before you photograph anyone notable, do your homework.
Look at existing portraits of them. Notice what poses or angles other photographers have already covered. Then decide what angle feels fresh, or what moment you’d want to capture that hasn’t been done yet. Going in with that intention means you’re not just reacting, you’re directing with purpose even if subtly.
Step 4: Let the Collaboration Inform the Visual Story
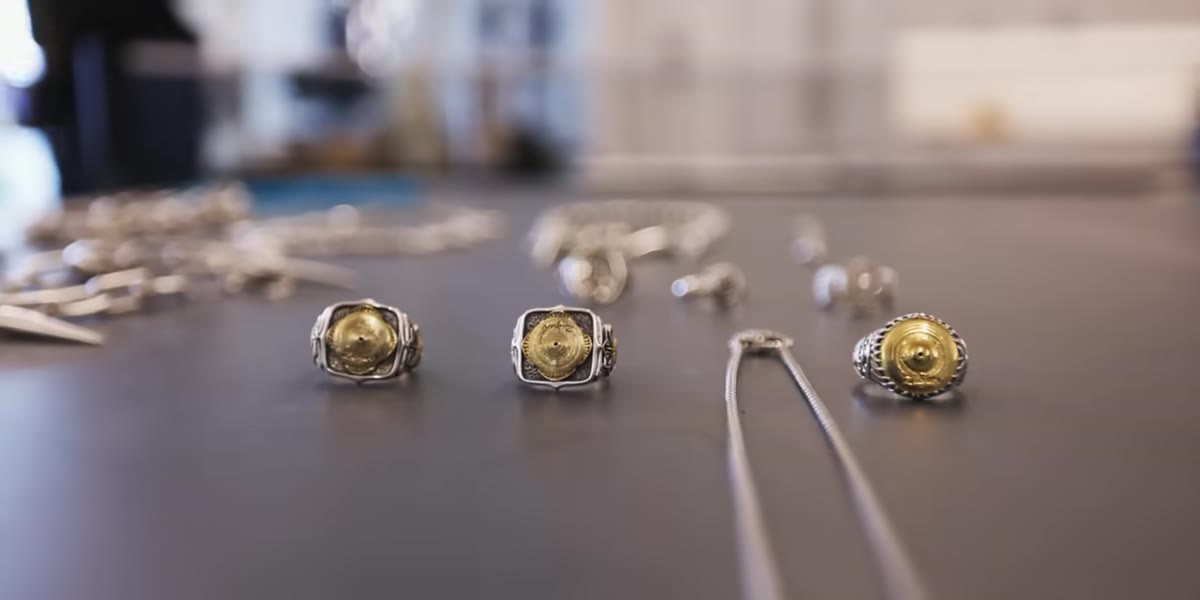 Shane explaining the Clocks and Colors x Travis Barker collaboration
The shoot exists in the context of a brand collab between Clocks and Colors and Travis Barker. McKinnon’s job isn’t just to get a good portrait. It’s to capture the energy of that partnership in a way that serves the brand’s visual identity while still feeling authentic to Barker. When you’re shooting for a collaboration or a client, that dual purpose should shape every frame you choose to prioritize.
Ask yourself: what does the brand need, and what does the subject bring that serves it? In this case, Barker’s aesthetic, rock and roll, tattooed, precise, powerful, maps cleanly onto a jewelry brand that trades in bold design. Your job as the photographer is to find the visual overlap between those two things and live in it.
Step 5: Build a Portfolio Presence That Can Carry the Weight of Work Like This
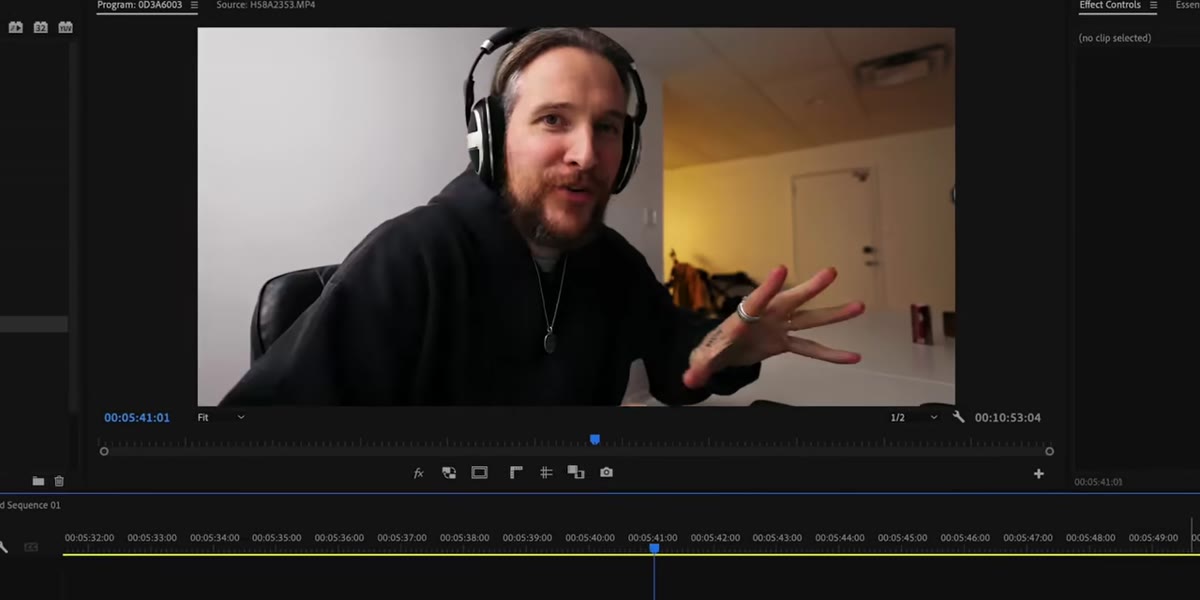 Peter discussing his Squarespace portfolio and keeping it updated
McKinnon mentions that he updates his portfolio site every time he comes back from a meaningful shoot, keeping his profile image and latest work current. This is low-key one of the most important professional habits in photography. Your portfolio is doing sales calls while you sleep. A site that shows work from three years ago tells potential clients and collaborators that you’re either not busy or not paying attention.
You don’t need a complicated site. You need a clean one that loads fast, shows your strongest 10 to 15 images, and makes it easy for someone to contact you. Update it after every significant shoot while the work is fresh and the excitement of it will carry into how you caption and present it.
What I’d Add From My Own Experience: Embrace the Significance, Don’t Run From It
McKinnon is photographing someone who influenced his life growing up. He doesn’t pretend that’s not the case. He talks about it. And I think that honesty is what keeps the work grounded rather than performative.
I once spent a full week in Iceland trying to get a specific waterfall shot I’d had in my head for years, missing dinners, losing sleep. When I finally got it, the reason it worked wasn’t just the light. It was that I’d let myself care about it fully. Caring makes you more patient. It makes you stay five minutes longer. It makes you try one more angle. When a shoot matters, let it matter. That seriousness shows up in the images.
The single most important thing this video reinforces is something a friend of McKinnon’s apparently said to him: it’s not about the pictures you take. It’s where those pictures take you. The technical stuff, the white balance, the scouting, the portfolio, all of it is in service of something larger, which is the connections and opportunities that open up when your work is genuinely good.
Watch the full tutorial on YouTube and pay attention to how McKinnon moves through a real shoot, not just the gear talk. That’s where the real education is.
Comments
Leave a Comment