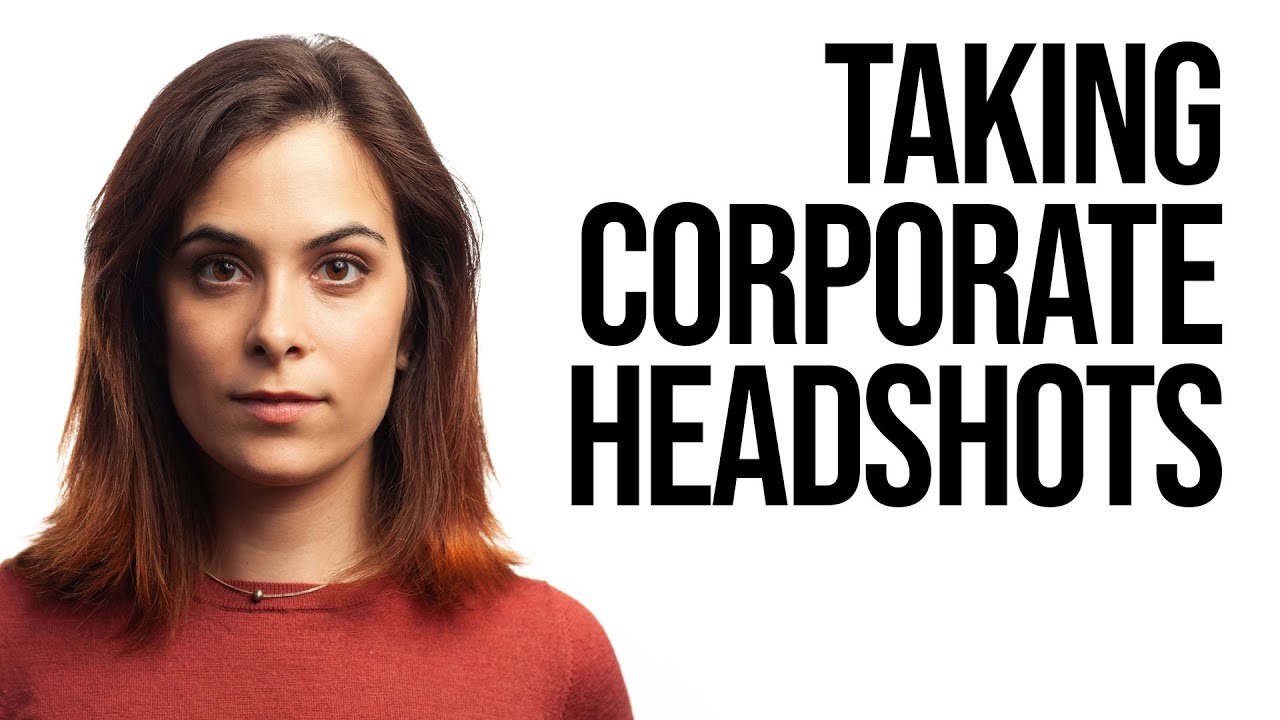
Corporate headshot work isn’t glamorous. Nobody’s going to pin your LinkedIn profile photos on their mood board. But here’s the thing I’ve learned over the years: it pays reliably, it fills the calendar gaps that kill your cash flow, and if you can do it well under pressure, it builds a reputation that keeps companies calling you back. The problem is most portrait photographers, myself included when I started, approach these jobs with a single-session mindset. You know, the kind where you have an hour with one person, you can coach them, swap lighting setups, let them relax into it. Corporate headshots are nothing like that. You might have 70 people and two hours. Do the math.
That’s exactly why I kept coming back to this tutorial from Sean Tucker. Watch the full tutorial on YouTube before or after reading this breakdown. Tucker walks through the complete system he uses to move subjects in and out in 90 seconds to two minutes each, without sacrificing shot quality. It’s not the only way to run a corporate shoot, but the logic behind his setup is solid, and there are techniques here I wish I’d had when I was still figuring this out through trial and error.
Step 1: Ask the Client About the Background Before You Book the Job
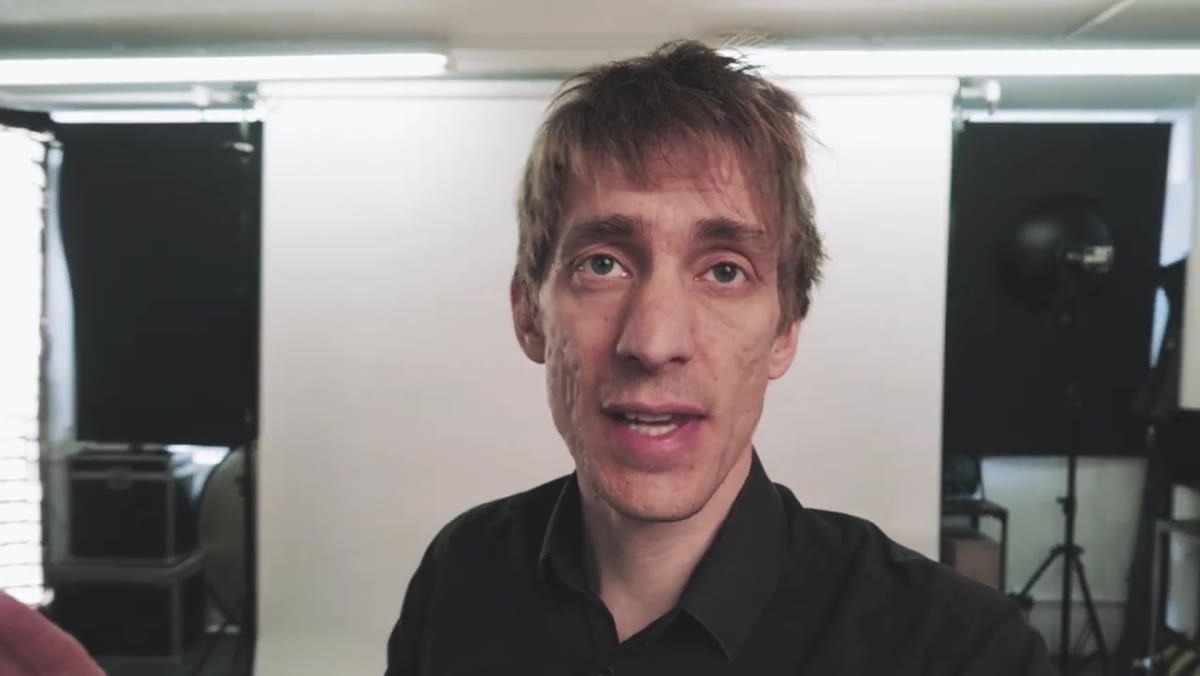 Sean Tucker standing in front of lit white paper backdrop
This sounds obvious, but it’s the step most photographers skip until they show up on location. Tucker’s default is a white paper roll background because it’s what most corporate clients actually want. Clean white websites, consistent team pages, simple LinkedIn grids. White works. But some companies want gray to match their brand, some want black, and occasionally a company will want you to match a specific brand color.
Sean Tucker standing in front of lit white paper backdrop
This sounds obvious, but it’s the step most photographers skip until they show up on location. Tucker’s default is a white paper roll background because it’s what most corporate clients actually want. Clean white websites, consistent team pages, simple LinkedIn grids. White works. But some companies want gray to match their brand, some want black, and occasionally a company will want you to match a specific brand color.
Find this out during the booking conversation, not when you’re loading gear into a taxi. It changes everything: your background light settings, your modifier choices, and sometimes your whole location plan. Getting this detail early means you arrive ready, not scrambling.
Step 2: Set Up Your Background Light First
 Background strobe aimed upward onto white paper roll
Tucker positions a strobe behind the subject, angled upward so it fires directly onto the white paper. This is what creates that clean, bright pop in the background rather than a dull gray. The light sits over the subject’s shoulder, out of frame, and does one job: making the background go fully white at the right exposure.
Background strobe aimed upward onto white paper roll
Tucker positions a strobe behind the subject, angled upward so it fires directly onto the white paper. This is what creates that clean, bright pop in the background rather than a dull gray. The light sits over the subject’s shoulder, out of frame, and does one job: making the background go fully white at the right exposure.
The tricky part with white backgrounds is that you need to balance this background light against your key light precisely. Too much power on the background and it blows out and wraps around your subject’s edges. Too little and your white goes gray. Tucker flags this as the most technically demanding part of the white setup, which is worth remembering. Gray or black backgrounds are actually easier to control because they don’t require this balancing act.
Step 3: Know Your Background Options for On-Location Work
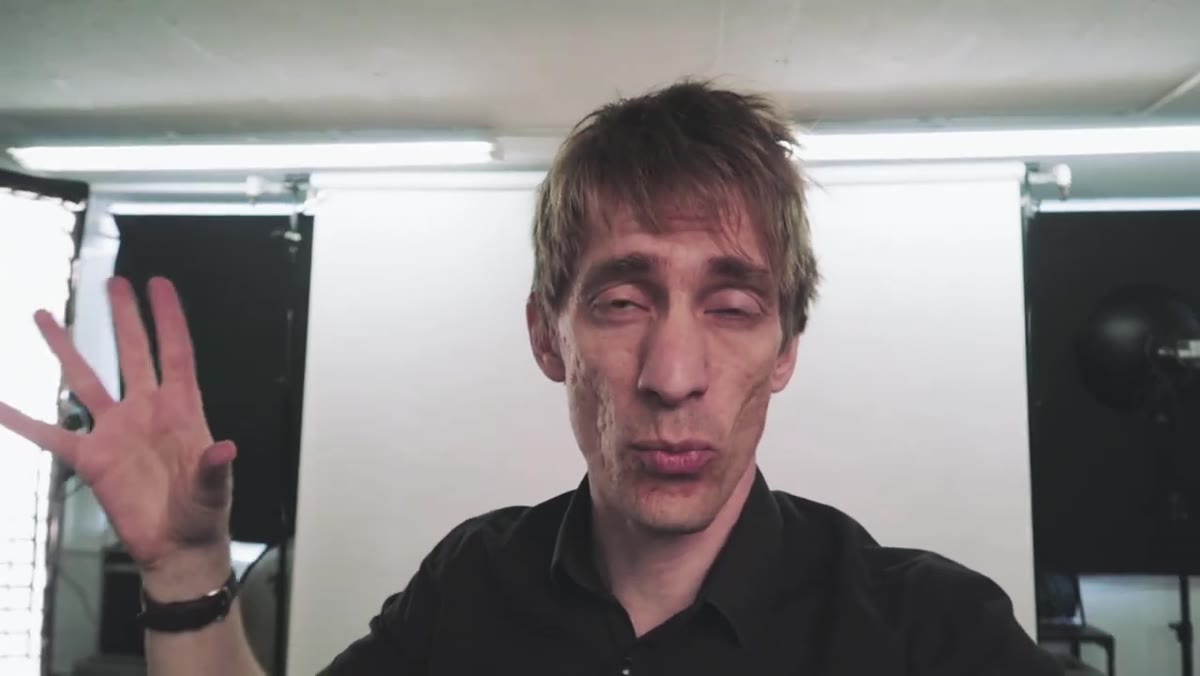 Tucker describing portable backdrop alternatives to paper roll
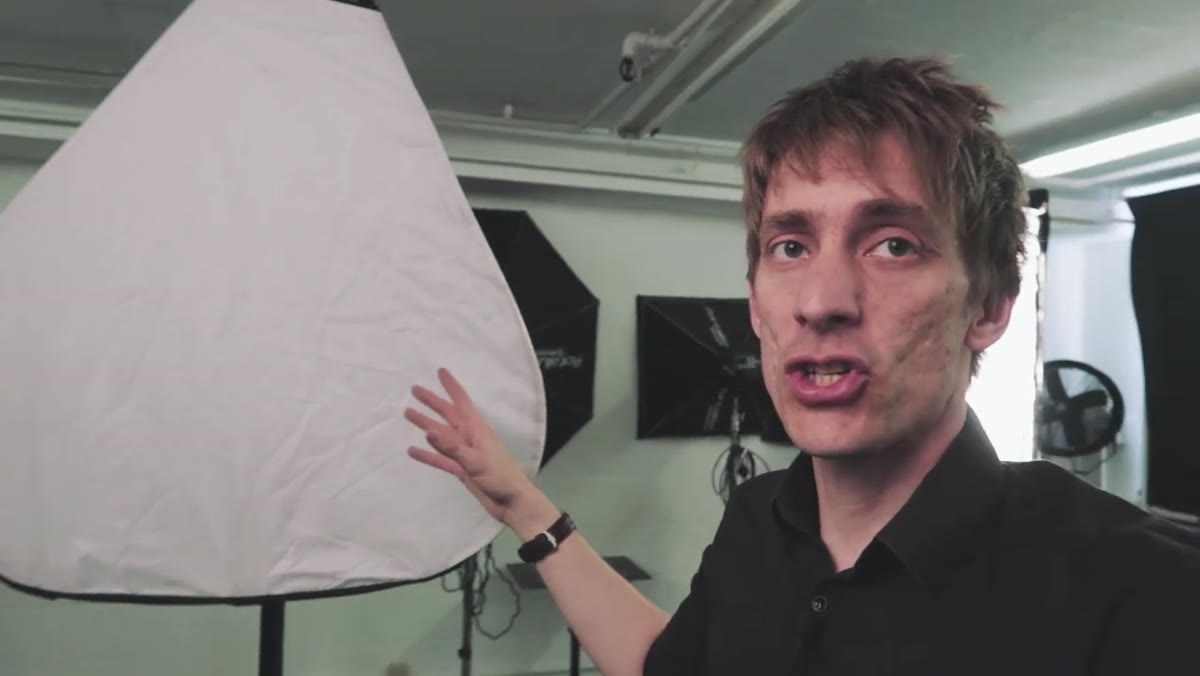
Paper rolls are the studio standard, but corporate shoots rarely happen in studios. You’re usually in a conference room, a lobby, or someone’s open-plan office. Tucker runs through the practical alternatives: a clean white wall if the office has one that’s large enough, a portable 1.5 by 2 meter backdrop that folds onto a stand, or a large softbox placed behind the subject to create a pure white background without any paper at all.
Tucker describing portable backdrop alternatives to paper roll
Paper rolls are the studio standard, but corporate shoots rarely happen in studios. You’re usually in a conference room, a lobby, or someone’s open-plan office. Tucker runs through the practical alternatives: a clean white wall if the office has one that’s large enough, a portable 1.5 by 2 meter backdrop that folds onto a stand, or a large softbox placed behind the subject to create a pure white background without any paper at all.
His most practical tip here is one I’ve actually borrowed: if you shoot with a company regularly, have them buy their own paper roll and store it on-site. They’re not expensive, and it solves the logistics problem of transporting a large roll by public transit or in a car that doesn’t quite fit it. It’s a small thing that makes recurring gigs much smoother.
Step 4: Position Your Key Light at 45-45
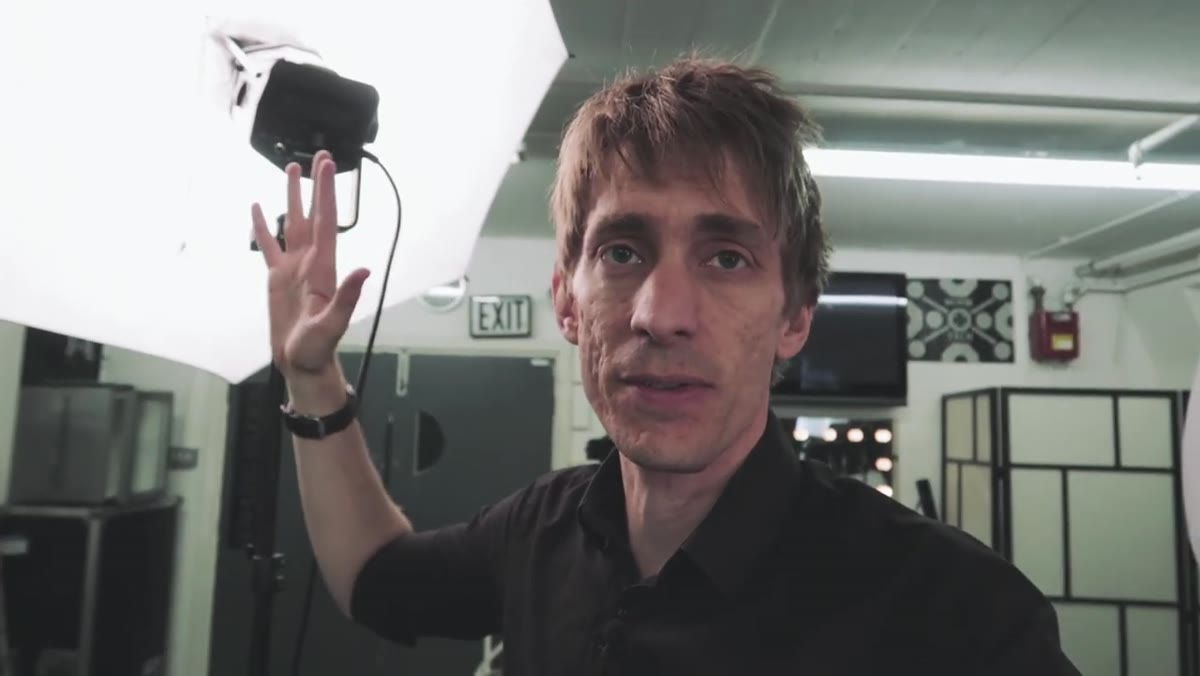 Key light positioned at 45-degree angle above and to the left of subject
Tucker’s key light sits 45 degrees to the side and 45 degrees above the subject. This is a classic portrait position for good reason: it creates dimension, gives you a defined shadow side on the face, and works consistently across a wide range of face shapes and skin tones. When you’re moving through 70 people, you do not have time to redesign your lighting for each individual. This placement is your repeatable, reliable default.
Key light positioned at 45-degree angle above and to the left of subject
Tucker’s key light sits 45 degrees to the side and 45 degrees above the subject. This is a classic portrait position for good reason: it creates dimension, gives you a defined shadow side on the face, and works consistently across a wide range of face shapes and skin tones. When you’re moving through 70 people, you do not have time to redesign your lighting for each individual. This placement is your repeatable, reliable default.
For the modifier, Tucker uses a 1-meter shoot-through umbrella with a diffusion panel, sometimes called a softlighter. He chose it specifically because it’s lightweight, packs down small, is inexpensive to replace if something goes wrong, and delivers soft, flattering light comparable to a softbox. For corporate work where you’re hauling gear into buildings and setting up quickly, the practical qualities of your gear matter just as much as the optical ones.
Step 5: Use a Reflector to Fill the Shadow Side
 Reflector positioned opposite the key light to open up shadows
Opposite the key light, Tucker places a reflector. This bounces some of the key light back onto the shadow side of the face, reducing the contrast to a flattering level. For corporate headshots, you generally want people to look approachable and professional, not dramatically lit. A reflector gives you that fill without adding another powered light to balance.
Reflector positioned opposite the key light to open up shadows
Opposite the key light, Tucker places a reflector. This bounces some of the key light back onto the shadow side of the face, reducing the contrast to a flattering level. For corporate headshots, you generally want people to look approachable and professional, not dramatically lit. A reflector gives you that fill without adding another powered light to balance.
The advantage of a reflector over a second strobe here is simplicity. Fewer lights means fewer variables, faster setup, and less to go wrong mid-shoot when someone’s waiting in line.
My Caveat: Build the System Before You Need It
I want to add one thing Tucker doesn’t cover explicitly, because I learned it the slow way. Practice this entire setup at home or in your own space before you take it to a client job. The first time I tried to move quickly through a corporate headshot session, I spent the first 20 minutes fussing with my background light because I hadn’t dialed in the balance between background and key light ahead of time. I had people waiting. It was not a good feeling.
Now I keep a reference card in my bag with the exact power settings I used last time for a white background setup. It’s a starting point, not a rule, because every room is different. But having that baseline means I’m making small adjustments instead of starting from scratch. The system Tucker describes only gives you its time-saving benefits if you’ve already internalized it before the clock is running.
The single most important takeaway from Tucker’s approach is this: efficiency and quality in corporate headshots are not competing goals. The right setup, locked in before the first subject walks in, is what makes both possible at the same time. Get the system right once and then repeat it. That’s the whole game.
Watch the full tutorial on YouTube to see Tucker demonstrate the live shoot portion, including how he coaches subjects quickly and makes final exposure adjustments on the fly.
Comments (2)
This is exactly what I needed today. Been struggling with this for weeks.
Excellent tutorial. I'd add that from a compositing standpoint, this technique is incredibly versatile.
Leave a Comment